Note
Access to this page requires authorization. You can try signing in or changing directories.
Access to this page requires authorization. You can try changing directories.
This sample, WV2DeploymentVSInstallerSample, demonstrates how to deploy a WebView2 app by using the Visual Studio installer.
- Sample name: WV2DeploymentVSInstallerSample
- Repo directory: WV2DeploymentVSInstallerSample
- Solution file: not provided in the repo. You create a solution file in the steps below.
To demonstrate how to deploy the Evergreen WebView2 Runtime with your app, this article describes how to use the Microsoft Visual Studio Installer Project extension for Visual Studio. You create a project of type Setup Project, to create an installer for the Win32 sample app (WebView2APISample). That installer that you create chain-installs the Evergreen WebView2 Runtime.
You first edit the project.xml file from the repo, and then in Visual Studio, you create a new project by using the Setup Project project template from the Microsoft Visual Studio Installer Projects extension.
This sample demonstrates several different deployment approaches:
- Downloading the Evergreen WebView2 Runtime Bootstrapper by using a link.
- Packaging the Evergreen WebView2 Runtime Bootstrapper with your app.
- Packaging the Evergreen WebView2 Runtime Standalone Installer with your app.
For information about these different approaches, see Deploying the Evergreen WebView2 Runtime in Distribute your app and the WebView2 Runtime.
Step 1 - Build and run WebView2APISample
To become familiar with the app that this sample distributes, and to make sure your environment is set up for general Win32 WebView2 app development, build and run the Win32 sample app (WebView2APISample) before using this deployment sample.
- Do the steps in Win32 sample app (WebView2APISample) and then continue below.
Prerequisite: As stated in the above page, Microsoft Visual Studio is required, including C++ support. Microsoft Visual Studio Code is not supported for this WV2DeploymentVSInstallerSample sample.
The above page helps you clone or download the WebView2Samples repo, and install Visual Studio with C++ support, if not done yet.
Step 2 - Install Visual Studio Installer Projects
If not done yet, install Visual Studio Installer Projects:
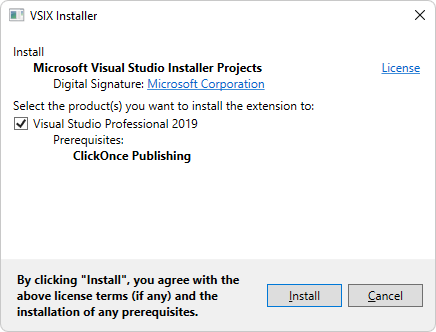
- Install the Microsoft Visual Studio Installer Projects for Visual Studio 2019. Follow the steps on that page, and then return to this page and continue the steps below.
If a Waiting on the following processes to shut down dialog appears, close Visual Studio.
Step 3 - Edit product.xml to configure how to distribute the WebView2 Runtime
Open Visual Studio. In the opening screen, you can click the Continue without code link in the lower right.
Open the following individual file that's in your local copy of the repo:
<repo-location>\WebView2Samples\SampleApps\WV2DeploymentVSInstallerSample\product.xmlLocation of the file in the repo at GitHub: SampleApps/WV2DeploymentVSInstallerSample/product.xml
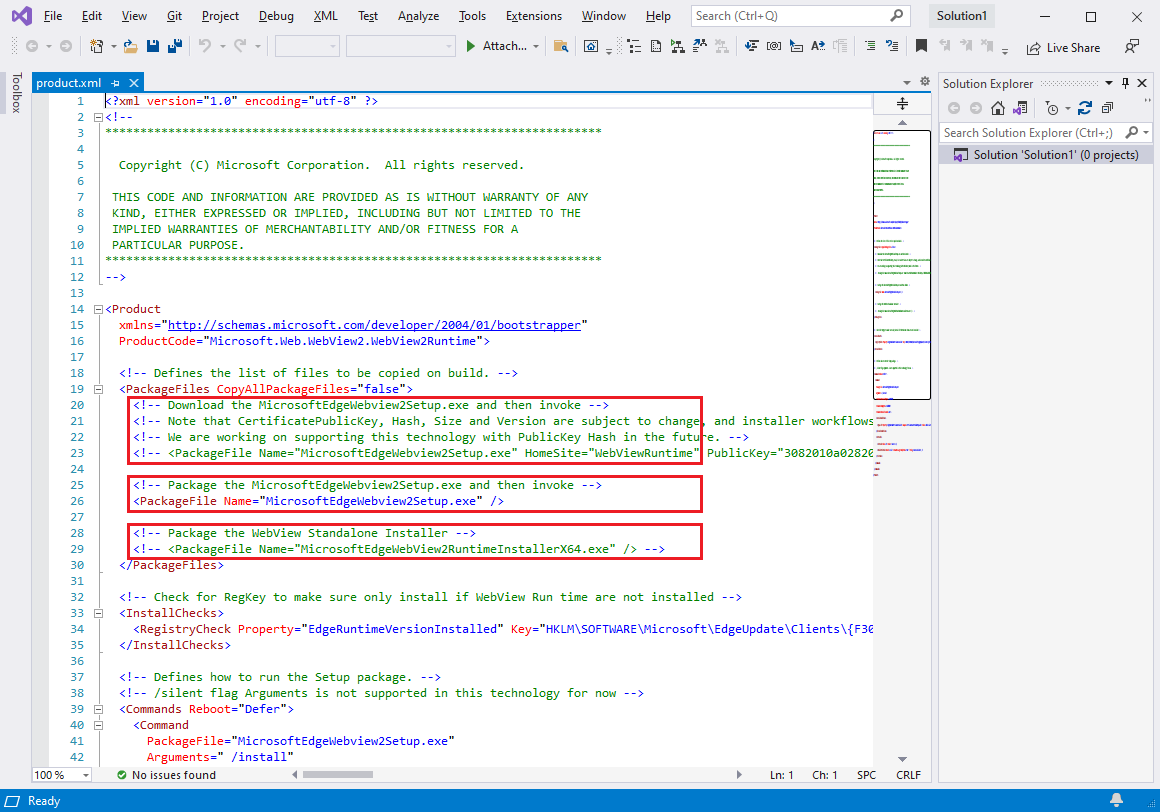
Inspect
product.xml. There are three<PackageFile>lines. Study the comment above each of the 3 lines. Here is a simplified view of the lines, with clarifications.The first
<PackageFile>line uses fileMicrosoftEdgeWebview2Setup.exe, which is the Evergreen WebView2 Runtime Bootstrapper, and it specifies aHomeSitewebsite. Use this line for Approach 1: Downloading the Evergreen WebView2 Runtime Bootstrapper through a link:<!-- Download the MicrosoftEdgeWebview2Setup.exe --> <!-- <PackageFile Name="MicrosoftEdgeWebview2Setup.exe" HomeSite="WebViewRuntime" PublicKey="..."/> -->The second
<PackageFile>line uses fileMicrosoftEdgeWebview2Setup.exe, which is the Evergreen WebView2 Runtime Bootstrapper. Use this line for Approach 2: Packaging the Evergreen WebView2 Runtime Bootstrapper with the app:<!-- Package the MicrosoftEdgeWebview2Setup.exe --> <PackageFile Name="MicrosoftEdgeWebview2Setup.exe" />The third
<PackageFile>line uses fileMicrosoftEdgeWebView2RuntimeInstallerX64.exe, which is a platform-specific Evergreen WebView2 Runtime Standalone Installer. Use this line for Approach 3: Packaging the Evergreen WebView2 Runtime Standalone Installer with your app:<!-- Package the WebView Standalone Installer --> <!-- <PackageFile Name="MicrosoftEdgeWebView2RuntimeInstallerX64.exe" /> -->Identify which approach you are using. Approach 2 is the default; that is, the line to use Approach 2 is un-commented in the repo's
product.xmlfile.Edit
product.xml, as follows; do the steps in one of the three sections below.
Approach 1: Downloading the Evergreen WebView2 Runtime Bootstrapper through a link
If you want the app to download the Evergreen WebView2 Runtime Bootstrapper (MicrosoftEdgeWebview2Setup.exe) through a link:
Within the
<PackageFiles CopyAllPackageFiles="false">section, un-comment the following line (keep the long public key value), and comment out the other lines:<PackageFile Name="MicrosoftEdgeWebview2Setup.exe" HomeSite="WebViewRuntime" PublicKey="..."/>The
PublicKeyvalue for the WebView2 Runtime Bootstrapper may change without notice. We're working on addressing this issue. For now, you may need to replace it inproduct.xmlwith an updatedPublicKeyvalue.Within the
<Commands Reboot="Defer">and</Commands>section, make surePackageFilepoints to"MicrosoftEdgeWebview2Setup.exe"so that the Visual Studio installer is using the Bootstrapper.Save the file.
Approach 2: Packaging the Evergreen WebView2 Runtime Bootstrapper with the app
If you want to package the Evergreen WebView2 Runtime Bootstrapper (MicrosoftEdgeWebview2Setup.exe) with the app:
Within the
<PackageFiles CopyAllPackageFiles="false">section, un-comment the following line and comment out the other lines:<PackageFile Name="MicrosoftEdgeWebview2Setup.exe" />Within the
<Commands Reboot="Defer">section, make surePackageFilepoints to"MicrosoftEdgeWebview2Setup.exe"so that the Visual Studio installer is using the Bootstrapper.Save the file.
Approach 3: Packaging the Evergreen WebView2 Runtime Standalone Installer with your app
If you want to package the Evergreen WebView2 Runtime Standalone Installer with the app:
Within the
<PackageFiles CopyAllPackageFiles="false">section, un-comment the following line and comment out the other lines:<PackageFile Name="MicrosoftEdgeWebView2RuntimeInstallerX64.exe" />Within the
<Commands Reboot="Defer">and</Commands>section, make surePackageFilepoints to"MicrosoftEdgeWebView2RuntimeInstallerX64.exe"so that the Visual Studio installer is using the Standalone Installer.If you're targeting non-X64 devices, edit the
MicrosoftEdgeWebView2RuntimeInstallerX64file name to reflect the correct architecture.Save the file.
Step 4 - Download the WebView2 Bootstrapper or Standalone Installer
If you want to package either the Bootstrapper (Approach 2) or the Standalone Installer (Approach 3) with the app, do the steps in this section. Otherwise skip to the next major Step section.
Download Microsoft Edge WebView2 Bootstrapper or the Standalone Installer.
Save the downloaded Bootstrapper or the Standalone Installer under the
<repo-location>\WebView2Samples\SampleApps\WV2DeploymentVSInstallerSample\folder.
Step 5 - Copy the WV2DeploymentVSInstallerSample folder into a Packages folder
This step applies to all of the approaches (1, 2, or 3).
Copy the
<repo-location>\WebView2Samples\SampleApps\WV2DeploymentVSInstallerSample\folder, and paste it into either one of the following folders:<drive>:\Program Files (x86)\Microsoft SDKs\ClickOnce Bootstrapper\Packages\<Visual Studio install dir>\MSBuild\Microsoft\VisualStudio\BootstrapperPackages\(requires at least Visual Studio 2019 Update 7)
Typical path for
<Visual Studio install dir>:C:\Program Files (x86)\Microsoft Visual Studio\2019\Professional\Common7\IDE\
Step 6 - Create a Setup Project in Visual Studio
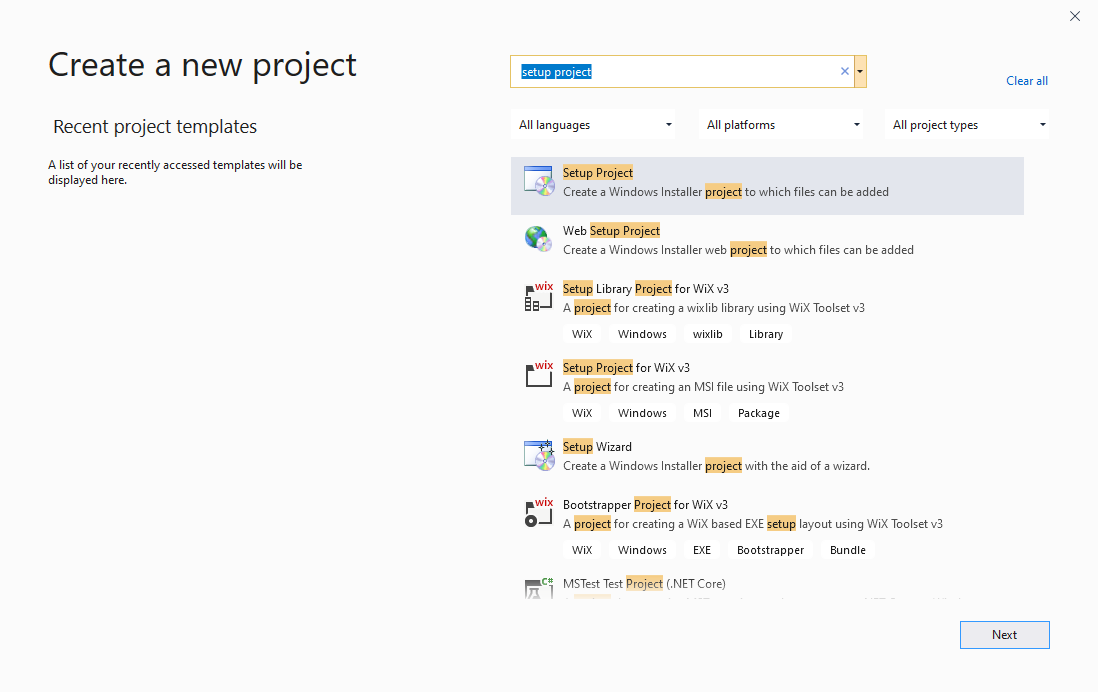
In Visual Studio, select File > New > Project. The Create a new project window appears.
In the Search for templates text box, enter setup project, and then select the Setup Project template. Make sure you select the template that's named exactly that, as shown below:
Click the Next button.
The Configure your new project: Setup Project dialog opens, as shown below.
In the Project name text box, enter a name, such as MyWin32WV2DeploySample.
In the Location text box, navigate to a location that's not inside another project directory, such as
<repo-path>\WebView2Samples\or a location that's not in the repo directory.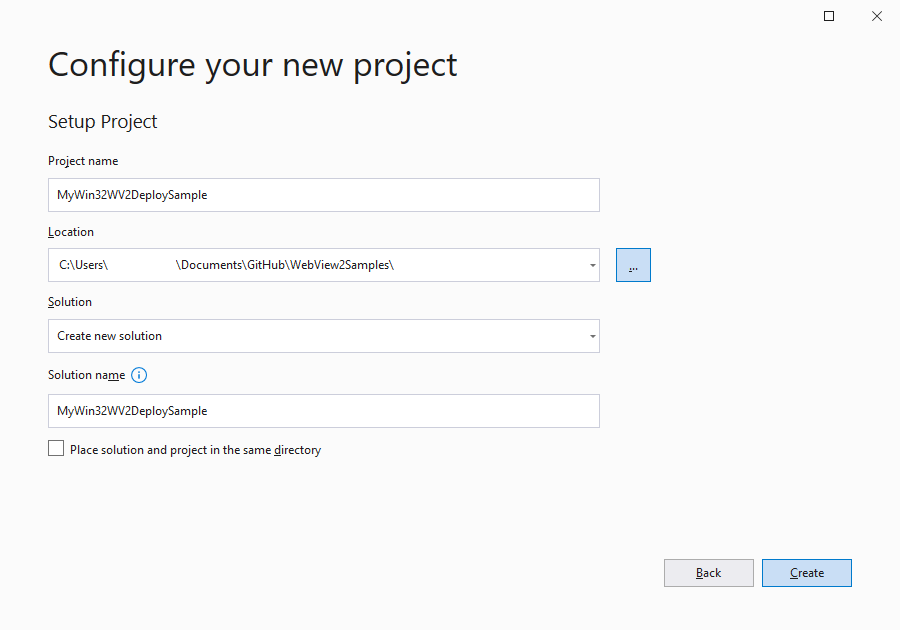
Click the Create button.
Step 7 - Add WebView2 Runtime as a prerequisite
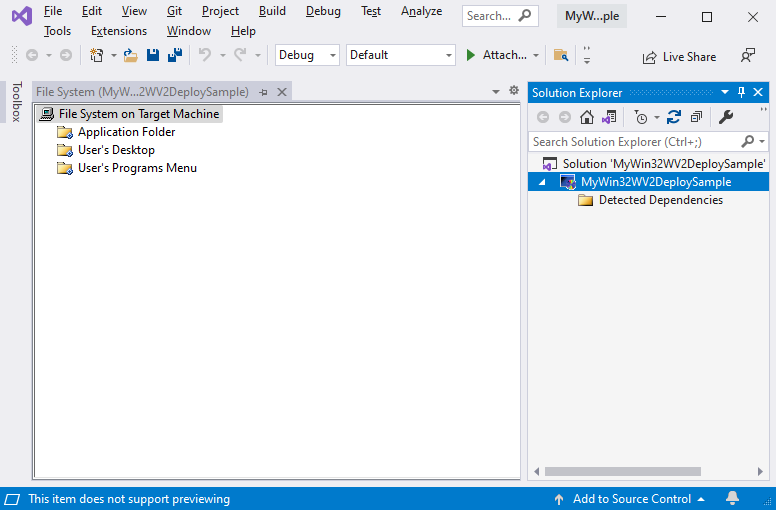
In Visual Studio, in Solution Explorer, right-click your project, and then select Properties. The Property Pages dialog opens.
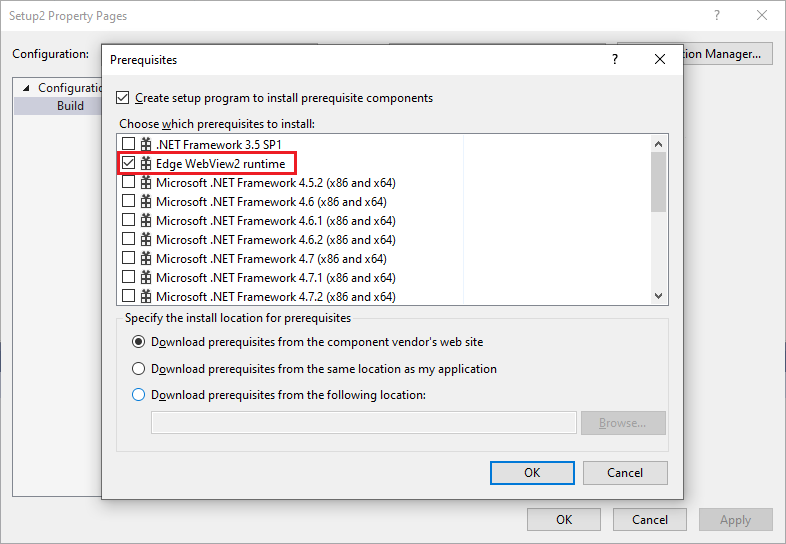
Click the Prerequisites button:

Select the Edge WebView2 runtime checkbox.
If that checkbox isn't listed, that might indicate that a needed file hasn't been placed in a Packages folder. Check which approach you are using. You might need to do the steps above, in sections Step 4 - Download the WebView2 Bootstrapper or Standalone Installer and Step 5 - Copy the WV2DeploymentVSInstallerSample folder into a Packages folder.
Clear the other prerequisites checkboxes. Then click the OK button:
Step 8 - Build the Setup project
- Press F5 to save and build the Setup project.