Note
Access to this page requires authorization. You can try signing in or changing directories.
Access to this page requires authorization. You can try changing directories.
To securely authenticate your ServiceNow instance using OAuth 2.0, follow the steps below:
Step-by-Step Instructions
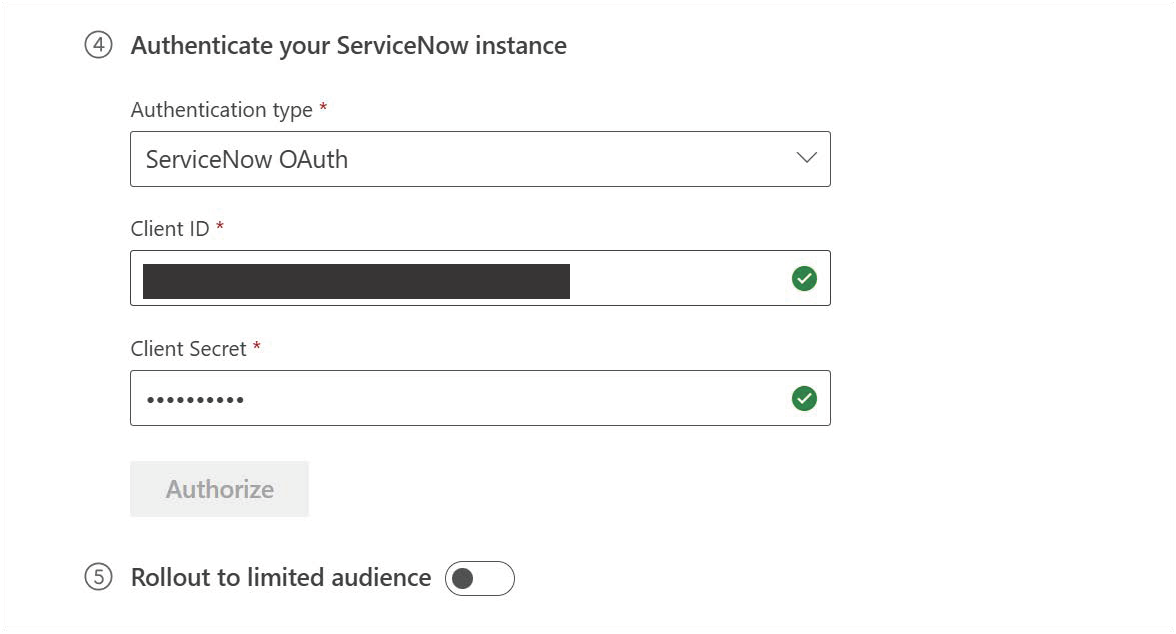
Enter OAuth Credentials
In the authentication section of the connector setup screen, input the following:- Client ID – Provided during your OAuth application registration.
- Client Secret – Keep this confidential and store it securely.

Initiate Authorization
Click the ‘Authorize’ button to begin the OAuth flow.Log in to ServiceNow
A pop-up window will appear. If you're not already signed in, you’ll be prompted to log in to your ServiceNow instance.Use the same account that was used to register the OAuth application.

Grant Permissions
Once logged in, you’ll be asked to grant access to the application to read data from your ServiceNow instance.
Click ‘Allow’ to proceed.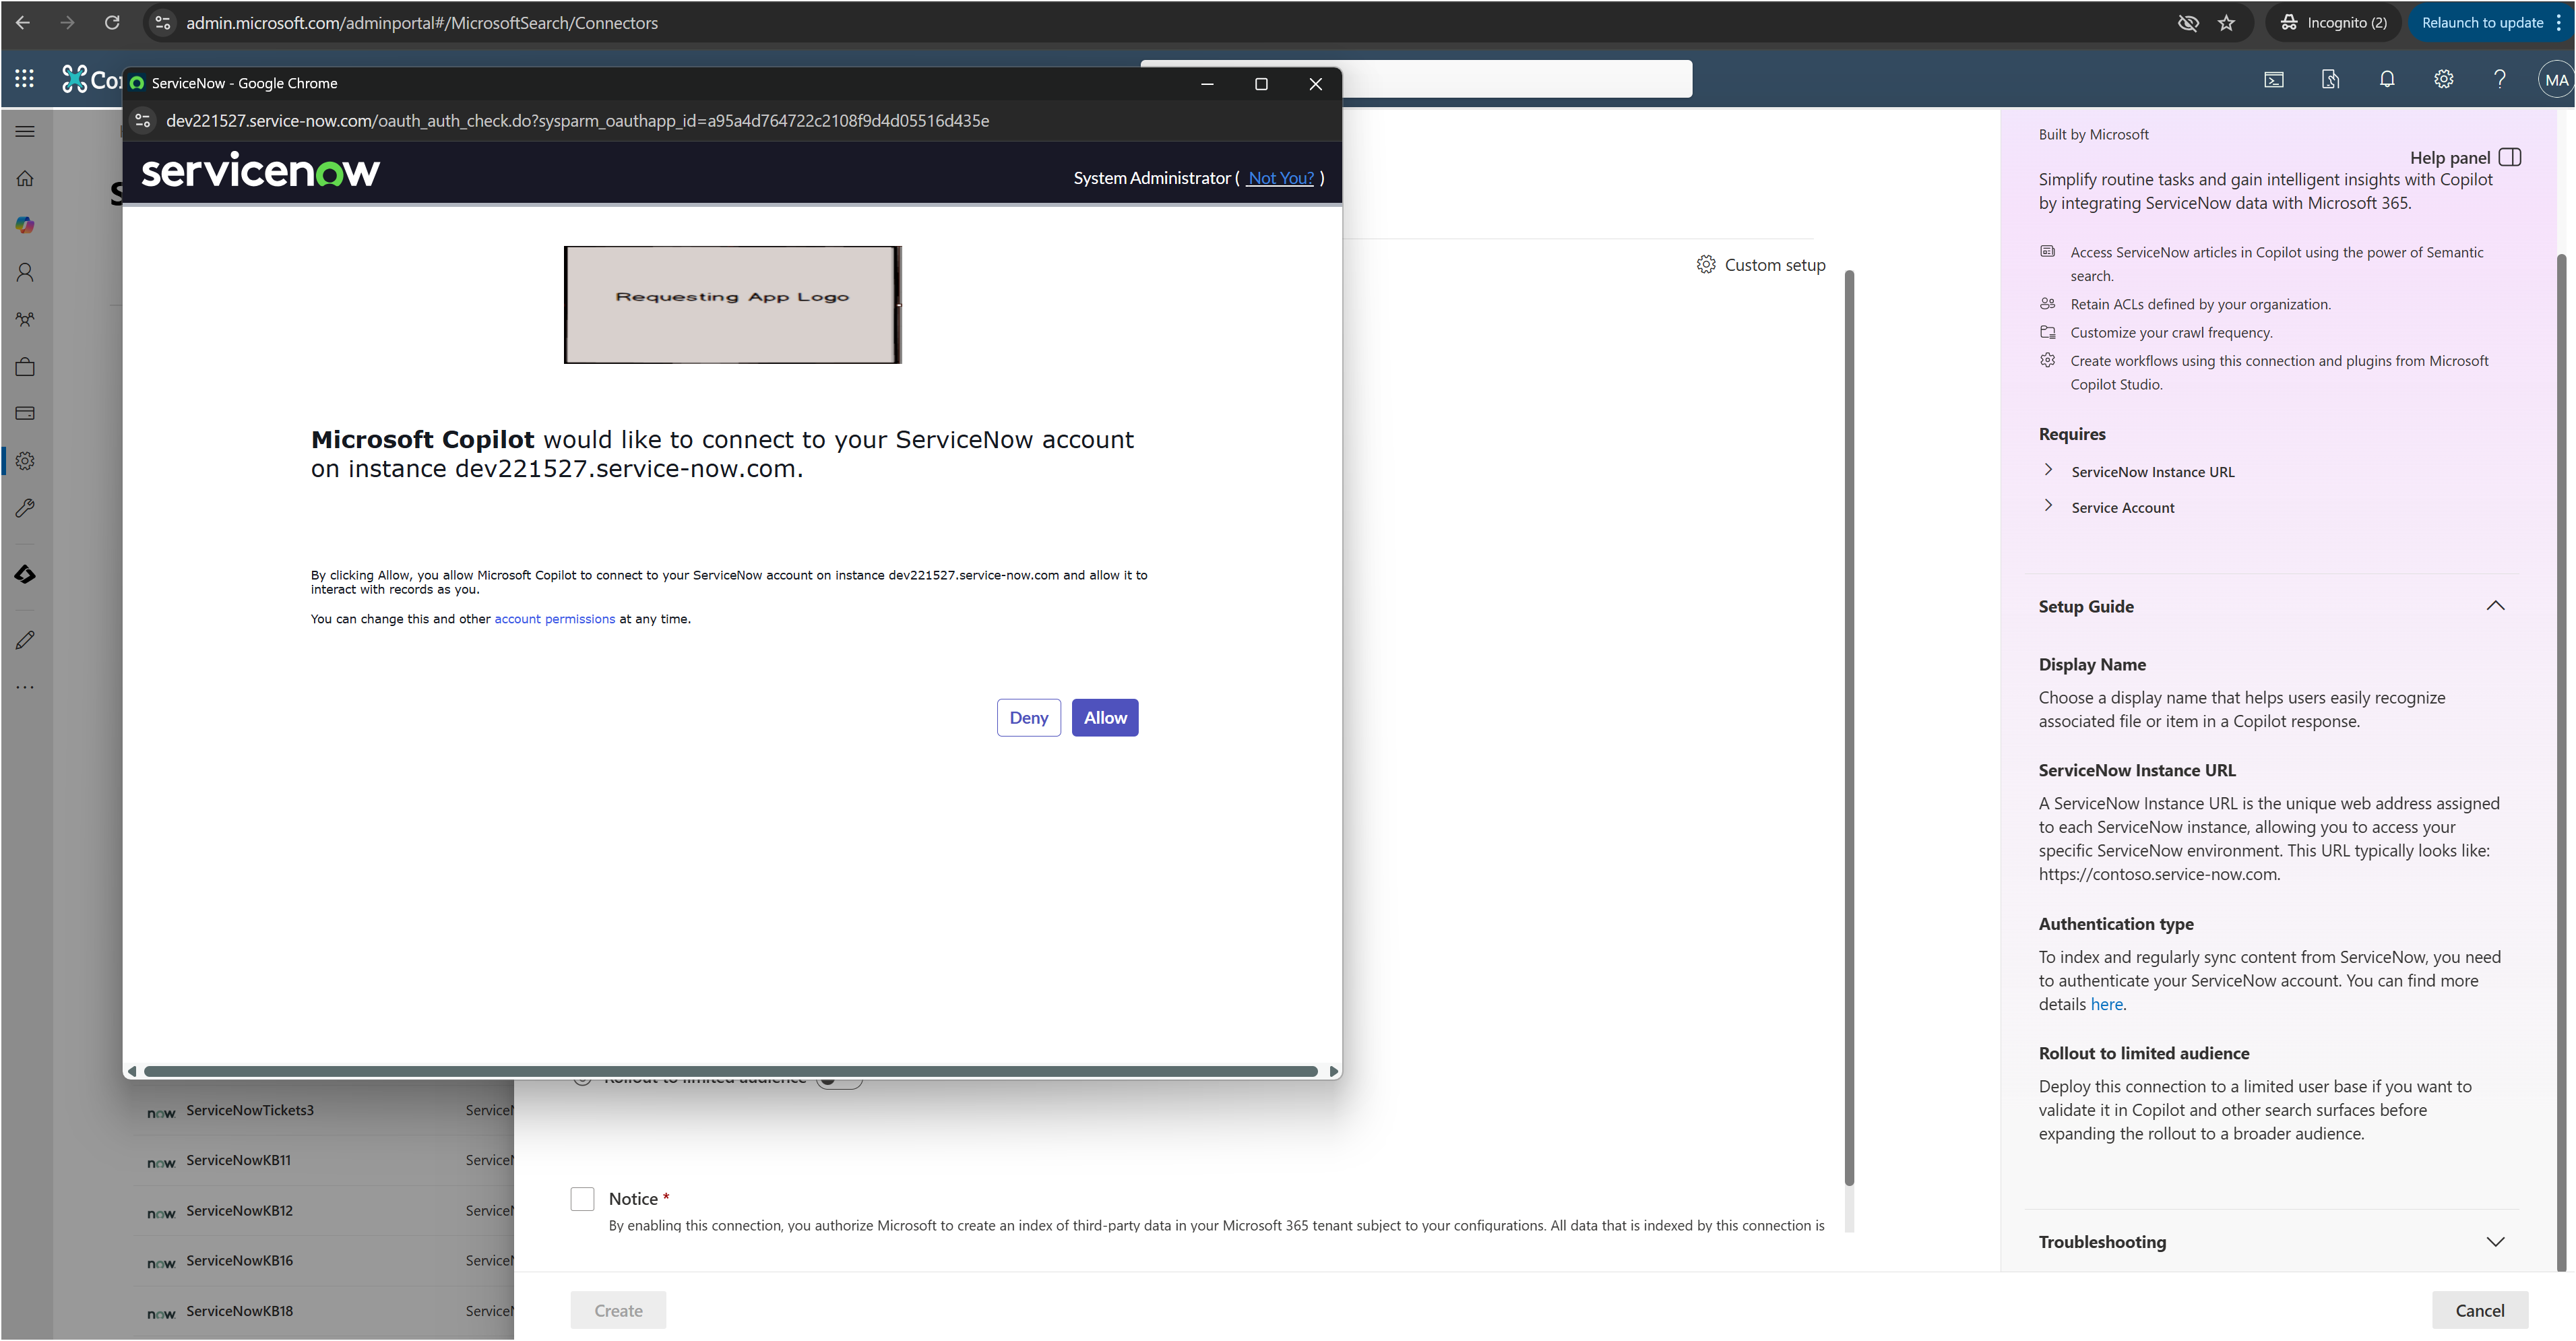
Verify Authentication
After granting access, you’ll be redirected back to the setup screen.A green checkmark next to the authentication fields confirms successful authentication.