Note
Access to this page requires authorization. You can try signing in or changing directories.
Access to this page requires authorization. You can try changing directories.
Tabs are Teams-aware webpages embedded in Microsoft Teams and a good way to begin developing for Teams. You can add them as part of a channel inside a team, group chat, or personal app for an individual user.
In this tutorial, you'll learn:
- How to set up a new project with Microsoft 365 Agents Toolkit (previously known as Teams Toolkit).
- How to build a tab app
- The structure of the app
- The tab portion with JavaScript using React
- The rest of the features with Node.js
- How to deploy your app
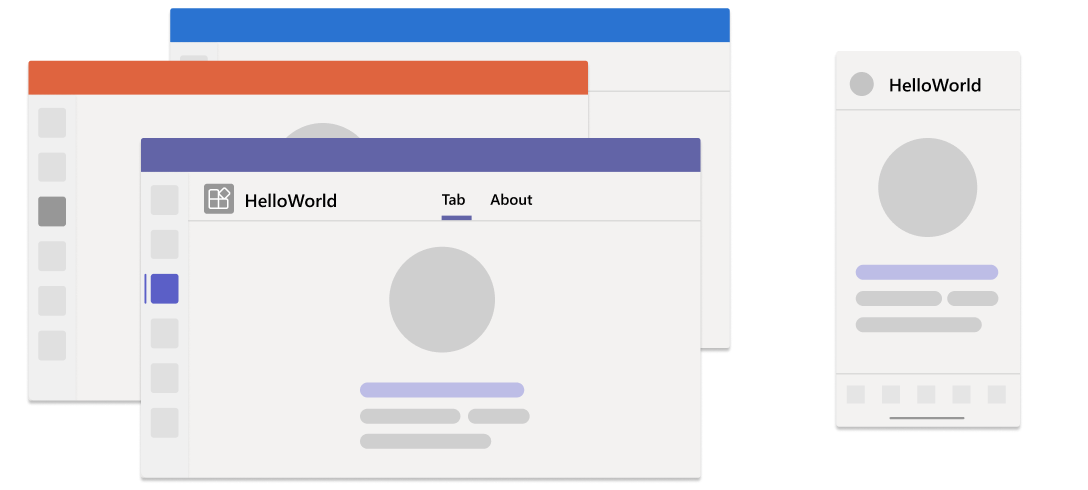
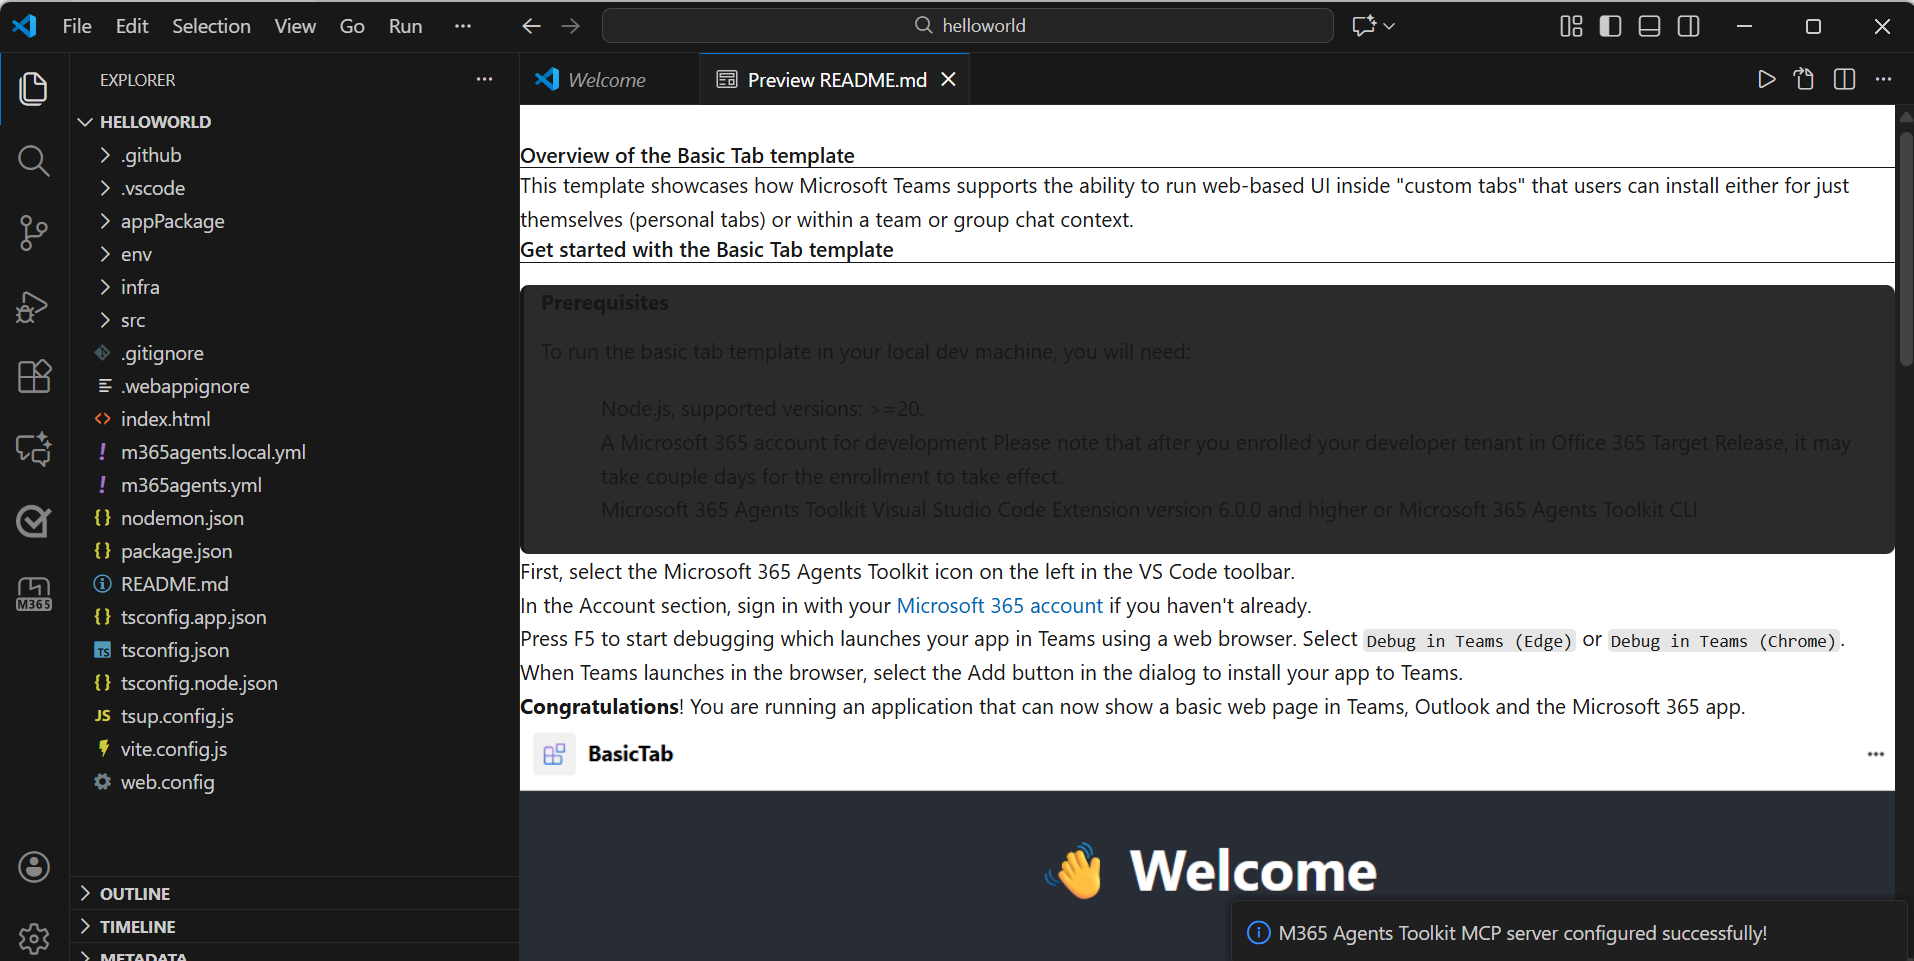
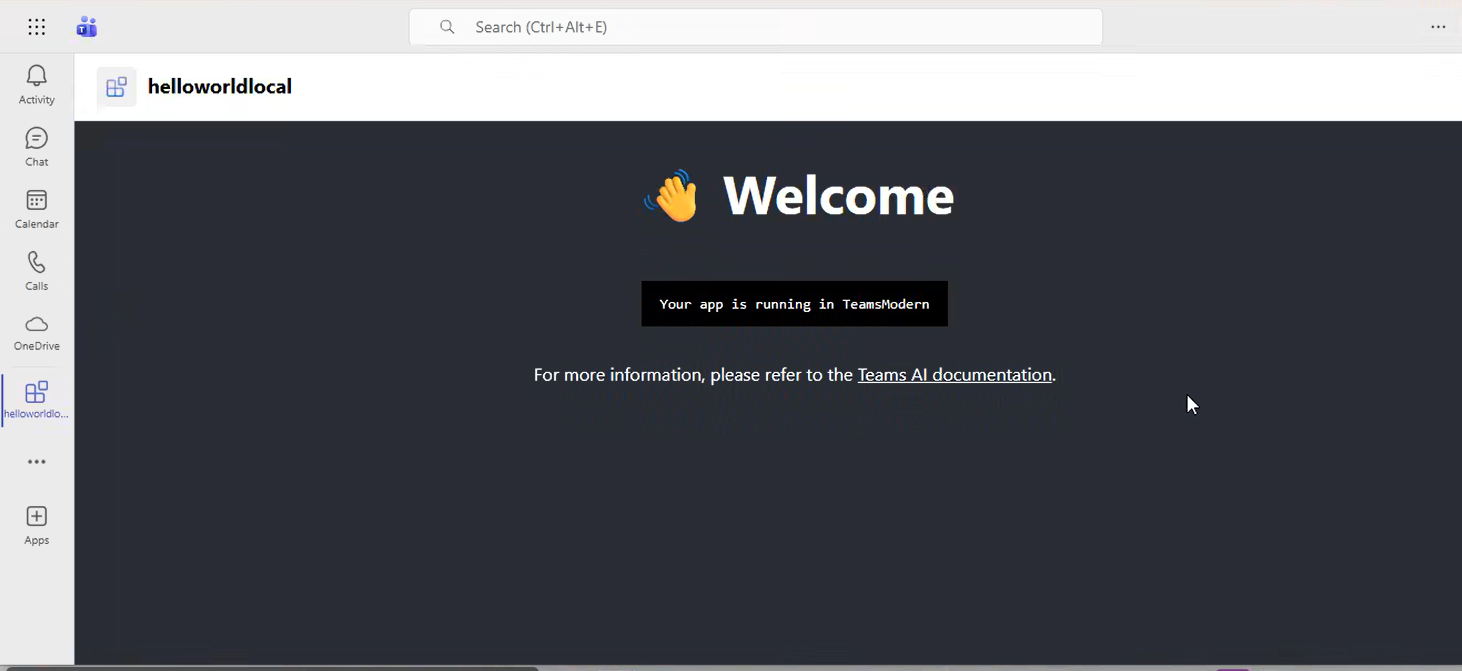
This step-by-step guide helps you to build tab with Agents Toolkit. You'll see the following output after you've completed this guide:

Prerequisites
Ensure you install the following tools for building and deploying your apps.
| Install | For using... | |
|---|---|---|
| Required | ||
| Visual Studio Code | JavaScript, TypeScript, or SharePoint Framework (SPFx) build environments. Use the latest version. | |
| Microsoft 365 Agents Toolkit | Microsoft Visual Studio Code extension that creates a project scaffolding for your app. Use the latest version. | |
| Node.js | Back-end JavaScript runtime environment. For more information, see Node.js version compatibility table for project type. | |
| Microsoft Teams | Microsoft Teams to collaborate with everyone you work with through apps for chat, meetings, and call all in one place. | |
| Microsoft Edge (recommended) or Google Chrome | A browser with developer tools. | |
| Optional | ||
| Azure Tools for Visual Studio Code and Azure CLI | Azure tools to access stored data or to deploy a cloud-based backend for your Teams app in Azure. | |
| React Developer Tools for Chrome OR React Developer Tools for Microsoft Edge | A browser DevTools extension for the open-source React JavaScript library. | |
| Microsoft Graph Explorer | Microsoft Graph Explorer, a browser-based tool that lets you run a query from Microsoft Graph data. | |
| Developer Portal for Teams | Web-based portal to configure, manage, and publish your Teams app including to your organization or the Microsoft Teams Store. |
Tip
If you work with Microsoft Graph data, you should learn about and bookmark the Microsoft Graph Explorer. This browser-based tool allows you to query Microsoft Graph outside of an app.
Prepare development environment
After you install the required tools, set up the development environment.
Install Microsoft 365 Agents Toolkit
Microsoft 365 Agents Toolkit (previously known as Teams Toolkit) helps simplify the development process with tools to provision and deploy cloud resources for your app and publish to the Teams Store.
You can use Agents Toolkit with Visual Studio Code or a command-line interface called Microsoft 365 Agents Toolkit CLI (previously known as TeamsFx CLI).
Open Visual Studio Code and select Extensions (Ctrl+Shift+X or View > Extensions).
In the search box, enter Microsoft 365 Agents Toolkit.
Select Install.
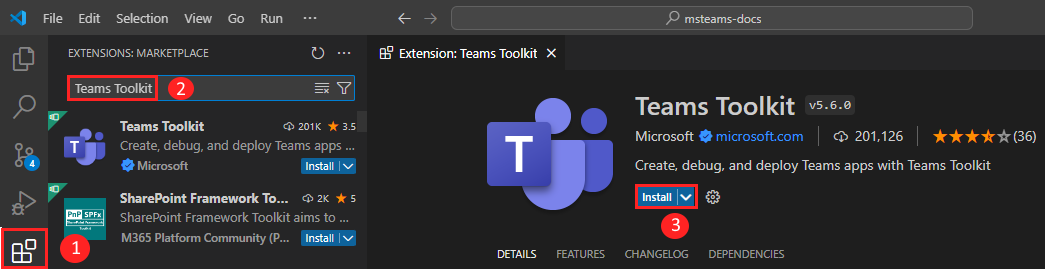
The Microsoft 365 Agents Toolkit
 icon appears in the Visual Studio Code Activity Bar.
You can also install Agents Toolkit from the Visual Studio Code Marketplace.
Set up your Teams development tenant
A tenant is a space or a container for your organization in Teams, where you chat, share files, and run meetings. This space is also where you upload and test your app. Let's verify if you're ready to develop with the tenant.
Check for upload an app option
After creating your custom app, you must upload your app to Teams with the Upload a custom app option. Sign in to your Microsoft 365 account to check if this option is enabled.
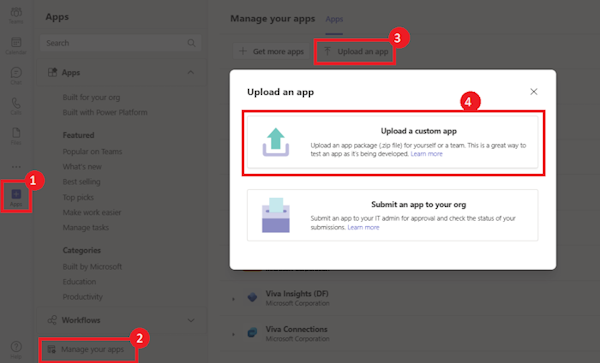
The following steps help you verify if you can upload apps in Teams:
In the Teams client, select the Apps icon.
Select Manage your apps.
Select Upload an app.
Look for the option to Upload a custom app. If the option is visible, you can upload custom apps.
Note
If you don't find the option to upload a custom app, contact your Teams administrator.
Create a free Teams developer tenant (optional)
If you don't have a Teams developer account, join the Microsoft 365 developer program.
Go to the Microsoft 365 developer program.
Select Join Now and follow the onscreen instructions.
In the welcome screen, select Set up E5 subscription.
Set up your administrator account. After you finish, the following screen appears:
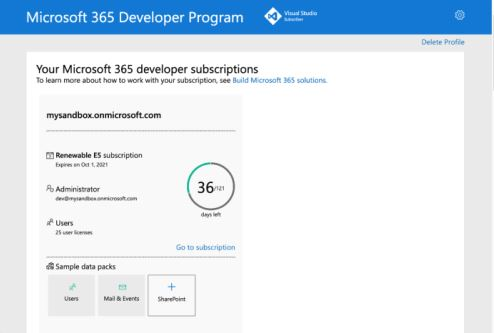
Sign in to Teams using the administrator account you just set up. Verify that you have the Upload a custom app option in Teams.
Get a free Azure account
If you want to host your app or access resources in Azure, you must have an Azure subscription. Create a free account before you begin.
Now you've got all the tools to set up your account. Next, let's set up your development environment and start building! Select the app you want to create first.
Create project workspace for your tab app
Start Microsoft Teams app development by creating your first app. This app uses the tab capability.

Create your tab project workspace
If the prerequisites are in place, let's begin!
Note
The Visual Studio Code UI shown is from Mac. Agents Toolkit version and environment might differ based on your operating system.
Open Visual Studio Code.
Select the Microsoft 365 Agents Toolkit
 icon in the Visual Studio Code Activity Bar.
Select Create a New Agent/App > Teams App.
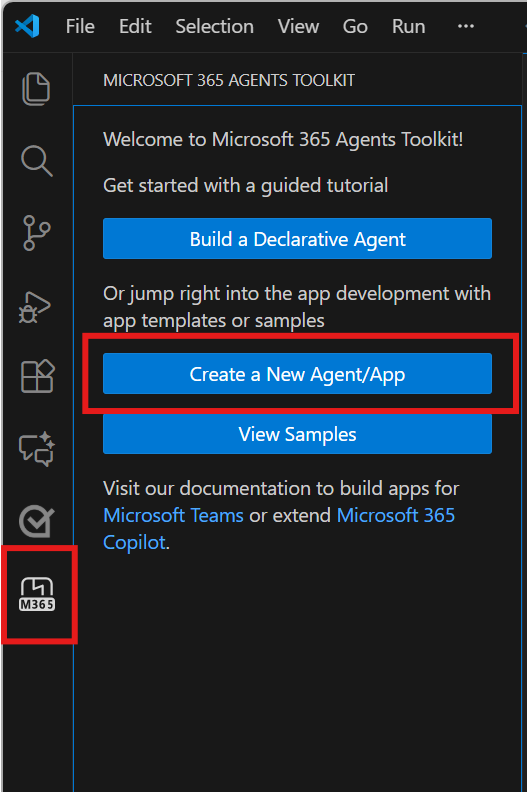
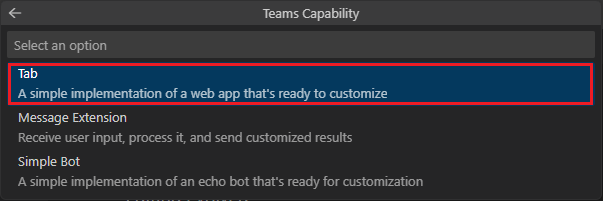
Select Other Teams Capabilities

In this example, select Tab as app capability.
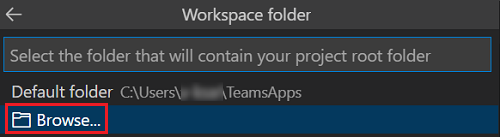
Select Default folder to store your project root folder in default location.

Follow the steps to change the default location:
Select Browse.
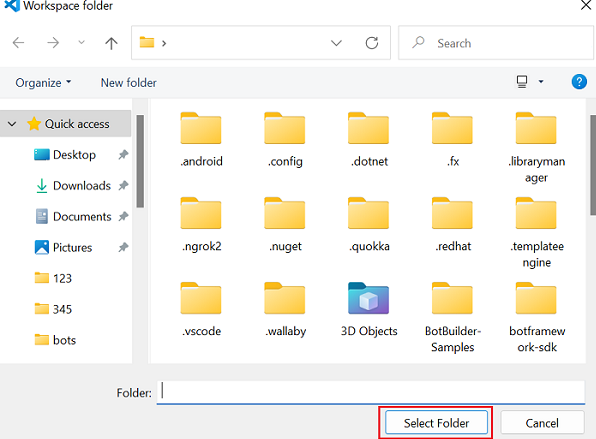
Select the location for project workspace.
Select the Select folder.
Enter a suitable name for your app and then select Enter.

The Teams tab app is created in few seconds.
After your app is created, Agents Toolkit displays the following message:
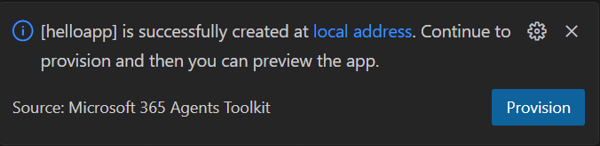
You can select Local debug to preview your project.
A quick recap of creating a Teams app.
Watch this short recap for creating a Teams app.
Take a tour of the tab app source code
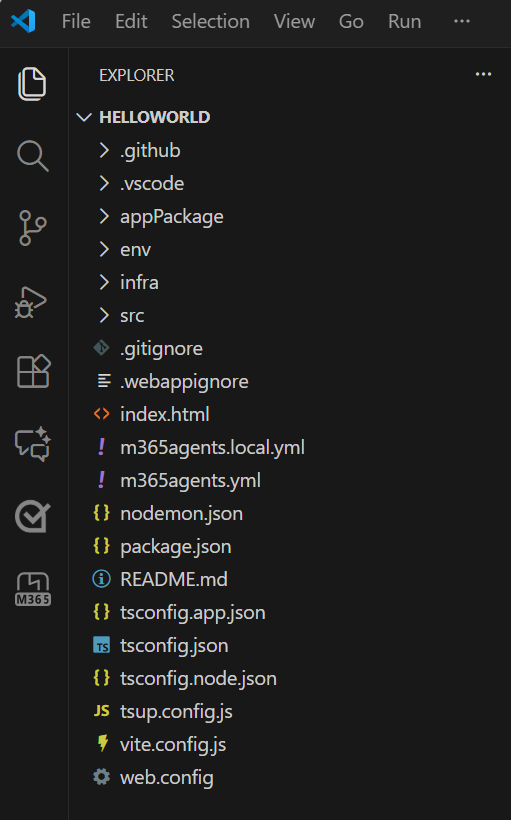
Agents Toolkit provides all components for building an app. After creating the project, you can view the project folders and files in the EXPLORER in the Visual Studio Code.
Although you're free to choose any UI framework (or not to use any), this sample template code provides a scaffolding with React components.
Among other items in this directory structure, the Toolkit maintains:
| Folder | Contents |
|---|---|
.vscode |
VSCode files for debugging |
appPackage |
Templates for the application manifest |
env |
Environment files |
infra |
Templates for provisioning Azure resources |
src |
The source code for the application |
The following files can be customized and demonstrate an example implementation to get you started.
| File | Contents |
|---|---|
index.html |
HTML file. |
src/Tab/App.css |
CSS file for the app. |
src/Tab/App.tsx |
Tab source file. It calls teamsjs SDK to get the context of on which Microsoft 365 application your app is running. |
src/index.ts |
Starting the app using Microsoft Teams SDK. |
vite.config.js |
Configuration for Vite build tool. |
nodemon.json |
Configuration for Nodemon to watch and restart the server. |
The following are Microsoft 365 Agents Toolkit specific project files. You can visit a complete guide on Github to understand how Microsoft 365 Agents Toolkit works.
| File | Contents |
|---|---|
m365agents.yml |
This is the main Microsoft 365 Agents Toolkit project file. The project file defines two primary things: Properties and configuration Stage definitions. |
m365agents.local.yml |
This overrides m365agents.yml with actions that enable local execution and debugging. |
Build and run your first tab app
After you set up your project workspace with Agents Toolkit, build your tab project. You need to sign in to your Microsoft 365 account.
Sign in to your Microsoft 365 account
Use your Microsoft 365 account to sign in to Teams. If you're using a Microsoft 365 developer program tenant, the admin account you set up while registering is your Microsoft 365 account.
- Open Visual Studio Code.
- Select the Microsoft 365 Agents Toolkit
icon in the sidebar.
- Select Sign in to M365 using your credentials. Your default web browser opens to let you sign in to the account.
- Close the browser when prompted and return to Visual Studio Code.
- Return to Agents Toolkit within Visual Studio Code.
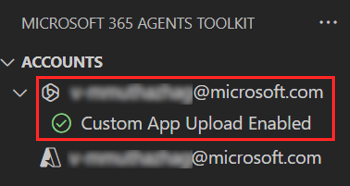
The ACCOUNTS section of the sidebar shows your Microsoft 365 account name. If custom app upload is enabled for your Microsoft 365 account, Agents Toolkit displays Custom App Upload Enabled.
Now you're ready to build the app and run it in the local environment!
Build and run your app locally in Visual Studio Code
To build and run your app locally:
From Visual Studio Code, select F5 to run the application in debug mode.
Learn what happens when you run your app locally in the debugger.
In case you're wondering, when you press the F5 key, Agents Toolkit:
- Checks for the following prerequisites:
- You're logged in with a Microsoft 365 account.
- Custom app upload is enabled for your Microsoft 365 account.
- Supported Node.js version is installed.
- Development certificate for localhost is installed.
- Port is available for the tab app.
Note
If Agents Toolkit is unable to check a particular prerequisite, it prompts you to check.
- Installs NPM packages.
- Registers the app with Microsoft Entra ID and configures the app.
- Registers the app in Teams Developer Portal and configures the app.
- Starts the tab app.
- Starts Teams in a web browser and uploads the tab app.

Note
When you run the app for the first time, all dependencies are downloaded, and the app is built. A browser window opens when the build is complete. This process can take 3-5 minutes to complete.
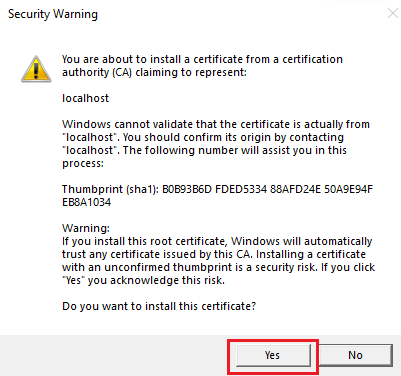
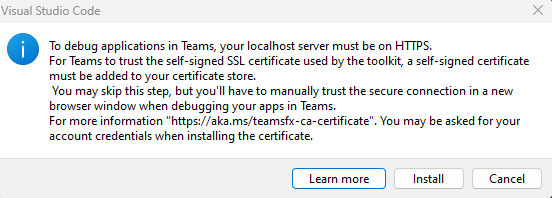
The toolkit prompts you to install a local certificate, if necessary. This certificate allows Teams to load your application from https://localhost.
Select Yes if the following dialog appears:
Or select Continue, depending on your operating system:
Teams web client opens in a browser window.
Note
If the toolkit doesn't prompt you to install a certificate, you must install the certificate manually. For more information, see Add manual certificate.
- Sign in with your Microsoft 365 account, if prompted.
- Select Add when prompted to upload the custom app onto Teams on your local machine.
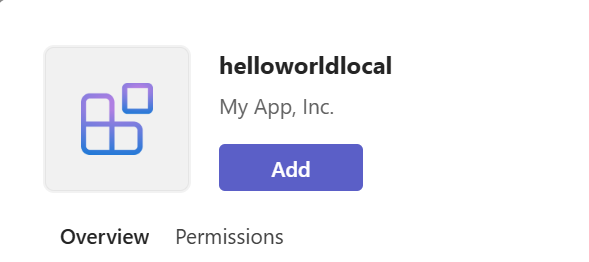
- Congratulations, your first app is running on Teams!
Note
If you want to extend your app to Outlook and Microsoft 365, you can choose to debug your app with Outlook and Microsoft 365 from RUN AND DEBUG dropdown in Visual Studio Code.
You can add SSO feature to retrieve the user details. You can do normal debugging activities, such as setting breakpoints, as if it were any other web application. The app supports hot reloading. If you change any file within the project, the page reloads.
Learn how to troubleshoot if your app doesn't run locally.
To successfully run your app in Teams, ensure that you've enabled custom app upload in your Teams account. You can learn more about custom app upload in the prerequisites section.
Deploy your first Teams app
You've learned to create, build, and run Teams app with Tab app. The final step is to deploy your app on Azure.
Let's deploy the first app with Tab capability on Azure using Agents Toolkit.
Sign in to your Azure account
Use this account to access the Microsoft Azure portal and to provision new cloud resources to support your app.
- Open Visual Studio Code.
- Open the project folder in which you created the tab app.
- Select the Microsoft 365 Agents Toolkit
icon in the sidebar.
- Select Sign in to Azure using your credentials.
Tip
If you have the AZURE ACCOUNT extension installed and are using the same account, you can skip this step. Use the same account as you're using in other extensions.
Your default web browser opens to let you sign in to the account.
- Close the browser when prompted and return to Visual Studio Code.
The ACCOUNTS section of the sidebar shows the two accounts separately. It also lists the number of usable Azure subscriptions available to you. Ensure you have at least one usable Azure subscription available. If not, sign out and use a different account.
Congratulations, you've created a Teams app! Now let's go ahead and learn how to deploy one of the apps to Azure using Agents Toolkit.
Deploy your app to Azure
Deployment consists of two steps. First, necessary cloud resources are created (also known as provisioning). Then, your app's code is copied into the created cloud resources. For this tutorial, you'll deploy the tab app.
What's the difference between Provision and Deploy?
The Provision step creates resources in Azure and Microsoft 365 for your app, but no code (HTML, CSS, JavaScript, etc.) is copied to the resources. The Deploy step copies the code for your app to the resources you created during the provision step. It's common to deploy multiple times without provisioning new resources. Since the provision step can take some time to complete, it's separate from the deployment step.
Select the Microsoft 365 Agents Toolkit ![]() icon in the Visual Studio Code sidebar.
icon in the Visual Studio Code sidebar.
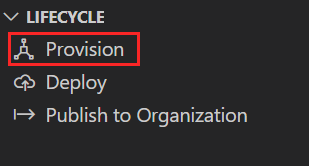
Select Provision.
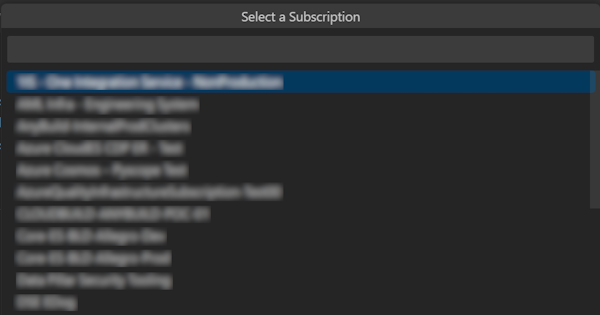
Select anyone of the existing subscription.
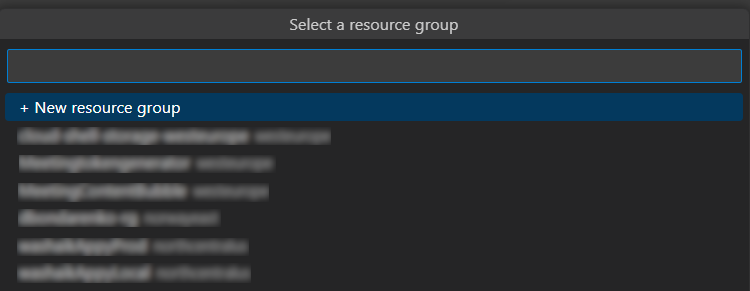
Select a resource group to use for the Azure resources.
Note
- Your app is hosted using Azure resources.
- For more information, see Create resource group.
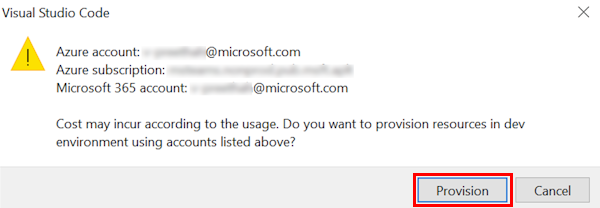
A dialog warns you that costs may be incurred when running resources in Azure.
Select Provision.
The provisioning process creates resources in the Azure cloud. It may take some time. You can monitor the progress by watching the dialogs in the bottom-right corner. After a few minutes, you see the following notice:

If you want, you can view the provisioned resources. For this tutorial, you don't need to view resources.
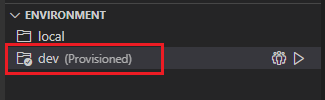
The provisioned resource appears in the ENVIRONMENT section.
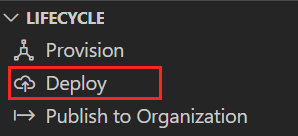
Select Deploy from the LIFECYCLE panel after provisioning is complete.
As with provisioning, deployment takes some time. You can monitor the process by watching the dialogs in the bottom-right corner. After a few minutes, you see a completion notice.
Now, you can use the same process to deploy your Bot and Message Extension apps to Azure.
Note
Your app is hosted using Azure resources.
Run the deployed app
Once the provisioning and deployment steps are complete:
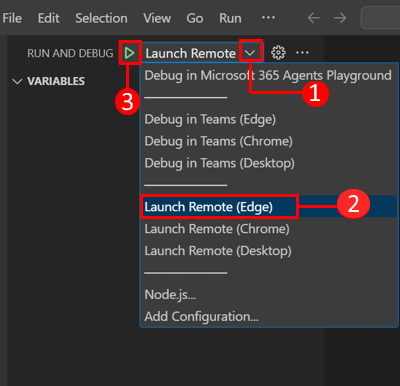
Open the debug panel (Ctrl+Shift+D / ⌘⇧-D or View > Run) from Visual Studio Code.
Select Launch Remote (Edge) from the launch configuration dropdown.
Select the Start debugging (F5) to launch your app from Azure.
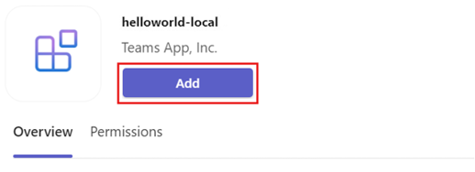
Select Add when prompted to upload the app onto Teams.
Congratulations, your first tab app is running in your Azure environment!
Learn what happens when you deployed your app to Azure
Before deployment, the application has been running locally:
- The backend runs using Azure Functions Core Tools.
- The application HTTP endpoint, where Microsoft Teams loads the application, runs locally.
Deployment is a two-step process. You provision the resources on an active Azure subscription, and then deploy or upload the backend and frontend code for the application to Azure.
- The backend, if configured, uses various Azure services, including Azure App Service and Azure Storage.
- The frontend application is deployed to an Azure Storage account configured for static web hosting.
Congratulations
You've done it!
You've created a tab app.
Now that you've learned to create a basic app, you can move on to creating more complex apps. Follow the procedures to build and deploy the app, and your app has multiple capabilities.
You've completed the tutorial to build tab app with JavaScript.
Collaborate with us on GitHub
The source for this content can be found on GitHub, where you can also create and review issues and pull requests. For more information, see our contributor guide.
Platform Docs