Explore Teams Toolkit
You can explore the look and feel of Microsoft Teams Toolkit within the Microsoft Visual Studio Code.
This section gives you a tour of Teams Toolkit and its features.
Take a tour of Teams Toolkit
Teams Toolkit appears within Visual Studio Code as an extension. After you install Teams Toolkit, it opens within the Visual Studio Code window.

| Serial No. | UI Elements | Definition |
|---|---|---|
| 1 | Documentation | Access the Microsoft Teams Developer documentation. |
| 2 | How-to Guides | Access the how-to guides for app scenario and app development. |
| 3 | Create a New App | Create a new Teams app based on your requirement. |
| 4 | View Samples | Select and build existing app samples based on common use cases for a Teams app. |
| 5 | • New File • Open File • Open Folder • Clone Git Repository |
• Create a new file. • Open an existing file. • Open an existing folder. • Clone a Git repository of your app project. |
| 6 | Recent | View the recent files. |
| 7 | Get Started | Explore Teams Toolkit and get an overview of the fundamentals. |
Explore the Teams Toolkit task pane
You can explore the available functionalities from the Teams Toolkit task pane. The task pane appears only after you create an app project using Teams Toolkit. The following video helps you to learn about the process of creating a new Teams app:
After you create a new Teams app project, the directory structure of the app appears in the left pane and the README file in the right pane.

Let's take a tour of Teams Toolkit.
In Visual Studio Code activity bar, the following icons are relevant to Teams Toolkit:
| Select | To... |
|---|---|
| Explorer |
View the directory structure of the app. |
| Run and Debug |
Start the local or remote debug process. |
| Teams Toolkit |
View the task pane in the Teams Toolkit. |
From the task pane, you can see the following sections:
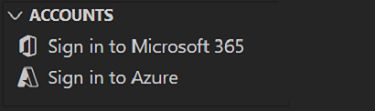
To develop a Teams app, you need the following accounts:
Sign in to Microsoft 365: Use your Microsoft 365 work or school account with a valid E5 subscription for building your app. If you don't have a valid account, you can join Microsoft 365 developer program to get a free account before you start.
Sign in to Azure: Use your Azure account for deploying your app on Azure. You can create a free Azure account before you start.
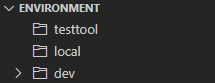
To deploy your Teams app, you need the following environments:
testtool: Deploy your app in the testool environment with testtool environment configurations.
local: Deploy your app in the default local environment with local environment configurations.
dev: Deploy your app in the default dev environment with remote or cloud environment configurations.
You can create more environments, such as production or test, as you need.
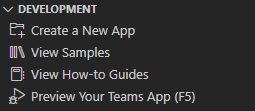
To create and debug your Teams app, you need the following features:
Create a New App: Use the Teams Toolkit wizard to prepare project scaffolding for app development.
View Samples: Select any of the Teams Toolkit's sample apps. The toolkit downloads the app code from GitHub and you can build the sample app.
View How-to Guides: Select to view Teams app scenario guides and development guides.
Preview Your Teams App (F5): Select to view the Teams app debug options.
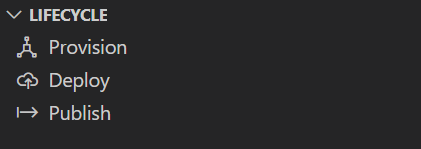
To provision, deploy, and publish your Teams app, you need the following features:
Provision: Allocate Azure resources for your application. Teams Toolkit is integrated with Azure Resource Manager, and it registers your app with Microsoft Entra ID automatically.
Deploy: Deploy the source code to Azure.
Publish: Publish your developed app and distribute it to scopes, such as personal, team, channel, or organization.
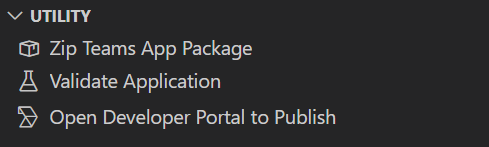
To create an app package, validate an app, and publish in Developer Portal, you need the following features:
Zip Teams App Package: Create the app package that can be uploaded to Teams or Developer Portal. It contains the app manifest (previously called Teams app manifest) and app icons.
Validate Application: Validate if the app manifest file is in right schema or validate the app package.
Open Developer Portal to Publish: Use Developer Portal to publish and manage your Teams app.
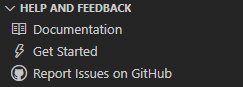
To access more information and provide us, your feedback on Teams Toolkit, select any one of the following:
Documentation: Select to access the Microsoft Teams Developer documentation.
Get Started: View Teams Toolkit Get started help within Visual Studio Code.
Report Issues on GitHub: Select to access GitHub page and raise any issues.
To view how-to guides
Select View How-to Guides from the Teams Toolkit task pane under DEVELOPMENT section.
The View How-to Guides menu appears.
Select the type of how-to guide that you want to view.
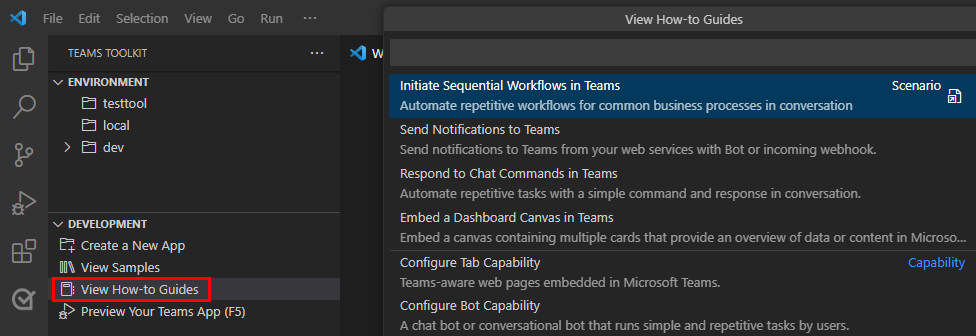
- Select any one of the Teams app scenario guides to view the guide to develop an app for a common app scenario, such as sending notifications using a bot.
- Select any one of the Teams app development guides to view a guide that helps in app development, such as embedding a dashboard tab in a Teams app.

See also
Platform Docs