Scan Microsoft 365
This article describes how to scan Microsoft 365 subscriptions in Movere.
Movere can extract a list of Microsoft 365 users, subscriptions assigned to users, and the date of the last sign-on and password reset. For accounts synchronized to Microsoft 365 from on-premises Active Directory, Movere overlays key elements like the state and last activity date from Active Directory, to help identify:
- Subscriptions that aren't in use.
- Subscriptions assigned to expired accounts.
- Accounts created outside of the on-premises Active Directory.
- Accounts that don't require a password reset.
- Accounts that haven't reset their password for some time.
Before you begin
Verify you have the correct permissions. Microsoft 365 scans can only be performed using an active account with Global Reader privileges, and an active Microsoft 365 license assigned to the Global reader account.
Enable PowerShell Query for the Global Reader account.
Uninstall the following modules from Control Panel > Programs and Features, if installed.
- Azure Active Directory module for Windows Powershell
- Microsoft Online Services Sign-In Assistant The console machine might require a restart after the uninstall is complete.
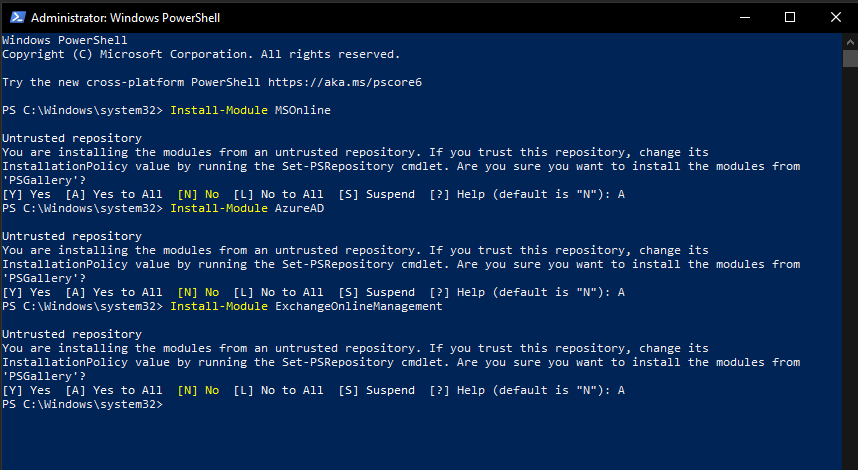
Open elevated PowerShell and follow the steps below, Users need to confirm with [A] Yes to All, for proper installation.
- Run Command : Set-ExecutionPolicy RemoteSigned
- Run Command : Install-Module MSOnline
Note
If you are installing a PowerShell Module for the first time, then you will be prompted to install Nuget Provider. Respond [Y] Yes to install the required module.
- Run Command : Install-Module AzureAD
- Run Command : Install-Module ExchangeOnlineManagement.
On the Movere Console machine, check there aren't any Windows Rights Management (WinRM) settings or Group Policy settings that can block remote connections.
Check the ports used for scanning Windows
Note
DO NOT USE -Scope CurrentUser parameter, as it may result in insuffifient permissions for connecting to remote powershell.
Users need to ensure that the powershell modules are saved in C:\Program Files\WindowsPowerShell\Modules by default.
Scan from the Console
Scan Microsoft 365 from the Movere Console.
In the Movere console > Getting Started, select First scan, and Microsoft365 Subscriptions. Then click Next.
In Microsoft 365, click Add, and enter the account used to scan the target Microsoft 365 subscriptions.
- Specify the administrator account name to login as used when signing into the Microsoft 365 portal.
- If you are scanning multiple Microsoft 365 tenants, enter the specific credentials for a tenant.
In Uploading Scans, select whether you want to automatically upload scans to the Movere portal, and whether you want to upload scans directly from scanned devices. Learn more about data upload options.
In Initiate Scan, click Scan to beginning scanning Microsoft 365.
Track progress in the progress window.
- Actions performed during the scan are logged in the Log.service files in the Movere Console/Logs folder.
- To stop the scan manually, click Stop.
- When the Windows scan completes, the Movere console will automatically refresh itself to initiate scan window.
Scan from the command line
You can scan Microsoft 365 from the command line, as follows:
In the Movere console > Getting Started, select First scan.
Select Microsoft 365 Subscriptions. Then click Next.
In Uploading Scans, select how you want to update scanned data to Movere.
Close the Movere Console.
Open an elevated command prompt.
Navigate to the Movere Console folder. For example: C:\Movere\Console.
Run a scan as follows. Learn about command line options.
Movere.service.exe -o365 -upload -startlistener- To disable automatic uploading, remove the
-uploadflag from the command line argument.
Next steps
Learn about scanning in Movere.