How to export contacts from Outlook 2011 for Mac to Exchange Online by using OWA in Microsoft 365
Original KB number: 2648667
Summary
This step-by-step article describes how to export contacts from Microsoft Outlook 2011 for Mac to Microsoft Exchange Online by using Microsoft Outlook Web App in a Microsoft 365 environment.
Symptoms
A user sets up a profile in Outlook 2011 for Mac to connect to their Exchange Online mailbox in Microsoft 365. However, external contacts aren't synced with Exchange Online. This occurs because external contacts must be exported from Outlook 2011 for Mac and then imported to Outlook Web App. However, the existing method to export contacts from Outlook 2011 for Mac is to use a text-delimited file, and this file type isn't supported in Microsoft 365.
Resolution
To export contacts from Outlook 2011 for Mac to Exchange Online by using Outlook Web App, follow these steps.
Step 1 - Export the contacts from Outlook 2011 for Mac
In Outlook 2011 for Mac, on the File menu, select Export.
In the Export Assistant, select Contacts to a list (tab-delimited text), and then select the right arrow button.
.png)
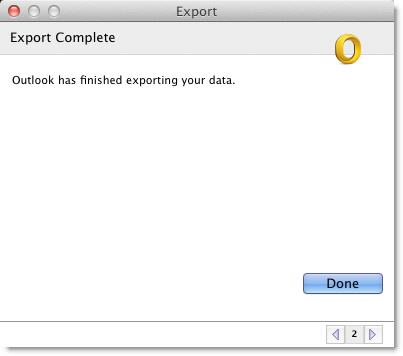
Select Done to finish.

Note
- Tab-delimited files are saved with a .txt extension.
- Contacts that are already associated with a Microsoft Exchange Server account or a directory services account aren't exported.
Step 2 - Open the contacts by using Excel 2011 for Mac
- In Excel 2011 for Mac, on the File menu, select Open, and then select the .txt file that you created in step 1.
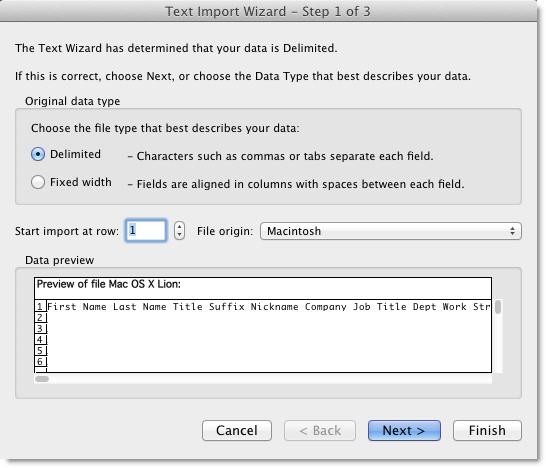
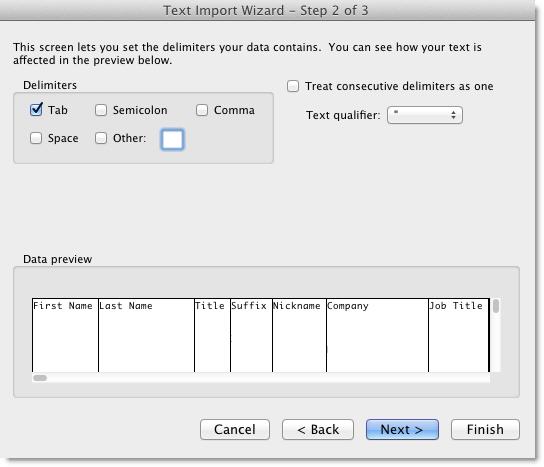
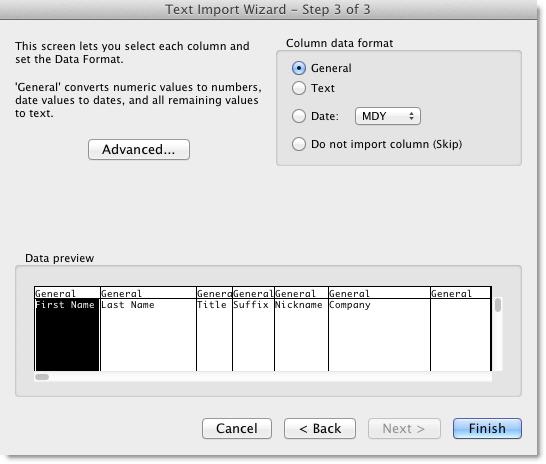
- In the Text Import Wizard, follow these steps. Be aware that in these next three steps, the default settings are used.
Select Delimited as the file type, and then select Next.

Under Delimiter, select the Tab check box, and then select Next.

Under Column data format, select General, and then select Finish.

Step 3 - Export the contacts to a .csv file by using Excel 2011 for Mac
In Excel 2011 for Mac, on the File menu, select Save As.
In the Save As box, type a name for the file.
On the Format pop-up menu, select MS-DOS Comma Separated (.csv), and then select Save.
A dialog box appears that contains the following message:
This workbook contains features that will not work or may be removed if you save it in the selected file format. Do you want to continue?
Select Continue.
Step 4 - Import the contacts to Outlook Web App
- In Outlook Web App, on the Options menu, select See All Options.
- On the right side, under Shortcuts to other things you can do, select Import your contacts from an existing e-mail account.
- Browse to the .csv file that you created in step 3, and then select Next.
- When you are finished, the contacts are displayed in the Contacts folder in Outlook Web App.
References
For more information about how to import contacts, visit the following Microsoft website:
Still need help? Go to Microsoft Community.