Note
Access to this page requires authorization. You can try signing in or changing directories.
Access to this page requires authorization. You can try changing directories.
This article explains how you can access payout data through the Payout Service APIs instead of the Partner Center UI. These APIs provide a programmatic way to provide the capability of the Export data feature in Partner Center.
Important
Azure Active Directory (Azure AD) Graph is deprecated as of June 30, 2023. Going forward, we're making no further investments in Azure AD Graph. Azure AD Graph APIs have no SLA or maintenance commitment beyond security-related fixes. Investments in new features and functionalities will only be made in Microsoft Graph.
We'll retire Azure AD Graph in incremental steps so that you have sufficient time to migrate your applications to Microsoft Graph APIs. At a later date that we will announce, we will block the creation of any new applications using Azure AD Graph.
To learn more, see Important: Azure AD Graph Retirement and Powershell Module Deprecation.
Available APIs
See all available APIs at Partner Payouts.
Prerequisites
- Register an application with Microsoft Identity in the Azure portal, and add appropriate owners and roles to the application.
- Install Visual Studio.
Register an application with the Microsoft identity platform
The Microsoft identity platform helps you build applications your users and customers can sign in to using their Microsoft identities or social accounts, and provide authorized access to your own APIs or Microsoft APIs like Microsoft Graph.
Sign in to the Azure portal using either a work or school account or a personal Microsoft account.
If your account gives you access to more than one tenant, select your account in the upper right corner and set your portal session to the correct Microsoft Entra tenant.
In the left navigation pane, select the Microsoft Entra service, then App registrations, then New registration. The Register an application page appears.
Enter your application's registration information:
- Name: Enter a meaningful application name that will be displayed to users of the app.
- Supported account types: Select which accounts your application will support.
Supported account types Description Only accounts in this organizational directory Select this option if you're building a line-of-business (LOB) application. This option isn't available if you're not registering the application in a directory. This option maps to Microsoft Entra-only single-tenant. This option is the default unless you're registering the app outside of a directory. In cases where the app is registered outside of a directory, the default is Microsoft Entra multitenant and personal Microsoft accounts. Accounts in any organizational directory Select this option if you would like to target all business and educational customers. This option maps to a Microsoft Entra-only multitenant. If you registered the app as Microsoft Entra-only single-tenant, you can update it to be Microsoft Entra multitenant and back to single-tenant through the Authentication blade. Accounts in any organizational directory and personal Microsoft accounts Select this option to target the widest set of customers. This option maps to Microsoft Entra multitenant and personal Microsoft accounts. If you registered the app as Microsoft Entra multitenant and personal Microsoft accounts, you can't change this selection in the UI. Instead, you must use the application manifest editor to change the supported account types. (optional) Redirect URI: Select the type of app you're building, Web or Public client (mobile & desktop), and then enter the redirect URI (or reply URL) for your application. (The redirect URL is where the authentication response will be sent after the user authenticates.)
For web applications, provide the base URL of your app. For example,
http://localhost:31544might be the URL for a web app running on your local machine. Users would use this URL to sign in to a web client application. For public client applications, provide the URI used by Microsoft Entra ID to return token responses. Enter a value specific to your application, such asmyapp://auth.
Select Register. Microsoft Entra ID assigns a unique application (client) ID to your application, and the application's overview page loads.
If you want to add capabilities to your application, you can select other configuration options including branding, certificates and secrets, API permissions, and more.
Create a service principal
To access resources in your subscription, you must assign a role to the application. For help deciding which role offers the right permissions for the application, see Azure built-in roles.
Note
You can set the scope at the level of the subscription, resource group, or resource. Permissions are inherited to lower levels of scope. For example, adding an application to the Reader role for a resource group means it can read the resource group and any resources it contains.
In the Azure portal, select the level of scope to assign the application to. For example, to assign a role at the subscription scope, search for and select Subscriptions, or select Subscriptions on the home page.
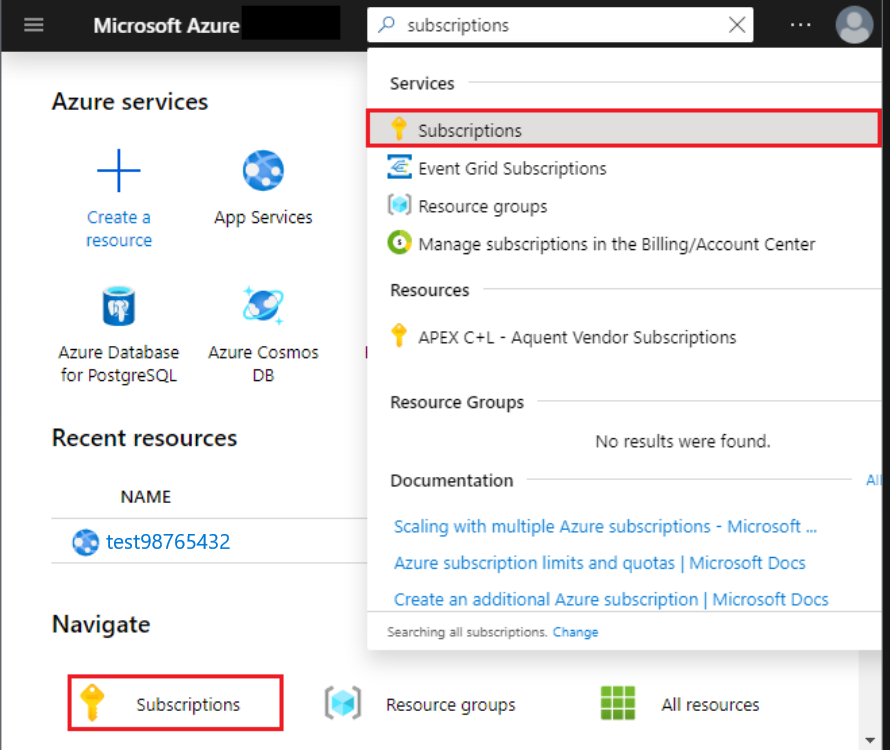
Select the subscription to assign the application to.
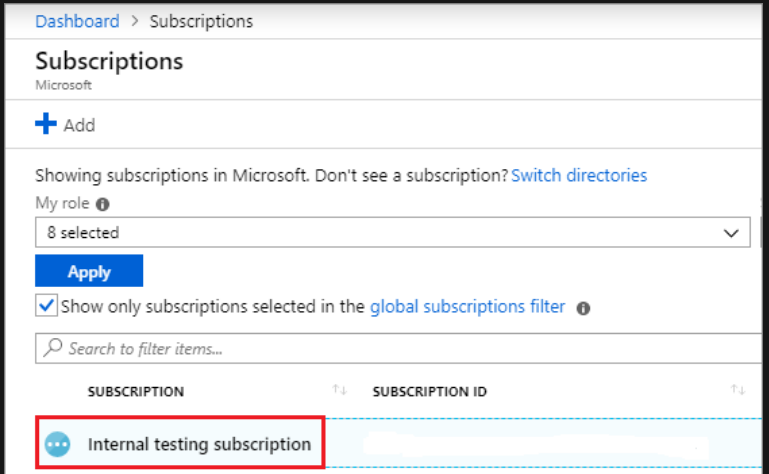
Note
If you don't see the subscription you're looking for, select the global subscriptions filter and ensure the subscription you want is selected for the portal.
Select Access control (IAM), and then select Add role assignment.
Select the role you wish to assign to the application. For example, to allow the application to execute actions like reboot, start and stop instances, select the Contributor role. Read more about available roles.
By default, Microsoft Entra applications aren't displayed in the available options. To find your application, search on the name and select it from the results. In the below screenshot,
example-appis the Microsoft Entra app you registered.Select Save. You can then see your application in the list of users with a role for that scope.
You can start using your service principal to run your scripts or apps. To manage your service principal's permissions, see user consent status, review permissions, see sign-in information, and more), view your Enterprise applications in the Azure portal.
Set up API permissions
This section provides instruction on how to set up the required API permissions. For more information about setting up Partner Center API permissions, see Partner API authentication.
Grant permission to Graph API
Open the App registrations in the Azure portal.
Select an application, or create an app if you don't already have one.
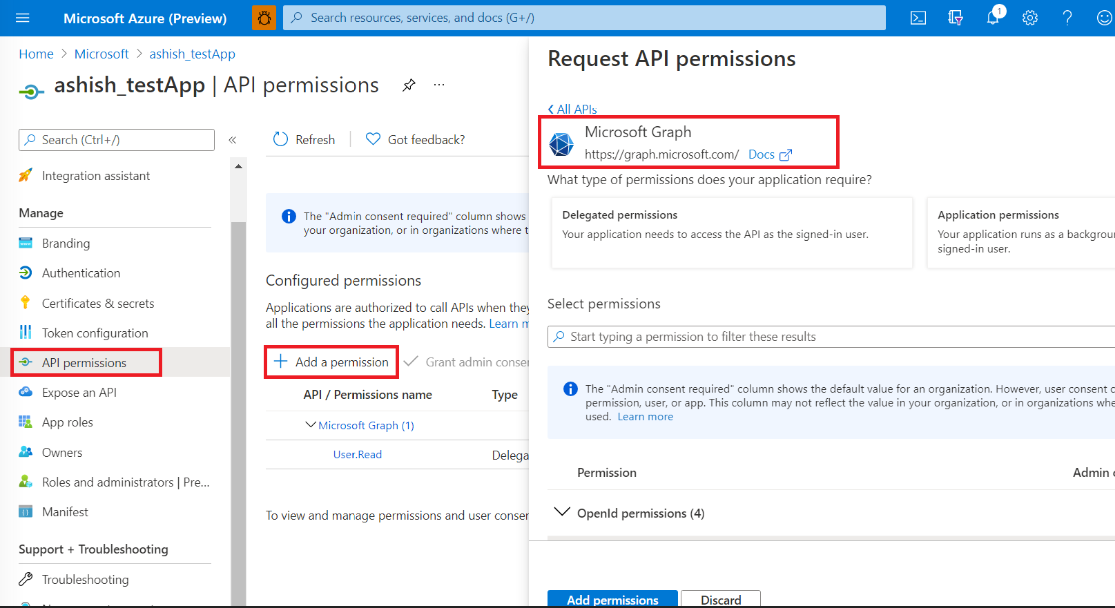
On the application's Overview page, under Manage, select API Permissions, then Add a permission.
Select Microsoft Graph from the list of available APIs.
Select Delegated permissions and add required permissions. For more information, see Configure app access.
Consent to API access to Partner Center API via Microsoft Entra app
For your application, select API permissions, then, from the Request API permissions screen, select Add a permission, then APIs my organization uses.
Search for Microsoft Partner (Microsoft Dev Center) API (4990cffe-04e8-4e8b-808a-1175604b879f).

Set the Delegated Permissions to Partner Center.
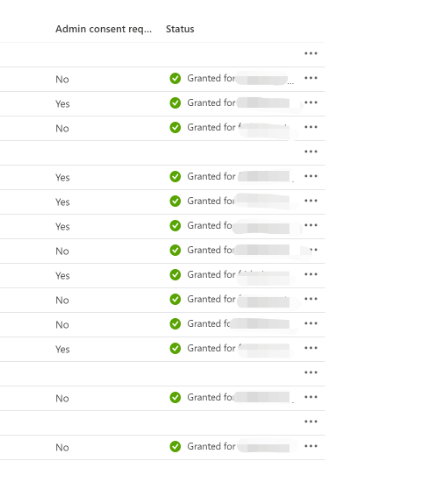
Grant Admin consent for the APIs.
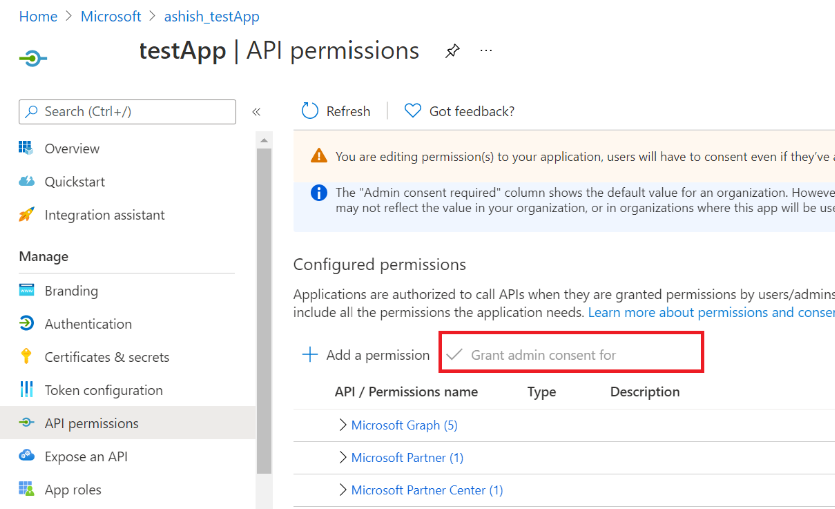
Verify that Admin consent is enabled in the Admin consent status screen.
In the Authentication section, make sure the Allow public client flows option is set to Yes.
Run the sample code in Visual Studio
Sample code showing how the API can be used for payment and transaction history be found in the Partner-Center-Payout-APIs GitHub repo.
Sample code notes
- Configuration of Client secrets and Certificates as discussed in the Authentication: Two options section of How to create a service principal in the Azure portal isn't required.
- Accounts with multifactor authentication (MFA) aren't currently supported and will cause an error.
- Payout API only supports user/password-based credentials.