Note
Access to this page requires authorization. You can try signing in or changing directories.
Access to this page requires authorization. You can try changing directories.
This article describes how to use Partner Center to submit a Power BI visual offer to Microsoft AppSource for others to discover and use.
Before you begin
Before you can publish a Power BI visual offer, you must have a commercial marketplace account in Partner Center and ensure your account is enrolled in the commercial marketplace program. See Create a commercial marketplace account in Partner Center and Verify your account information when you enroll in a new Partner Center program.
Review Plan a Power BI visual offer. It explains the technical requirements for this offer and lists the information and assets you need when you create it.
Create a new offer
Sign in to Partner Center.
On the Home page, select the Marketplace offers tile.
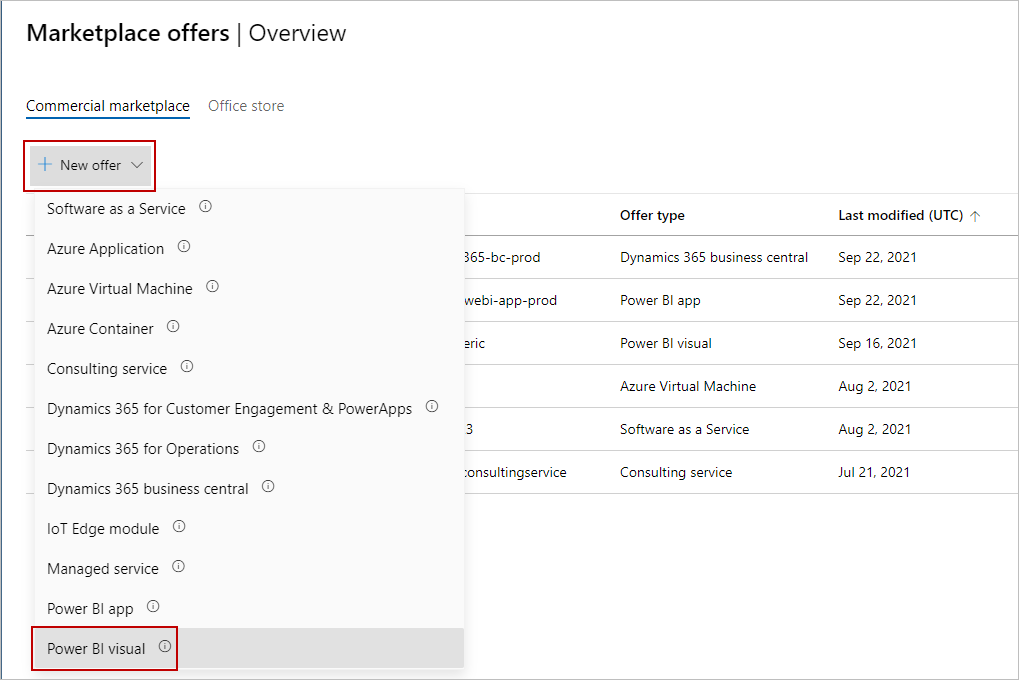
On the Marketplace offers page, select + New offer > Power BI visual.


Important
After an offer is published, any edits you make to it in Partner Center appear in AppSource only after you republish the offer. Be sure to always republish an offer after changing it.
New offer
Enter an Offer ID. This is a unique identifier for each offer in your account.
- This ID is visible to customers in the web address for the offer and in Azure Resource Manager templates, if applicable.
- Use only lowercase letters and numbers. The ID can include hyphens and underscores, but no spaces, and is limited to 50 characters. For example, if your Publisher ID is
testpublisheridand you enter test-offer-1, the offer web address will behttps://appsource.microsoft.com/product/dynamics-365/testpublisherid.test-offer-1. - The Offer ID can't be changed after you select Create.
- The Offer ID should be unique within the list of all other Power BI visual offers in Partner Center.
Enter an Offer alias. This is the name used for the offer in Partner Center.
- This name isn't used in AppSource. It is different from the offer name and other values shown to customers.
Associate the new offer with a publisher. A publisher represents an account for your organization. You might have a need to create the offer under a particular publisher. If you don't, you can simply accept the publisher account you're signed in to.
Note
The selected publisher must be enrolled in the Commercial Marketplace program and can't be modified after the offer is created.
Select Create to generate the offer. Partner Center opens the Offer setup page.
Setup details
On the Offer setup page, under Setup details select one of the radio buttons:
- Managing license and selling with Microsoft to enable your offer to be transactable in Microsoft AppSource and get license management. This is a one-time setting, and you can't change it after your offer is published.
Note
This capability is currently in Public Preview.
- My offer requires purchase of a service or offers additional in-app purchase to manage licenses and transactions independently.
- My offer does not require purchase of a service and does not offer in app purchases to provide a free offer.
- Managing license and selling with Microsoft to enable your offer to be transactable in Microsoft AppSource and get license management. This is a one-time setting, and you can't change it after your offer is published.
Under Power BI certification (optional), read the description carefully and if you want to request Power BI certification, select the check box. Certified Power BI visuals meet certain specified code requirements that the Microsoft Power BI team has tested and approved. We recommend that you submit and publish your Power BI visual before you request certification, because the certification process takes extra time that could delay publishing of your offer.
Customer leads
When a customer expresses interest or deploys your product, you'll receive a lead in the Referrals workspace in Partner Center.
You can also connect the product to your customer relationship management (CRM) system to handle leads there.
Note
Connecting to a CRM system is optional.
To connect your offer to your CRM:
In Partner Center, go to the Offer setup tab.
Under Customer leads, select the Connect link.
In the Connection details dialog box, select a lead destination.
Complete the fields that appear. For detailed steps, see the following articles:
- Configure your offer to send leads to the Azure table
- Configure your offer to send leads to Dynamics 365 Customer Engagement (formerly Dynamics CRM Online)
- Configure your offer to send leads to HTTPS endpoint
- Configure your offer to send leads to Marketo
- Configure your offer to send leads to Salesforce
To validate the configuration you provided, select the Validate link.
After you've configured and validated the connection details, select Connect.
For more information, see Customer leads from your commercial marketplace offer.
Select Save draft before continuing to the next tab in the left-nav menu: Properties.