Note
Access to this page requires authorization. You can try signing in or changing directories.
Access to this page requires authorization. You can try changing directories.
Power Pages website development involves several configurations and customizations to achieve a desired experience for website end users.
After you complete development or configuration of your website instance, you might want to migrate your latest website configuration from development to testing or the production environments.
Migration involves exporting the existing configuration from the source Microsoft Dataverse environment, and then importing it into the target Dataverse environment.
Prepare the target environment
Prepare the target environment if you're using the standard data model. An environment that uses the enhanced data model doesn't require these steps. You can proceed to transferring the website configuration.
Note
- Preparing the target environment is a one-time process. You need to provision a new website to install the managed Power Pages solutions on Dataverse and configure the Power Pages web application. This process also installs default website metadata which is replaced by the website metadata from your source environment.
- Ensure that the target environment's maximum attachment size is set to the same or greater size as your source environment.
- The Maximum file size setting in the system settings email tab in the environment system settings dialog box determines the maximum size of files.
- Note the difference between developer, trial, and production websites and developer, trial, sandbox, and production environments.
- You can migrate a trial, developer, or production website to another trial, developer, or production website on the same or another environment. You need to provision a production website on a sandbox or production environment.
Provision a new website in your target environment. Use the same website template that you used in your source environment. For example, if you provisioned a site by using the Dynamics 365 Customer Self-Service template in your source environment, provision the site by using the Dynamics 365 Customer Self-Service template in your target environment.
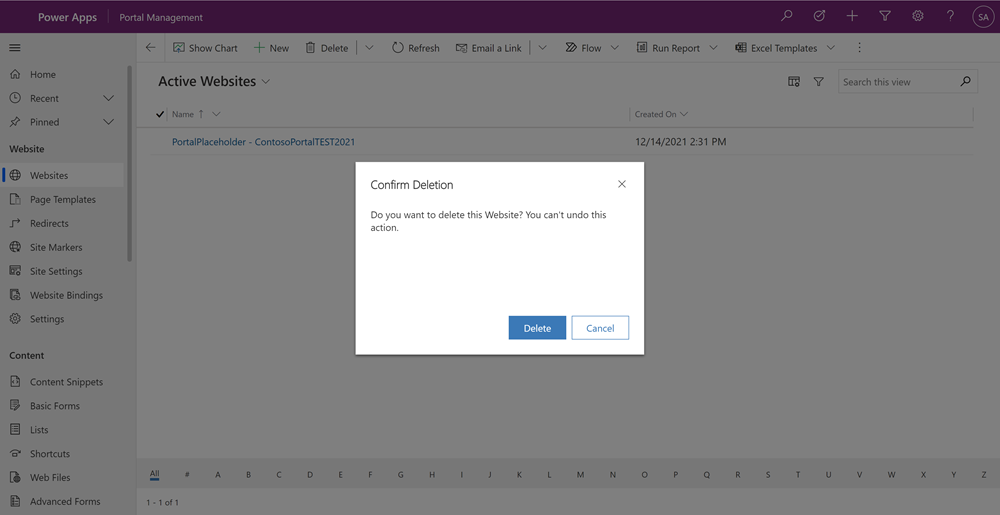
On the target environment, use the Portal Management app to delete the newly created website record. This action removes the default website configuration data from the target environment.
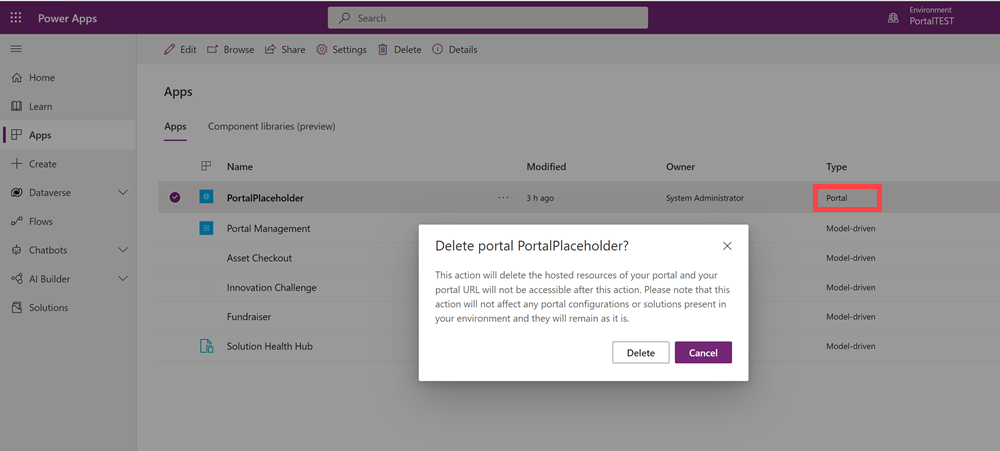
On the target environment, in Power Apps, delete the portal app. This action removes the website currently configured to render the default site.
Note
Don't delete the Portal Management app!
Transfer the website configuration to target environment
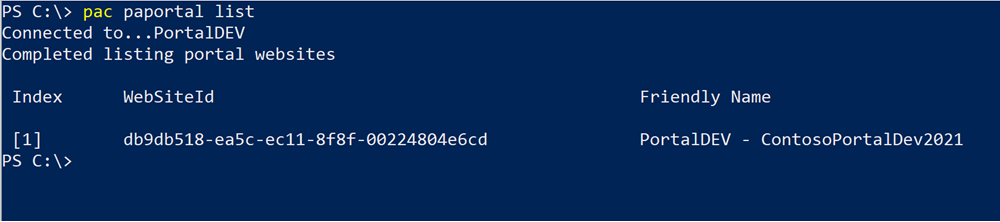
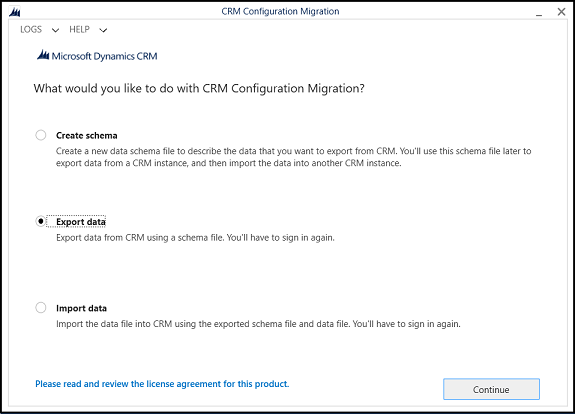
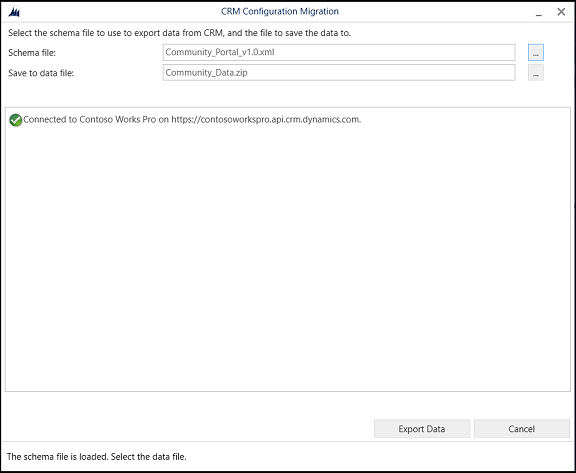
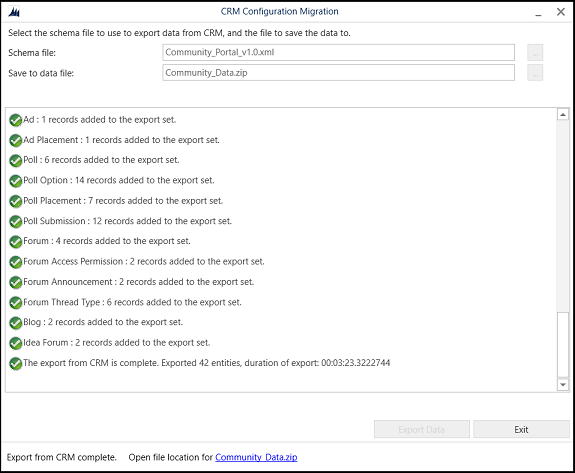
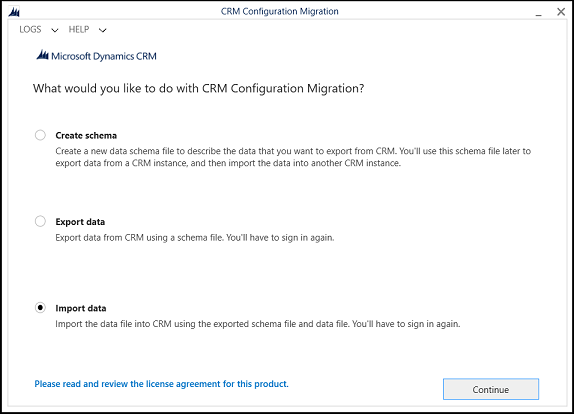
Transfer the site metadata from the source environment by using the Power Platform CLI, the Configuration Migration Tool, or solutions.
Reactivate site on target environment
After you transfer the website to the target environment, reactivate the website.
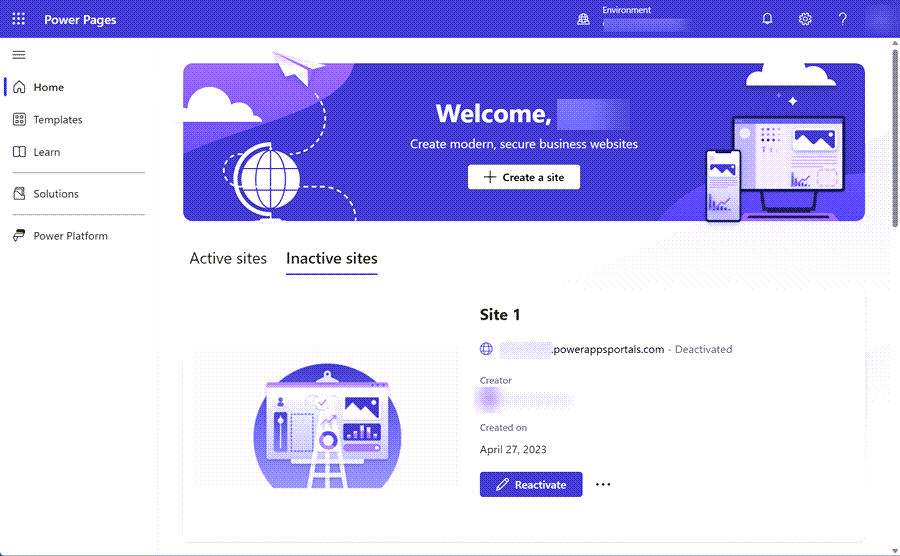
On the target environment, on the Power Pages home screen, select Inactive sites. You see the website you migrated to the environment.
Select Reactivate.
Enter the Reactivated website name and Create a web address or accept the default values.
Select Done.
The website updates from the source environment appear in this new target environment. Going forward, you can transfer configuration from your source to target environments by transferring the website configuration data.
Note
A website that appears in the Inactive sites list on the Power Pages home page also appears in the list of Active Websites in the Portal Management app.
Transfer website metadata
If you configure your website by using the enhanced data model, you can transfer the website configuration by using Power Platform solutions. For more information, see Using solutions with Power Pages.
Note
Make sure the target environment also has the enhanced data model enabled.

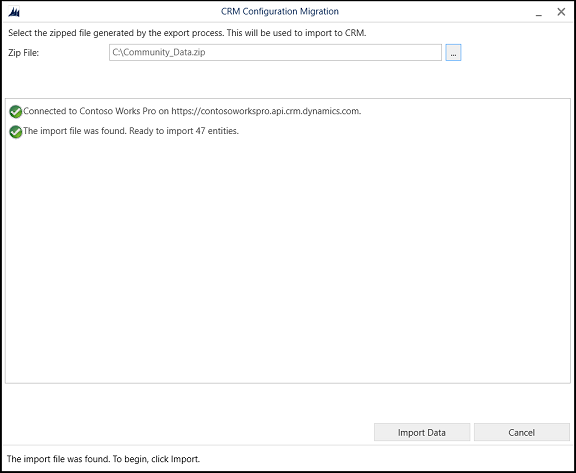
Create new website using migrated data
If the migration process updates an existing website, you see the updates in the target environment.
If the migration is for a new website, the migrated website appears in the Inactive sites tab on the Power Pages home page.
On the target environment, on the Power Pages home screen, select Inactive sites. You see the website you migrated to the environment.
Select Reactivate.
Enter the Reactivated website name and Create a web address or accept the default values.
Select Done.
Tenant-to-tenant migration
To move a Power Pages site to another tenant, export the site as part of a solution, delete or reset the site in the source tenant, and then import and activate the site in the target tenant environment.
Important
Use the Power Platform Tenant-to-tenant migrations article for environment-level prerequisites and move steps.
Plan the move
Identify the tenant-specific configuration that you need to reconfigure. Site connections, app registrations, authentication providers, integrations, and some admin settings don't transfer in a ready-to-use state.
Move the site configuration
Export the site configuration and customizations as part of a solution. To transfer additional configuration data, use the website metadata transfer steps in this article.
Delete or reset the site in the source tenant before you move the environment.
Complete the environment-level move by following the Power Platform Tenant-to-tenant migrations guidance.
Import the site solution into the target tenant environment.
Activate the imported site from the Inactive sites tab in Power Pages. For activation steps, see Reactivating site on target environment.
Reconfigure tenant-specific connections, integrations, runtime features, site data, and admin settings.
Convert the site to production after migration is complete.
Reconfigure connections and integrations
After you activate the site in the target tenant environment, manually reconfigure the connections and integrations that depend on tenant-specific resources.
- Reconfigure site connections because the app registration for the portal host-to-Dataverse connection changes.
- Configure the custom domain and associated SSL certificate.
- Reauthenticate the SharePoint connection.
- Reconfigure Power BI workspace authentication and update workspace IDs referenced in site code.
- Confirm whether Power Automate cloud flow GUIDs are retained after the move. Reconfigure flow references and connections as needed.
Reconfigure runtime features
Review and reconfigure runtime features that depend on tenant identity, app registrations, or service connections.
- Configure authentication providers, especially providers that depend on the source Microsoft Entra tenant.
- Reconfigure Microsoft Copilot Studio agents.
- Reconfigure cloud flows.
- Reconfigure external apps.
Migrate site data
Migrate site data that isn't transferred with the site configuration.
- Migrate the authenticated site users, including Dataverse contact records and site-specific data records.
- Migrate other site data required for the target site experience.
Reconfigure admin settings
Some admin settings return to their default values after migration. Review and configure these settings in the target tenant environment.
- Configure AI features for the target site.
- Reconfigure other features that revert to default values, such as SharePoint, Power BI, and governance settings.
- Reconfigure content delivery network (CDN) and web application firewall (WAF) settings.
Note
Before you go live, validate all pages, permissions, user access, and integrations in the target tenant environment.
See also
- Power Pages support for Microsoft Power Platform CLI
- Using solutions with Power Pages
- Enhanced data model
- Tenant-to-tenant migration of a Power Platform environment
- Tenant-to-tenant migration of model-driven apps in Dynamics 365 such as Sales, Customer Service, Marketing, Field Service, and Project Service Automation