Note
Access to this page requires authorization. You can try signing in or changing directories.
Access to this page requires authorization. You can try changing directories.
Create a virtual table to integrate data from an Excel file located in OneDrive to use as an external data source that seamlessly represents that data as tables in Microsoft Dataverse. Virtual tables allow you to view, create, and edit external data without replicating that data in Dataverse.
Prerequisites
- A Microsoft Dataverse license through Power Apps or Microsoft Dynamics 365. Microsoft 365 or Teams licenses can't be used to create virtual tables.
- The Excel file you use as the data source must be stored in OneDrive.
- The Excel file must contain data formatted as a table.
- The Excel file must contain a GUID column. More information: Create the connection for the Excel virtual connector provider
Download and install the virtual connector provider for Excel
Download and install the virtual connector. Go to the Microsoft commercial marketplace and search for
Virtual Connectoror select the link to download the provider: Virtual connectors in Dataverse
Select Get it now. In the sign-in dialog, enter work or school account email. If you agree to the terms and conditions, select Continue. The Power Platform admin center opens automatically.
Select the environment where you want to install the solution. If you agree to the terms and conditions, select Install. Once the installation is complete, you see the Virtual connectors in Dataverse app installed under Environments -> [your environment name] -> Dynamics 365 apps.

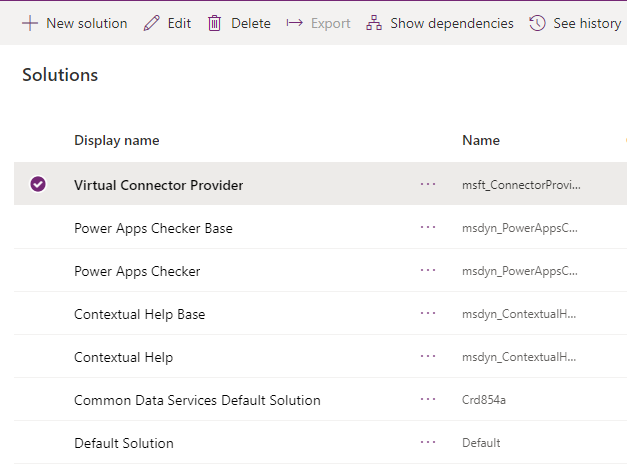
You should also see the Virtual Connector Provider solution and other solutions enabled in the Power Platform environment.
Create the connection for the Excel virtual connector provider
Watch a short video showing how to create a virtual table with the Excel virtual connector provider.
- Go to Power Apps (make.powerapps.com), and select the environment in which you would like to set up the virtual table.
- In the left navigation pane, select Connections, and then select New connection. If the item isn’t in the side panel pane, select …More and then select the item you want.
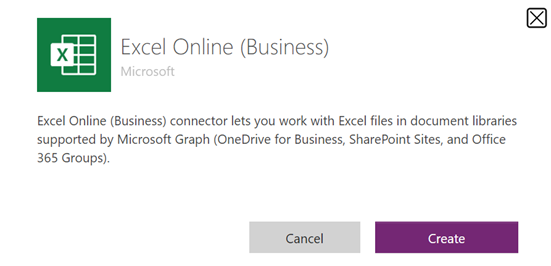
- Select the Microsoft Excel Online (Business) Virtual Connector from the list of connections.
- You're asked to provide additional details to connect to the data source.
- Select Create, your current signed-in credentials will be used.
Create the connection reference
You must create your own connection reference when you use the Excel virtual connector provider.
Go to Solutions.
Select the Default Solution or any other existing solution you have in your environment to create the virtual table.
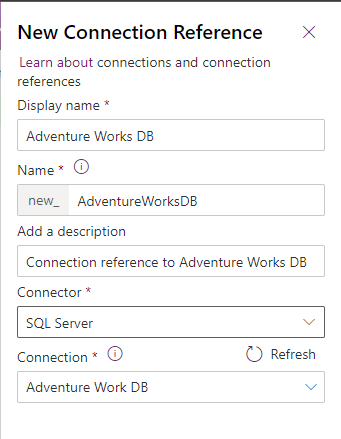
Select New and then select Connection Reference.
Enter Display name, select the connection you created for the Connectors option and then select the data connection that you've created.
Create the data source
Now create the virtual table data source in Dataverse.
Note
- When you use the Excel virtual connector provider, an Entity Catalog table is generated by the system which provides a list of all the available tables using the table definitions (metadata) from the external data source. The entity catalog doesn't persist any information and always represents the external data source's current state. You can select tables from the entity catalog to create virtual tables. If you're working with multiple external data sources, an entity catalog is generated for each external source. More information: Entity catalog
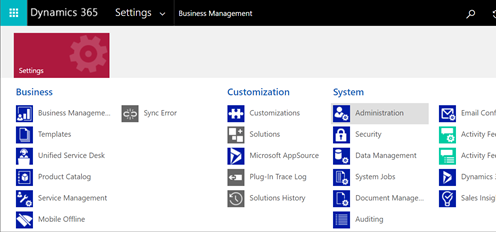
Select the Gear icon -> Advanced Settings.

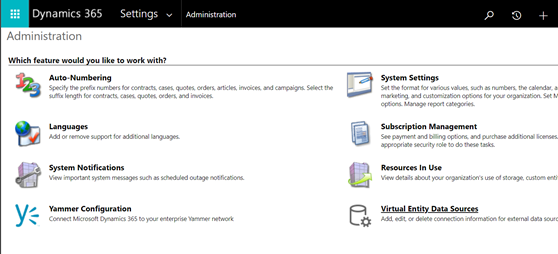
In the top navigation bar, select Settings and then Administration.
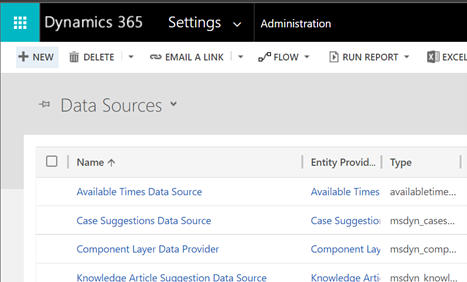
Select Virtual Entity Data Sources.
Select New. In the pop-up dialog, select the Virtual Connector Data Provider.

Name your Data Source and select the Connection Reference you created in the drop-down list.

Add your Dataset Value
Paste in the file name including extension into the Dataset Value. Remember the file must be in the OneDrive that was used for the Connection setup. (for example: SampleData.xlsx)
Select Save.
Entity catalog
With the connection reference and the virtual table data source setup, an Entity Catalog is automatically generated. The Entity Catalog is specific to the data source and will list all the tables that are in the respective data source.
Note
- The creation of the entity catalog is an asynchronous process. Depending on your environment, this might take a few minutes.
- The tables displayed in the entity catalog aren't virtual tables in themselves. You need to select from this list of tables representing the external data to create virtual table in Dataverse.
Tip
If the entity catalog creation takes a long time, you can check the job completion status by navigating to Settings -> System Jobs view.
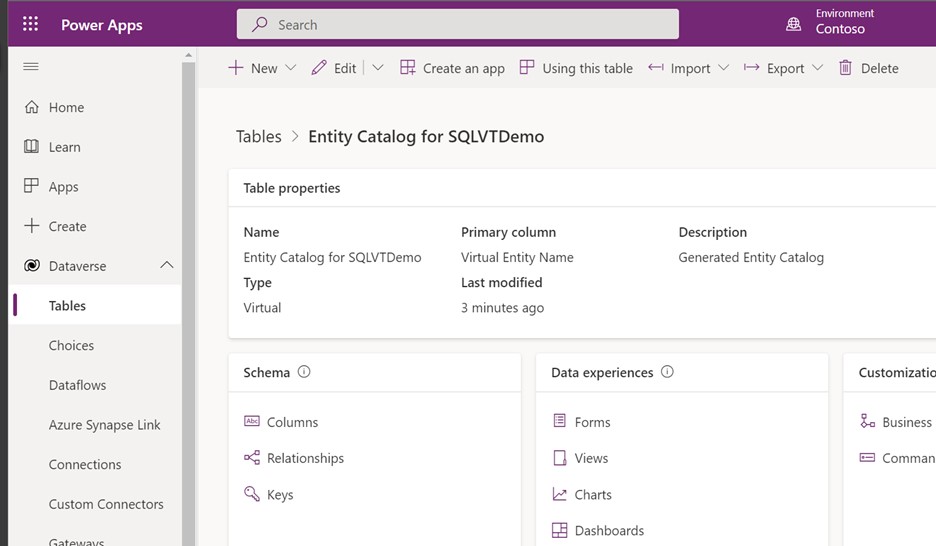
View the entity catalog
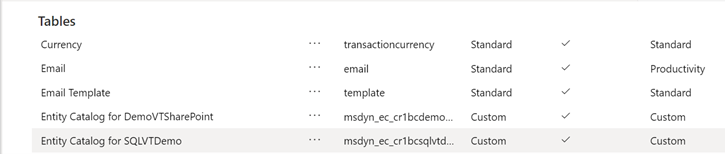
Select Data > Tables, and then select the entity catalog that was created.
Select Advanced Find and use the Look for: column. The catalog includes a prefix Entity Catalog for followed by the connection reference (example: Entity Catalog for Adventure Works). Find the entity catalog for your respective data connection and select Results to display all the external data source tables.

Note
Bulk creation of virtual tables is not supported currently. Even though the entity catalog allows you to select multiple tables, you will have to select one table at a time to create virtual tables.
To create a virtual table, a model driven app must be built for the entity catalog. Select the entity catalog table.
Select Create an app in the top navigation.
Name the app, and then select Create.
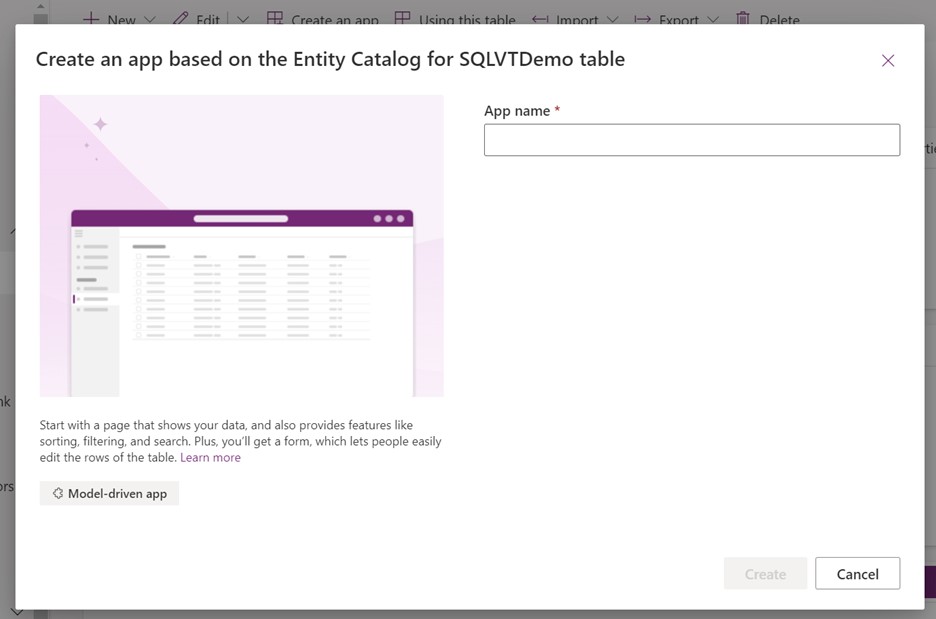
The app is automatically generated using the entity catalog table.
Once the app is completed, you can select Publish to complete the app and use it later, or you can select Play to create your virtual table now without publishing the app.
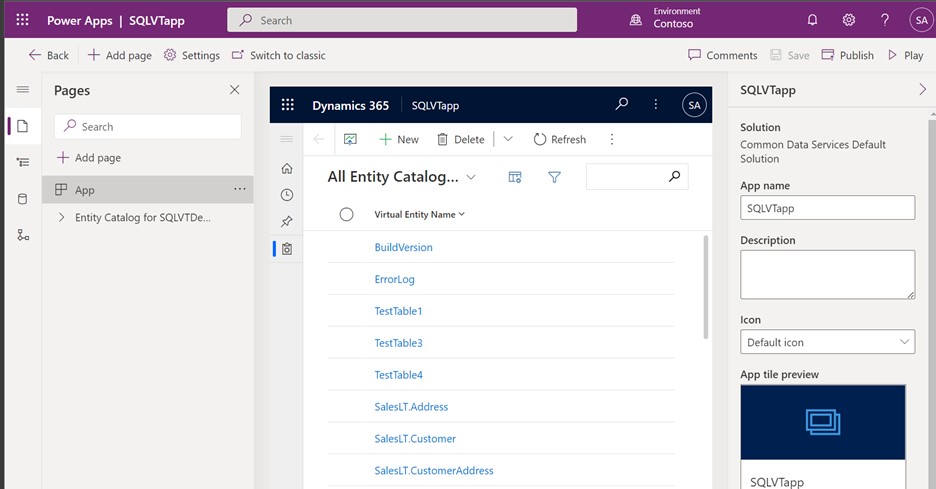
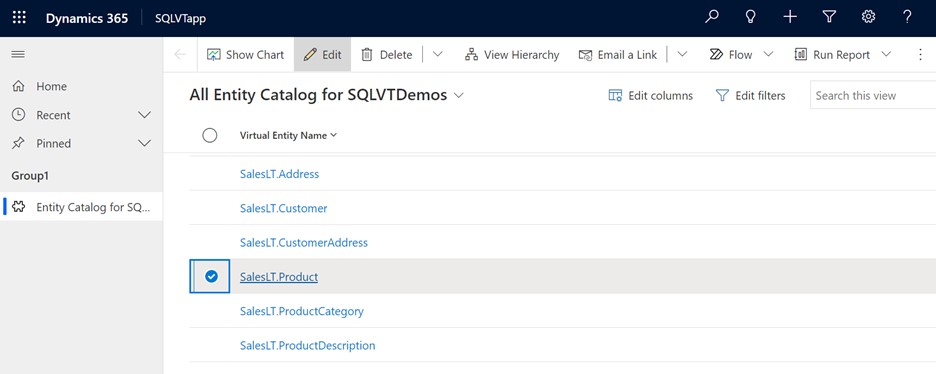
All tables from your Excel file will be provided in the app view.
Select the data set you wish to use from the entity catalog, and then select Edit in the navigation bar.
Wait for the form to fully load before editing. When loaded the form appears like this:
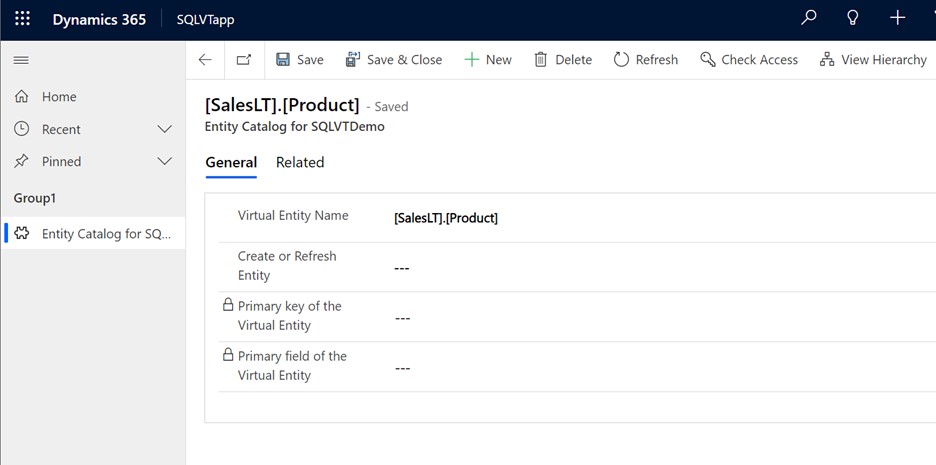
In the provided form set the Create or Refresh Entity column to Yes.
Select the Primary Key and Primary Field of the virtual entity by using the dropdown lists to find the columns you want to use.
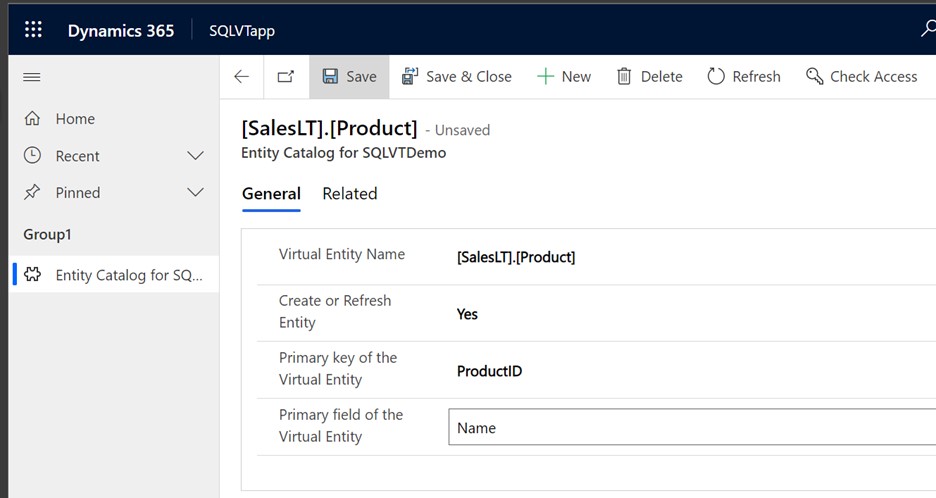
Save the record to create the virtual table.
Note
After the save completes, the form will "reset" with all fields shown as blank, this is normal.
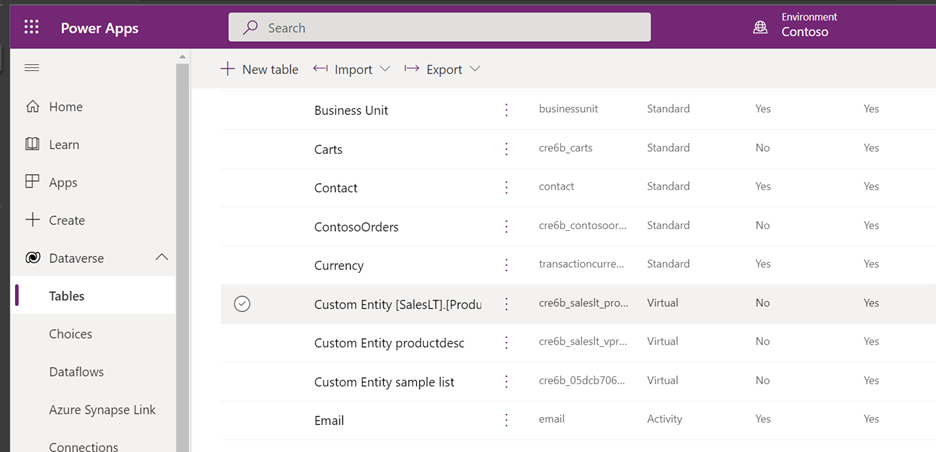
Return to the Power Apps home page and select Data. Your virtual table is now created with a "Custom Entity" prefix. It might take a few moments for the creation to complete.
Important
- The provider automatically maps the primary key associated with the external data source when creating the virtual table. All CRUD operations can be performed on the generated virtual table.
- All columns in the external data are automatically mapped to Dataverse types that are supported by the connector. You can review the virtual table details and make changes by navigating to Settings -> Customization – Entities view.
- Virtual tables require there to be at least one string field to use as the Primary Name column.
Once you've created a virtual table, you can work with it much the same way as any other table. You can start defining the relationships with other tables, in the environment and use them in your Power Apps and Power Automate flows.