Note
Access to this page requires authorization. You can try signing in or changing directories.
Access to this page requires authorization. You can try changing directories.
The Office 365 Outlook group of actions allows the utilization of the Office 365 Outlook connector from within desktop flows, alleviating the need to create a cloud flow in order to use its actions. This connector is the same as the one used across Power Automate cloud flows, Power Apps, and Logic Apps. It uses the same parameters and returns the same type of data.
Prerequisites and limitations
- You need an Attended RPA license.
- On top of Data loss prevention policies (DLP) for Office 365 Outlook, machine administrators can disable the Office 365 Outlook actions by modifying the appropriate registry setting.
Send an email with attachments
This section presents an example of how to send an email with attachments in your desktop flows, using Office 365 Outlook actions.
Note
In order to include file attachments in your emails, you need to convert those files using the Convert file to binary data action. Then use the variable containing the binary data in the Send and Email(v2) action, when adding a file attachment.
Convert the file to attach as binary data using the Convert file to binary data action.

Open the Send an Email(v2) action from Office 365 Outlook group of actions. Within the Advanced section, next to the Attachments parameter, select Edit.

Add a fixed number of attachments
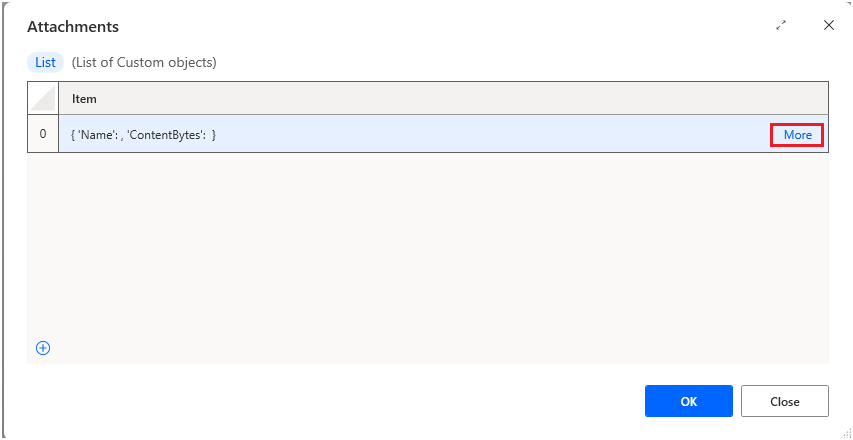
In the Attachments window, there's already an item existing in the list. Select More to configure it to contain the desired attachment.
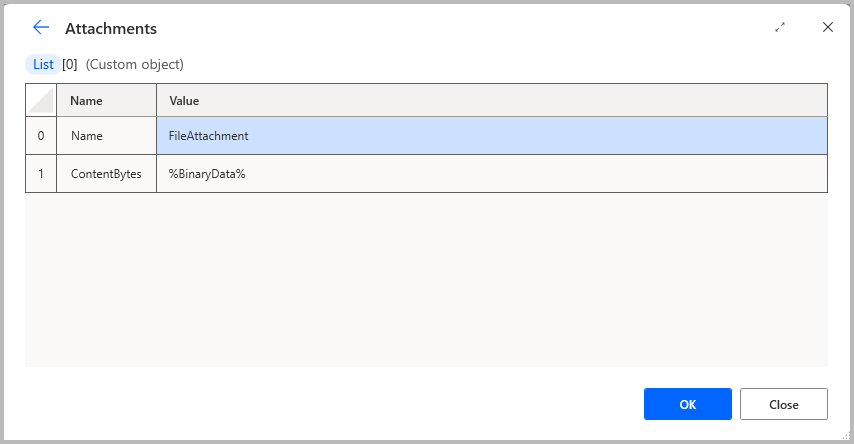
Modify the Name property with the name of the file to be attached. Update ContentBytes to reference the binary data representing the file.
Note
Notice how the %BinaryData% variable is utilized in the attachment entry in the ContentBytes property.
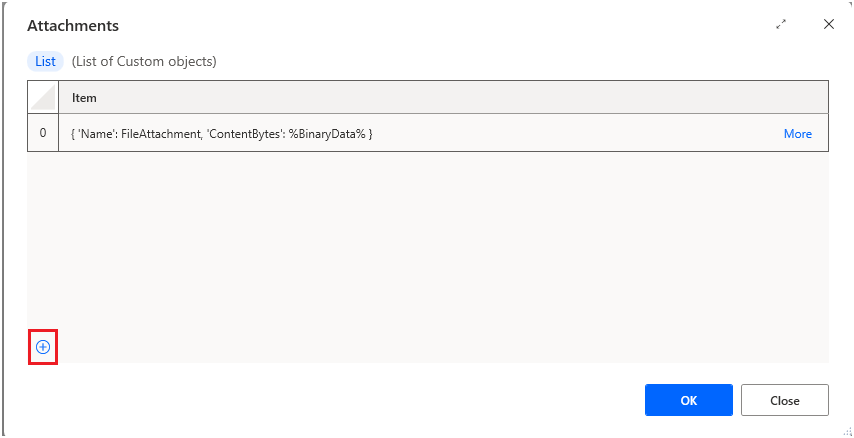
You can add more attachments by selecting the plus button.
When all the files to be attached are finalized, select Save to close the Attachments window and return to the Send an Email(v2) action configuration.

Add a dynamic number of attachments
When you aren't aware of the total number of file attachments you want to include in an email, use the following approach:
- Create a new list. This list contains the attachments to be sent.
- A custom object must be used to represent each file attachment. Each custom object must have the two properties comprising an attachment, 'Name' and 'ContentBytes'.
- Once the list is complete, you must pass it as an input to the Attachments property of the Office 365 Outlook action.
Example
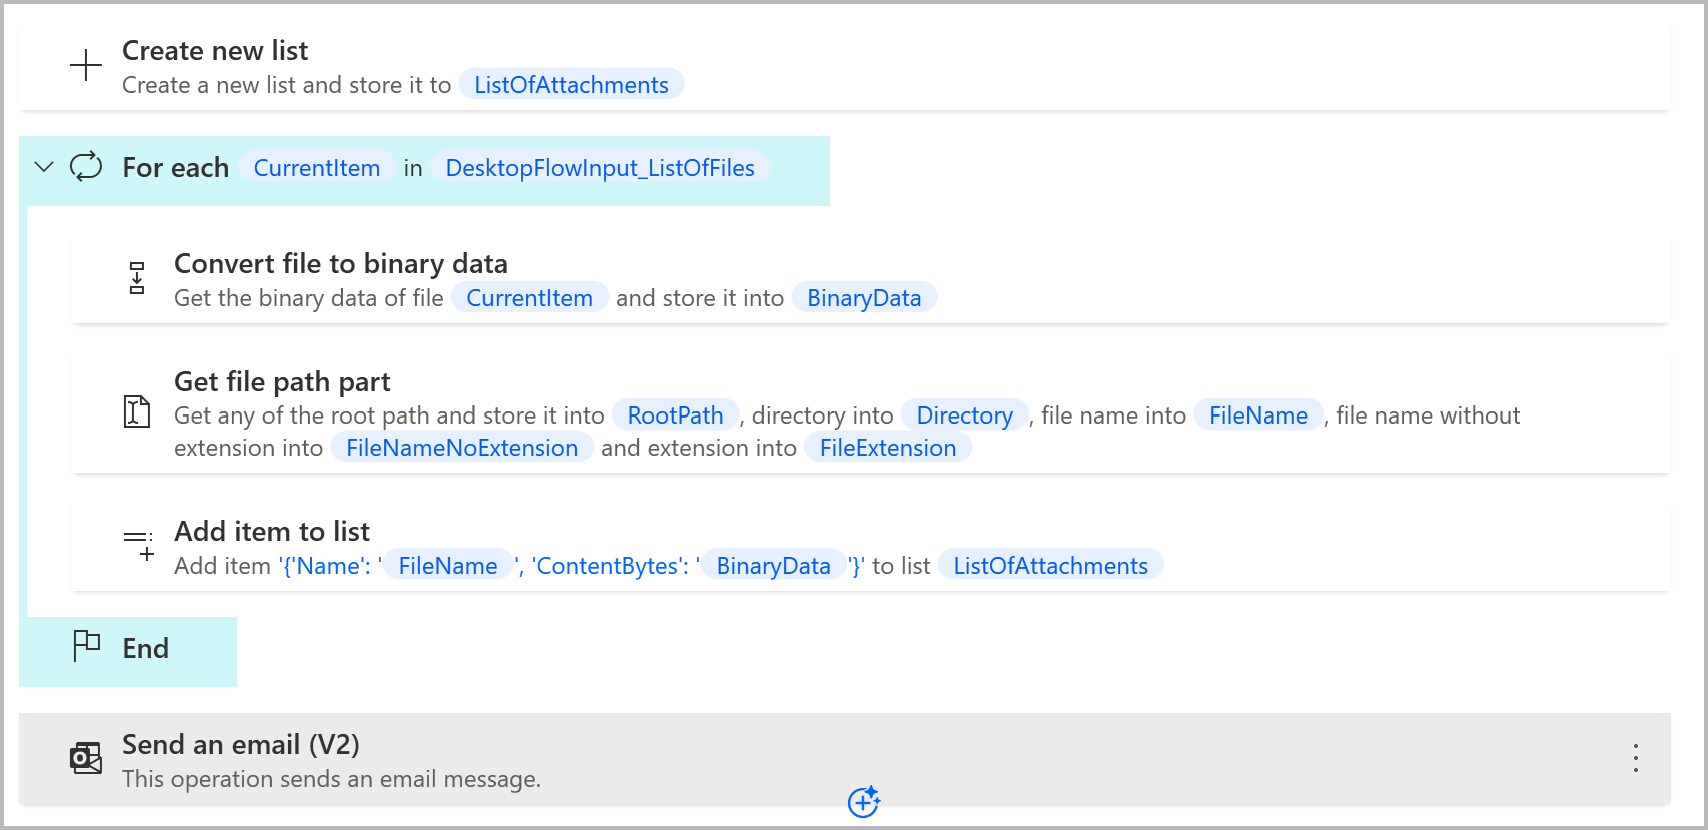
Your desktop flow receives a list containing a dynamic number of filepaths as an input. You want to attach those files to an email. You begin by creating a new list to store the files to be sent.

Note
You need to loop through the inputted list containing the filepaths, convert them to binary data, and add the custom object representing each file to the attachments list.
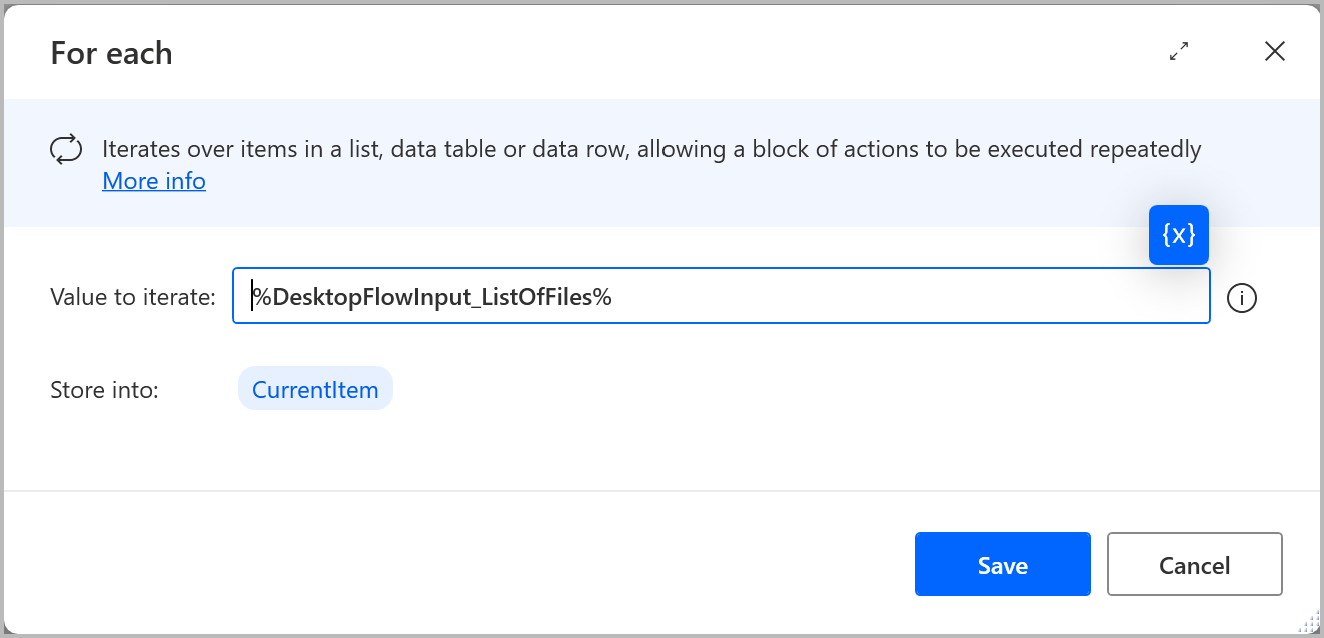
Add a For each action to loop through the desktop flow input list. During each loop, the current item is a filepath, pointing to the actual file.
To use it with cloud connector actions, convert the current file to binary data.

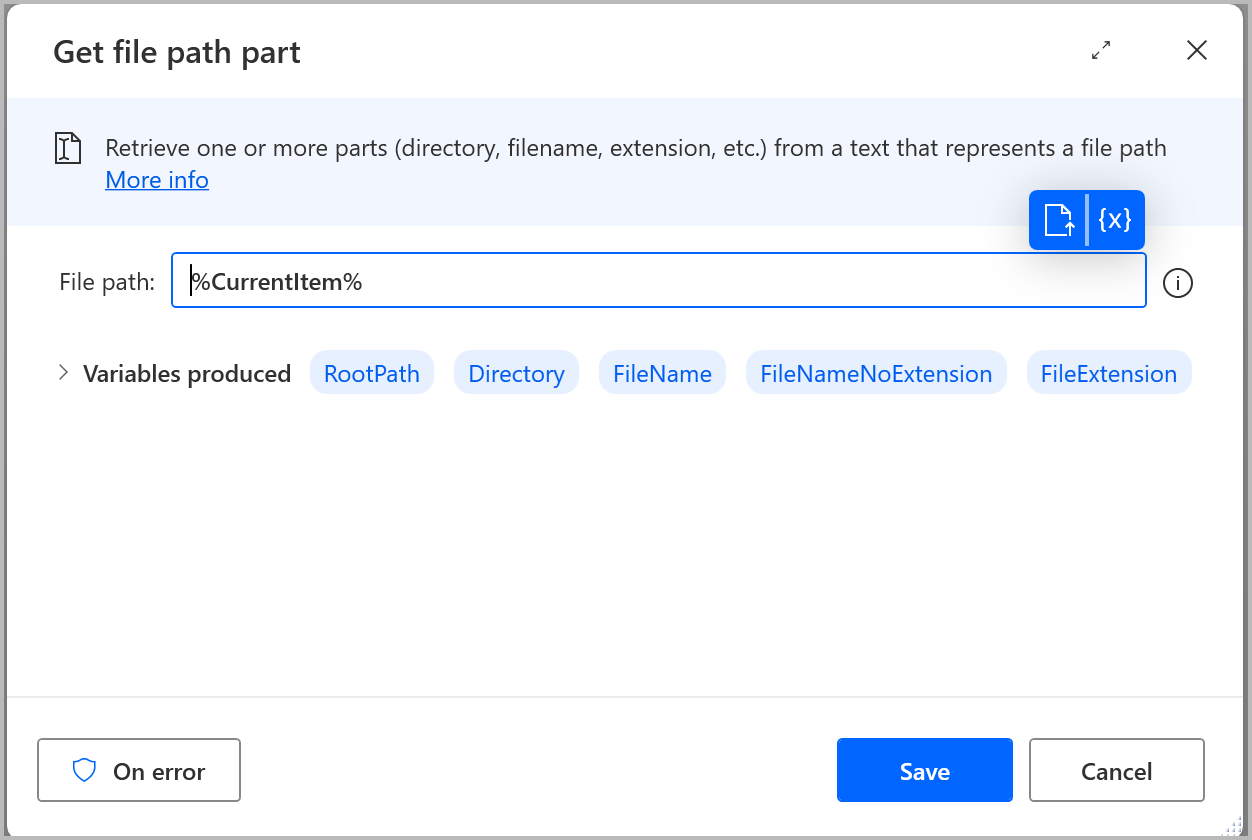
The name of the file is needed for the respective property representing it. Use the Get file path part action to retrieve the name of the current file.
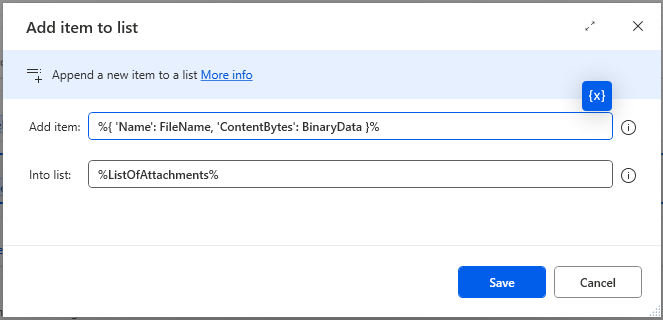
Then add the custom object representing the file in the list of file attachments. To do that, use the Add item to list action. In the Item property, reference the custom object using the following syntax:
%{ 'Name': variable_holding_the_file_name , 'ContentBytes': variable_containing_the_binary_data }%
Finally pass the list of file attachments as an input to the Attachments property of the Send an email (V2) action.

Your action layout should be similar to the following example: