Add a cloud flow, desktop flow and connection reference to a solution
If you've followed the article for configuring ALM for desktop flows, at this point you've created a solution. Now, add a desktop flow and a cloud flow to this solution. If you haven't created a solution yet, create a publisher and a solution
Important
In order for a cloud flow to be added to a solution, the cloud flow has to be created in the solution. You can't add a cloud flow to a solution after it's been created.
Create a desktop flow
- Sign in to Power Automate, and then go to Solutions, and then open the unmanaged solution you want or select New solution to create a solution.
- Select New > Automation > Desktop flow.
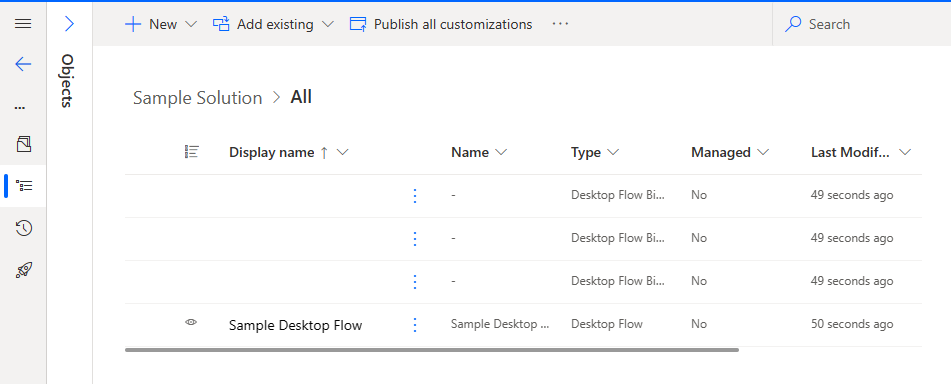
You're redirected to Power Automate desktop, once you have finished editing your desktop flow, go back to the solution page to see your desktop flow appear.
Create a cloud flow
From within the solution, select New > Automation > Cloud flow > Scheduled.
You're redirected to the cloud flow designer. Edit to add an action with a desktop flow, and if needed, create a connection. You need to use the Unattended run mode.
The connection you use won't be the connection that is used in your production environment.
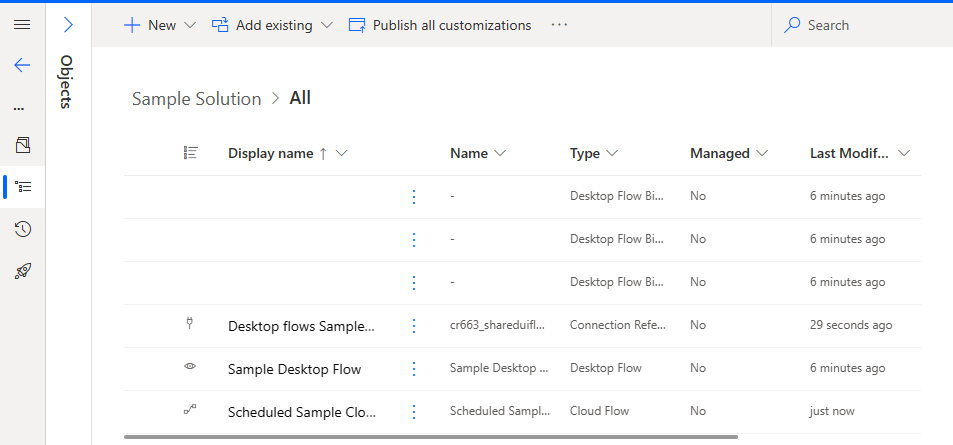
You see the cloud flow in your solution and a connection reference.
Next steps
Feedback
Coming soon: Throughout 2024 we will be phasing out GitHub Issues as the feedback mechanism for content and replacing it with a new feedback system. For more information see: https://aka.ms/ContentUserFeedback.
Submit and view feedback for