Note
Access to this page requires authorization. You can try signing in or changing directories.
Access to this page requires authorization. You can try changing directories.
In some scenarios, Power Automate might run unattended flows in a lower resolution than the one used to develop the flows. As a result, some UI elements could be hidden from the screen, while any images captured might not be identified at runtime under a different resolution. This might cause flows to fail. In such cases, you can follow one of the two approaches explained in this article to adjust the screen resolution used for unattended flows accordingly.
Note
The screen resolution can be adjusted per target machine, not per flow. If you need one of your unattended flows to run in another resolution, a different target machine needs to be used.
With Windows registry
Set the screen resolution for unattended flows using the Windows registry. This method can be used with Power Automate flows starting with version 2.35.
Important
Setting the ScreenResolutionEnabled registry key to 1 overrides the settings in the UIFlowService.exe.config file. The registry settings for screen resolution persist after an upgrade of Power Automate Desktop, the UIFlowService.exe.config file is overwritten with default values during upgrades.
This task explains how to modify the Windows registry. We recommend that you first back up any registry keys you modify, such as the Power Automate Desktop key. More information: How to back up and restore the registry in Windows
Open the registry editor (Windows key + R, and type 'regedit') and expand the HKEY_LOCAL_MACHINE hive.
Locate the Screen key in SOFTWARE\WOW6432Node\Microsoft\Power Automate Desktop\Global. If it doesn't exist, create it: right-click the Global key, select New > Key, type Screen, and press Enter.
Locate the following values in SOFTWARE\WOW6432Node\Microsoft\Power Automate Desktop\Global\Screen and set the corresponding values. If the value names don’t exist, create them. To create them, right-click the Screen key, select New > DWORD (32-bit) Value, type ScreenResolutionEnabled, and press Enter. Double-click ScreenResolutionEnabled, enter 1, select Decimal, and then select OK. Repeat these steps for each value in the following table.
When editing DWORD values, be sure to select the Decimal base (hexadecimal is selected by default), to avoid having your values interpreted as hexadecimal which results in incorrect resolution settings.

Important
The registry keys are in the 32-bit registry because the Power Automate installer writes its registry settings there. However, if the screen resolution keys are set in the 64-bit registry (for example, SOFTWARE\Microsoft\Power Automate Desktop\Global\Screen), they take precedence. If the settings don't work as expected, check both locations and use only one.
| Key | Name | Type | Value |
|---|---|---|---|
| SOFTWARE\WOW6432Node\Microsoft\Power Automate Desktop\Global\Screen | ScreenResolutionEnabled | DWORD | If set to '1', will enable the custom resolution settings. |
| SOFTWARE\WOW6432Node\Microsoft\Power Automate Desktop\Global\Screen | Width | DWORD | Set the screen resolution width, such as 1920. |
| SOFTWARE\WOW6432Node\Microsoft\Power Automate Desktop\Global\Screen | Height | DWORD | Set the screen resolution height, such as 1080. |
| SOFTWARE\WOW6432Node\Microsoft\Power Automate Desktop\Global\Screen | Scale | DWORD | Set the screen resolution scale, such as 100. |
With UIFlowService.exe.config file (deprecated)
Important
The UIFlowService.exe.config file is overwritten with default values during upgrades and screen resolution settings will therefore be reset. We recommend setting the resolution with Windows registry settings instead.
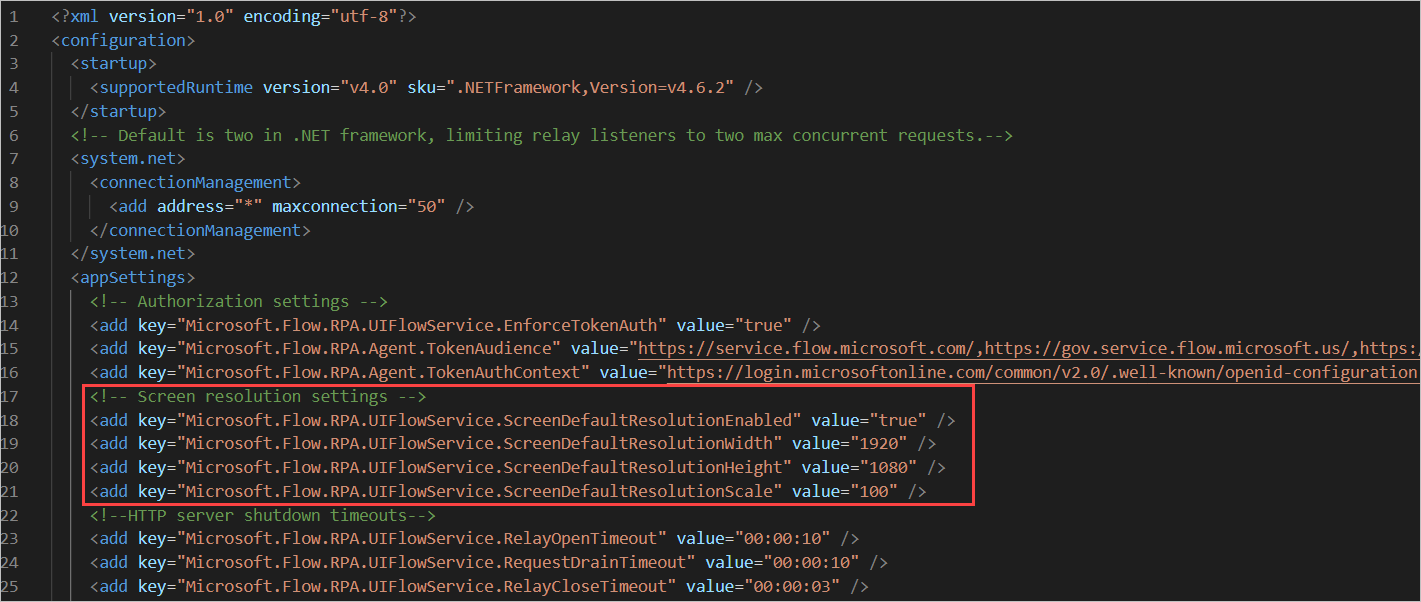
To change the resolution in which unattended flows are run by editing the UIFlowService.exe.config:
Go to C:\Program Files (x86)\Power Automate Desktop, and then open the UIFlowService.exe.config file.
Set the value of the Microsoft.Flow.RPA.UIFlowService.ScreenDefaultResolutionEnabled element to true.
<add key="Microsoft.Flow.RPA.UIFlowService.ScreenDefaultResolutionEnabled" value="true" />Change the values of the following elements to the proper screen resolution width, height, and scale, respectively. The following code sets the default resolution to 1920 x 1,080 pixels.
<add key="Microsoft.Flow.RPA.UIFlowService.ScreenDefaultResolutionWidth" value="1920" />
<add key="Microsoft.Flow.RPA.UIFlowService.ScreenDefaultResolutionHeight" value="1080" />
<add key="Microsoft.Flow.RPA.UIFlowService.ScreenDefaultResolutionScale" value="100" />
Restart the UIFlowService service.
To restart the service, start Windows Task Manager, select the Services tab, right-click the UIFlowService service, and then select Restart.

Note
An alternative to restarting the UIFlowService is to restart your machine.