Note
Access to this page requires authorization. You can try signing in or changing directories.
Access to this page requires authorization. You can try changing directories.
Now, we'll create the cloud flow that employees use to request an updated address. This cloud flow passes the input variables to the desktop flow you created in the previous section.
We highly recommended that you create cloud flows, desktop flows and other Microsoft Power Platform artifacts within solutions to allow for better portability, application lifecycle management (ALM), and encapsulation.
Navigate to https://make.powerautomate.com and sign in with your Microsoft Entra credentials.
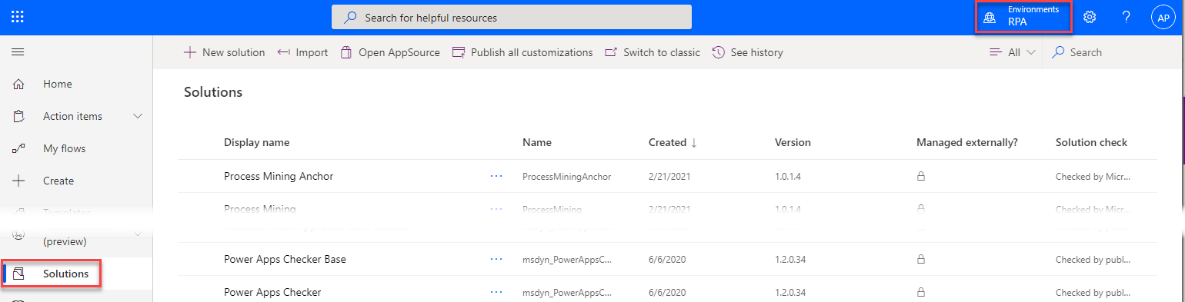
Confirm that you're in the same environment as the one in which you built the desktop flow with Power Automate Desktop, and then select Solutions > + New solution.
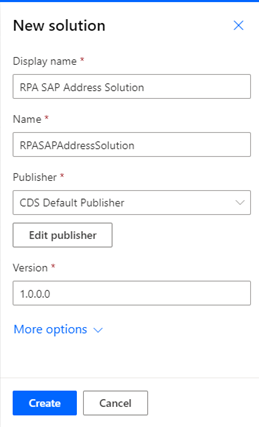
Enter a Display name, select a Publisher, and then select Create.
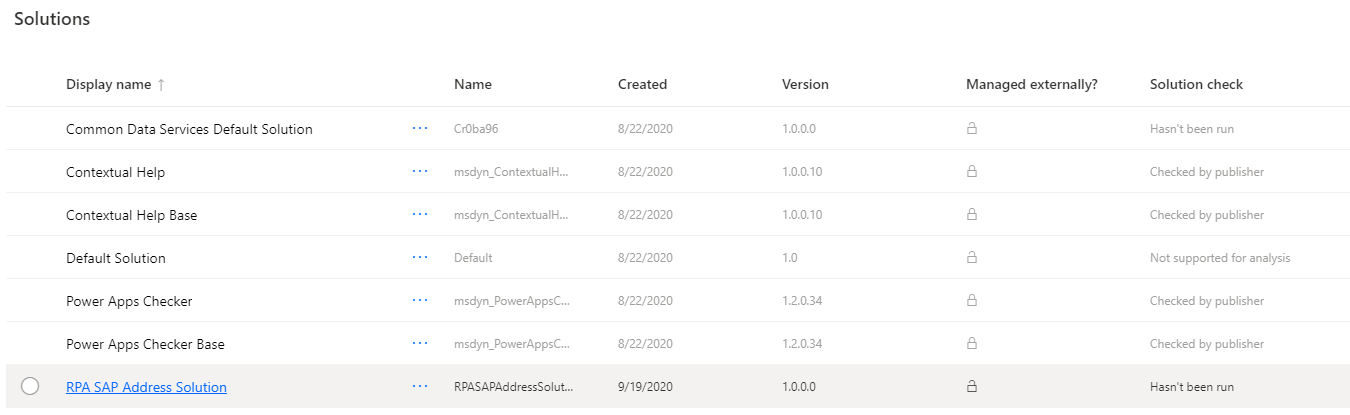
Open the solution by selecting its name.
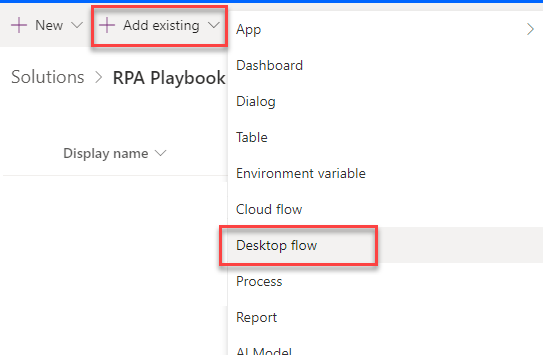
Select + Add existing, select Desktop flow, select the flow you created in Power Automate Desktop, and then select Add.

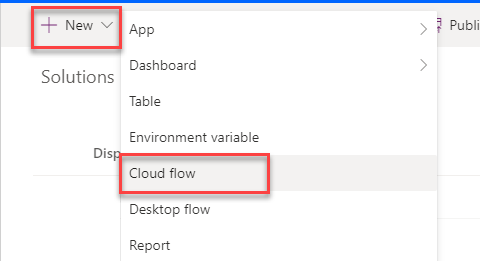
Select + New > Cloud flow.
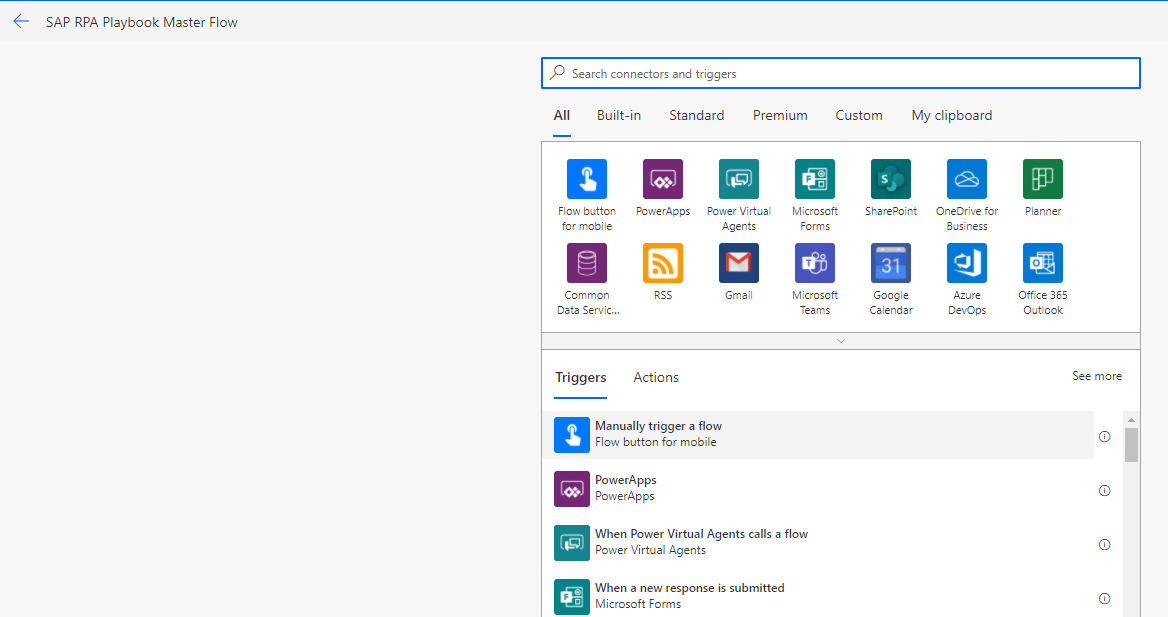
Give your flow a name, and select Manually trigger a flow as the trigger.
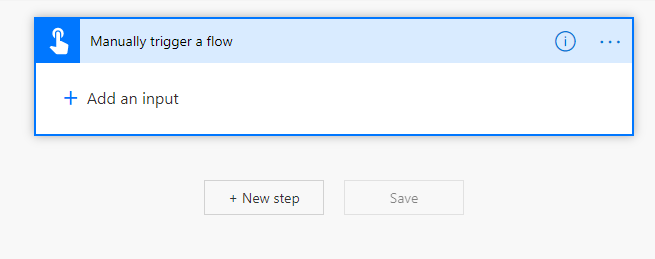
Select + Add an input, and then select the appropriate data type to create the eight inputs listed in step 9.
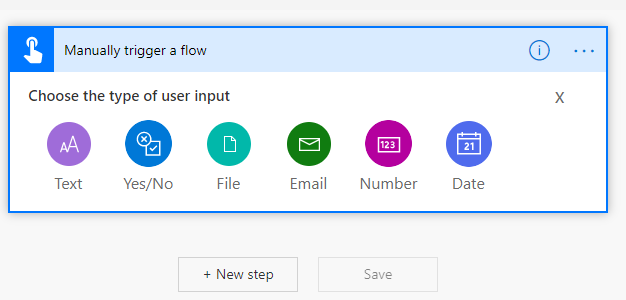
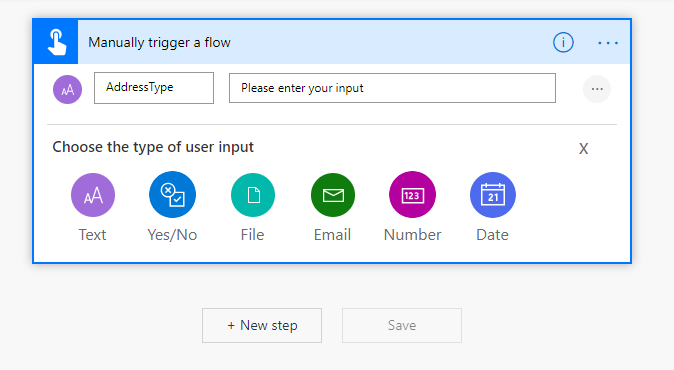
Add the following inputs to the flow trigger.
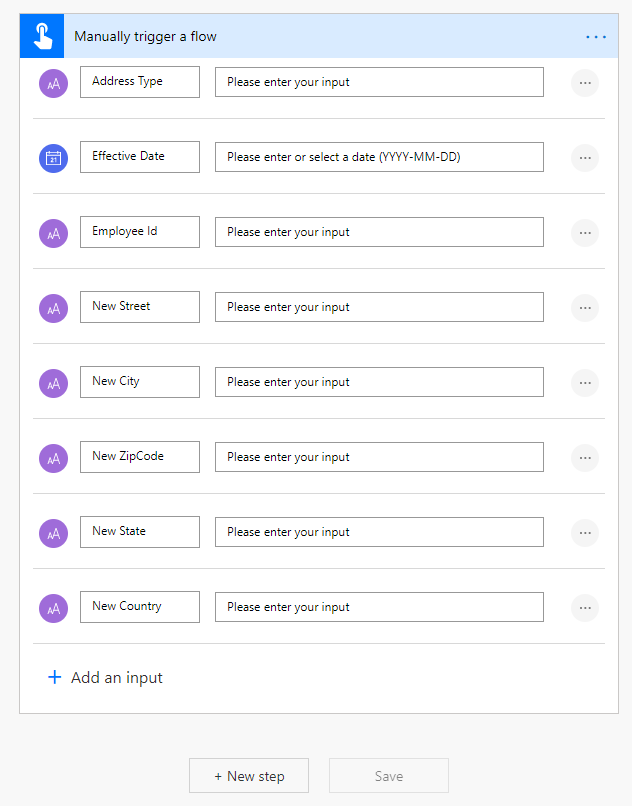
Screenshot of the Manually trigger a flow dialog with Address Type as Text, Effective Date as Date, and the following six inputs all of Text type: Employee ID, New Street, New City, New ZipCode, New State, and New Country.
Select New step.
Note
The following Azure Key Vault action configurations are optional, so if you aren't using Key Vault today, or you just want to test your desktop flow without it, feel free to skip them.
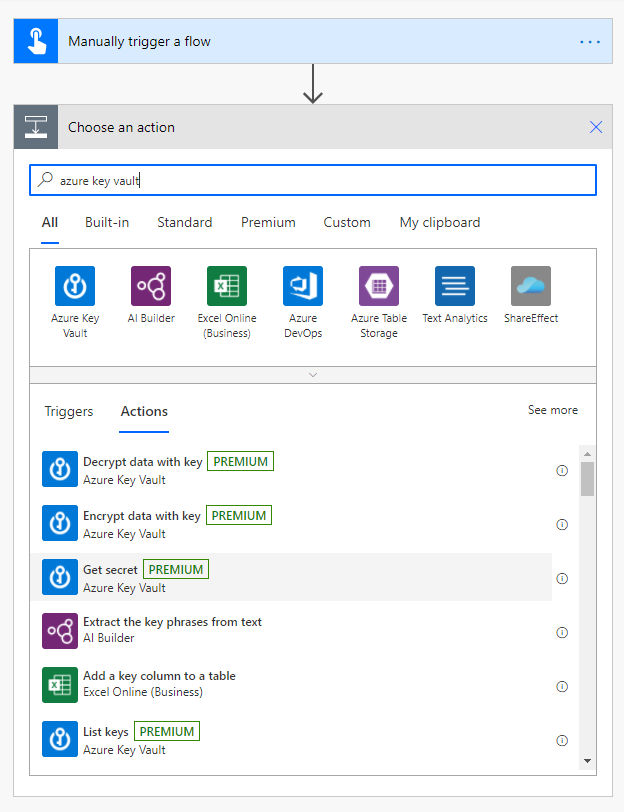
Enter azure key vault into the search box.
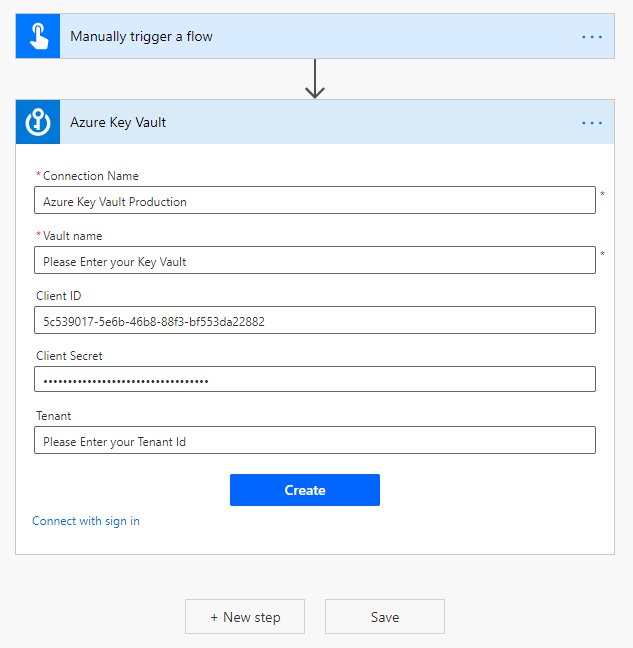
If you don't have an existing Key Vault connection, you'll be prompted to create one. You can sign in either with a Microsoft Entra user account or a Service Principal (recommended).
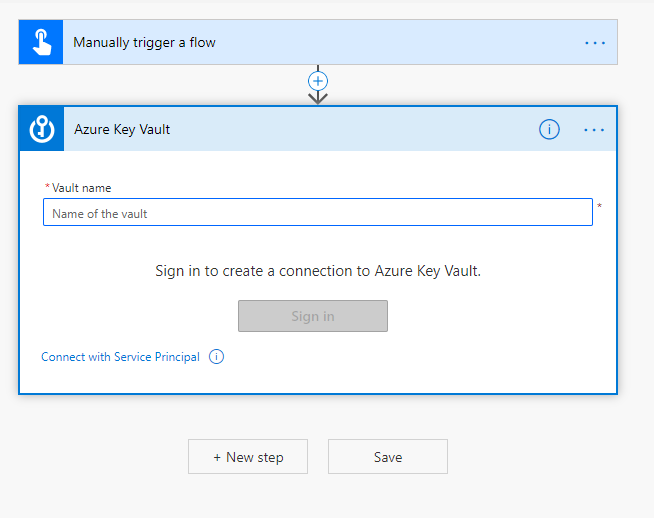
Let's assume you select Connect with Service Principal.
After you establish the connection, add four Get secret Key Vault actions to the canvas, select the secret, and then rename the actions as shown in the following image.
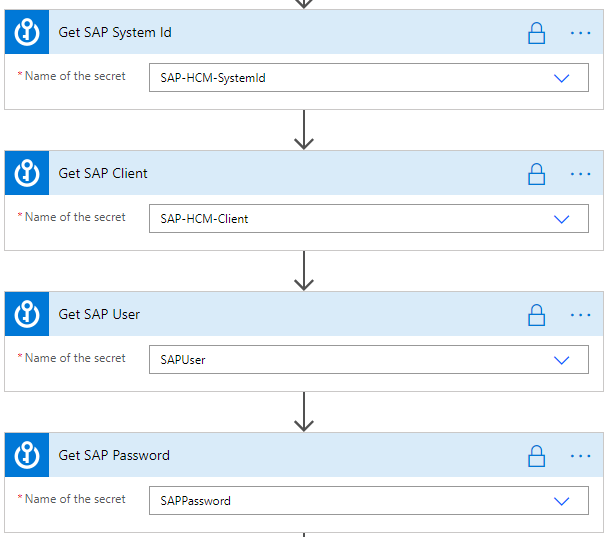
Screenshot showing four actions: Get SAP System Id, renamed SAP-HCM-SystemId; Get SAP Client, renamed SAP-HCM-Client; Get SAP User, renamed SAPUser; and Get SAP Password, renamed SAPPassword.
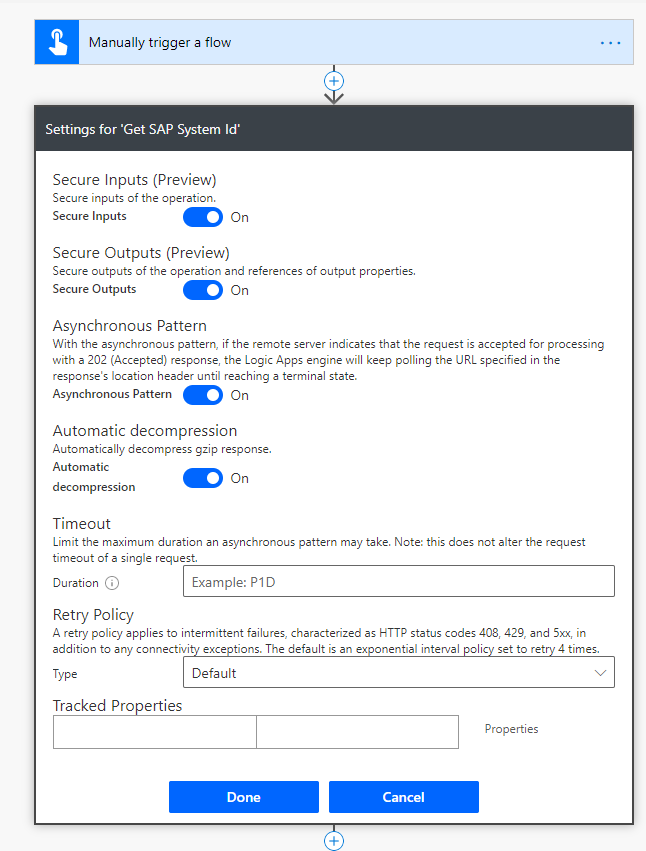
Select More (…) next to the action name, select Settings, turn on Secure Inputs and Secure Outputs, and then select Done. Repeat this step for the other three Get secret actions.
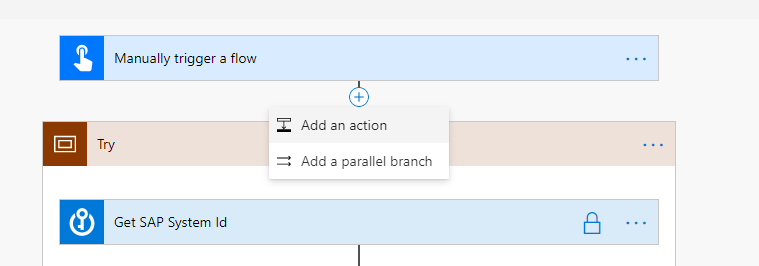
Select the plus sign (+), and then select Add an action.
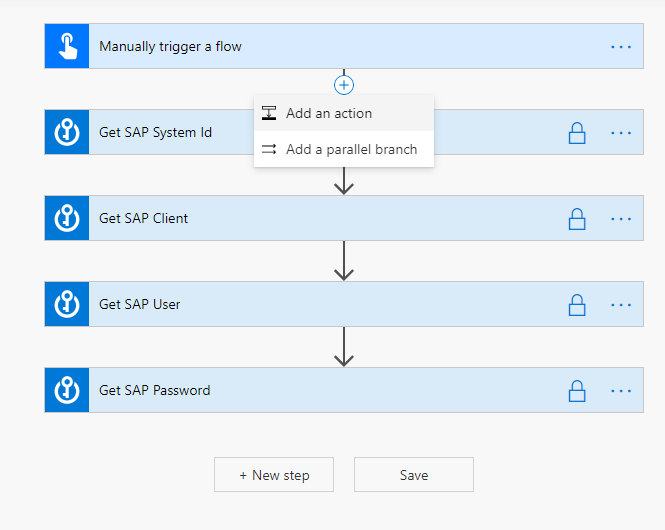
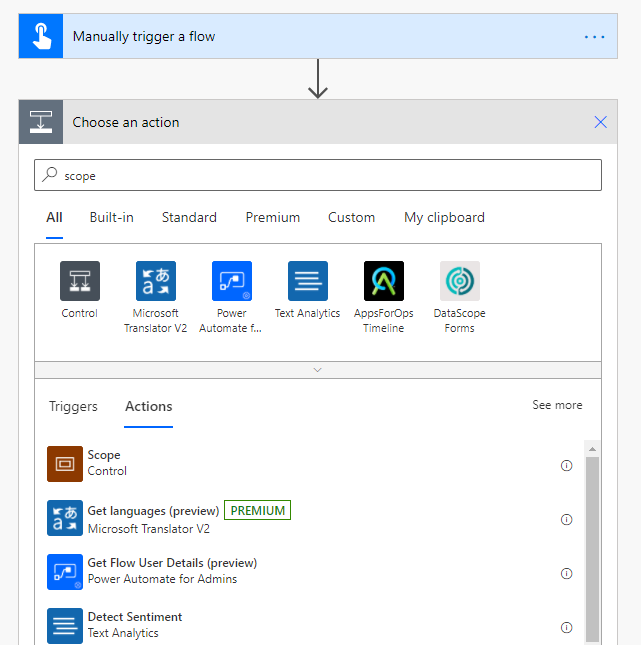
Enter scope into the search box, and then select the Scope action.
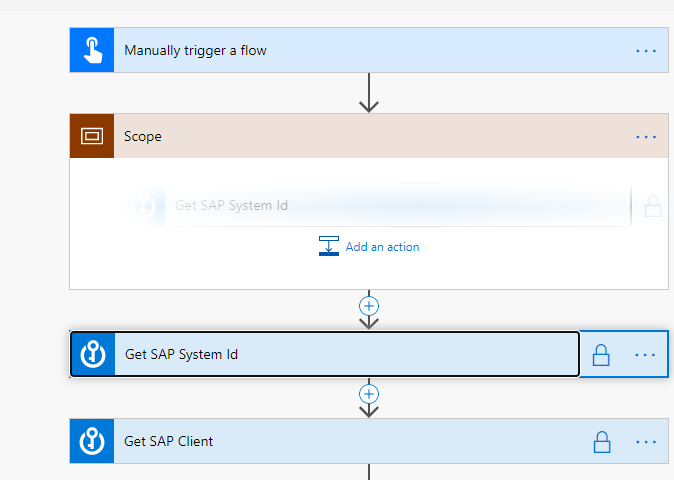
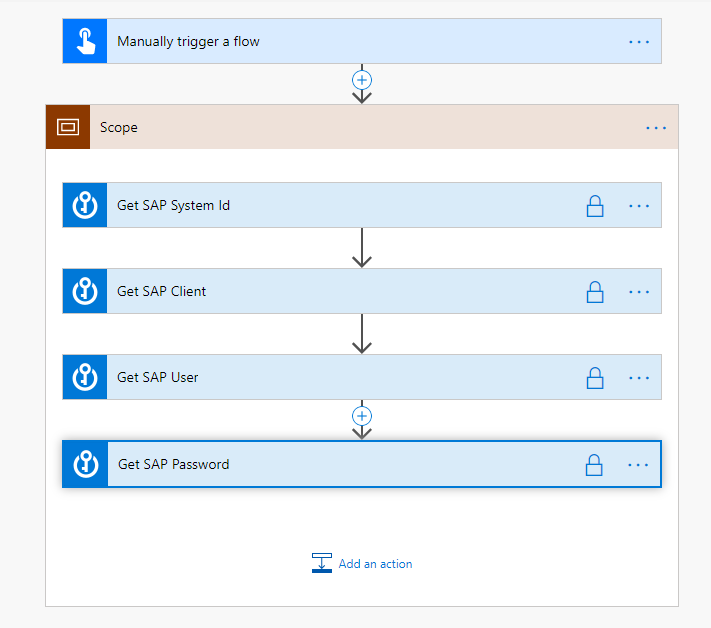
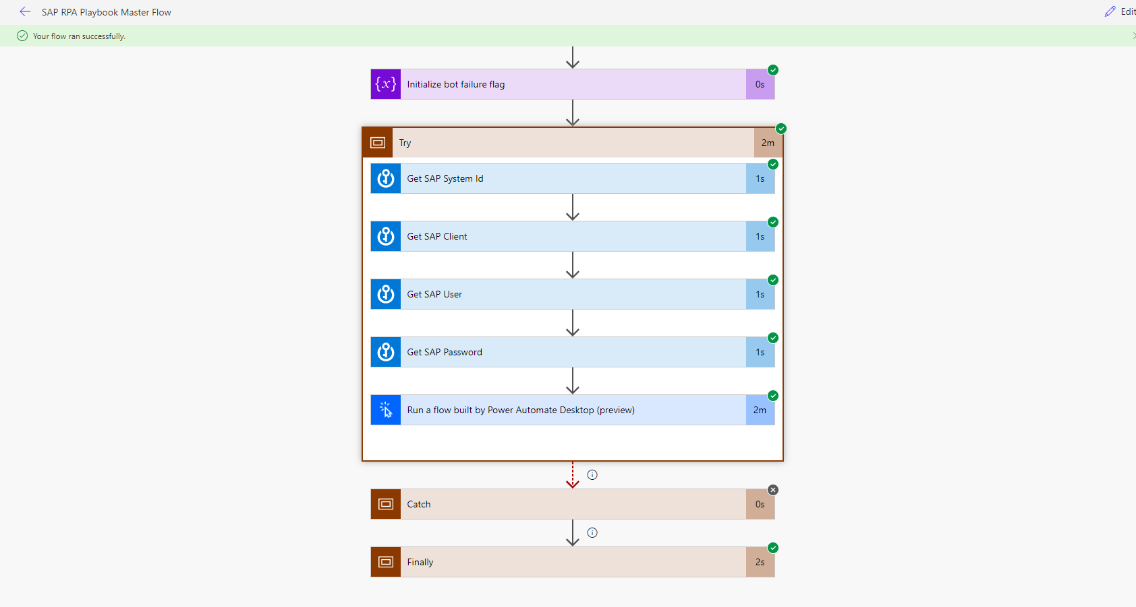
Drag all your Key Vault actions onto the Scope container, and then rename it to Try.
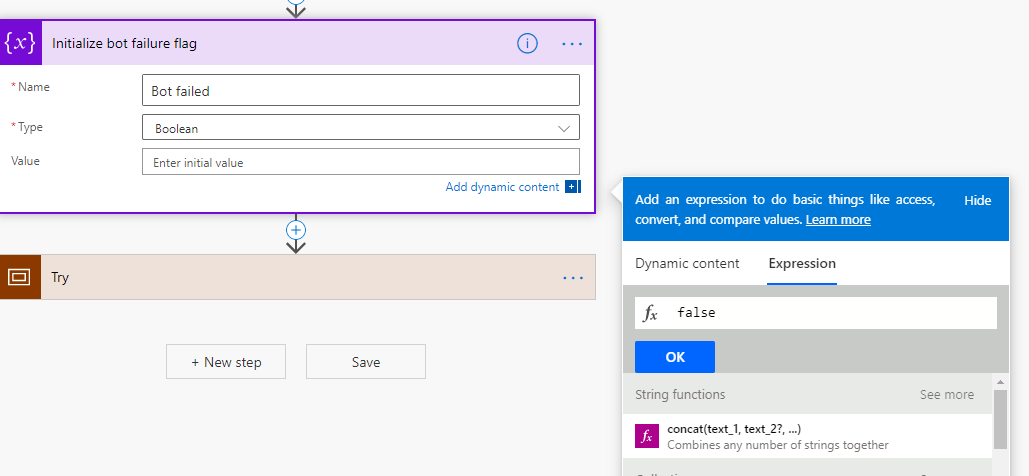
Search for, and then select, the initialize variable action to add it under the trigger.
In the Initialize variable dialog, make the following settings, and then select OK in the Expression dialog:
- For Name, enter Bot failed.
- For Type, select Boolean.
- For Value, enter false.
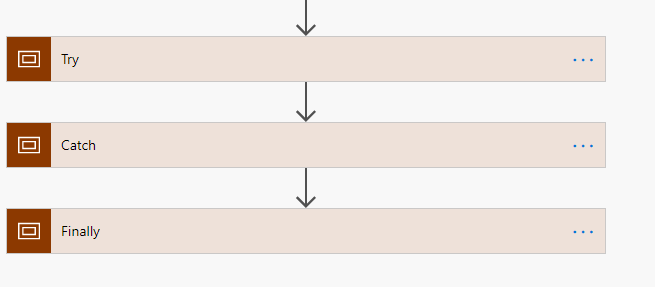
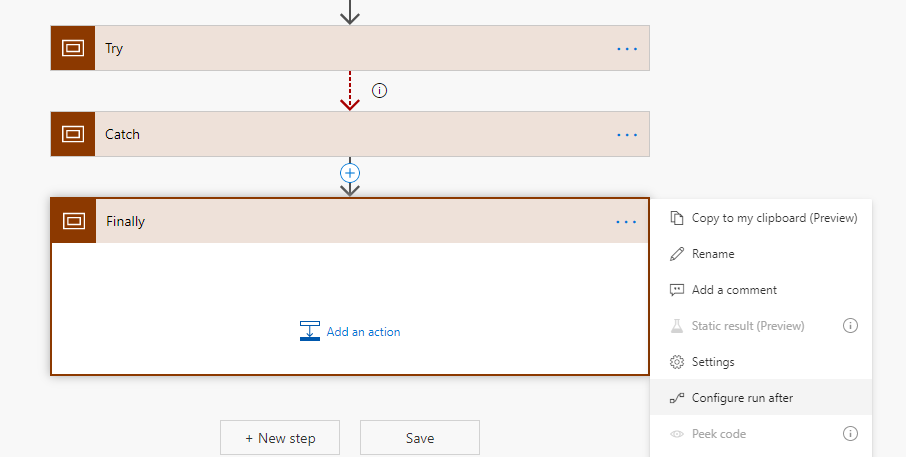
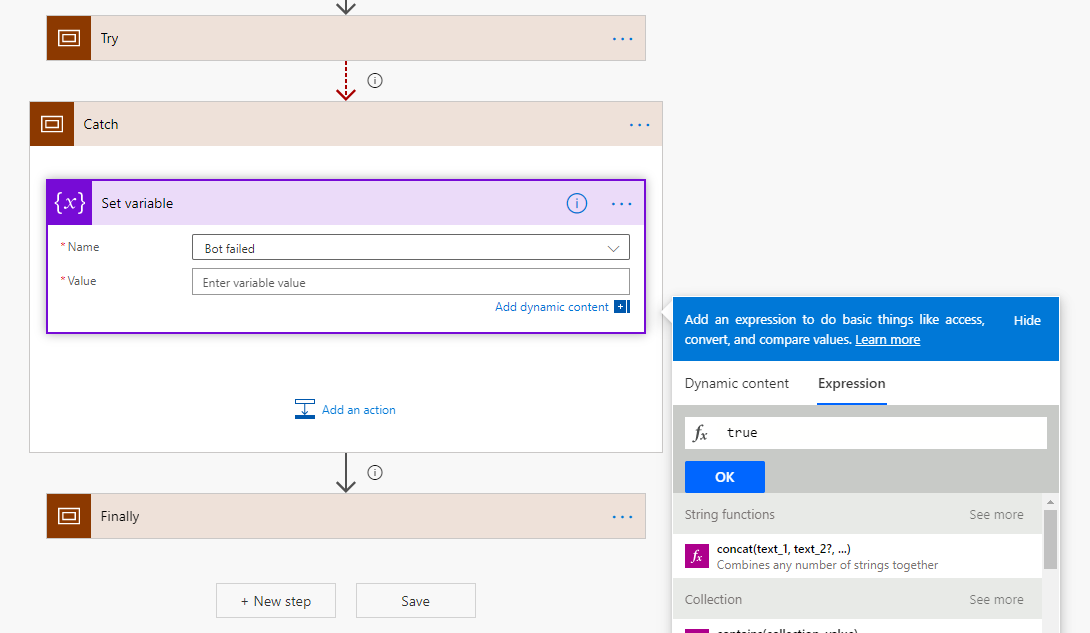
Add two scope actions. Name them Catch and Finally.
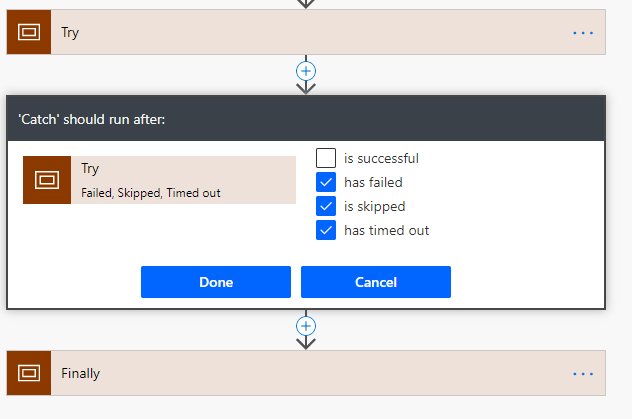
In the upper-right corner of the Catch scope, select …, and then select Configure run after.
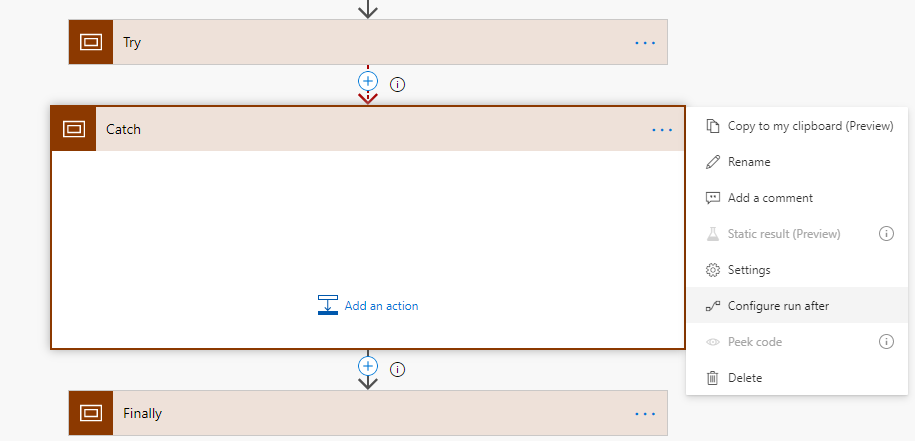
Select has failed, is skipped, and has timed out, and then select Done.
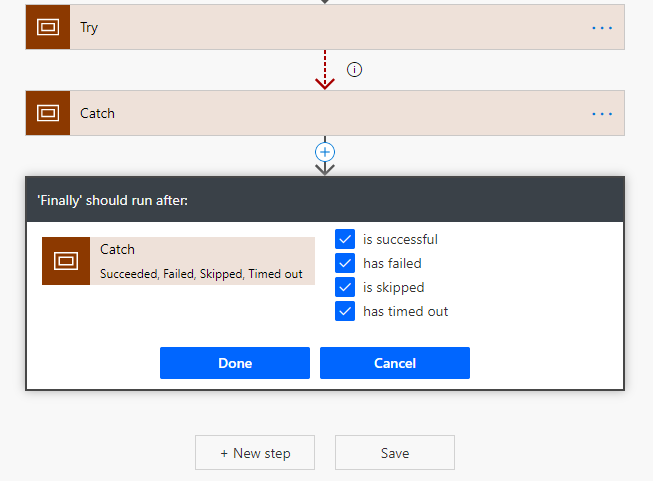
In the upper-right corner of the Finally scope, select …, select Configure run after, and then select the is successful, has failed, is skipped, and has timed out checkboxes. Select Done.
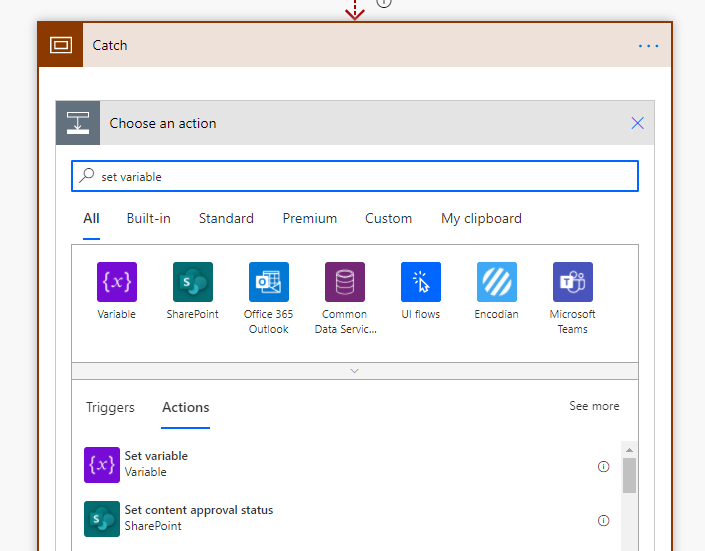
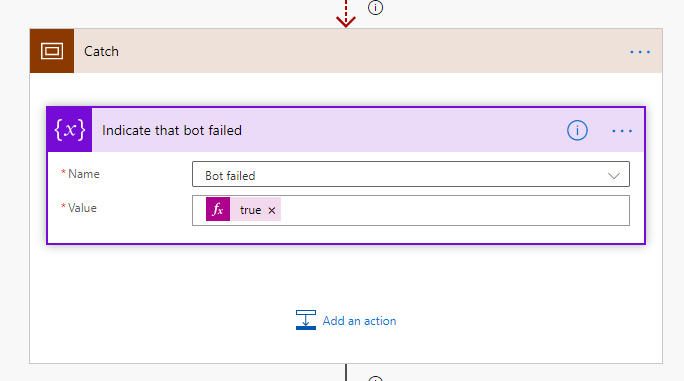
Search for, and then add, the set variable action to the Catch scope container.
Select the Bot failed variable, enter true in the Expression dialog, and then select OK.
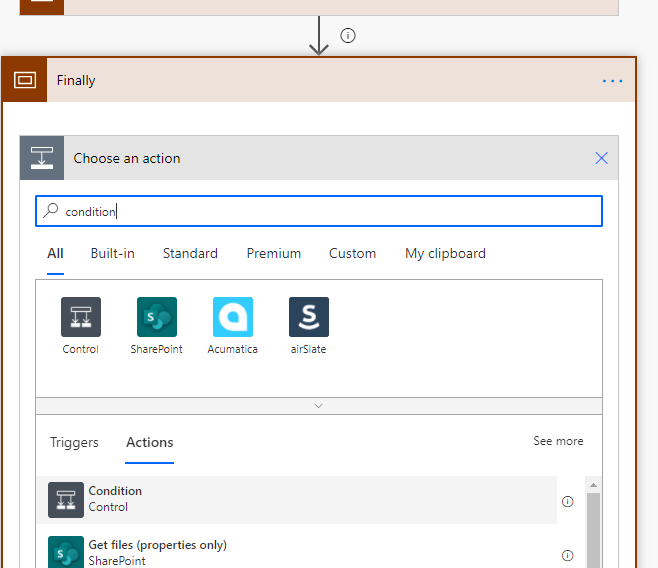
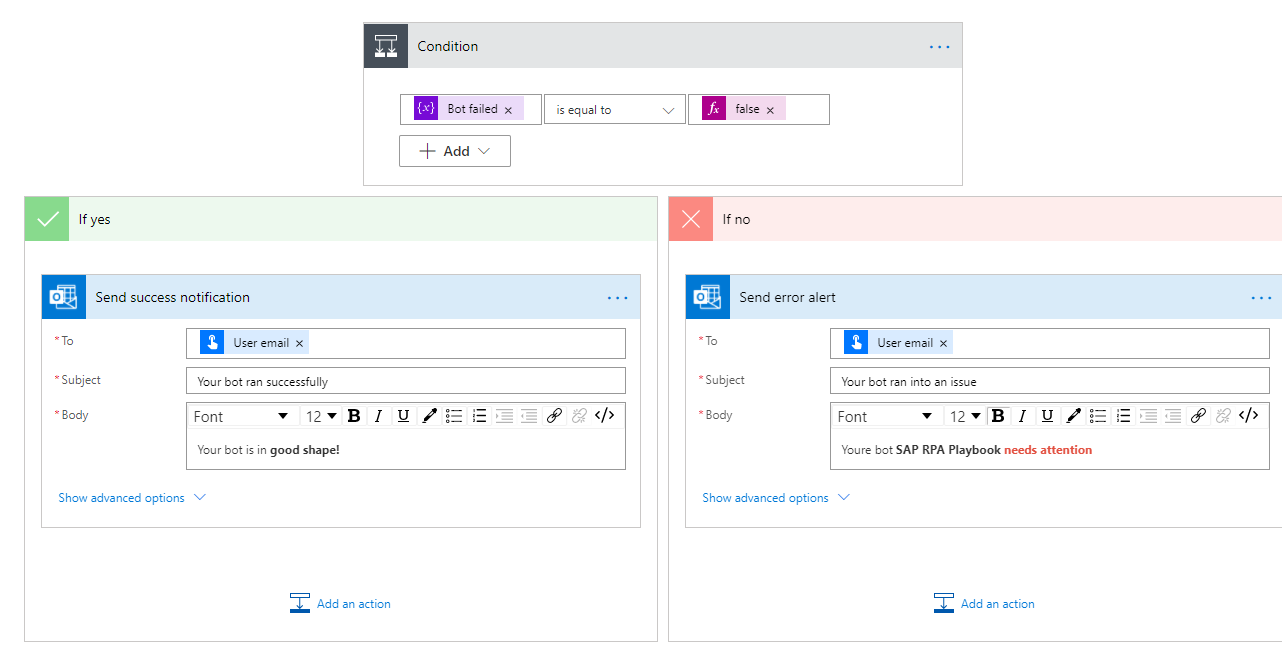
Search for the condition action, and then add it to the Finally block.
Select the Bot failed variable from the Dynamic content list and then assign it to the Choose a value field.

Set the expression to false, and then assign it to the value field.

In the If yes section, add a Send an email (V2) action.
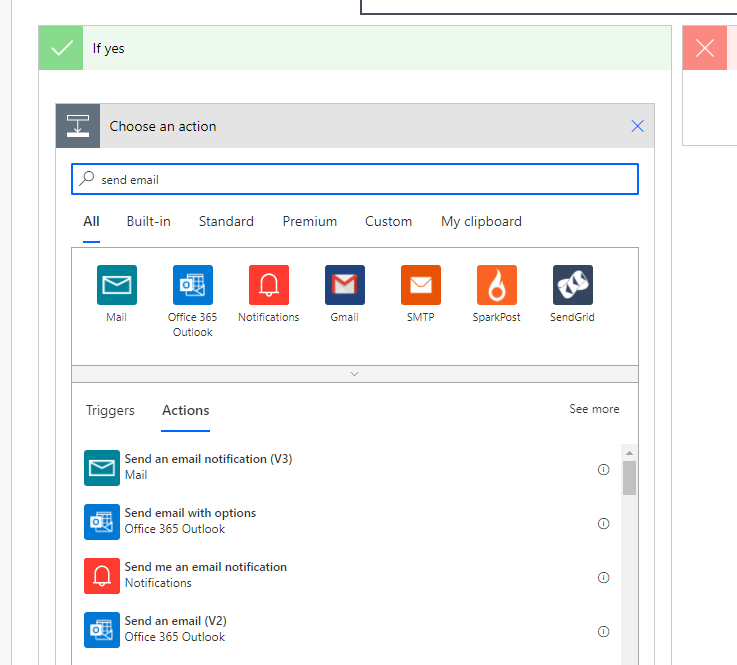
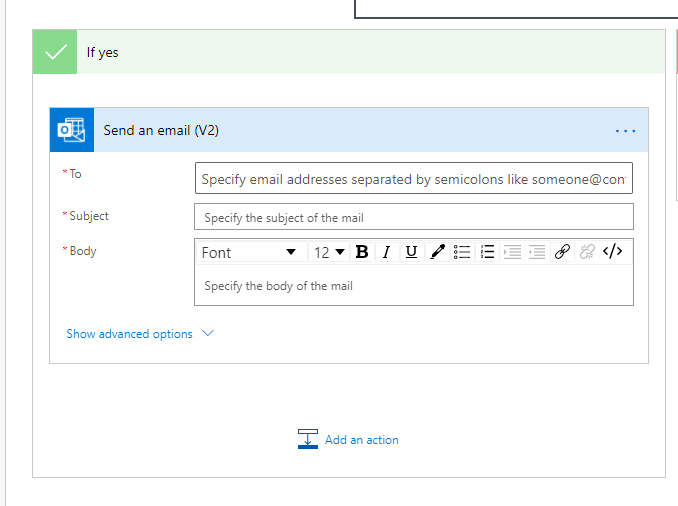
Select User email from the Dynamic content list and add it to the To field, and then enter a subject and an email body.
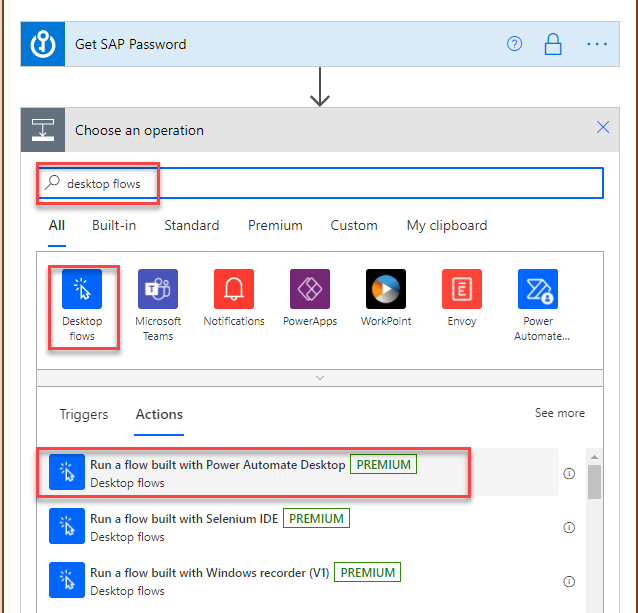
In the Try container, select New step. Search for Desktop flows, and then select the Run a flow built by Power Automate Desktop action to add it to the flow.
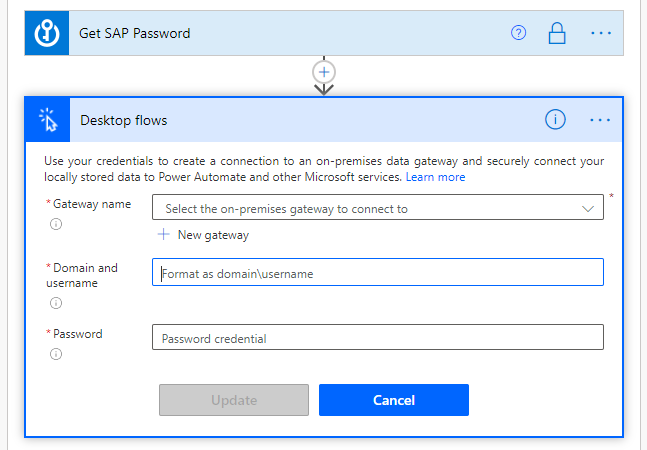
Select your data gateway and then enter a domain, username, and password for an account that has sufficient privileges to run your desktop flows.
Important
Your on-premises data gateway must be deployed into the same region as your environment; otherwise, it won't appear in the dropdown list.
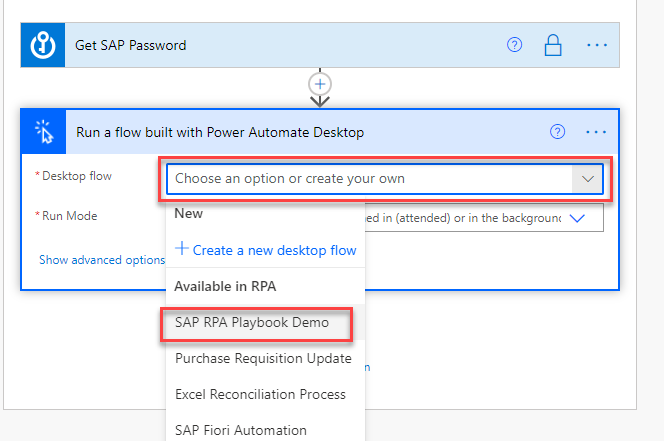
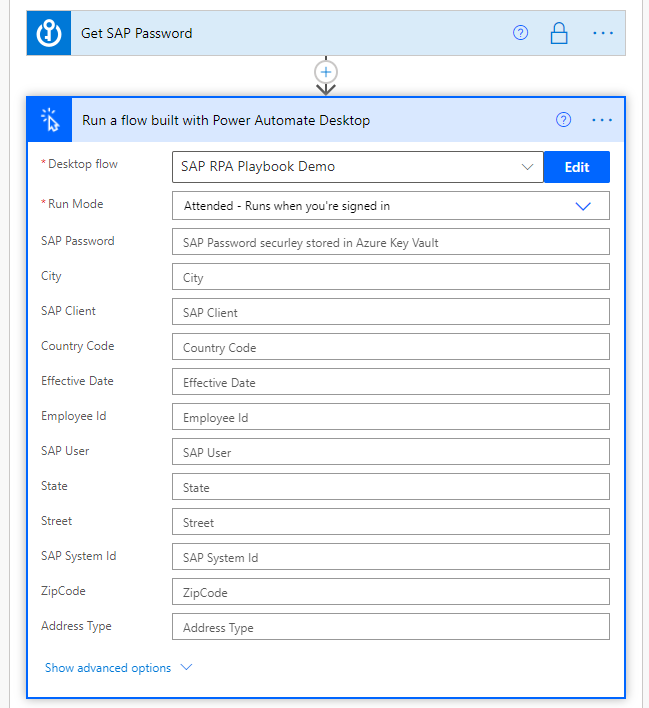
For Desktop flow, select SAP RPA Playbook Demo. For Run mode, select Attended – Runs when you're signed in.
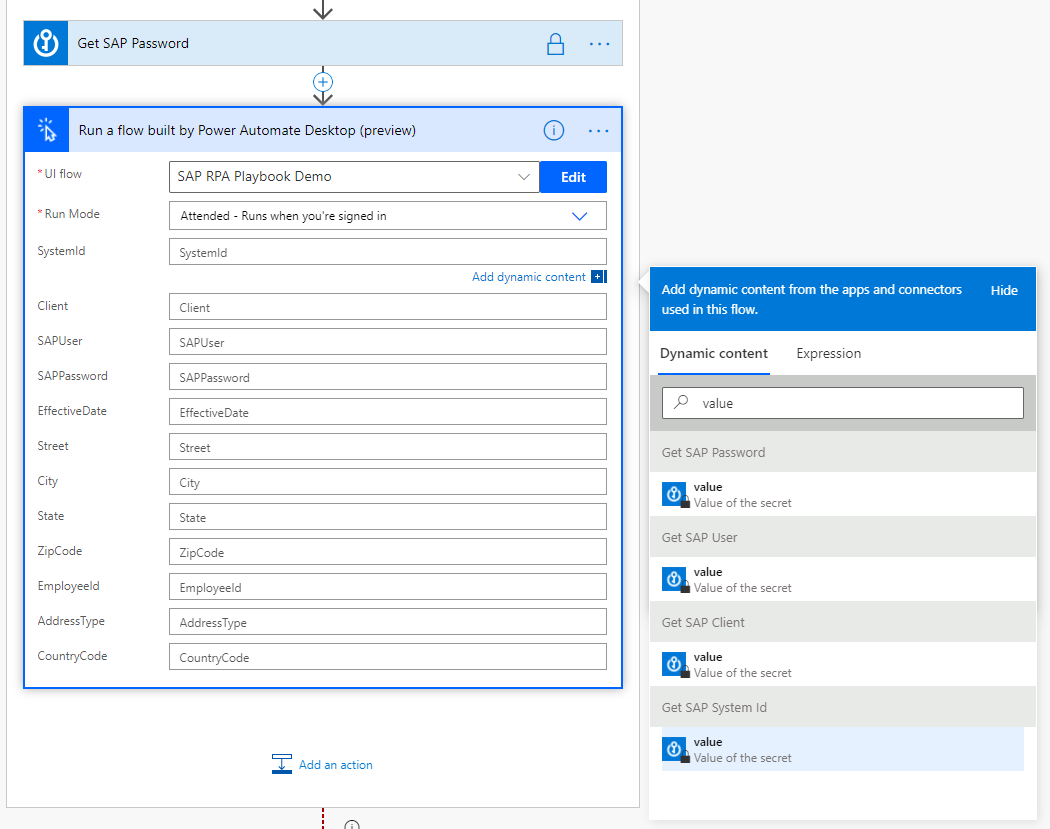
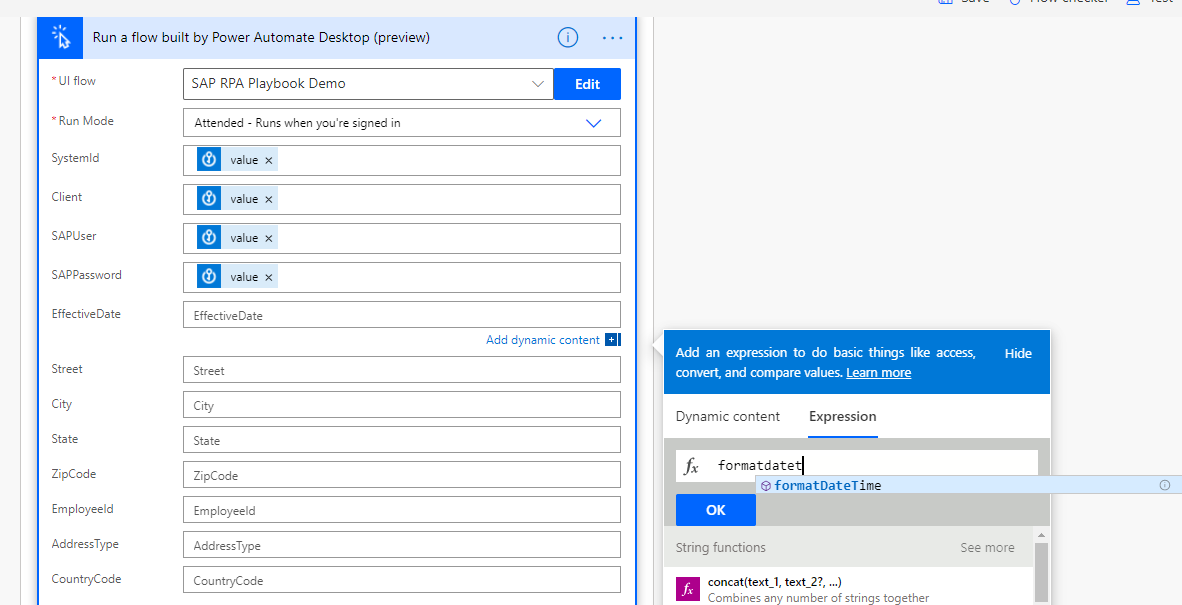
Select the System Id field, and then select value from the Get SAP System Id action output in the Dynamic content list.
Check the expected date time format in SAP and make adjustments if needed by using the formatDateTime function. For example, use formatDateTime(triggerBody()['date'],'dd.MM.yyyy') to get a date formatted day-month-year, as in the German-formatted date of 13.10.2020.
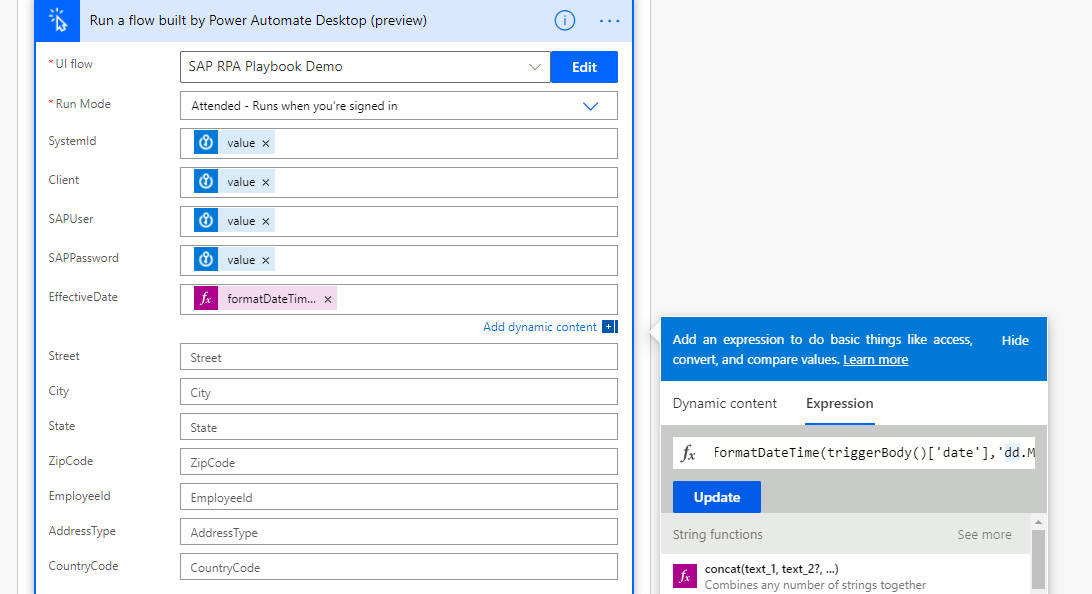
Supply the data for all other fields by selecting the appropriate property from the trigger Dynamic content list for the cloud flow.
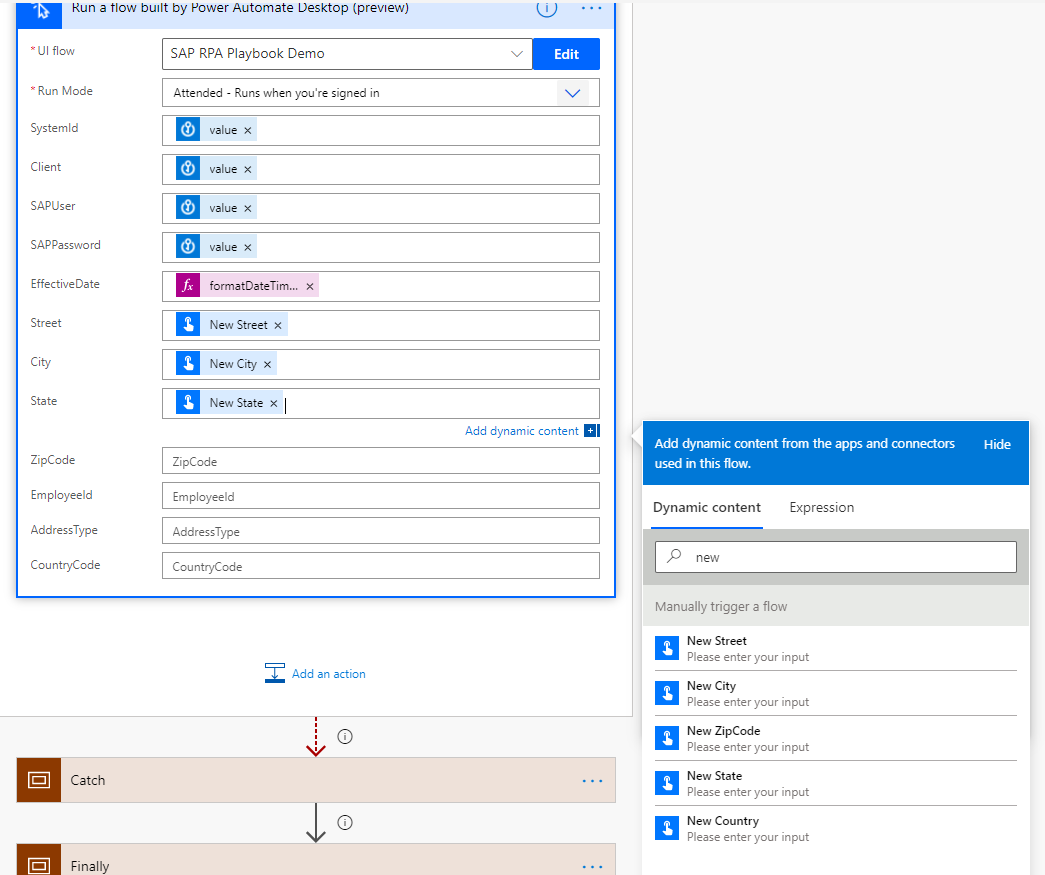
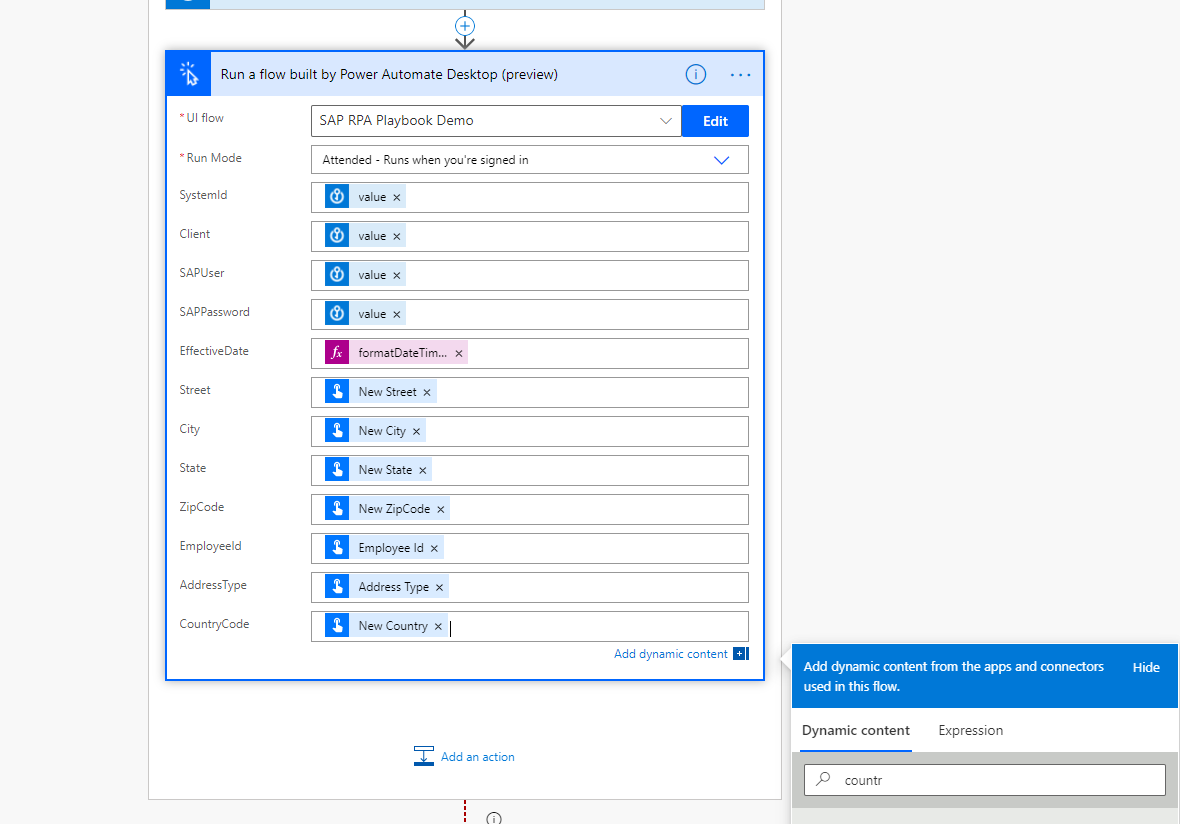
Screenshot of the Run a flow built by Power Automate Desktop dialog with the following variables and their settings: SystemId, Client, SAPUser, SAPPassword all set as secret values; EffectiveDate as formatDateTime, Street as New Street, City as New City, State as New State, ZipCode as New ZIP Code, EmployeeId as Employee ID, AddressType as Address Type, and CountryCode as New Country.
Select Save to save the flow.

Select Test.
Select I'll perform the trigger action, and then select Save & Test.

Authenticate if needed, and then select Continue.
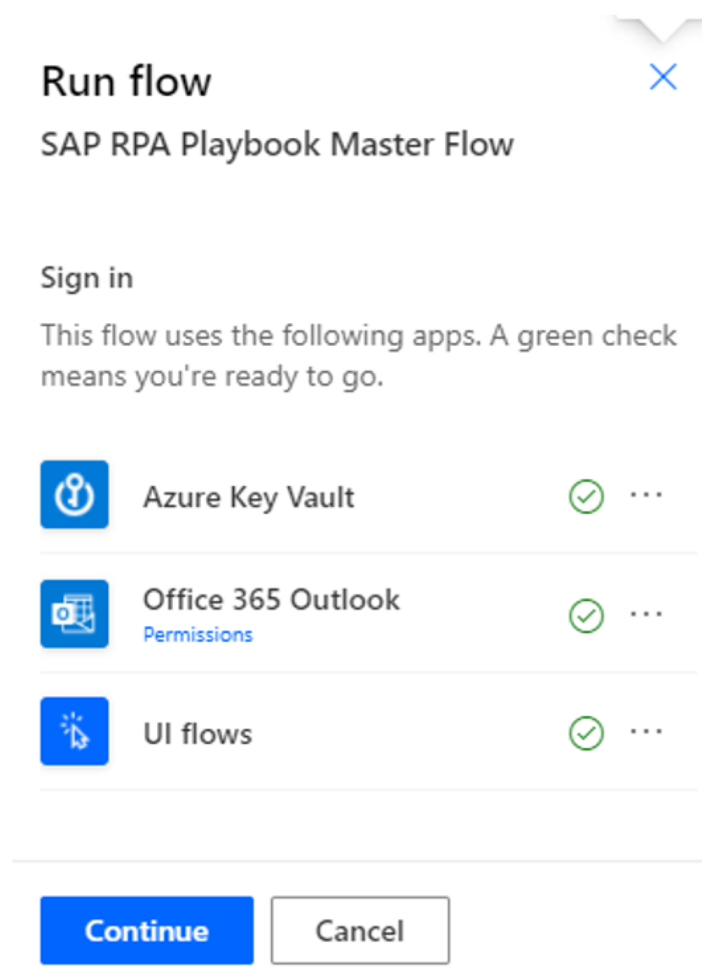
Supply values for all variables, and then select Run flow.
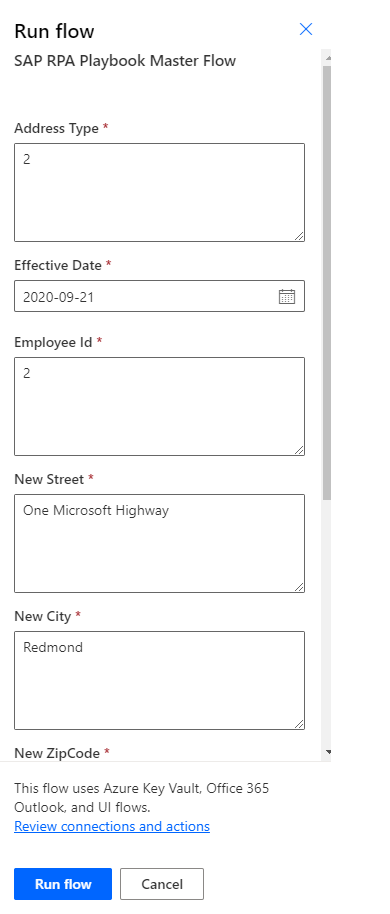
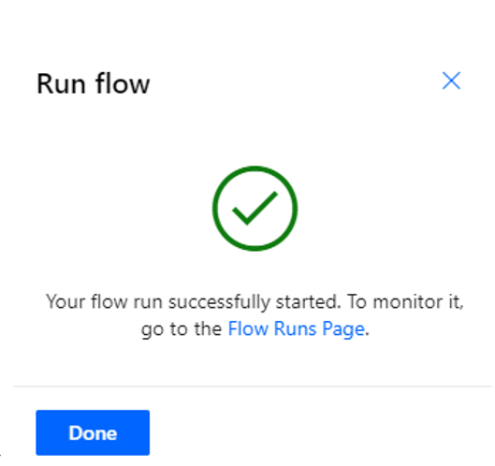
Select Done.
Note
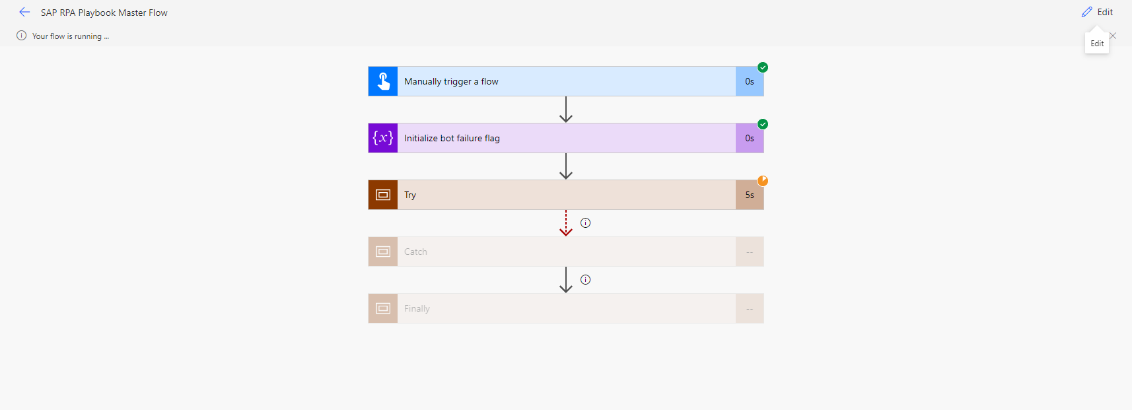
Don't interact with your mouse or keyboard until the process is completed.
The cloud flow starts and calls the desktop flow, which enters data into SAP.
Congratulations! You've successfully implemented two SAP GUI automation techniques. We're excited to see what you build next with SAP and Power Automate.