Note
Access to this page requires authorization. You can try signing in or changing directories.
Access to this page requires authorization. You can try changing directories.
Similar to the Power Automate Launch Panel in SharePoint, you can run flows on specific files in OneDrive for Business.
This feature enables the person running the flow to use their own credentials, which is especially applicable for flows that have been created by an IT department.
Users can also get prompts for runtime inputs like Approver or Message, which can be of type text, file, email, Boolean, or number.
In this tutorial, we'll create a simple flow that uses one of the many OneDrive for Business templates to request approval of a file by the requestor's manager.
Create a cloud flow that requests manager approval for a file in OneDrive for Business
Sign in to OneDrive for Business.
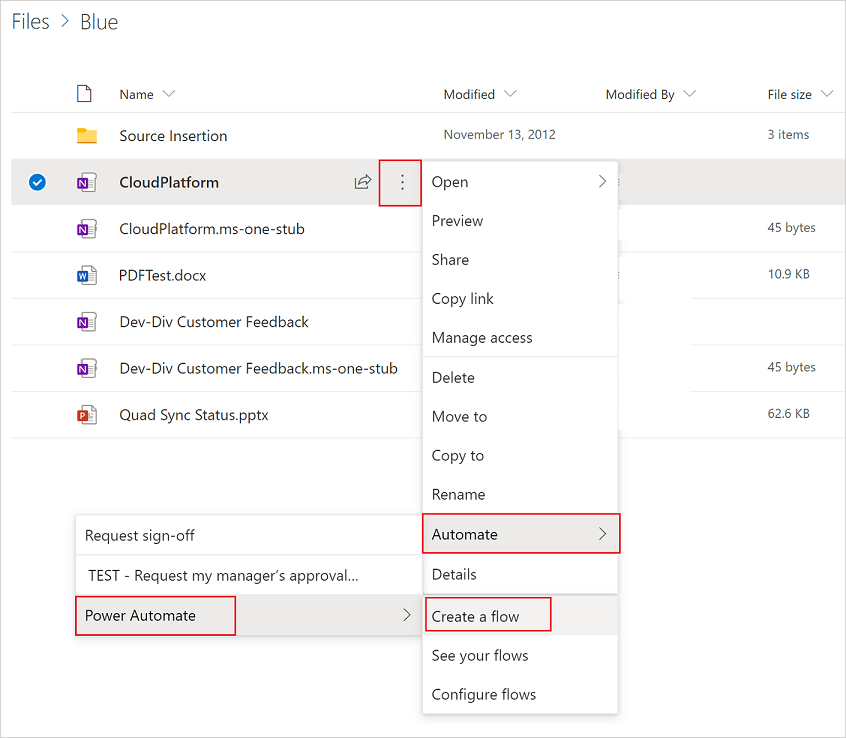
Find, and then select the file for which you want to create the flow.
Select the Show actions link (three dots).
Select Automate > Power Automate > Create a flow.
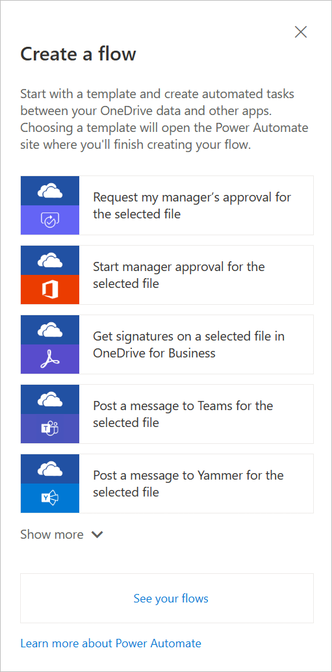
Select one of the available templates.
In this example, select the Request my manager's approval for the selected file template.
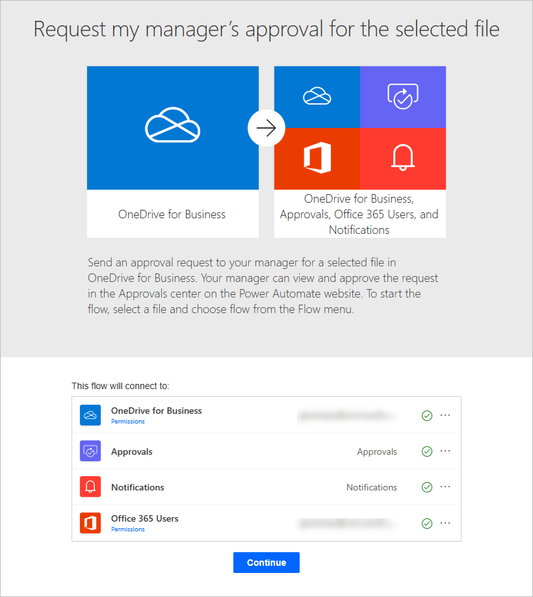
Sign in to the required connectors, and then select Continue.
Make any changes you want to the template and then save your flow with a name that you'll remember easily.
Run the flow
Sign in to OneDrive for Business.
Find, and then select the file for which you want to request manager approval.
Select the Show actions link (three dots).
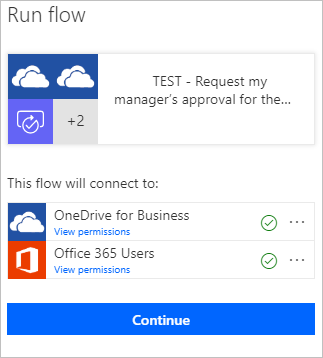
Select Flow. You'll see the flow that you created earlier.
Select the flow you created earlier.
Tip
While this tutorial shows how to create a cloud flow from a template, you can also create a cloud flow from blank to use any of the hundreds of connectors available in Power Automate.