Note
Access to this page requires authorization. You can try signing in or changing directories.
Access to this page requires authorization. You can try changing directories.
This article shows you how to create an approval flow for new documents (invoices) when they're added to a SharePoint document library. Once they're added, you can attach documents to the approval request.
In the approval process, every time a new invoice is added to a SharePoint library, a request is sent for someone to review its contents. If they approve the request, the invoice files are moved to a folder.
To learn how to trigger approvals from a SharePoint document library, check out this short video:
For more detailed instructions, follow the procedures in this article.
Create a flow from a template
Before you start, you need to create some folders in Sharepoint. Then, you can create a flow from a template in Power Automate.
On the navigation pane in SharePoint, select Documents.
Create two folders, such as Incoming Invoices and Reviewed Invoices.
On the navigation pane in Power Automate, select Templates.
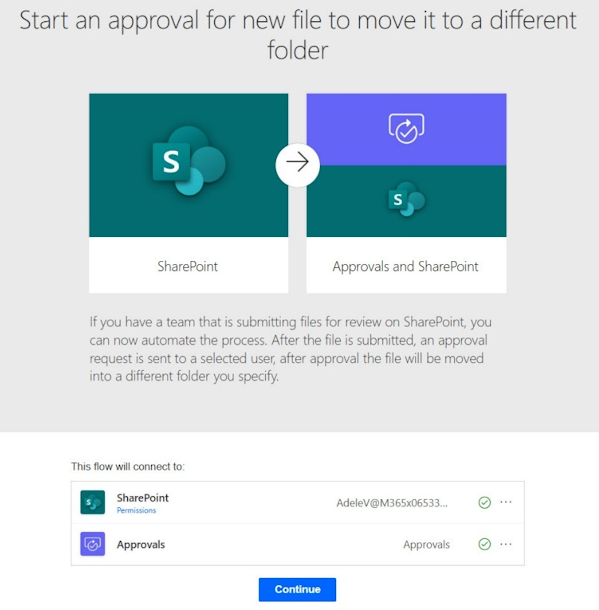
In the Search templates field, begin typing Start an approval for new file to move it to a different folder. When the template appears in the search results, select it.
This template provides us with a flow that is configured to set up an approval process for a SharePoint document library.
Confirm that all the connections listed have a green checkmark, and then select Continue. A cloud flow is created.
You might need to sign in or create to see the green checkmarks.
Update the trigger parameters
Continue by updating the trigger input parameters.
Select the trigger card.
In the Site Address field, select the SharePoint site that contains your list.
If the SharePoint site doesn’t appear on the list, type in your SharePoint site URL.
In the Library Name field, select the library in your SharePoint site where the folders reside.
Under Advanced parameters, select Show all to display the Folder input parameter.
In the Folder field, select the folder icon, and then select the folder where you'll upload the incoming files to be reviewed through an approval request.
Close the Parameters panel.
Add an action
Add an action that allows you to retrieve the content of the file.
- Select the plus sign (+) below the trigger.
- In the Search for an action or connector field, enter sharepoint get file content.
- Scroll down to find and select the Get File Content action.
Configure your flow
In the Get File Content action screen, Parameters tab, update the following input parameters:
In the Site Address field, select the same SharePoint site that contains your list.
If the SharePoint site doesn’t appear on the list, type in your SharePoint site URL.
In the File Identifier field, type a forward slash (/) and select the thunderbolt icon to load the dynamic content picker.
In the dynamic content picker Search field, start typing identifier. When it appears in the list, select Identifier.
In the designer, select the Start and wait for an approval action and update the following input parameters:
In the Title field, enter a title for the approval request, such as A new file needs your view and approval.
In the Assigned to field, select a user to be the approver of the approval request, such as yourself.
In the Details field, enter details for the approval request for the approver, such as Please approve this file - .
You can also include the file name including the extension by selecting the File name with extension property from the trigger using the dynamic content picker.
In the Item link field, use the dynamic content picker to find and select the Link to item property from the trigger.
In the Item link description field, use the dynamic content picker to find and select the Name property from the trigger.
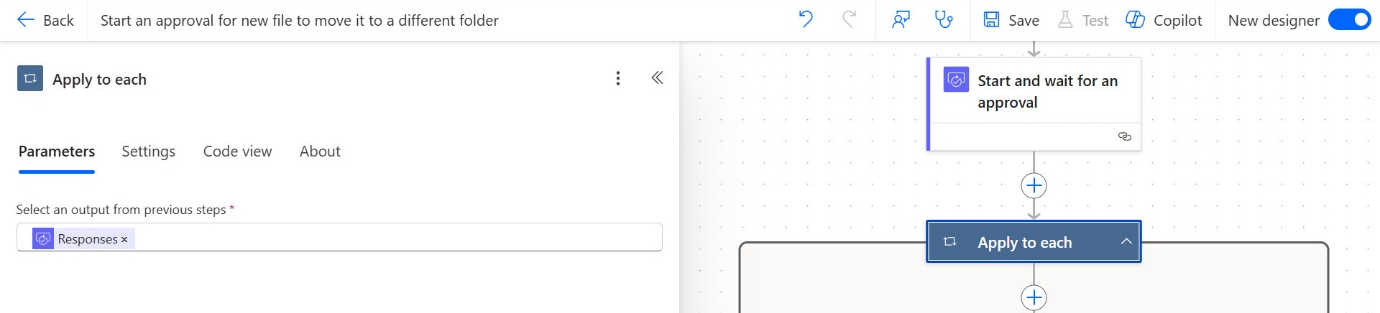
In the designer, select the Apply to each action. This action loops through each response of the approvers for the approval request. In this example, only one approver was added, so the flow processes only one response.
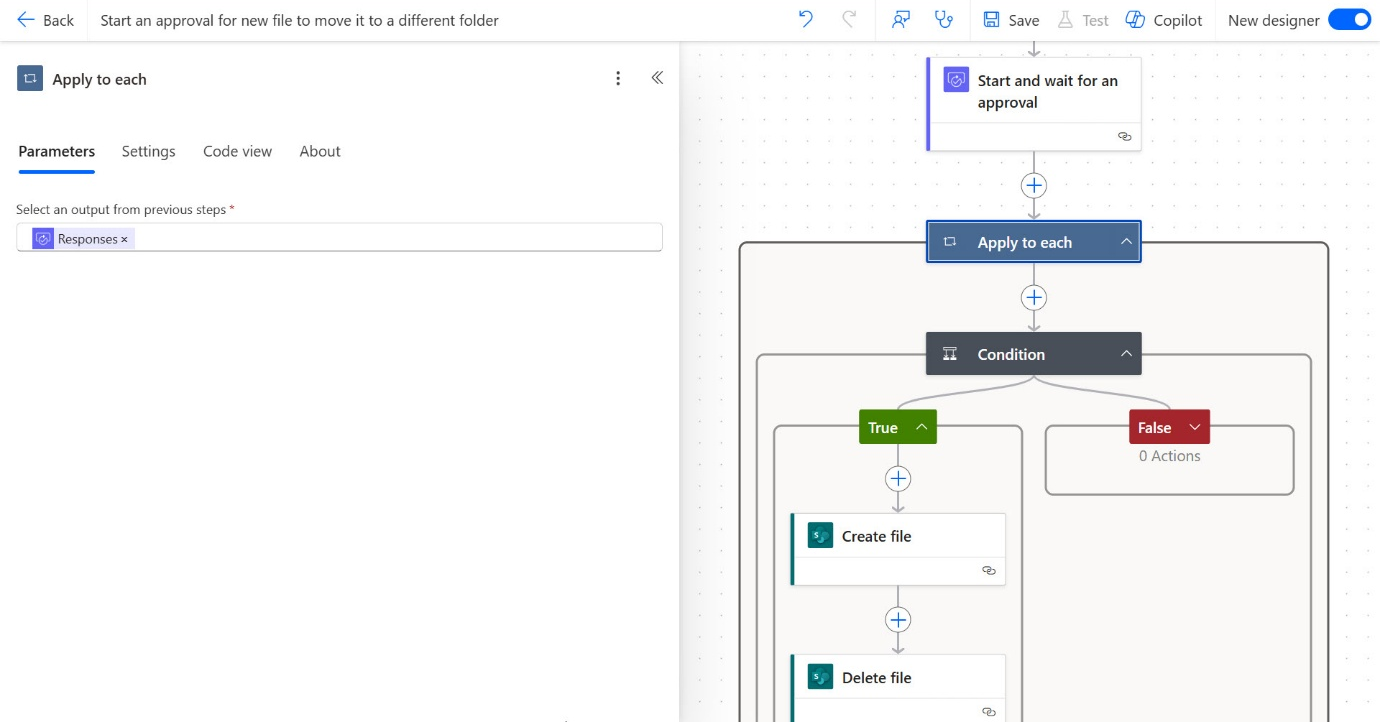
In the designer, select the Condition action. This action checks whether the Approver Response value from the first responder equals
Approve.The condition action has two branches that represent a set of actions to be executed if the condition is met (True) or not met (False). When the file is approved, the True branch processes the two actions, which creates the file in the second folder, and deletes the existing file in the original folder. Otherwise, if the file is rejected, the False branch processes with no further automation.
In the designer, select the Create file action and update the following input parameters:
- In the Site Address field, select the SharePoint site that contains your list. If the SharePoint site doesn’t appear on the list, type your SharePoint site URL.
- In the Folder Path field, select the folder where you plan to put the incoming files to be reviewed with an approval.
- In the File Name field, use the dynamic content picker to find and select the File name with extension property from the trigger.
- In the File Content field, use the dynamic content picker to find and select the File Content property from the Get File Content action.
In the designer, select the Delete file action and update the following input parameters.
- In the Site Address field, select the SharePoint site that contains your list. If the SharePoint site doesn’t appear on the list, type in your SharePoint site URL.
- In the File Identifier field, use the dynamic content picker to select the File Identifier property from the trigger.
Test your flow
You're done configuring the flow. You can now test it.
On the menu bar, select Save. You might get a warning message from the Flow checker. You can dismiss it.
Once the flow is saved, select Test.
Select Manually > Test.
Power Automate indicates to you when the flow is in test mode.
When it's in test mode, upload a new file to the Incoming Invoices folder in the SharePoint document library that you specified earlier.
The flow continues to run the test.
Respond to the approval request
The person to whom you assigned the approval now receives the approval request in various places where they can approve or reject it. The file to review is provided as a hyperlink for easy reference.
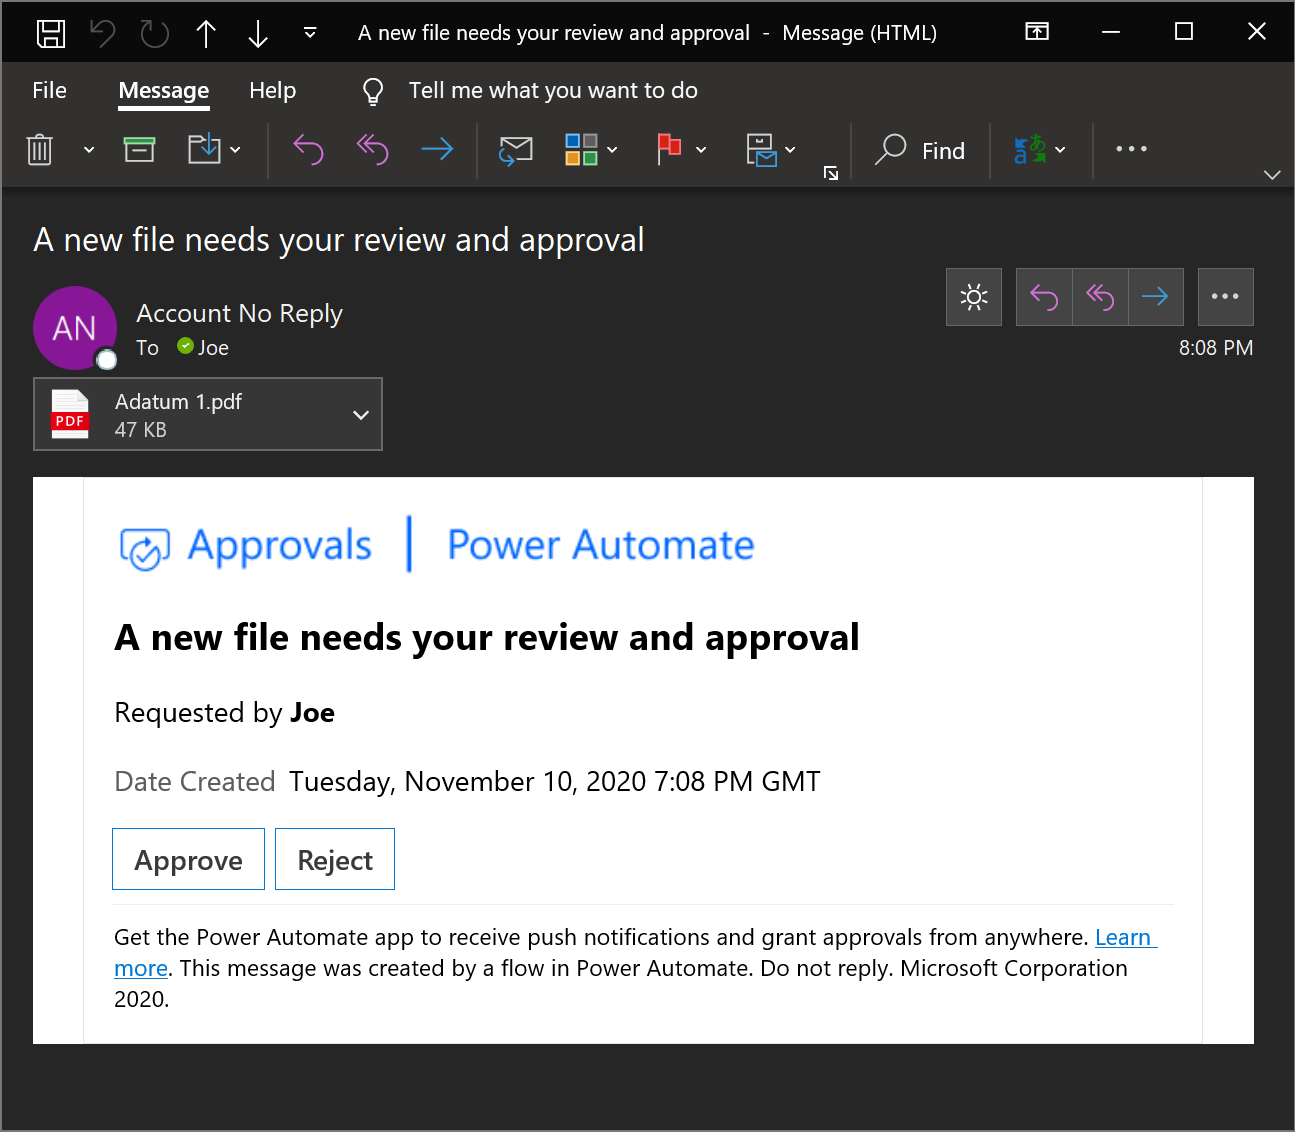
By email
The email looks like the following screenshot with a hyperlink to the file in SharePoint.
If the email doesn't display correctly, make sure you have the latest updates in your Outlook app, or use the web version of Outlook.
In Power Automate maker portal, in the Approvals section
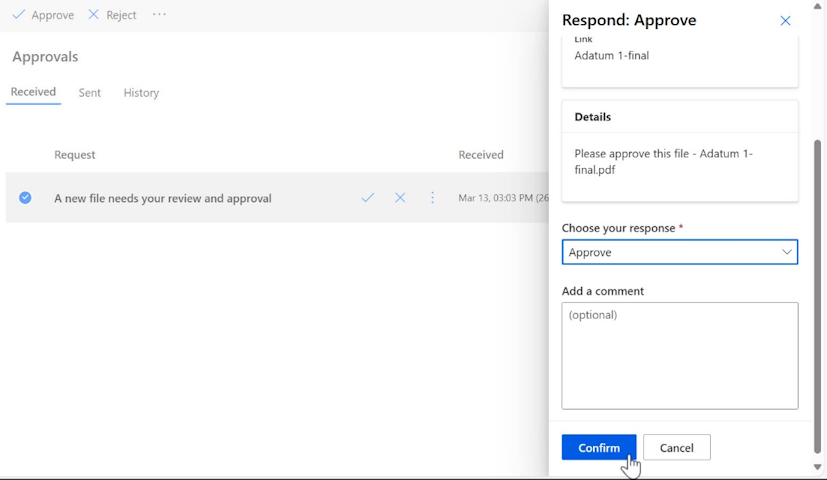
The approver gets a list of their approval requests in the Received tab. When the request is selected, the Respond panel appears where the approver can review the request, including select the link which loads the SharePoint file to review in a new browser tab.
Scroll down the Respond panel and in the Choose your response dropdown list, select Approve.
Select Confirm.
Once the request is approved or rejected, the flow test run continues. If the request was approved, the True branch processes. Otherwise, the False branch processes.
Since the request in this example was approved, the file uploaded in the original folder was deleted and created in the other folder.