Note
Access to this page requires authorization. You can try signing in or changing directories.
Access to this page requires authorization. You can try changing directories.
The Power Automate designer is a rich tool in which you can configure every detail of your logic. However, sometimes you may want to just sketch your flow logic before you start building your flow. To do this, use Microsoft Visio directly from within Power Automate.
Tip
Many processes share a common model but have minor variations throughout an organization. You can save time within your organization by using Visio to create a master workflow model that others will then adjust with specialized parameters.
Note
This feature isn't available for GCC (Government Community Cloud), GCC High, or DoD (Department of Defense) customers.
Prerequisites
- A Power Automate account.
- The Microsoft Visio desktop app (English version).
- Expertise in using Microsoft Visio.
Design a workflow in Visio
Sign in to Power Automate.
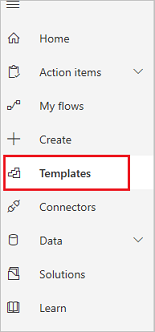
From the left pane, select Templates.
From the menu at the top, select Visio.

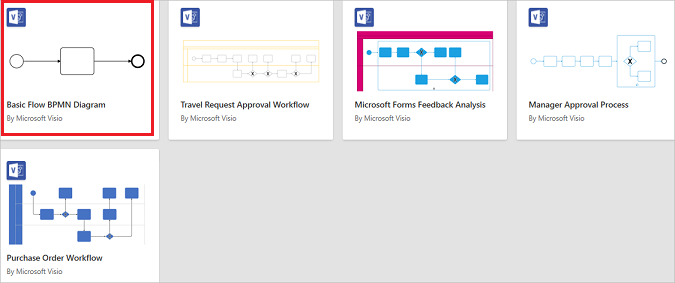
From the list of Visio templates, select Basic Flow BPMN Diagram.
Important
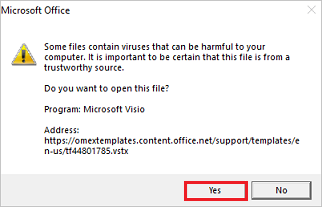
Visio warns you that files from the Internet could harm your device. If you are comfortable, select YES on the warning message.
The Visio designer opens.
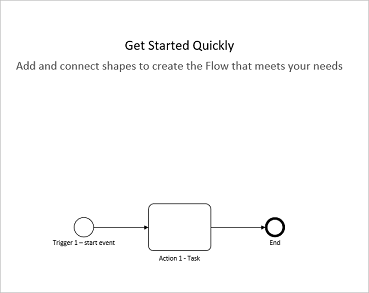
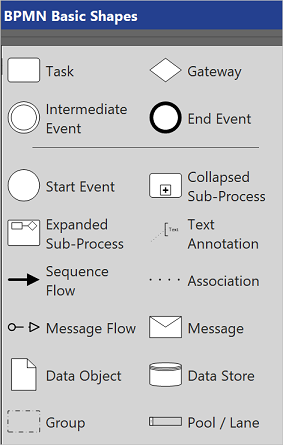
Use the BPMN basic shapes to design your workflow.
Prepare to export your workflow to Power Automate
Follow these steps to prepare your workflow so that you can export it to Power Automate.
Select the Process tab.
Select Prepare to Export from the Power Automate group of icons.

The Prepare to Export group opens.
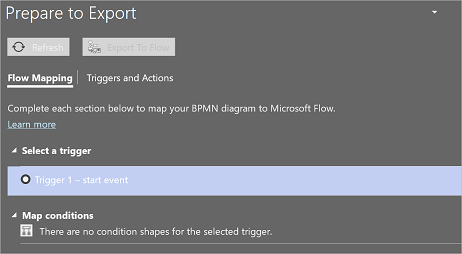
On the Flow Mapping tab of the Prepare to Export group, map your BPMN diagram to Power Automate controls.
On the Triggers and Actions tab of the Prepare to Export group, select each shape, and then select either a trigger or an action to map your BPMN diagram to Power Automate triggers and actions. This mapping is to represent that shape in Power Automate.
You can export your workflow when no issues remain on the Prepare to Export control.
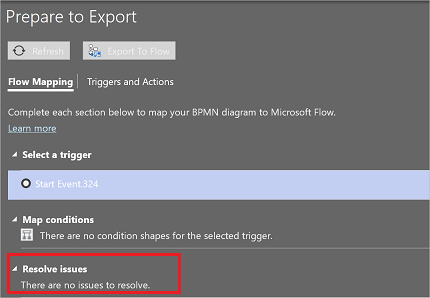
Export your workflow
Select the Export to Flow button to export your workflow diagram to Power Automate.
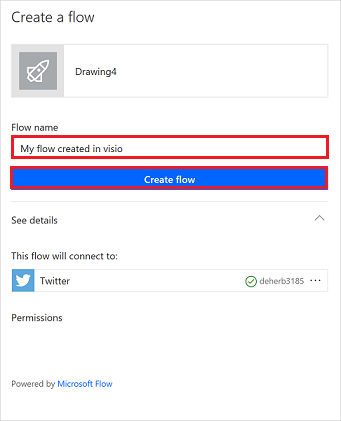
Name your flow and then select the Create flow button.
You should see a success report similar to this one.
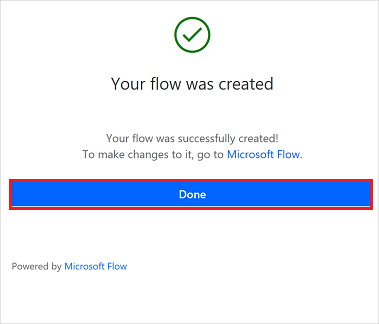
You can now run or make edits to your flow from the Power Automate designer, just like any other flow.
Tip
Use Visio's sharing and commenting capabilities to collaborate with multiple stakeholders and quickly create a complete workflow .