Save a Power BI paginated report to a local folder with Power Automate
With Power Automate, you can automate exporting and distributing Power BI paginated reports to a variety of supported formats and scenarios. In this article, you use a template to set up recurring exports of a paginated report to your file system, in a desired format. See the Prerequisites if it's your first time using the Export to File for Paginated Reports action in a Power Automate flow.
Looking for other Power Automate templates for Power BI paginated reports? See Export Power BI paginated reports with Power Automate.
Prerequisites
To follow along, make sure you meet these criteria:
- You can publish to My Workspace, or you have at least a Contributor role for any other workspace.
- You have access to the standard connectors in Power Automate, which come with any Office 365 subscription.
Save a Power BI paginated report to a local folder
Sign in to Power Automate flow.microsoft.com.
Select Templates, and search for paginated reports.
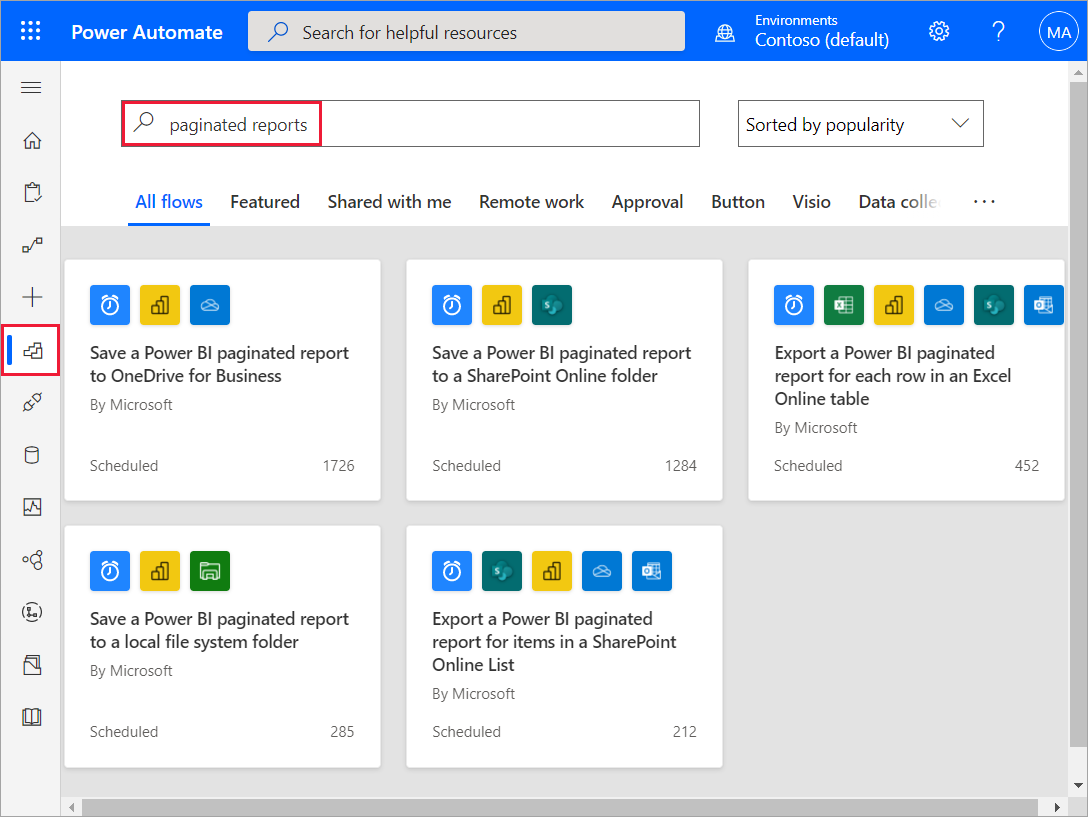
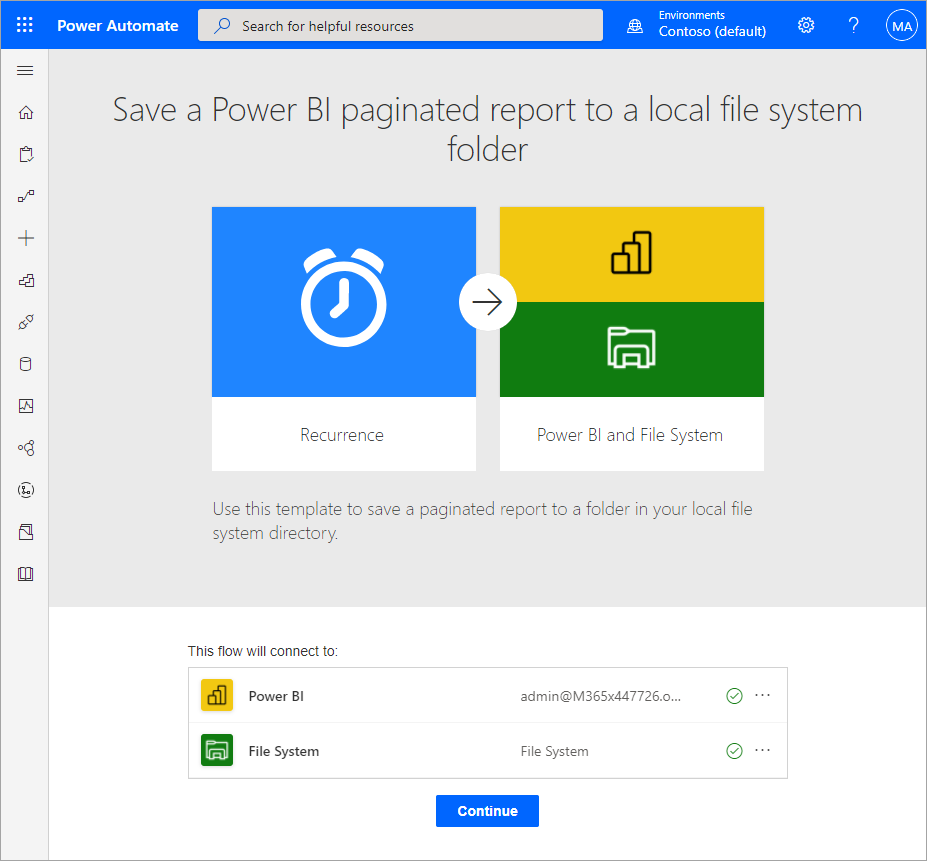
Select the Save a Power BI paginated report to a local file system template. Make sure you're signed into Power BI and connected to your local file system. Select Continue.
If you need a new connection, select the ellipses and choose Add new connection to connect to your file system. Enter a Connection Name, the path to your desired Root folder, and authenticate by entering your User name and Password. Select a gateway from the list if you're using an on-premises data gateway.

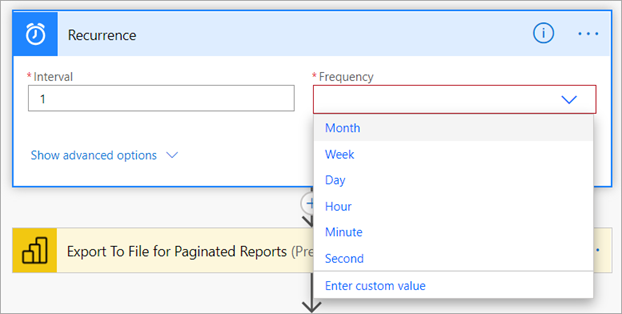
To set the Recurrence frequency for your flow, select an option from the Frequency dropdown and enter a desired Interval value.
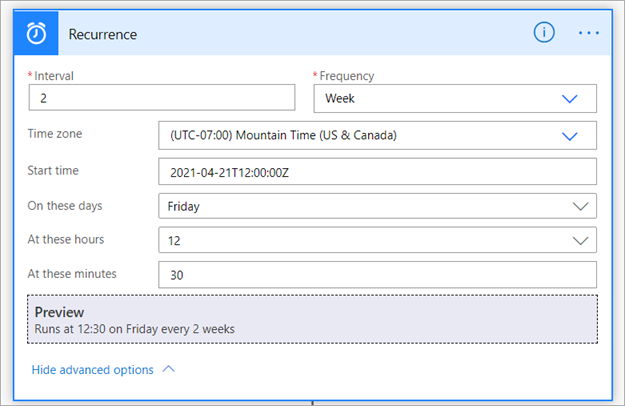
Optionally, select Show advanced options. Set additional Recurrence parameters such as Time zone, Start time, On these days, At these hours, and At these minutes.
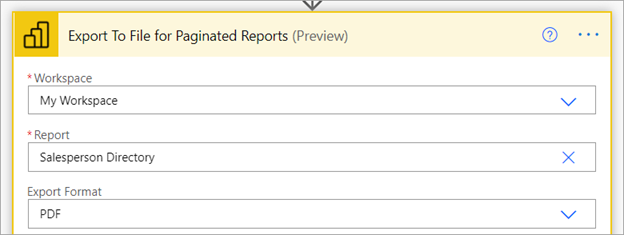
In the Workspace box, select a workspace in a reserved capacity where the report is. In the Report box, select the paginated report that you wish to export in the workspace. In the Export Format box, select the desired export format. Optionally, you can specify parameters for the paginated report. See detailed descriptions of the parameters in the connector reference for the Power BI REST API.
In the Create file dialog, in Folder Path, select the folder where you want to export your paginated report.
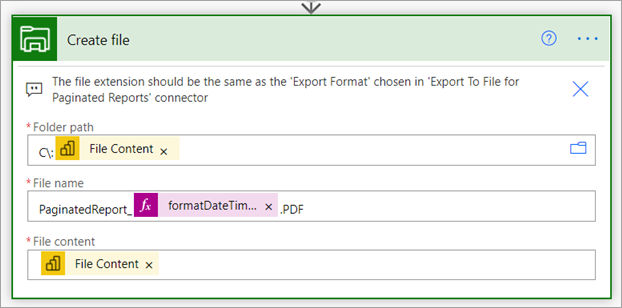
Power Automate automatically generates a File name and File content for you. You can modify the File name, but keep the dynamically generated File content value.
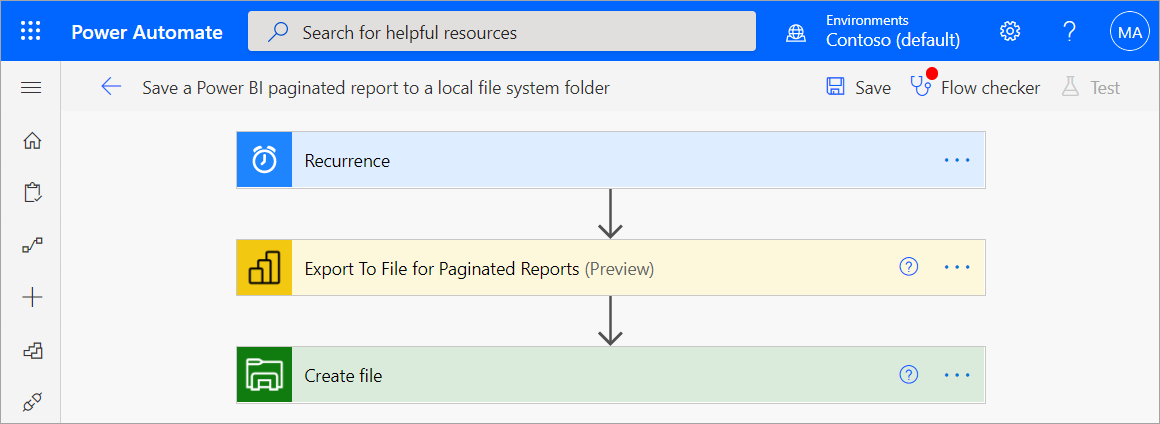
When you're done, select Next step or Save. Power Automate creates and evaluates the flow.
If Power Automate finds errors, select Edit flow to fix them. Otherwise, select the Back arrow to view the flow details and run the new flow.
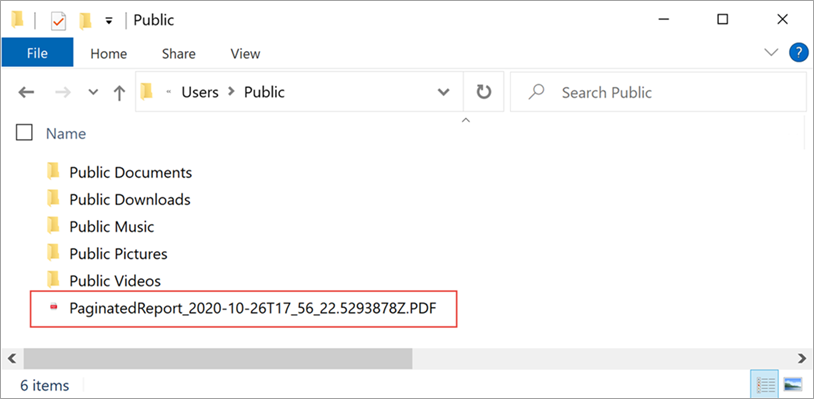
When you run the flow, Power Automate exports a paginated report in the specified format to the selected folder in your file system.