Note
Access to this page requires authorization. You can try signing in or changing directories.
Access to this page requires authorization. You can try changing directories.
Combining Fabric Git Integration with Azure DevOps, enables you to connect a workspace to a branch in an Azure DevOps repository and automatically synchronizes between them.
Integrating the PBIP format with Azure DevOps lets you use Azure Pipelines to automate Continuous Integration/Continuous Deployment (CI/CD) pipelines. These pipelines process the PBIP metadata files and apply a series of quality checks to your development before deploying it to the production system.
In this article, we focus on continuous integration and describe how to create an Azure DevOps pipeline that guarantees best practices for all semantic models and reports within a Fabric workspace. By implementing automated quality tests, you can prevent common mistakes, and enhances team efficiency. For example, this approach ensures that new team members adhere to established standards for semantic model and report development.
Learn more about PBIP and Fabric Git Integration in project-overview and Fabric Git integration overview.
The following diagram illustrates the end-to-end scenario with two development workflows that trigger the Azure DevOps pipeline to validate development quality. The pipeline execute does the following actions:

User 1 develops using Power BI Desktop.
- Create a branch from main using VS Code (feature/datasetchange)
- Make changes to semantic model using Power BI Desktop
- Commit changes to remote repository branch using VS Code
- Create Pull Request to main branch using Azure DevOps
At the same time, User 2 develops using another Fabric workspace.
- Create branch from main using Fabric Git (feature/reportchange)
- Make report changes in the Fabric workspace
- Commit changes to remote repository branch using Fabric Git
- Create Pull Request to main branch using Azure DevOps
The team lead reviews the Pull Requests and synchronizes the changes to the team workspace using Fabric Git.
The Pull Request triggers the Azure DevOps pipeline to inspect the semantic model and report development quality.
Note
In this example, the pipeline uses two open-source community tools that enable a developer to apply (customizable) best practice rules to the metadata of semantic models and reports within a Power BI Project folder:
An approach similar to the example in this article would apply to other community tools. This article doesn't delve into the specifics of the community tools, nor rule creation and editing. For in-depth information on these topics, refer to the links provided. The focus of this article is on the process of establishing a quality gate between source control and a Fabric Workspace. It's important to note that the referred community tools are developed by third-party contributors, and Microsoft doesn't offer support or documentation for them.
Step 1 - Connect Fabric workspace to Azure DevOps
Connect your Fabric workspace to Azure DevOps:
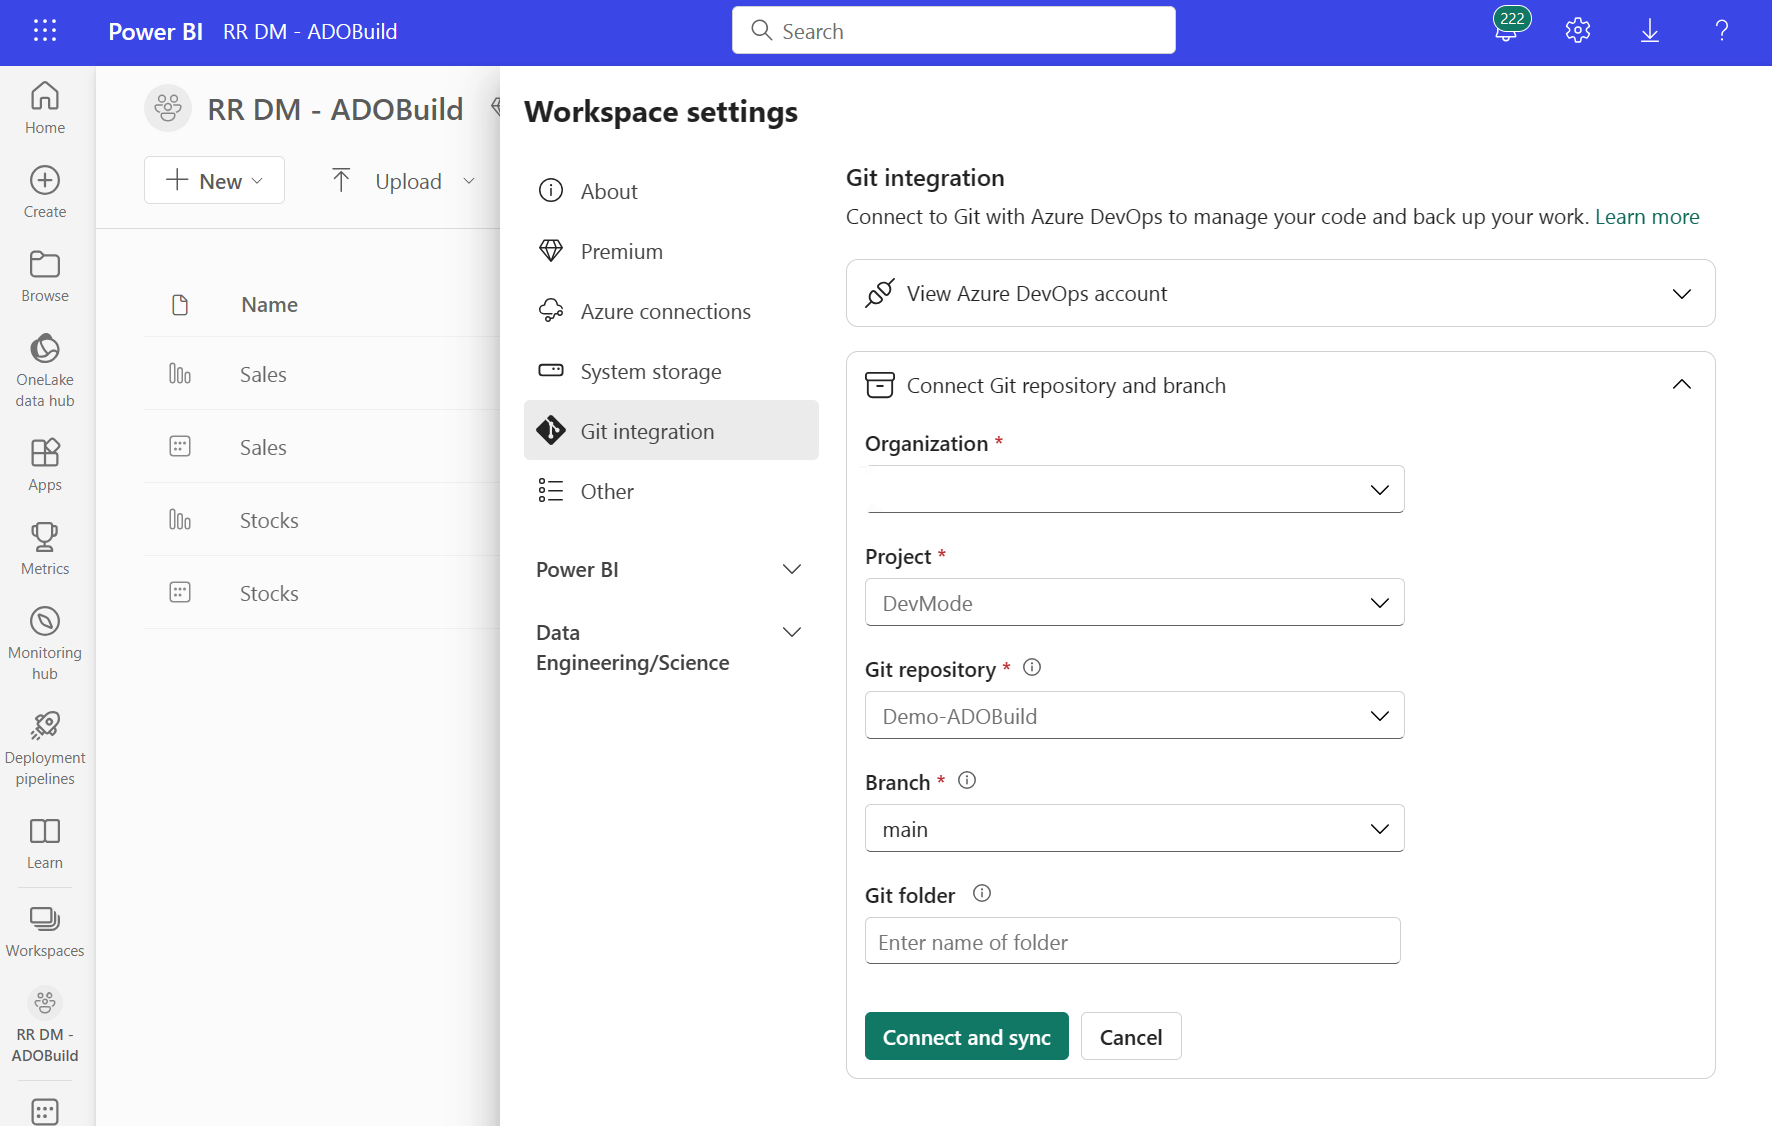
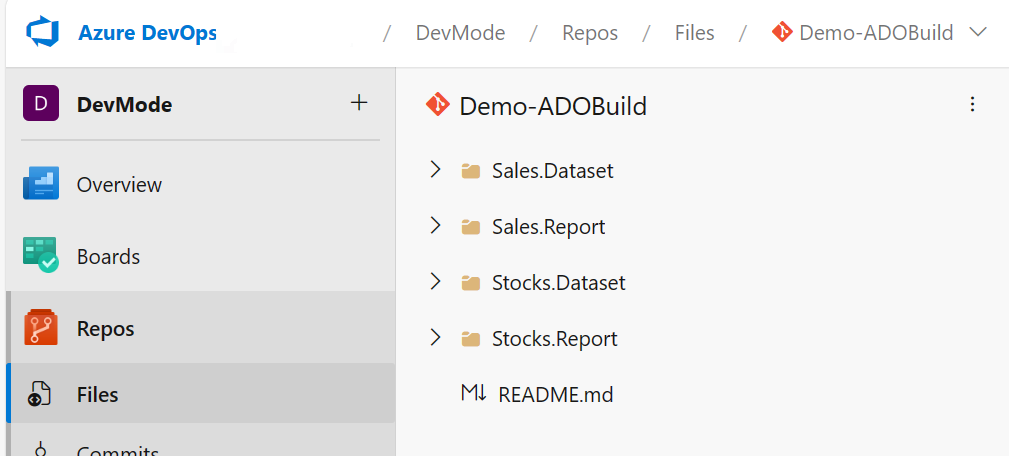
When Fabric Git integration finishes exporting your workspace items, your Azure DevOps branch contains a folder for each item in your workspace:
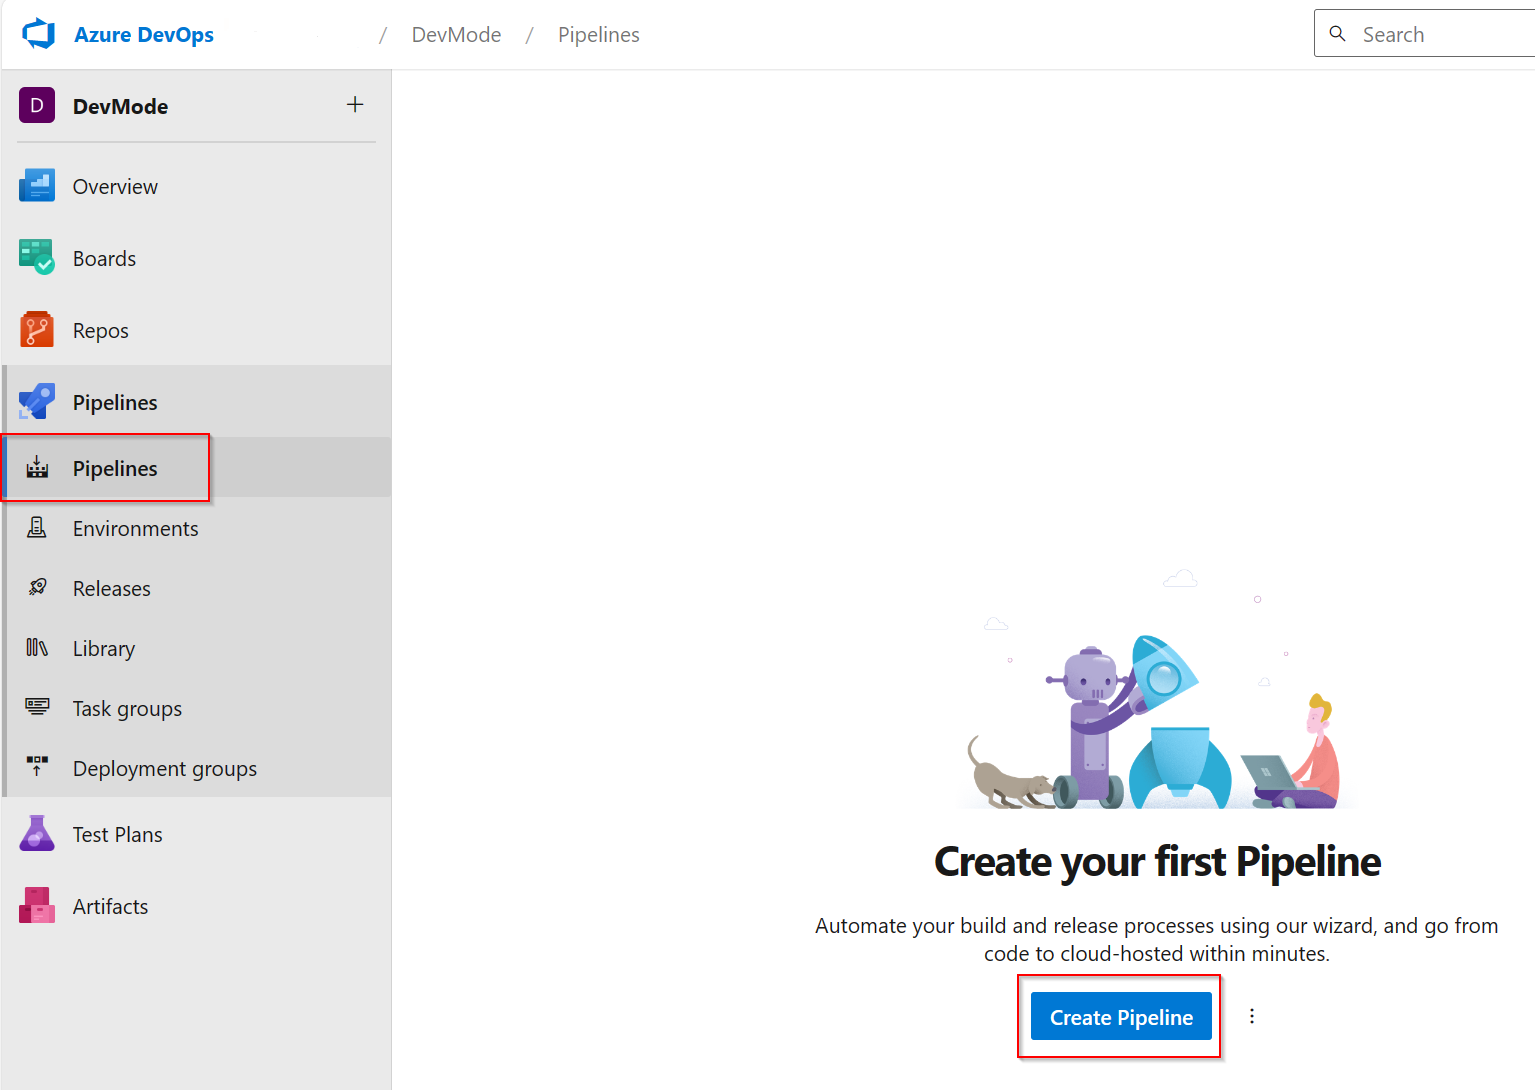
Step 2 - Create and run an Azure DevOps pipeline
To create a new pipeline:
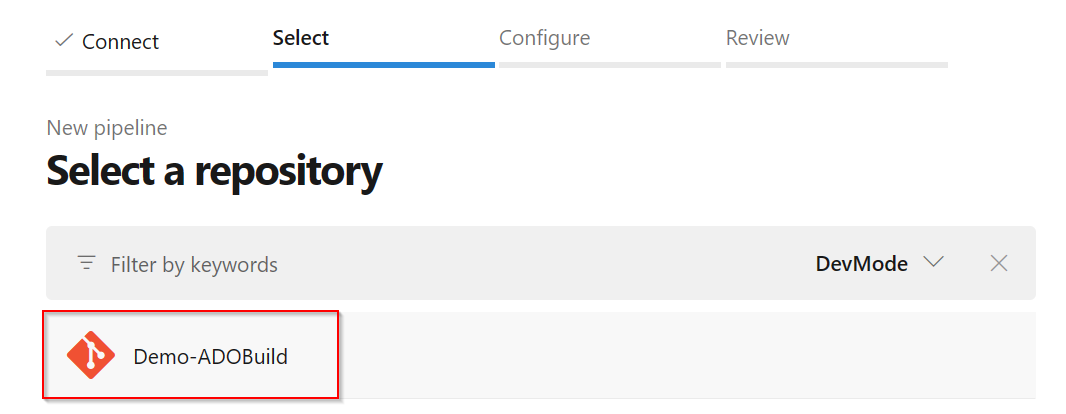
From the Pipelines tab of the left navigation menu, select Create Pipeline :
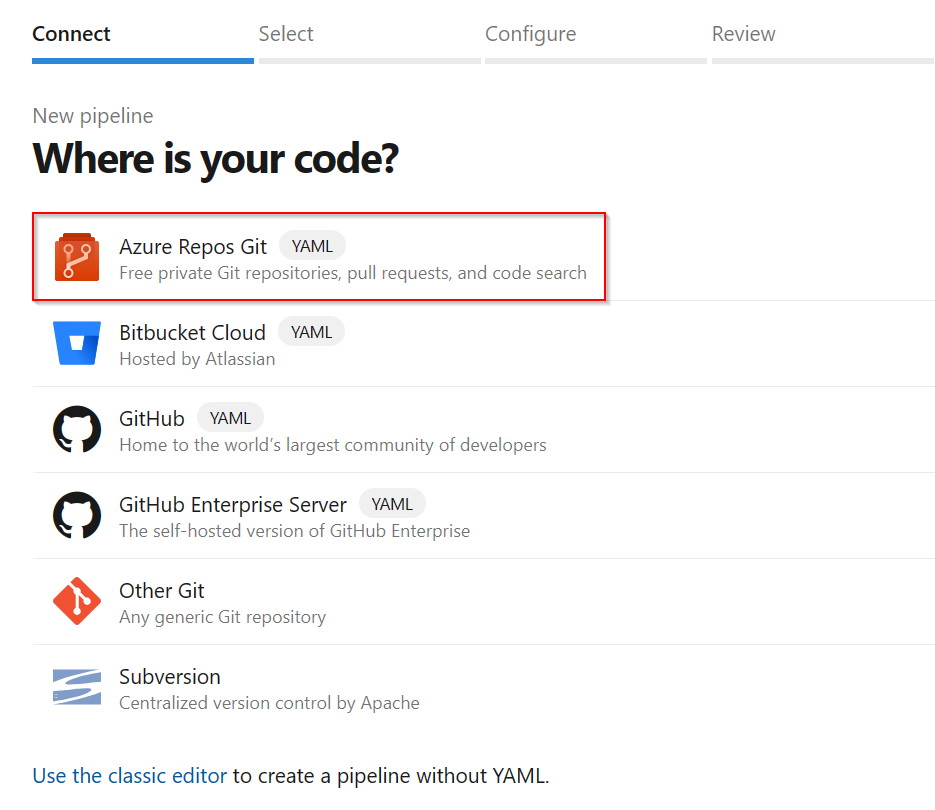
Select Azure Repos Git and select the first repository (the repository connected to the Fabric workspace):
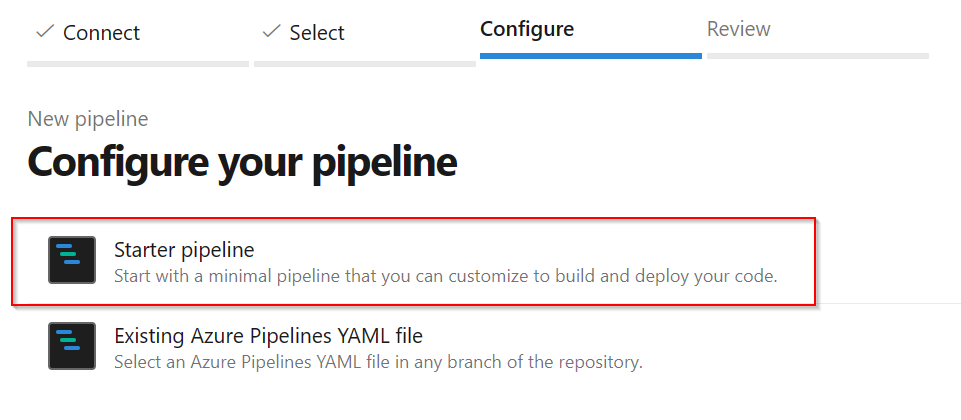
Select Starter pipeline.
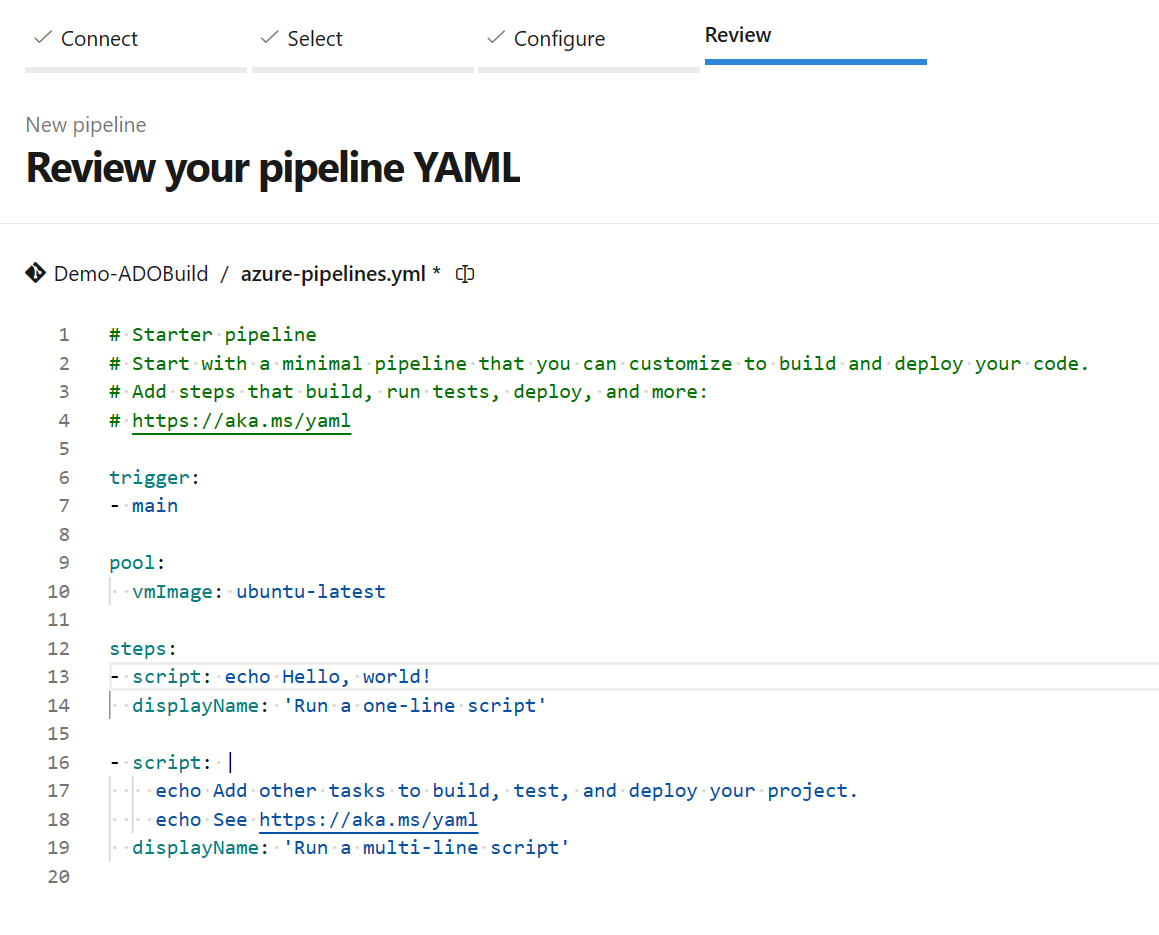
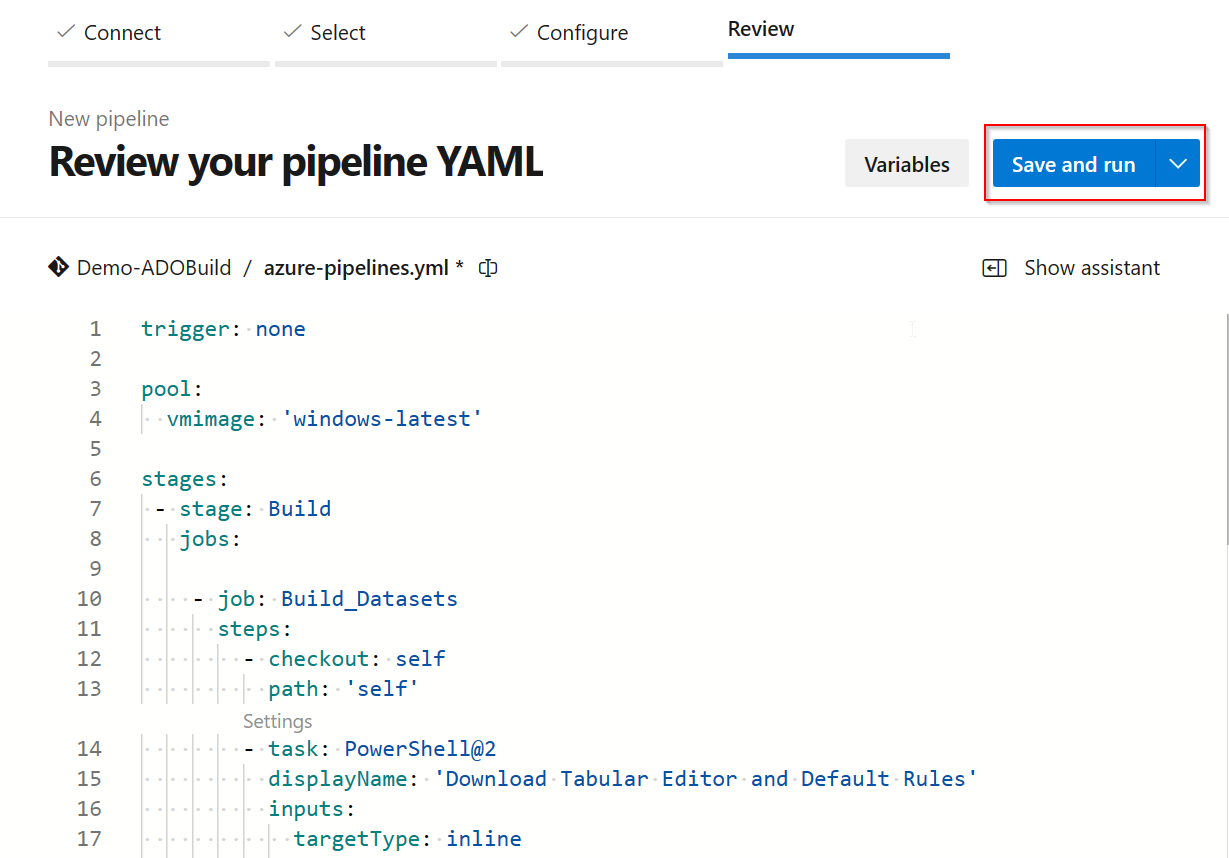
The following YAML code appears in the editor:
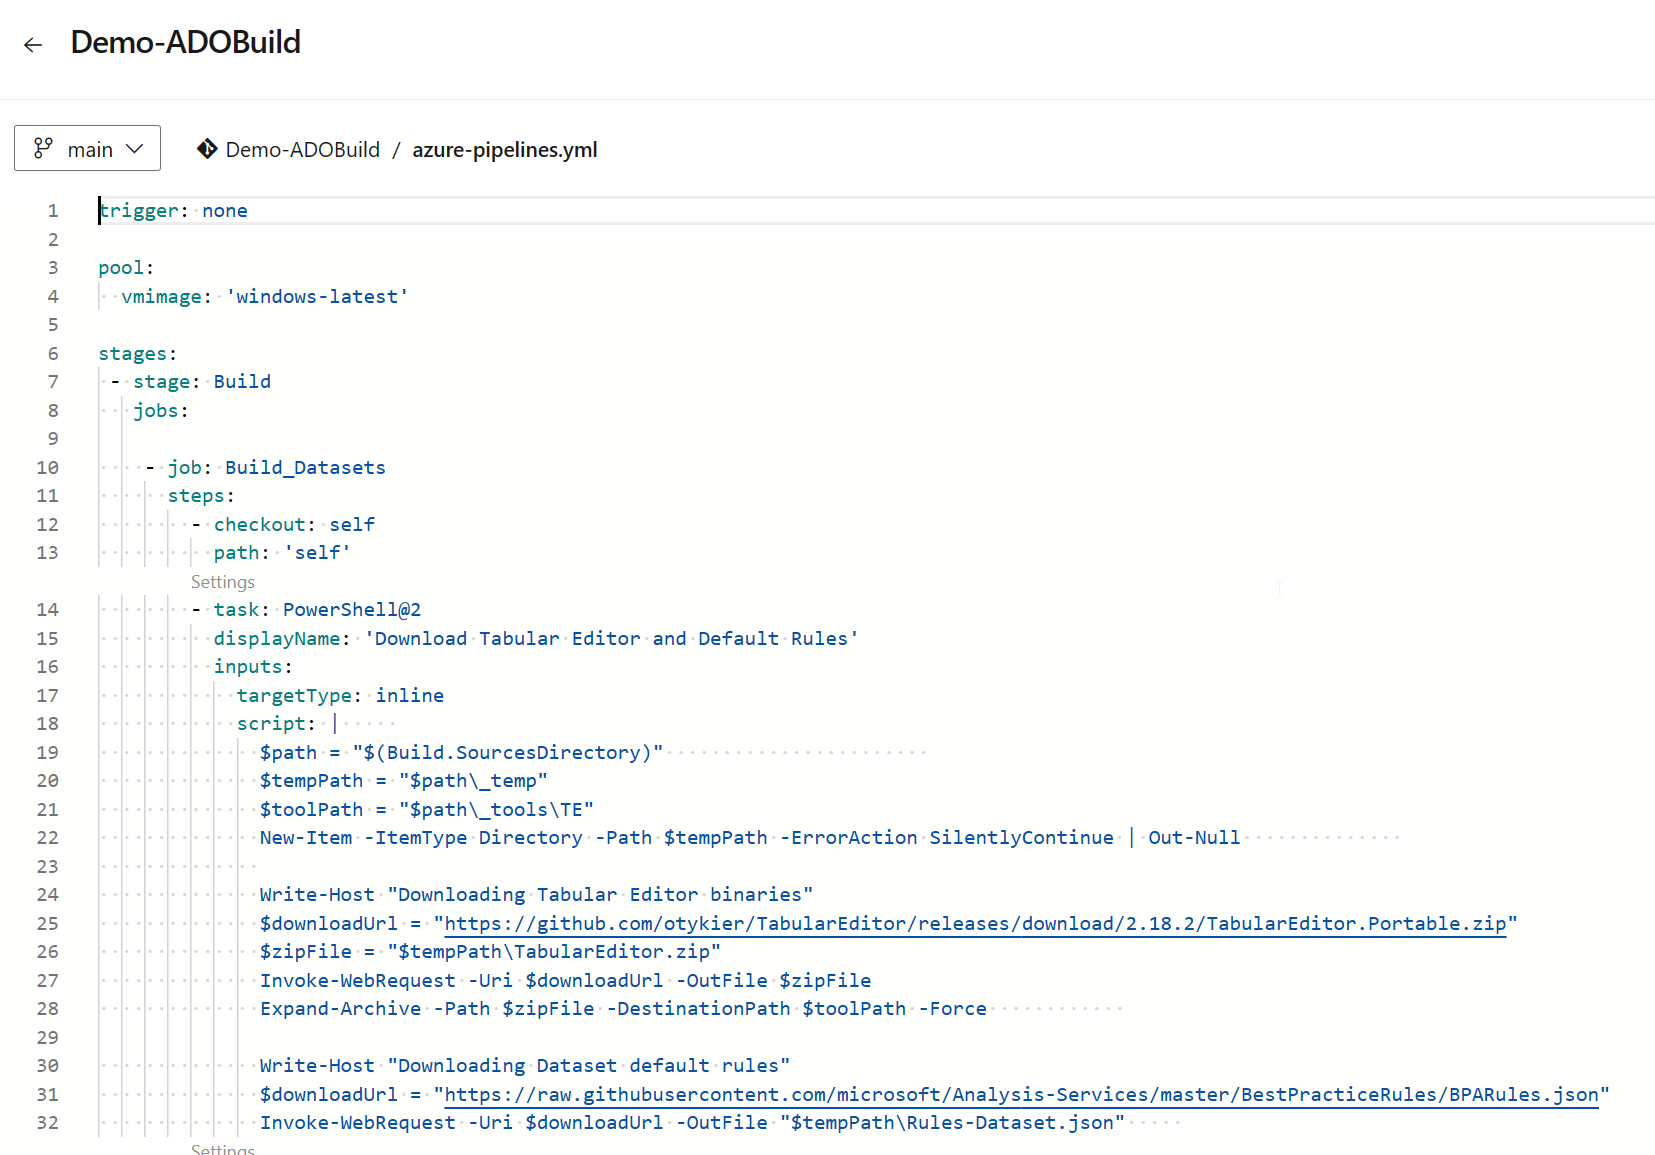
Copy and paste the YAML code from the Power BI developer mode pipeline into the pipeline you created:

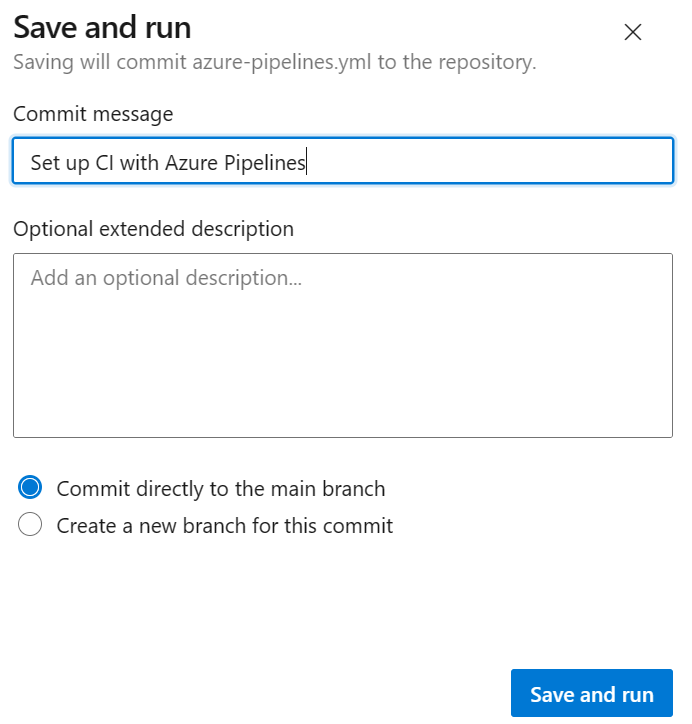
Select Save and Run to commit your new pipeline to the repository.
Azure DevOps runs the pipeline and starts two build jobs in parallel:

- Build_Datasets
- Downloads Tabular Editor binaries.
- Download Best Practice Analyzer default rules. To customize the rules, add a Rules-Dataset.json to the root of the repository.
- Cycle through all the semantic model item folders and run Tabular Editor BPA Rules.
- Build_Reports
- Download PBI Inspector binaries.
- Download PBI Inspector default rules. To customize the rules, add a Rules-Report.json to the root of the repository.
- Cycle through all the report item folders and run Power BI Inspector rules.
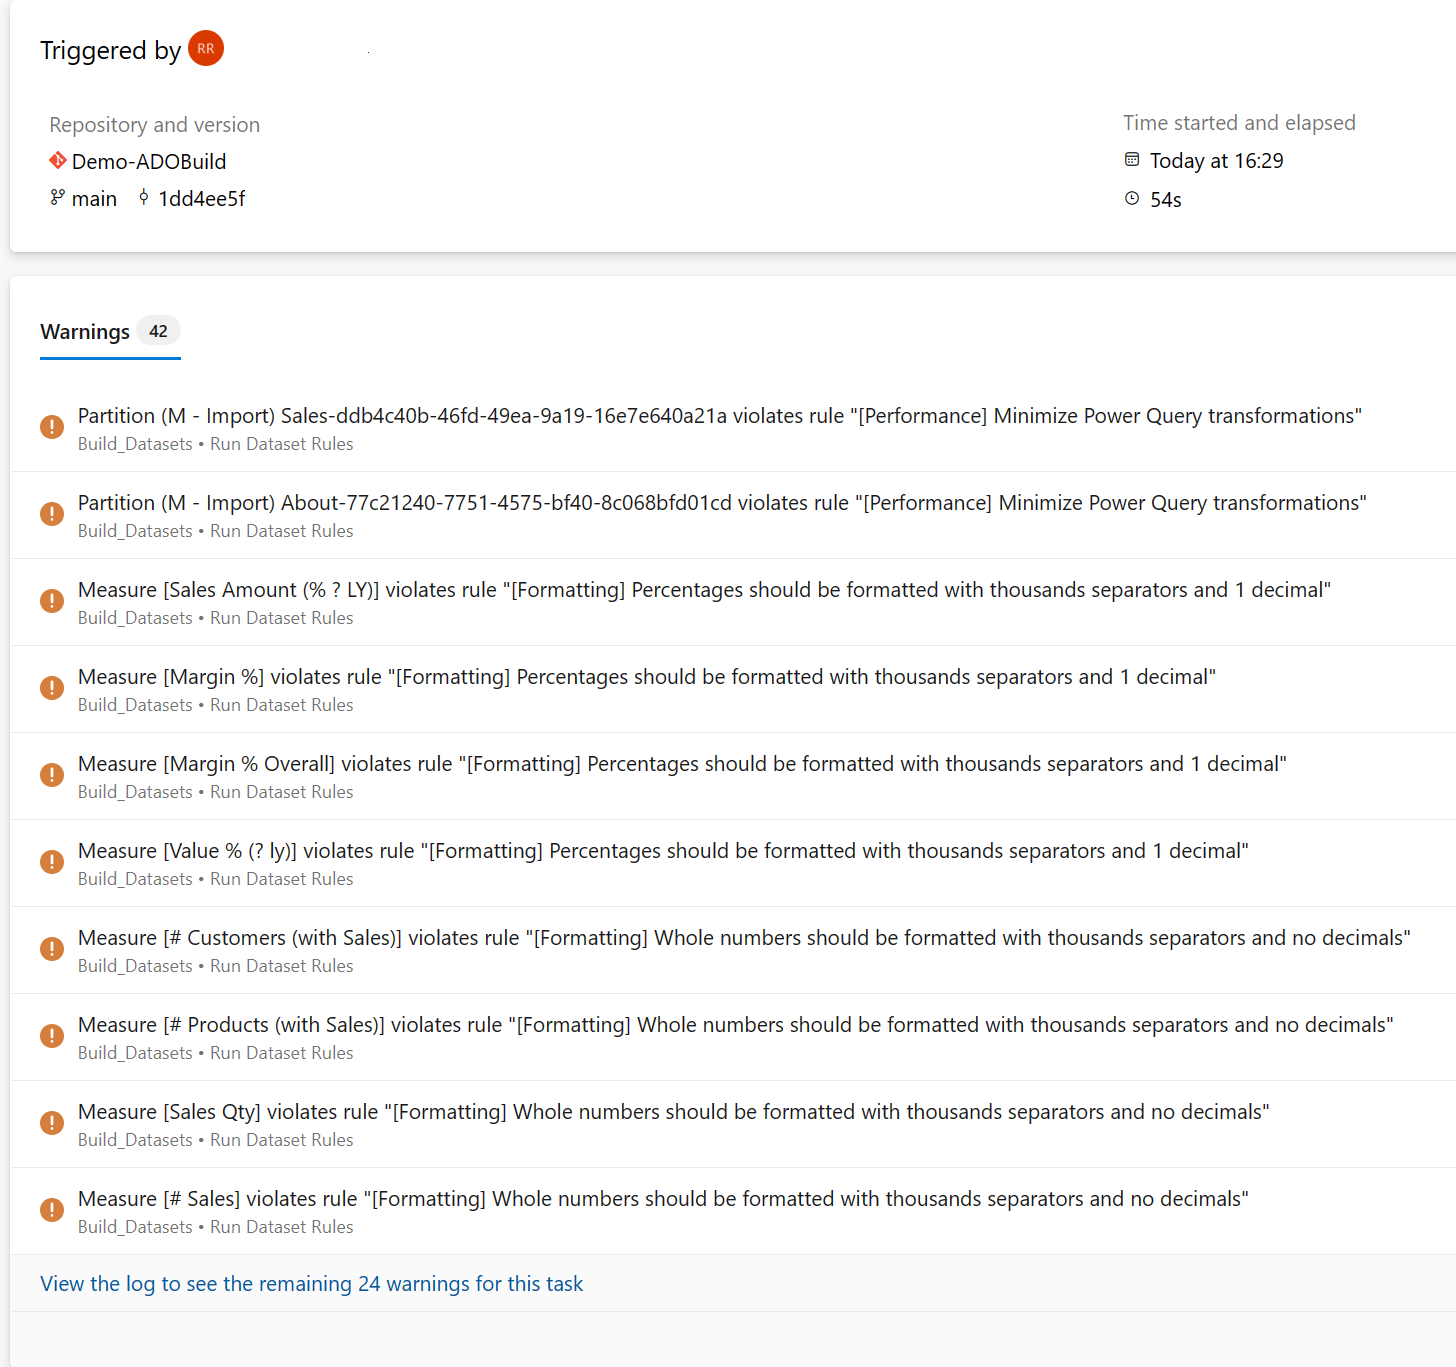
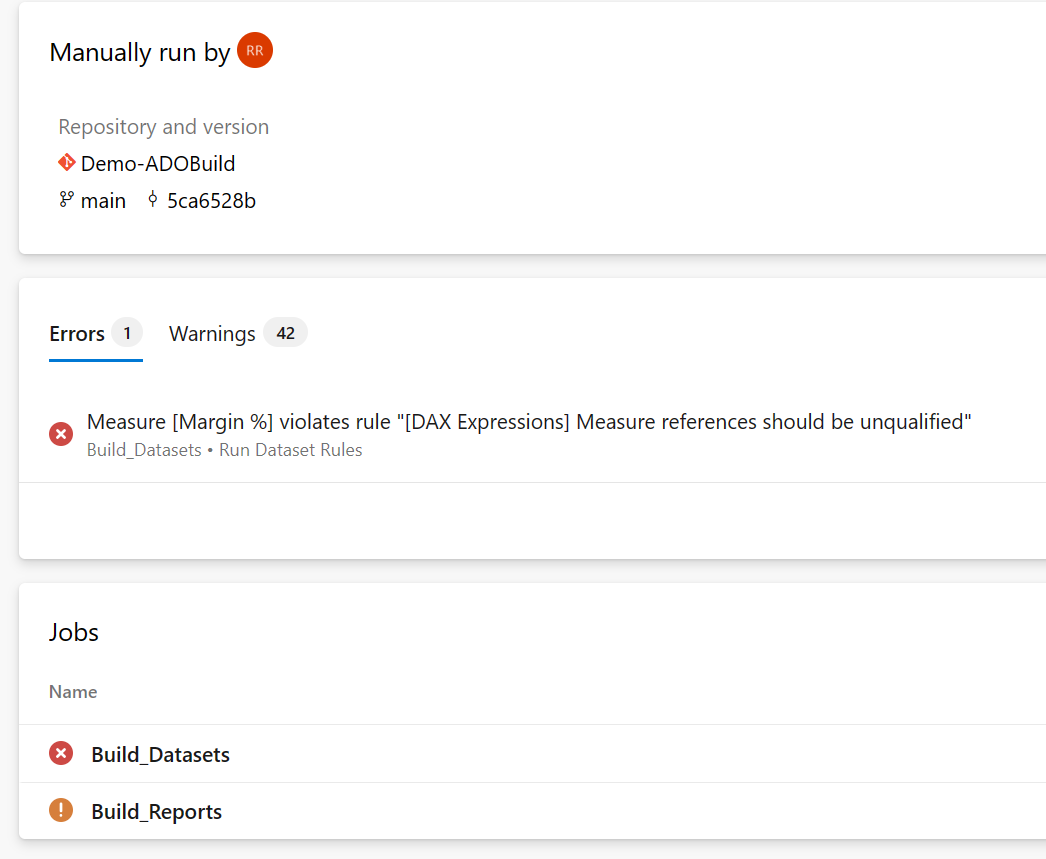
When it finishes, Azure DevOps creates a report of all the warnings and errors it encountered:
Select on the link to open a more detailed view of the two jobs:

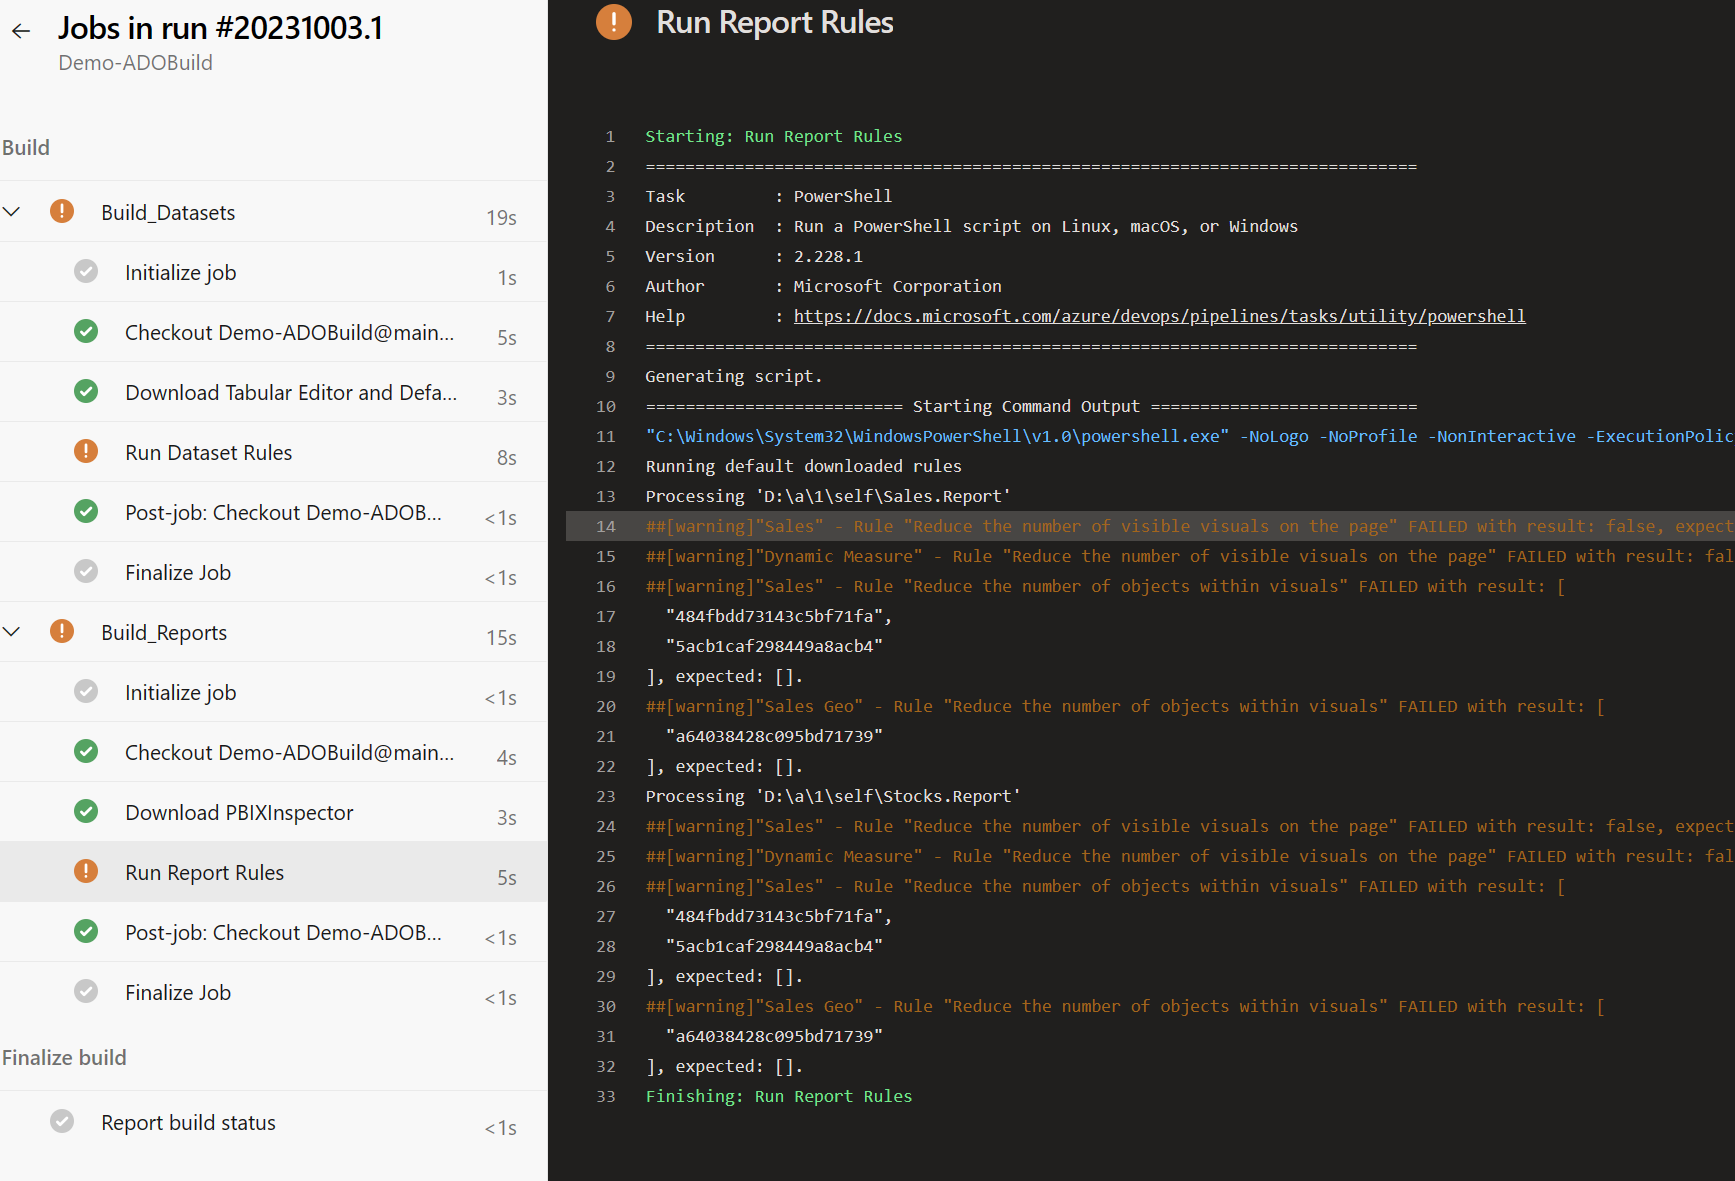
If your report or semantic model fails a rule with a higher severity level, the build fails, and the error is highlighted:
Step 3 - Define branch policies
Once the pipeline is up and running, enable Branch Policies on the main branch. This step ensures that no commits can be made directly into main. A "pull request" is always required to merge changes back into main and you can configure the pipeline to run with every pull request.
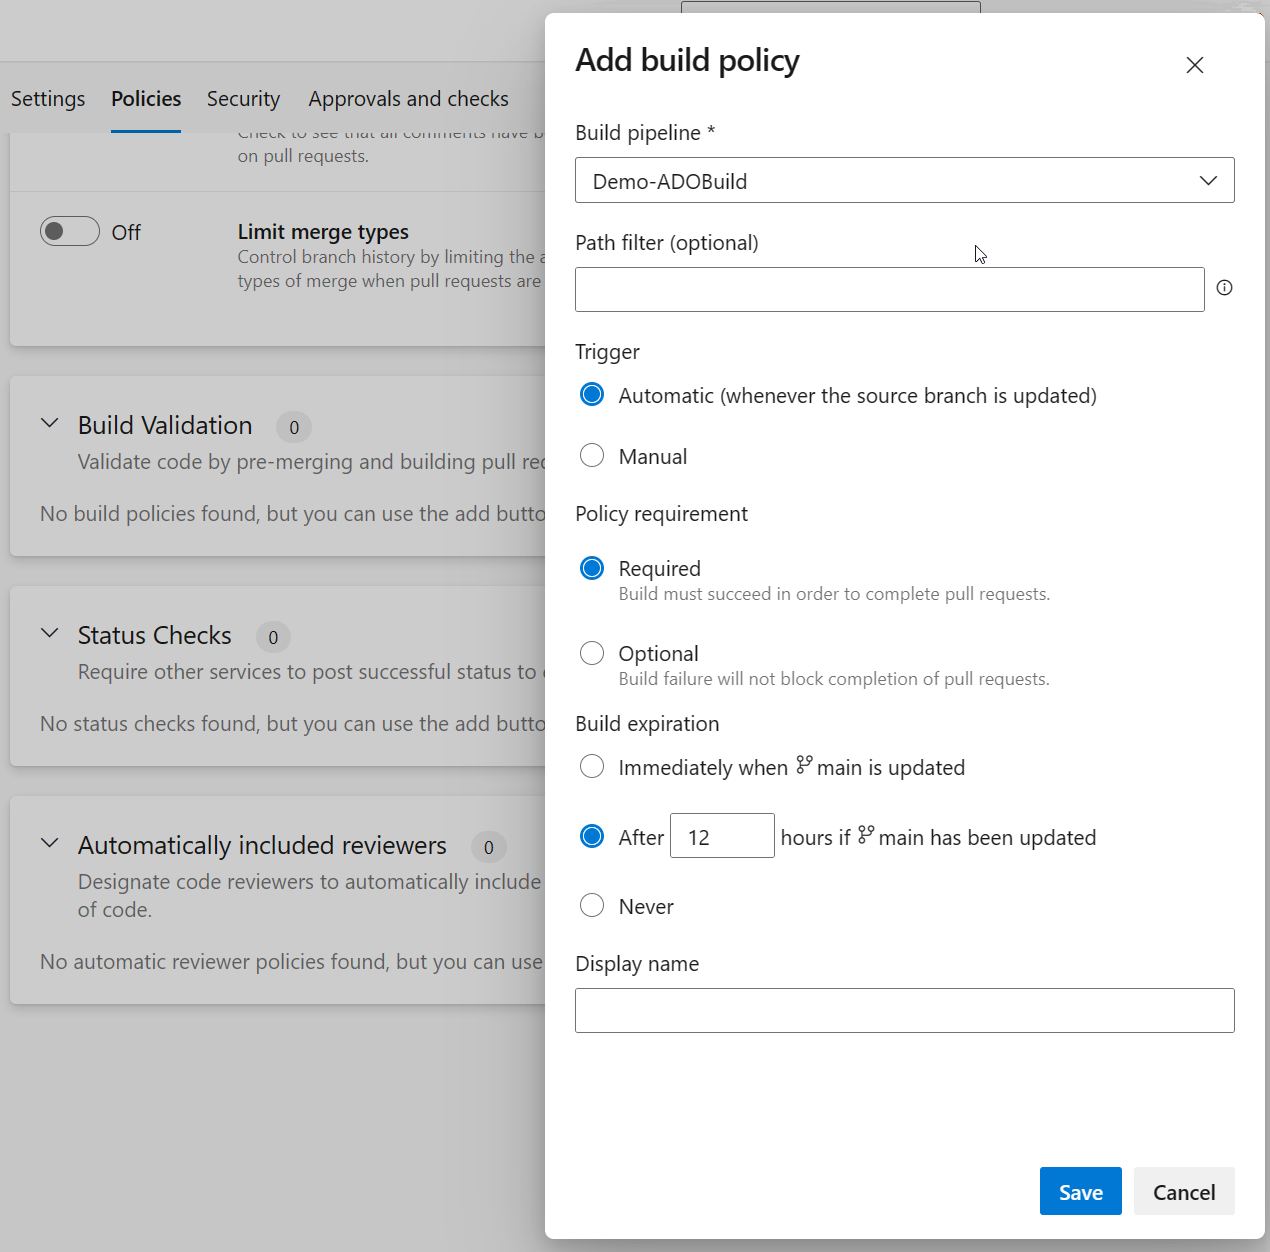
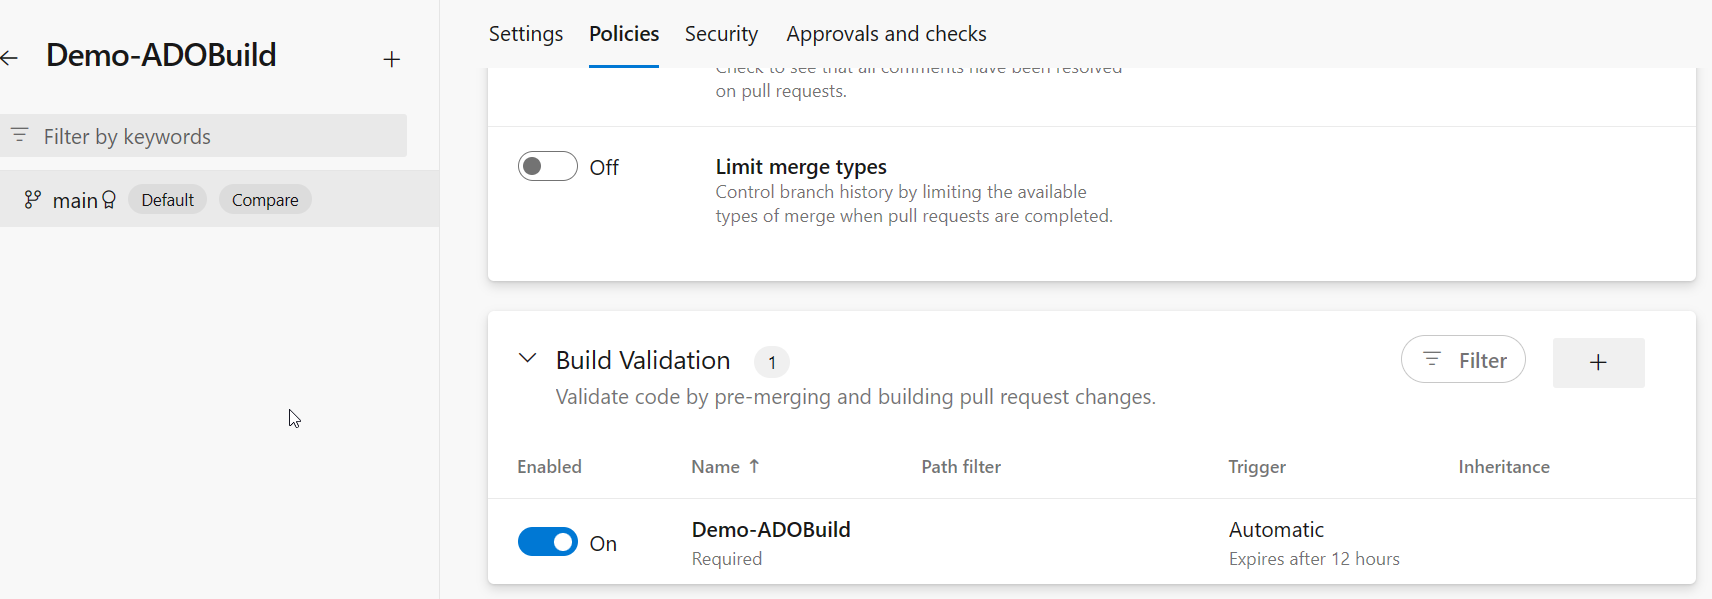
Select Branches > main Branch > Branch policies:

Configure the created pipeline as a Build Policy for the branch:
Step 4 - Create pull request
If you return to your Fabric Workspace, make a modification to one of the reports or semantic models, and attempt to commit the change, you receive the following error:
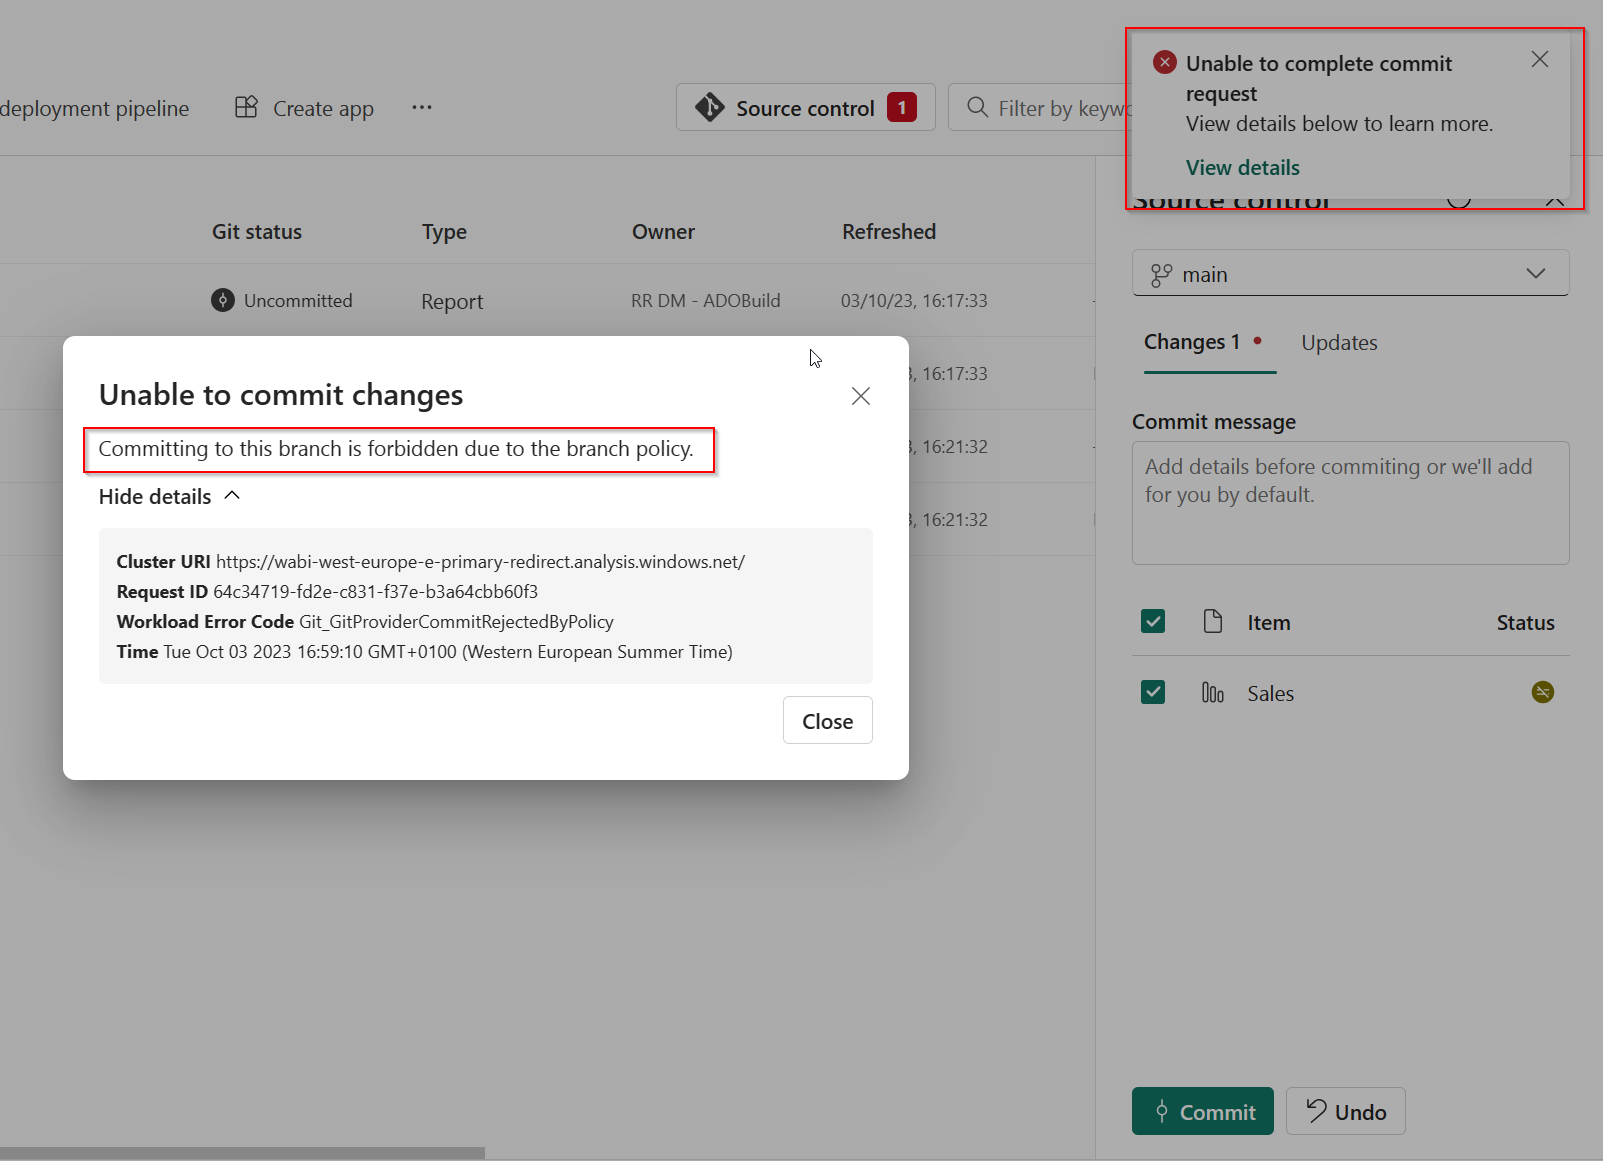
You can only make changes to the main branch through a pull request. To create a pull request checkout a new branch to make the changes on:
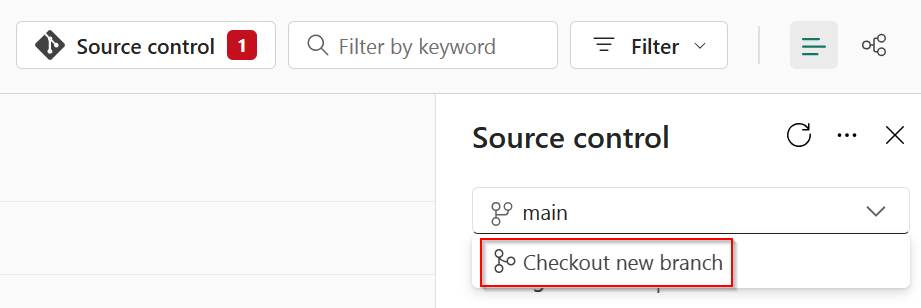
Create a branch directly from the Fabric Workspace:
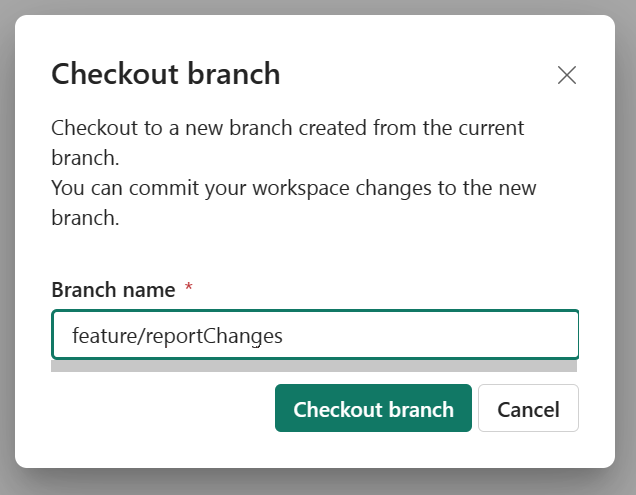
In the Source Control pane, select on Checkout new branch and provide a name for the branch.
Alternatively, you can choose to develop within a separate, isolated workspace or in Power BI Desktop. For more information, see Manage Git branches
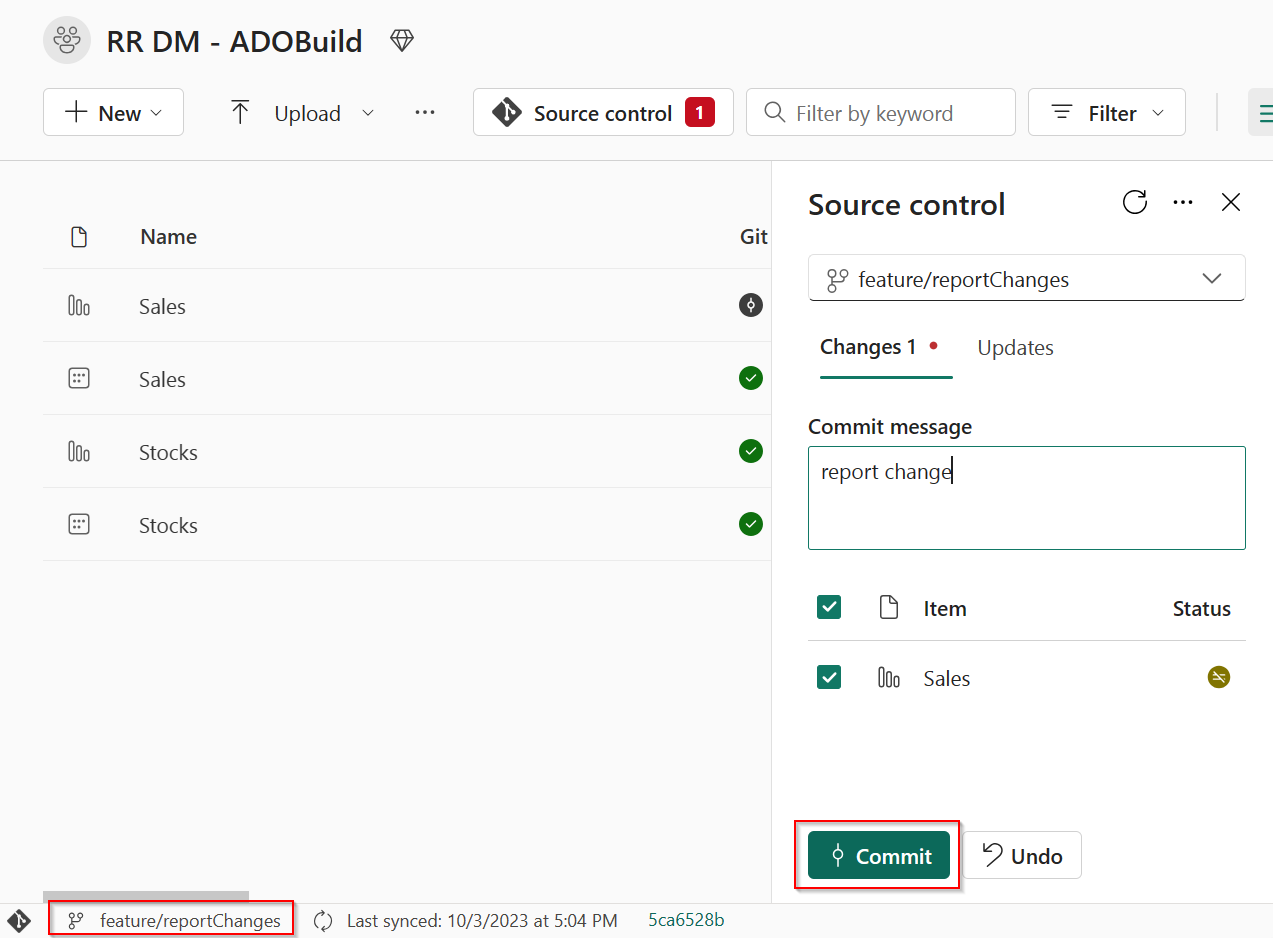
Commit your changes to this new branch.
Following the commit, create a pull request into the main branch from the Azure DevOps portal.
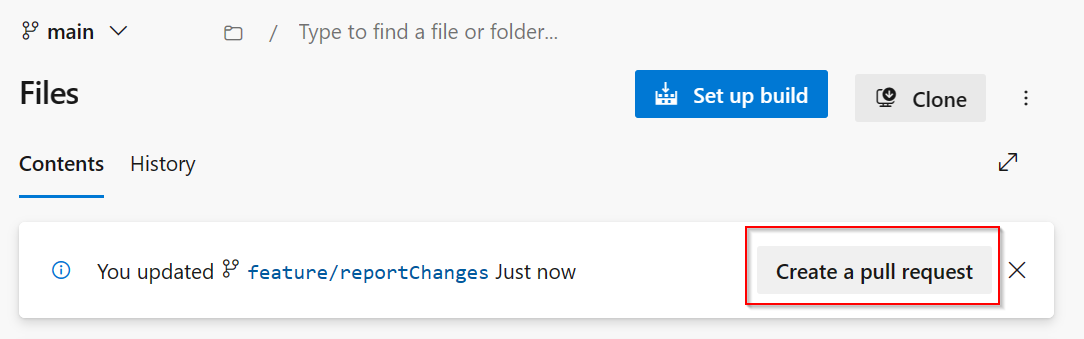
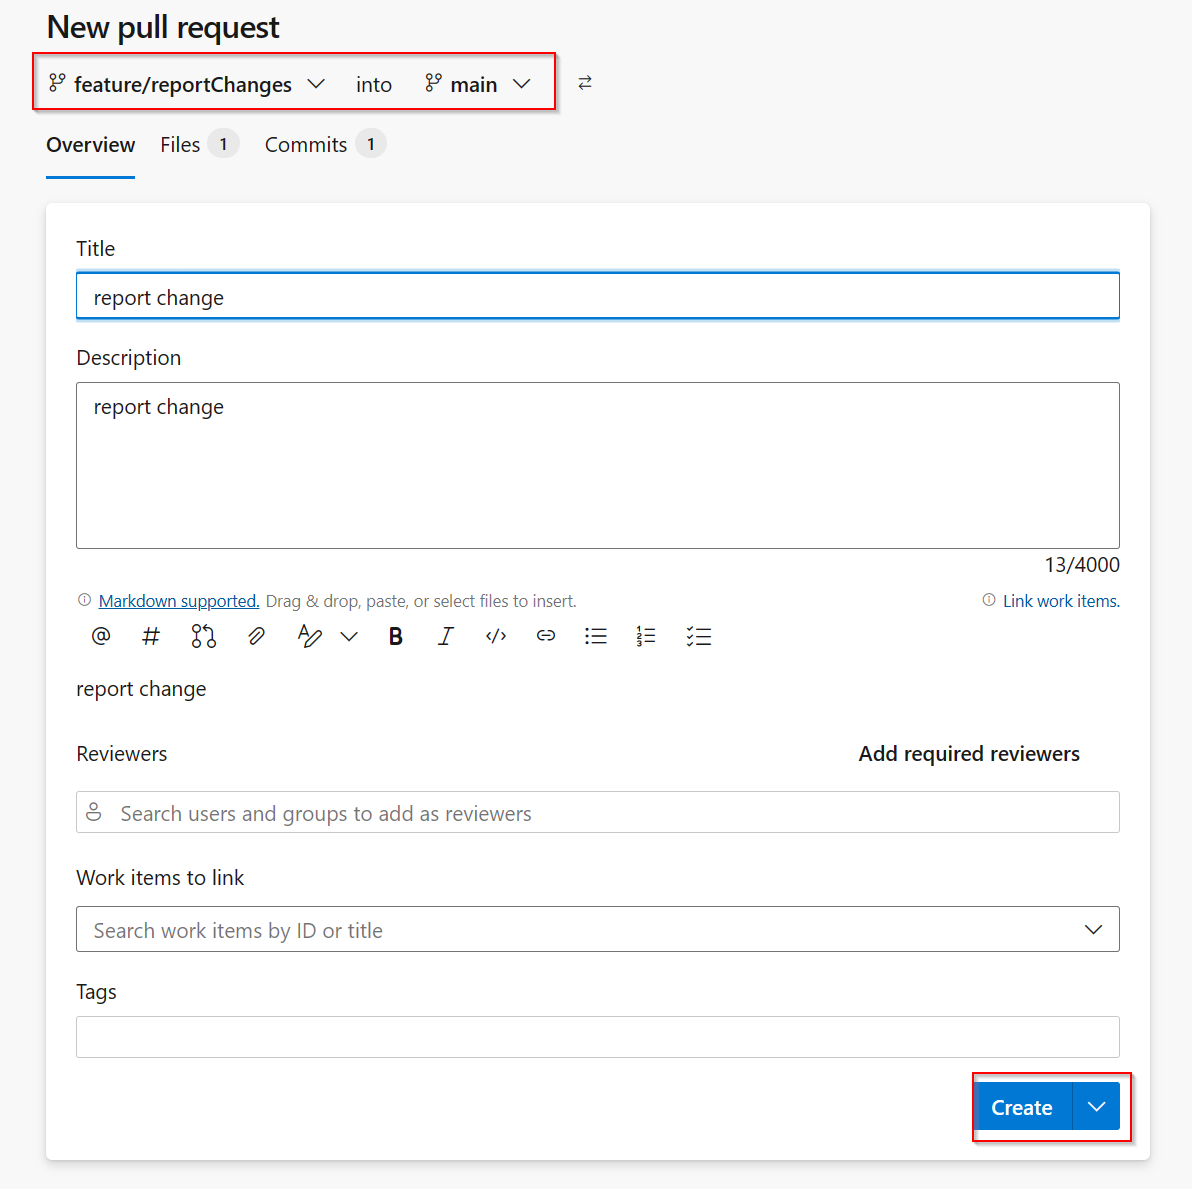
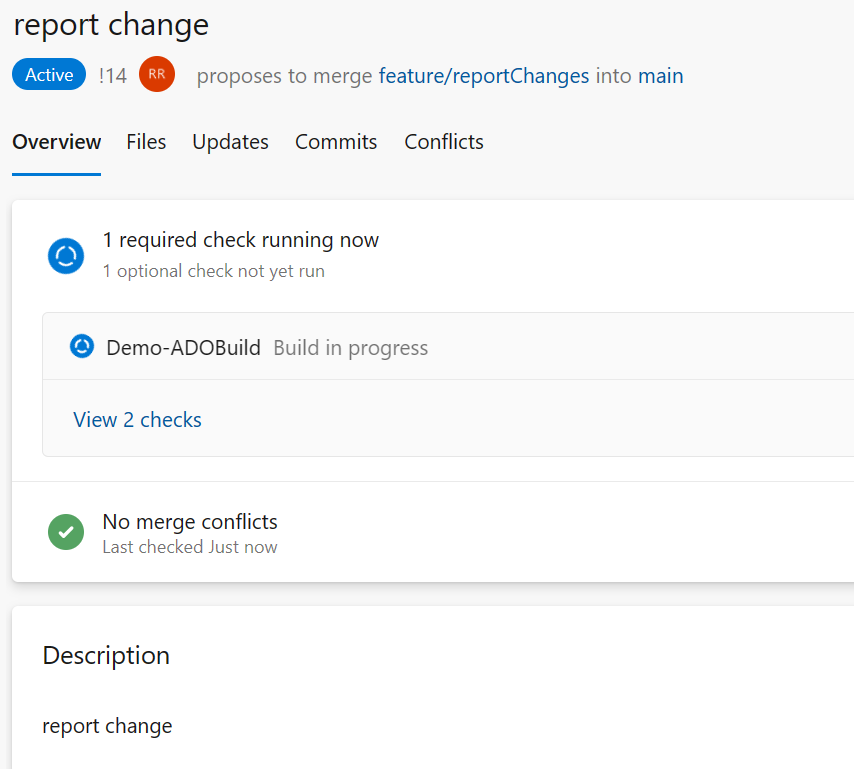
The pull request workflow not only allows you to validate and review the changes, but also automatically triggers the pipeline.
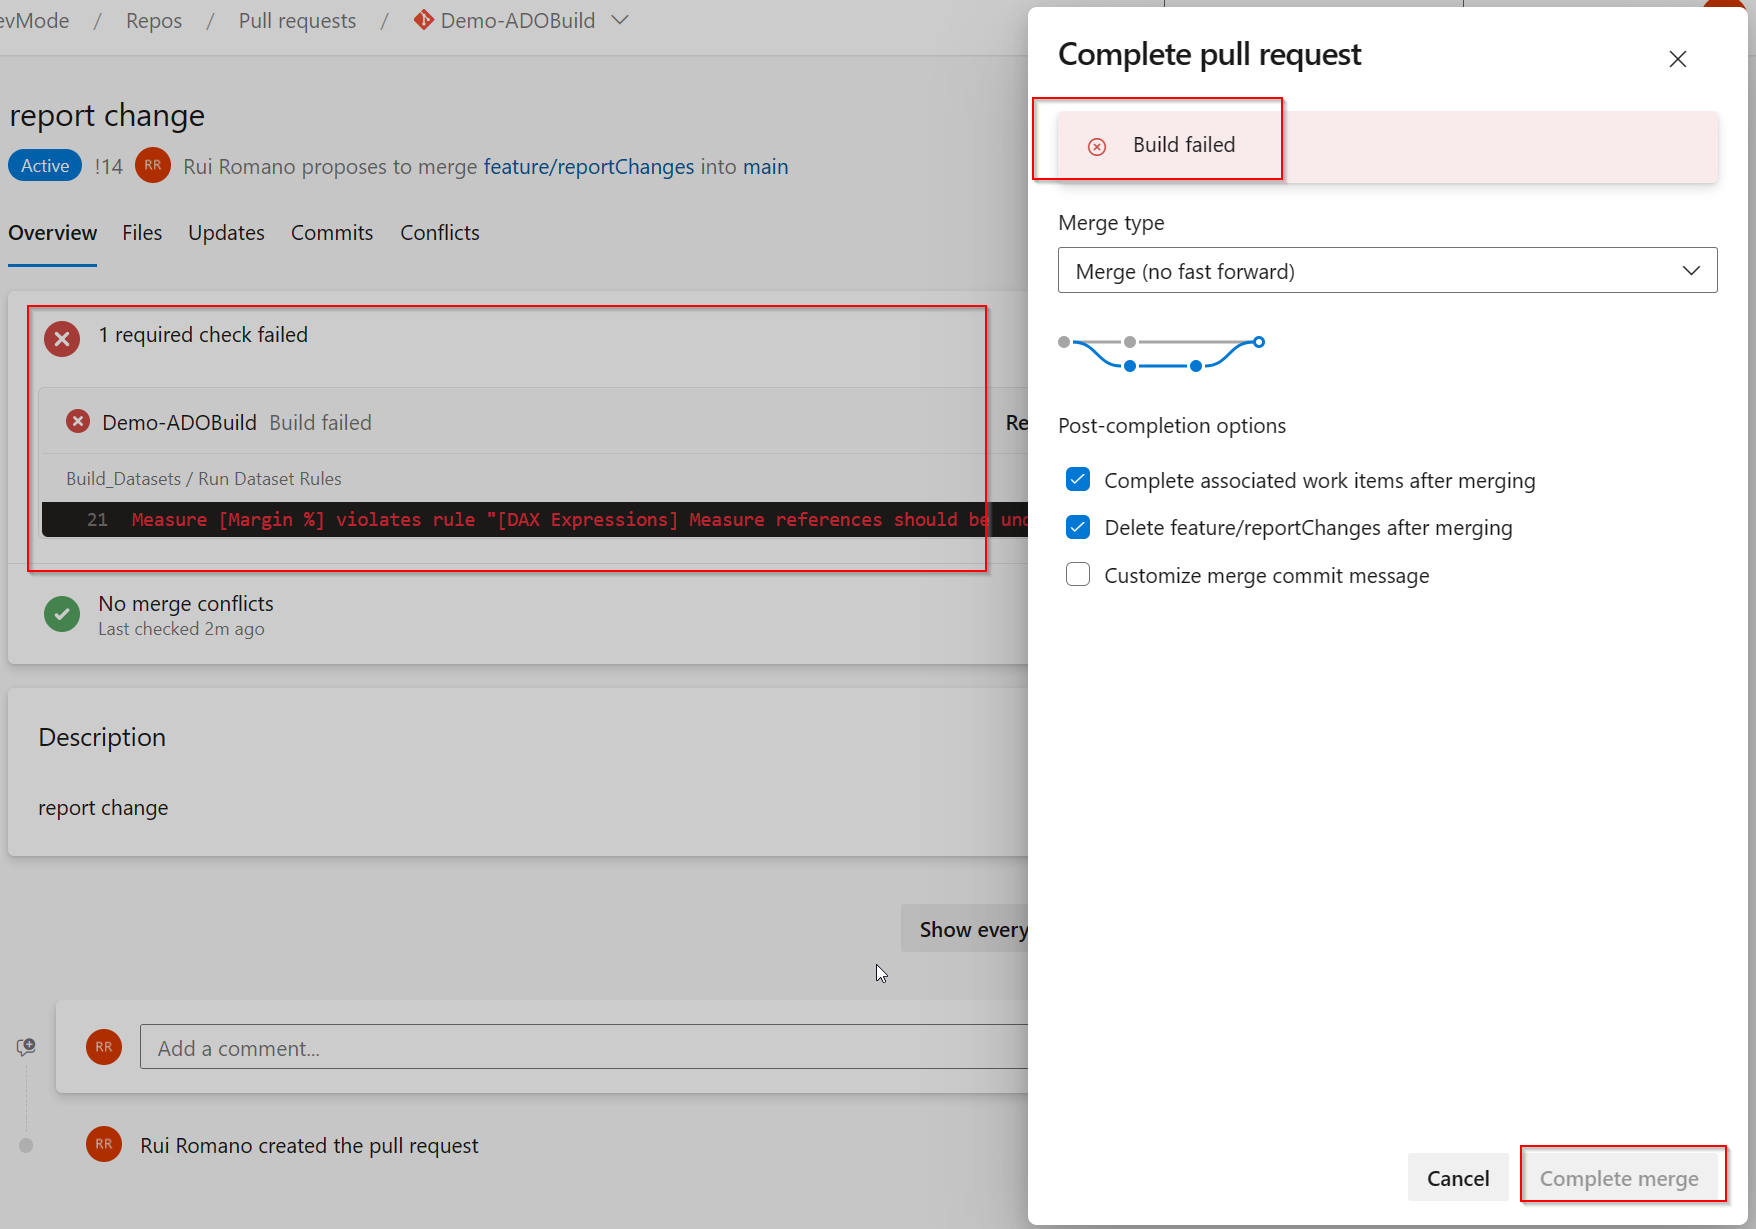
If there's a high-severity error in one of the rules, you can't finalize the pull request and merge the changes back into the main branch.
Related content
For information about synchronizing your workspace with the Git branch, including updating your workspace and committing changes to Git, see Get started with Git integration.
For tips about different options for building CI/CD processes in Fabric based on common customer scenarios, see Choose the best Fabric CI/CD workflow option for you.