Events
Take the Microsoft Learn AI Skills Challenge
Sep 24, 11 PM - Nov 1, 11 PM
Elevate your skills in Microsoft Fabric and earn a digital badge by November 1.
Register nowThis browser is no longer supported.
Upgrade to Microsoft Edge to take advantage of the latest features, security updates, and technical support.
APPLIES TO: ![]() Power BI Report Builder
Power BI Report Builder ![]() Power BI Desktop
Power BI Desktop
This article explains how to publish a paginated report to the Power BI service by uploading it from your local computer.
License requirements for Power BI paginated reports (.rdl files) are the same as for Power BI reports (.pbix files).
In Report Builder, create a new paginated report or open an existing paginated report from the Power BI service. If you open an existing paginated report from the service, the Save option is disabled because you're updating a report that's live in the Power BI service.
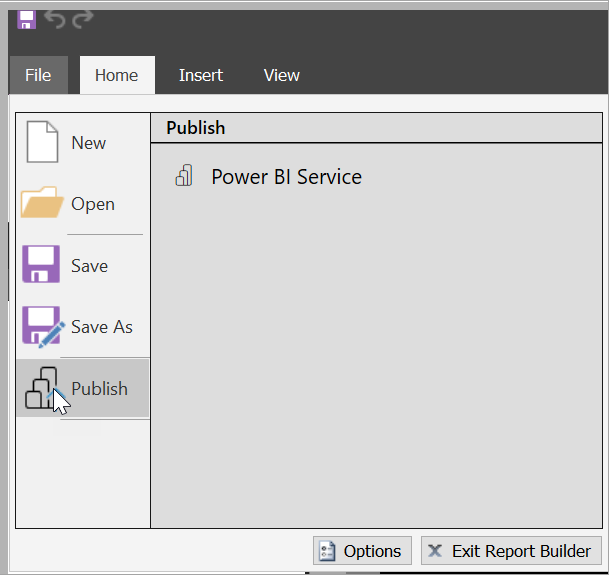
On the Report Builder File menu, select Publish.
If you aren't signed in to Power BI yet, you need to sign in or create an account now. In the upper-right corner of Report Builder, select Sign in and complete the steps.
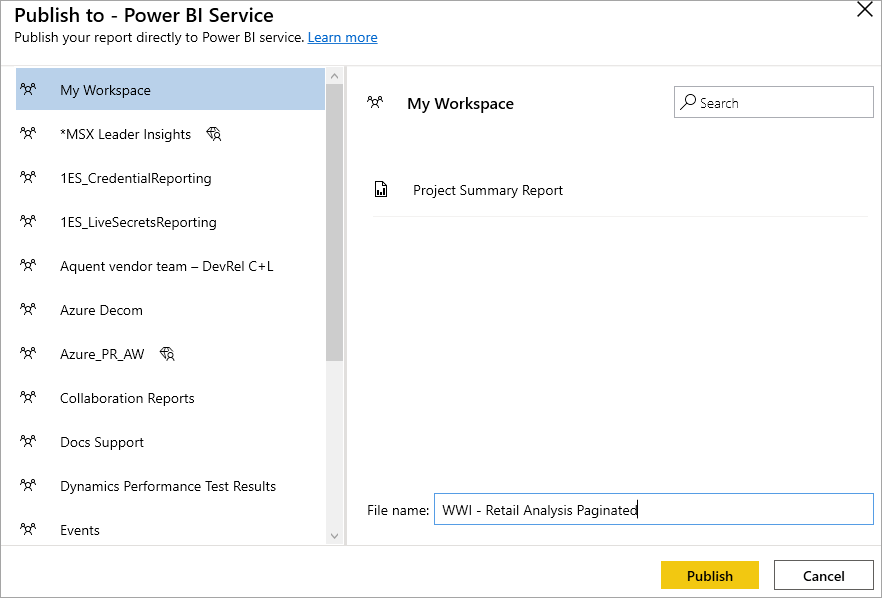
In the list of workspaces on the left, select a workspace. Type a File name in the box > Save.
Open the Power BI service in a browser and find the workspace where you published the paginated report.
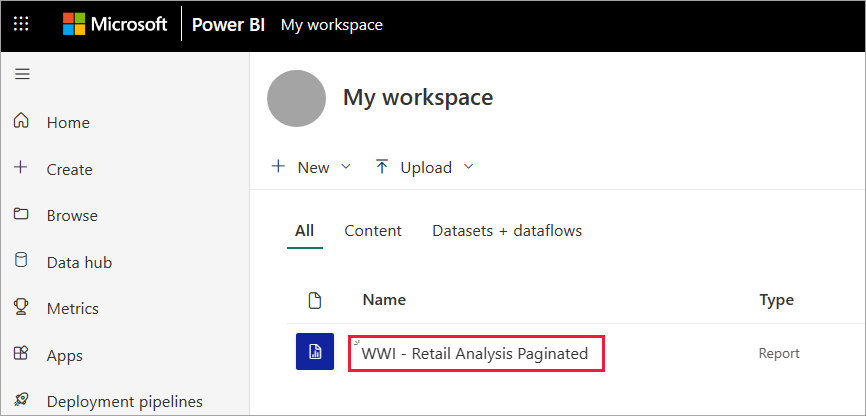
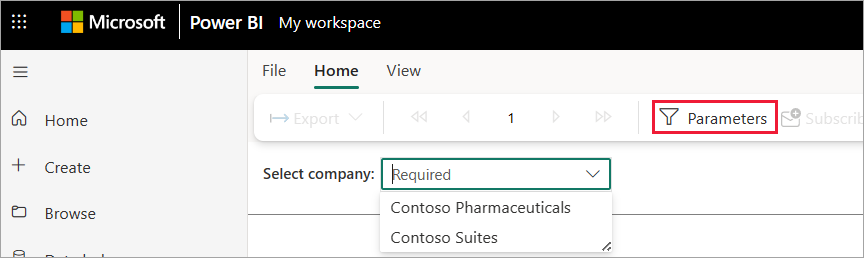
Select the paginated report to open it in the Power BI service. If it has parameters, you need to select them before you can view the report.
If your report data source is on premises, read about how to connect to a gateway in this article to access the data source.
You can also start from the Power BI service and upload a paginated report.
Note
Currently, you can't import a paginated report from OneDrive or SharePoint.
Create your paginated report in Report Builder and save it to your local computer.
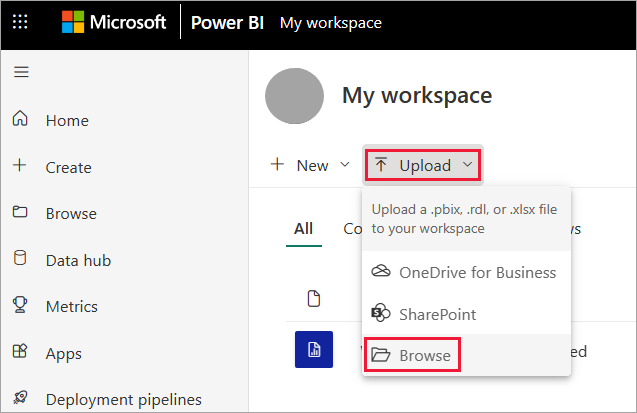
Open the Power BI service in a browser and find the workspace where you want to publish the report.
Select Upload, then choose Browse to find the paginated report.
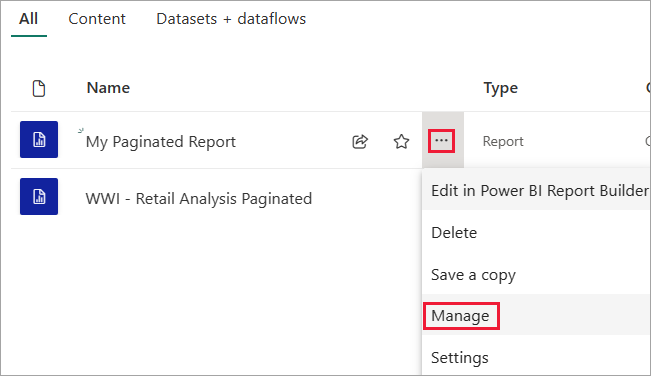
To edit your credentials, select the ellipses next to the report name, then choose Manage.
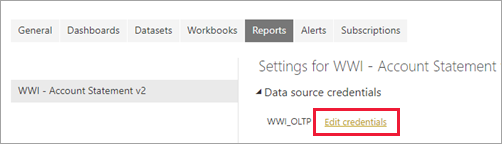
Select Continue > Edit credentials.
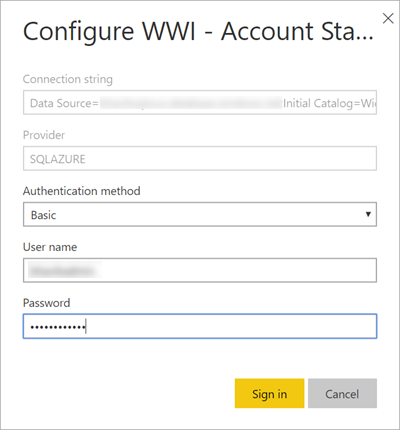
Configure your credentials > Sign in.
Select the report to open it in the Power BI service. If it has parameters, you need to select them before you can view the report.
If your report data source is on premises, read about how to connect to a gateway in the following section to access the data source.
As with any other Power BI report, if the paginated report data source is on premises, then you need to create or connect to a gateway to access the data.
Select the settings icon at the top right, then choose Manage connections and gateways.
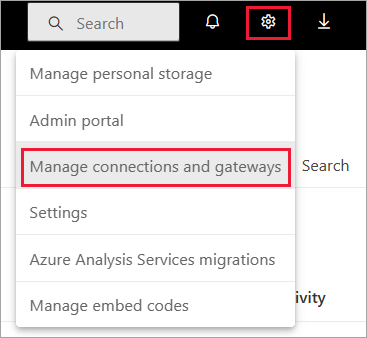
For more details, see the Power BI service article What is an on-premises data gateway.
Events
Take the Microsoft Learn AI Skills Challenge
Sep 24, 11 PM - Nov 1, 11 PM
Elevate your skills in Microsoft Fabric and earn a digital badge by November 1.
Register nowTraining
Module
Publish and access reports in Power BI service – Online workshop - Training
Learn how to use Power BI to create a mobile view, publish a report, build a dashboard, and use storytelling with Power BI within PowerPoint.
Certification
Microsoft Certified: Power BI Data Analyst Associate - Certifications
Demonstrate methods and best practices that align with business and technical requirements for modeling, visualizing, and analyzing data with Microsoft Power BI.