Note
Access to this page requires authorization. You can try signing in or changing directories.
Access to this page requires authorization. You can try changing directories.
By using solutions with Power Pages, you can contain and transport all website configurations through standard Microsoft Power Platform solutions. Combine all website and Dataverse components into a single solution artifact, and then take advantage of advanced application lifecycle management (ALM) capabilities to deploy websites to destination environments by using managed solutions.
Prerequisites
You'll need to enable enhanced data model to use solutions with Power Pages. More information: Power Pages enhanced data model
Add Power Pages site and components to a solution
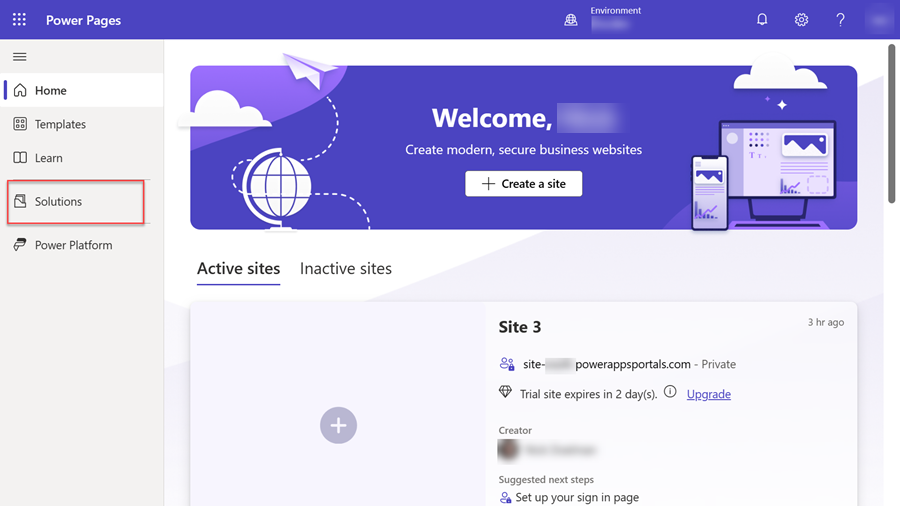
Open the Power Pages home page.
Select the Solutions tab.
On the toolbar at the top of the page, select New solution. Fill in the solution details, and then select Create to create the solution.
Go to the new solution.
On the Add existing menu, select Site.
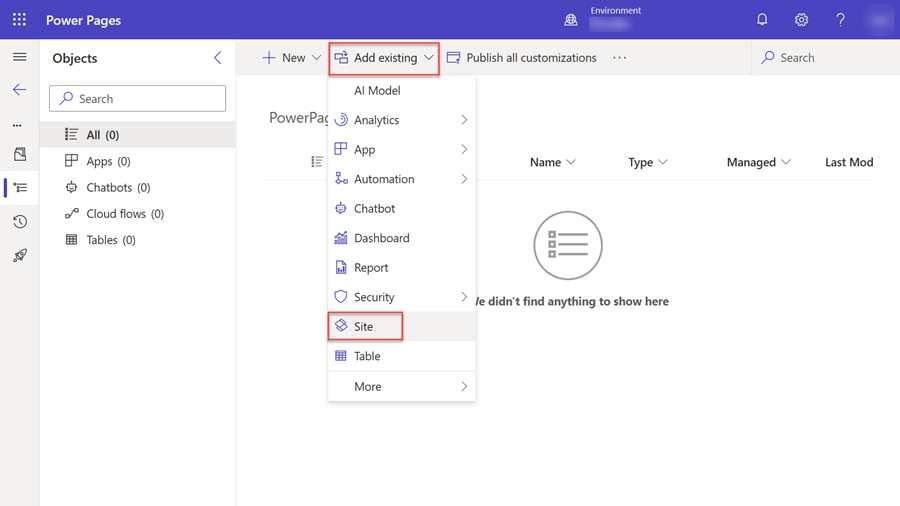
In the Add existing sites panel, select one or more sites, and then select Add.
Note
- If the Site command doesn't appear on the Add existing menu, your environment doesn't include any websites that were created by using the enhanced data model.
- This process adds all the site components to the solution.
- Dataverse system tables associated with site components won't be added to the solution automatically, you need to add them using add existing tables.
Add website components
As you create new components and add them to your website, you can add them to the solution that contains the website.
Note
New website components aren't automatically added to the solution that contains a site. You must use the following procedure to add them.
- On the Power Pages home page, select the Solutions tab.
- Select the solution that you want to add components to.
- On the Add existing menu, select More > Other > Site Component.
- In the Add existing Site component panel, select the site components, and then select Add to add them to the solution.
Alternatively, you can add the required components to your site.
- In the solution, select the site.
- On the main menu, select Advanced, and then select Add required objects.
- In the panel that appears, select OK to continue. After a few moments, you'll receive a message that the required objects have been successfully added to the solution.
Note
When you use the Add Website Components feature, all site components are added to the solution, not just the ones you select. This happens because our configuration is set to automatically include all related and dependent components in a solution. There isn't a workaround available at the moment, but we plan to address this limitation. A fix is expected to be released soon.
Export the solution from the source environment
Select the solution, and then select Export solution on the main menu. For more information about how to import and export solutions, go to Solution Concepts.
Import the solution into the target environment
- On the toolbar at the top of the page, select Import solution.
- Browse to the location of the exported solution, select the file, and then select Open.
- Select Next.
- Select Import.
After the solution is imported, it appears in the solution list.
Note
If the solution is unmanaged, select Publish all customizations in the destination environment.
Reactivate the site in the target environment
After the website has been transferred to the target environment, you must reactivate it.
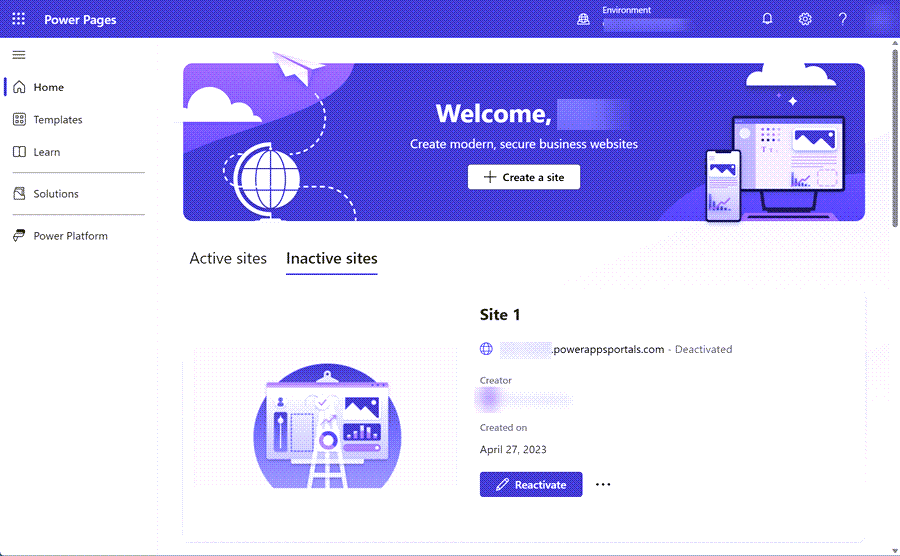
In the target environment, on the Power Pages home page, select Inactive sites. The website that you transferred to the environment should be listed.
Select Reactivate.
You can specify the reactivated website's name and create a web address, or you can leave the default values.
Select Done.
The target environment should reflect the website updates from the source environment. From now on, you should be able to transfer the configuration from your source environment to the target environment by transferring the website configuration data.
Bind the record for an enhanced data model website to a site
The following steps show how you can update an existing website by using the configuration from the source environment.
Open the Power Platform admin center.
Select the destination environment.
In the Resources section, select Power Pages sites.
Select the destination site, select the ellipsis (…), and then select Manage to open the site details page.
In the Site Details section, select Edit. Select the imported site record in the Website Record dropdown list, and then select Save.

Select Site Actions, and then select Restart site.
Your destination environment site is now updated with data from the source environment site.
Note
You can't use the Power Pages Management app to delete a website configuration that is part of a managed solution. To remove the website, delete the managed solution.
Frequently asked questions
What is the best practice for migrating a Power Pages website by using solutions?
For best practices, go to Overview of application lifecycle management with Microsoft Power Platform.
After I imported site configuration data in a managed solution, I edited my website in the target environment. Why don't I see any new changes when I import managed solutions from my source environment?
We recommend that you don't edit the site configuration data in the target environment. Otherwise, an unmanaged solution layer is created, and the target environment won't reflect changes from the source environment. To fix this issue in the target environment, you must remove the unmanaged solution layer. For more information, go to Solution layers.