Note
Access to this page requires authorization. You can try signing in or changing directories.
Access to this page requires authorization. You can try changing directories.
In this tutorial, you learn how to begin using the Microsoft Power Platform CLI to update a sample website's configuration.
Note
- This tutorial focuses on the required Microsoft Power Platform CLI commands for Power Pages use. For more information about commands used in Power Platform CLI, read Common commands.
- Starting with the Power Platform CLI version 1.27, the
pac paportalcommand is changed topac pages.paportalcontinues to work, but we recommend usingpowerpagesgoing forward.
Download and install Visual Studio Code
To connect to Power Apps portals, and to use Microsoft Power Platform CLI commands, use Visual Studio Code and the integrated terminal. The integrated terminal makes it easy to connect to the Dataverse environment and to download, change, and upload the portals configuration. You can also use Windows PowerShell instead.
Step 1. Authenticate
Before you connect, list, download, or upload any changes for a Power Apps portal, you must authenticate to the Dataverse environment first. For more information about authentication using Microsoft Power Platform CLI, go to pac auth.
To authenticate, open Windows PowerShell and run the pac auth create command using your Dataverse environment URL:
pac auth create -u [Dataverse URL]
Example
pac auth create -u https://contoso-org.crm.dynamics.com
Follow the prompts of authentication to sign in to the environment.

Step 2. List available websites
Use the pac pages list command to list the available Power Pages websites in the Dataverse environment you connected to in the previous step.
pac pages list

Step 3. Download website content
Download website content from the connected Dataverse environment using the pac pages download command.
pac pages download --path [PATH] -id [WebSiteId-GUID] --modelVersion [DataModel]
Example
pac pages download --path c:\pac-portals\downloads -id d44574f9-acc3-4ccc-8d8d-85cf5b7ad141 --modelVersion 2
For the id parameter, use the WebSiteId returned from the output of the previous step.

Note
- Use modelVersion
1or2to indicate if the site data to be uploaded will use the the standard (1) or enhanced data model (2). - Run
pac pages list -vcommand to view which data model is used for your site. For more details, see enhanced data model.
Step 4. Change website content
Change the configuration using Visual Studio Code and save your changes.
Note
Ensure you update only the supported tables for use with Power Platform CLI. For more information, see Supported tables.
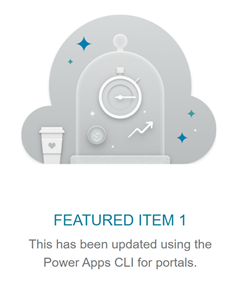
For example, the default portal page shows text such as this:
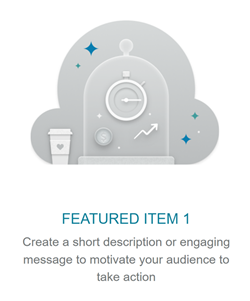
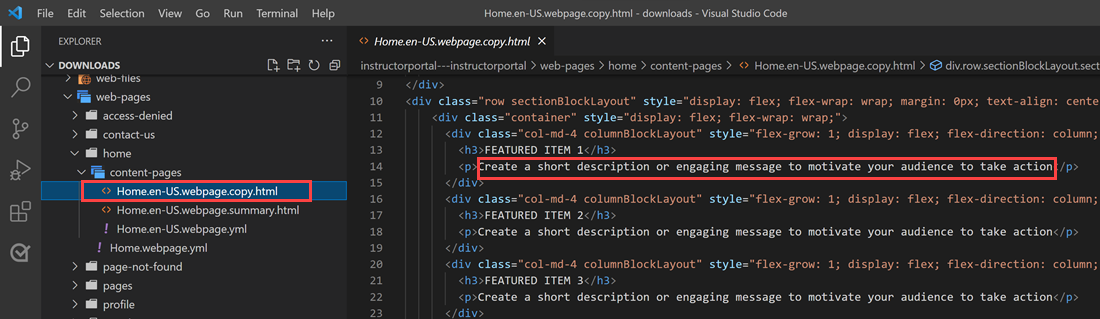
This text is visible from the webpage html:
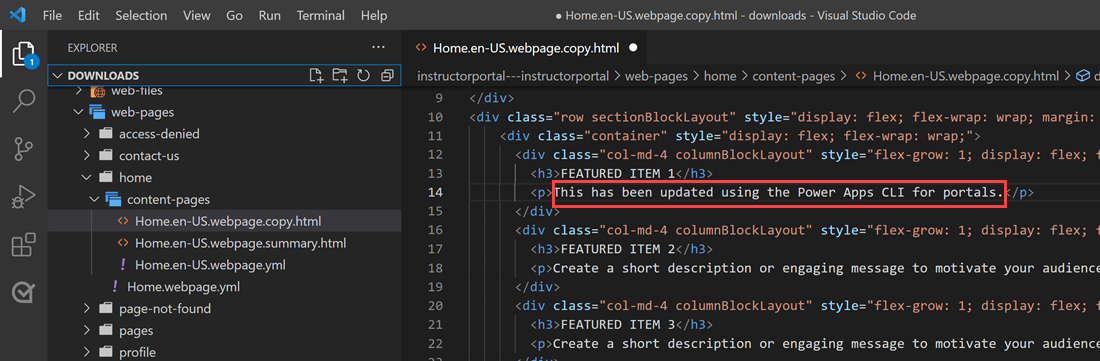
You can alter this text and save the changes:
Tip
You can change the location of the folder path in PowerShell/integrated terminal to the downloaded location, and enter "code ." to open the folder directly in Visual Studio Code.
Step 5. Upload the changes
Note
- If you're uploading to multiple environments, see upload the changes using deployment profile to learn how to upload changes using deployment profile.
- Ensure that the target environment's maximum attachment size is set to the same or greater size as your source environment.
- The maximum size of files is determined by the Maximum file size setting in the system settings email tab in the environment system settings dialog box.
After making the required changes, upload them using the pac pages upload command:
pac pages upload --path [Folder-location] --modelVersion [ModelVersion]
Example
pac pages upload --path C:\pac-portals\downloads\custom-portal\ --modelVersion 2

Note
Ensure the path for the portals content you entered is correct. By default, a folder named by the portal (friendly name) is created with downloaded portals content. For example, if the portal's friendly name is custom-portal, the path for the above command (--path) should be C:\pac-portals\downloads\custom-portal.
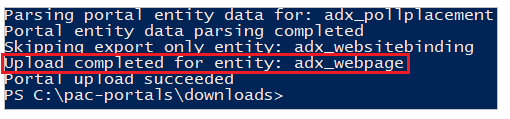
The upload only happens for content that is changed. In this example, since the change is made to a webpage, content is uploaded only for the adx_webpage table.
Upload the changes using deployment profile
When working with multiple different environments, you might consider using deployment profiles to ensure the changes are uploaded to the correct environment using deployment profile.
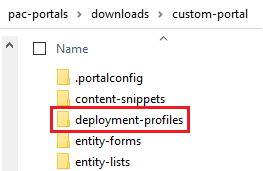
Create a folder named deployment-profiles inside the folder containing the portal content. For example, if the downloaded portal content is inside "starter-portal", deployment profiles folder should be inside this folder.
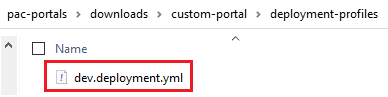
Inside deployment profiles folder, create a deployment YAML file that contains the environment-specific changes. For example, development environment can be called "dev.deployment.yml".
Edit the deployment YAML file using Visual Studio Code with the following format:
<table-name>:
- <record-id>: <GUID>
  <column-name>: <Name>
  <column-value>: <Value>
For example, the following sample YAML code updates the value for "Browser Title Suffix" from default "Custom Portal" to "Custom Portal (Dev)".
adx_contentsnippet:
    - adx_contentsnippetid: 76227a41-a33c-4d63-b0f6-cd4ecd116bf8 # Replace with your content snippet ID
      adx_name: Browser Title Suffix # Setting name
      adx_value:   · Custom Portal (Dev) # Setting value
To upload the changes to a different environment using a deployment profile YAML file, authenticate to the target org first.
After authenticated and connected to the correct environment, use the pac pages upload command to upload the content:
pac pages upload --path "C:\portals\starter-portal" --deploymentProfile dev --modelVersion 2Note
In the above example, the deployment profile name used is "dev" after following the previous steps to create a dev deployment profile. Change the name from "dev" to any other (such as QA for "qa.deployment.yml", or Test for "test.deployment.yml") if you've used a different filename for your deployment YAML file.
Step 6. Confirm the changes
To confirm the changes made to the webpage:
Select Sync in the Power Pages design studio.
To see the change, browse to the webpage.
If you used the deployment profile example explained previously, the YAML snippet updates the value as shown in the following screenshot.
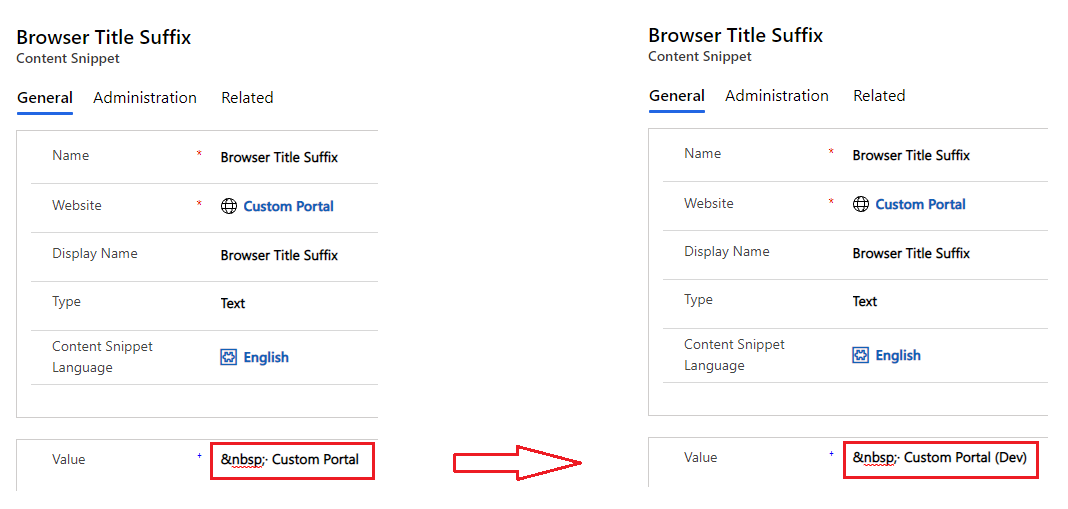
The browser title suffix updated through the above change shows the change when you open the portal in a browser:

This concludes the tutorial. You can repeat the above steps and change the portals content for other supported tables.
Next steps
Use the Visual Studio Code extension