Note
Access to this page requires authorization. You can try signing in or changing directories.
Access to this page requires authorization. You can try changing directories.
[This topic is prerelease documentation and is subject to change.]
This article offers a comprehensive, step-by-step guide for updating default Power Pages agent with another agent available in Microsoft Copilot Studio.
Prerequisites
You need an agent created in Microsoft Copilot Studio.
Agent needs to be created and published in the site where you're updating another agent available in Microsoft Copilot Studio.
You can only replace an agent with No authentication.
Copy the agent schema name
Sign in to Microsoft Copilot Studio.
Select the agent you want to use in Power Pages.
Go to Agent details under Settings.
Select the Advanced tab.
Copy the Schema name field.
Verify data model version
Agent can be enabled for both standard and enhanced site data models. The steps to replace it vary based on the data model. Make sure you follow the correct steps for your data model.
Go to Set up workspace.
Select Site details.
Verify the Data Model version. Choose either Standard or Enhanced.
Update the agent based on your data model version
To see the appropriate steps, select the tab that corresponds to your data model.
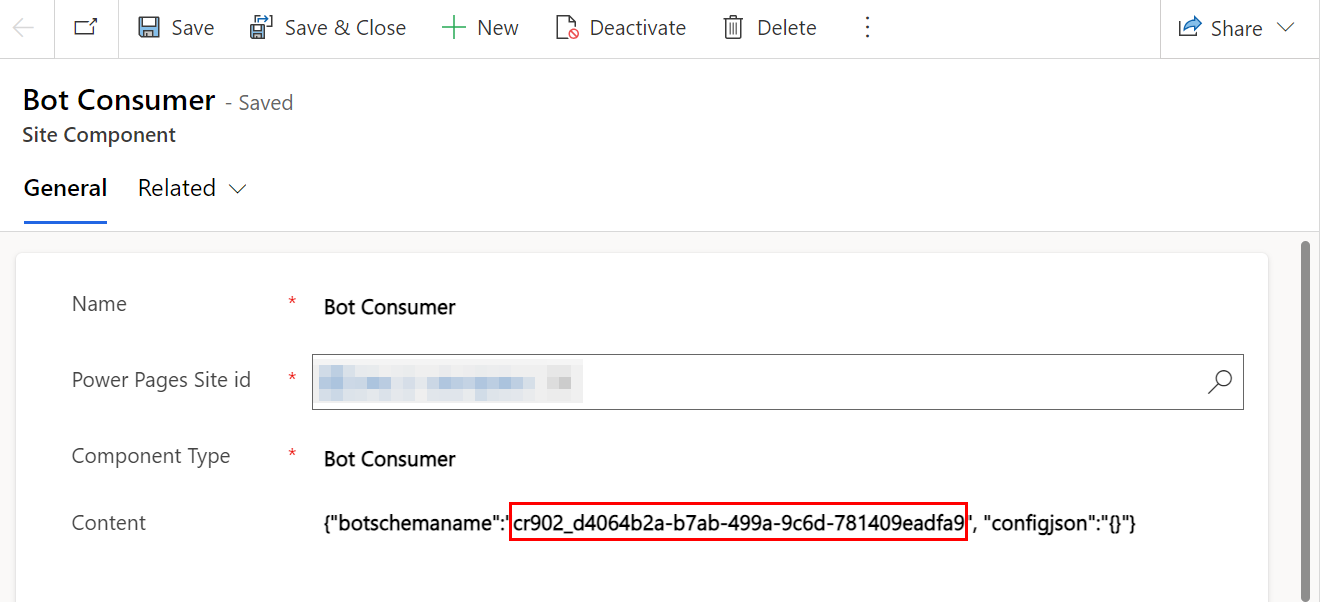
- Go to the Data workspace.
- Search for and select the Bot consumer table.
- Locate the row with the selected website name.
- Replace the value in the Schema Name column with the new schema name you copied earlier.