Note
Access to this page requires authorization. You can try signing in or changing directories.
Access to this page requires authorization. You can try changing directories.
[This article is prerelease documentation and is subject to change.]
Security agent in Power Pages is an AI-powered feature built into the Power Pages design studio. The security agent helps makers proactively secure their websites by identifying common vulnerabilities, monitoring site traffic for anomalies, and providing guided remediation workflows.
Security agent includes a context-aware, multistep chat experience that lets makers interact by using natural language. Through the chat interface, makers can review security findings, ask questions, and take guided actions based on the site's configuration and security posture.
The chat experience is available directly within the security workspace and remains accessible as makers design, configure, and maintain their sites.
Important
- This is a preview feature.
- Preview features aren’t meant for production use and might have restricted functionality. These features are subject to supplemental terms of use, and are available before an official release so that customers can get early access and provide feedback.
Capabilities
As part of the public preview, the security agent offers these primary capabilities to help makers secure their Power Pages sites:
Context-aware security chat
The security agent includes a multistep, conversational chat panel built directly into the security workspace. Through chat, makers can:- Ask natural language questions about their site's security posture.
- Understand why a security issue matters in plain language.
- Review scan findings and configuration risks.
- Request security guidance and actions for application-level protections such as security headers, Content Security Policy, cookie configurations, and site-level protection settings.
The chat experience is grounded in the site's configuration, scan results, and security metadata, ensuring responses are specific to the maker's site and not generic guidance.
Automated security scan
Every two weeks, the agent runs a scheduled scan by using the OWASP ZAP engine to detect common vulnerabilities across 37 predefined security rules. These rules include misconfigured headers, XSS risks, and exposed server information. When the agent finds problems, it generates alerts and presents guided mitigation workflows to help makers resolve them.Site traffic monitoring
The agent monitors live traffic by using Microsoft Sentinel signals and historical traffic data. When it detects suspicious spikes or clustered activity, it generates alerts and presents mitigation workflows.
How does it work?
The security agent is designed to work behind the scenes while keeping makers fully in control. Here’s how the end-to-end flow works:
1. Configure the security agent
From the Power Pages design studio, go to the security workspace and choose the Security Agent tab:
Choose which capabilities to enable, such as automated scanning or traffic monitoring.

Select how to receive alerts, using in-product notifications, email, or Microsoft Teams.

This setup ensures the agent runs only what's needed and notifies makers through their preferred channel.
2. Detect vulnerabilities or anomalies
Once enabled, the security agent runs the following actions:
Automated scans run every two weeks by using the ZAP engine and check against 37 OWASP-based rules.
Traffic monitoring runs continuously by using Microsoft Sentinel signals and historical traffic patterns.
When the agent finds problems, it automatically triggers alerts.
3. View and respond to alerts
You can view all alerts in the Overview screen. For each alert:
A guided fix flow is provided.
Makers are shown one or more recommended actions based on the issue type.

4. Apply fixes directly in the studio
Based on the findings, you can perform the following actions:
Review plain-language explanations for each recommendation.
Accept or edit suggested values.
Take actions directly, through one-click settings, embedded VS Code, or external documentation links.
Each fix you apply updates the alert status and helps keep the site secure.
5. Use chat to understand and fix problems
For any alert or security-related question, makers can open the security agent chat panel.
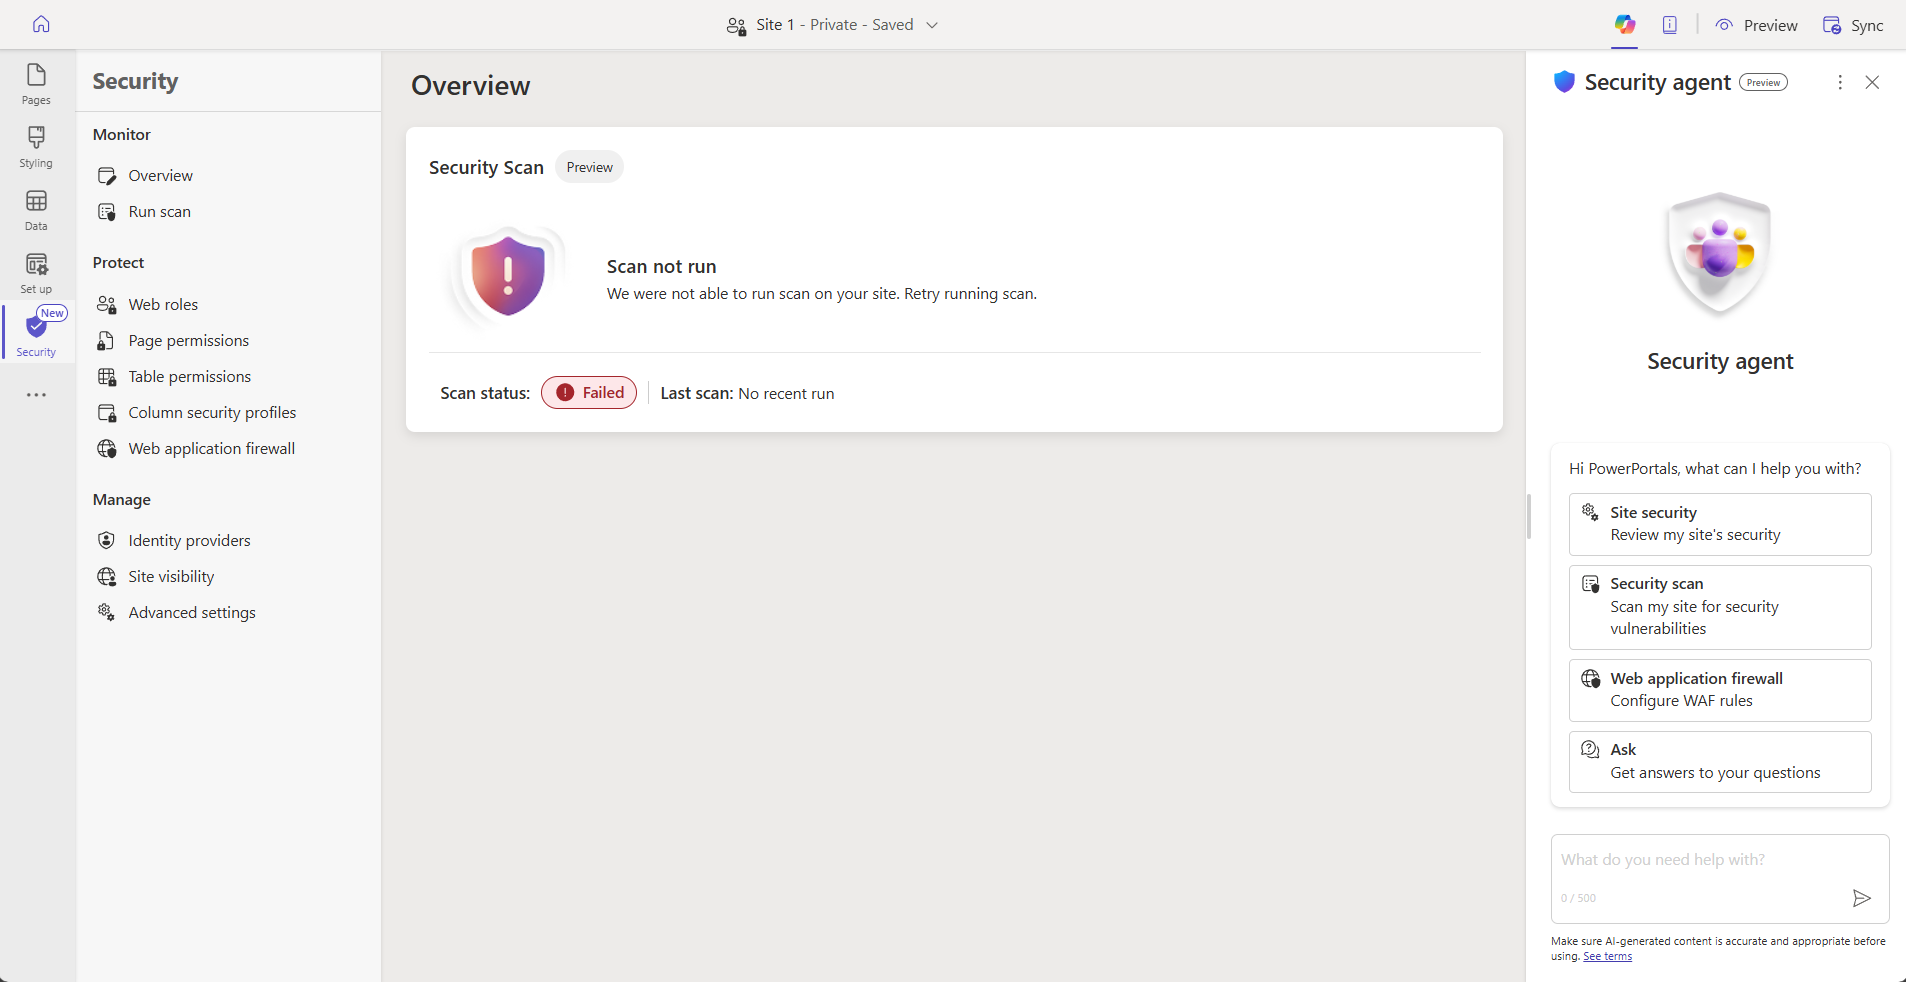
Through chat, the agent:
Explains what the problem is and why it matters.
Describes recommended actions in simple, nontechnical terms.
Shows what configuration changes and its expected impact.
Before taking any action, the agent always requests explicit user approval. After an action is completed, the agent confirms the update and provides clear visibility into what was changed.