Note
Access to this page requires authorization. You can try signing in or changing directories.
Access to this page requires authorization. You can try changing directories.
Pipelines automate solution deployments between Power Platform environments and facilitate healthy application management practices with minimal effort.
Prerequisites
- One or more pipelines must already be created and associated with the environment that's used for development.
- The development environment must have Microsoft Dataverse or Dataverse plus Dynamics 365 customer engagement apps.
- You must have access to run a pipeline. More information: Grant access to edit or run pipelines
- You must have privileges to import solutions to the target environments associated with a pipeline.
- The Power Platform Pipelines application must be installed in your pipeline host environment. More information: Install the pipelines application in your host environment
For more information about these prerequisites, go to Set up pipelines.
Run a pipeline
- Sign in to a Power Platform environment using Power Apps (make.powerapps.com) or Power Automate (make.powerautomate.com) and select your development environment.
- To deploy a solution using a pipeline, go to Solutions and create or select an unmanaged solution to deploy.
- From the Solutions area, choose between two options to include the solution in the pipeline:
- Select Pipelines from the left navigation pane.
- Select Overview from the left navigation pane, and then select Deploy on the command bar.
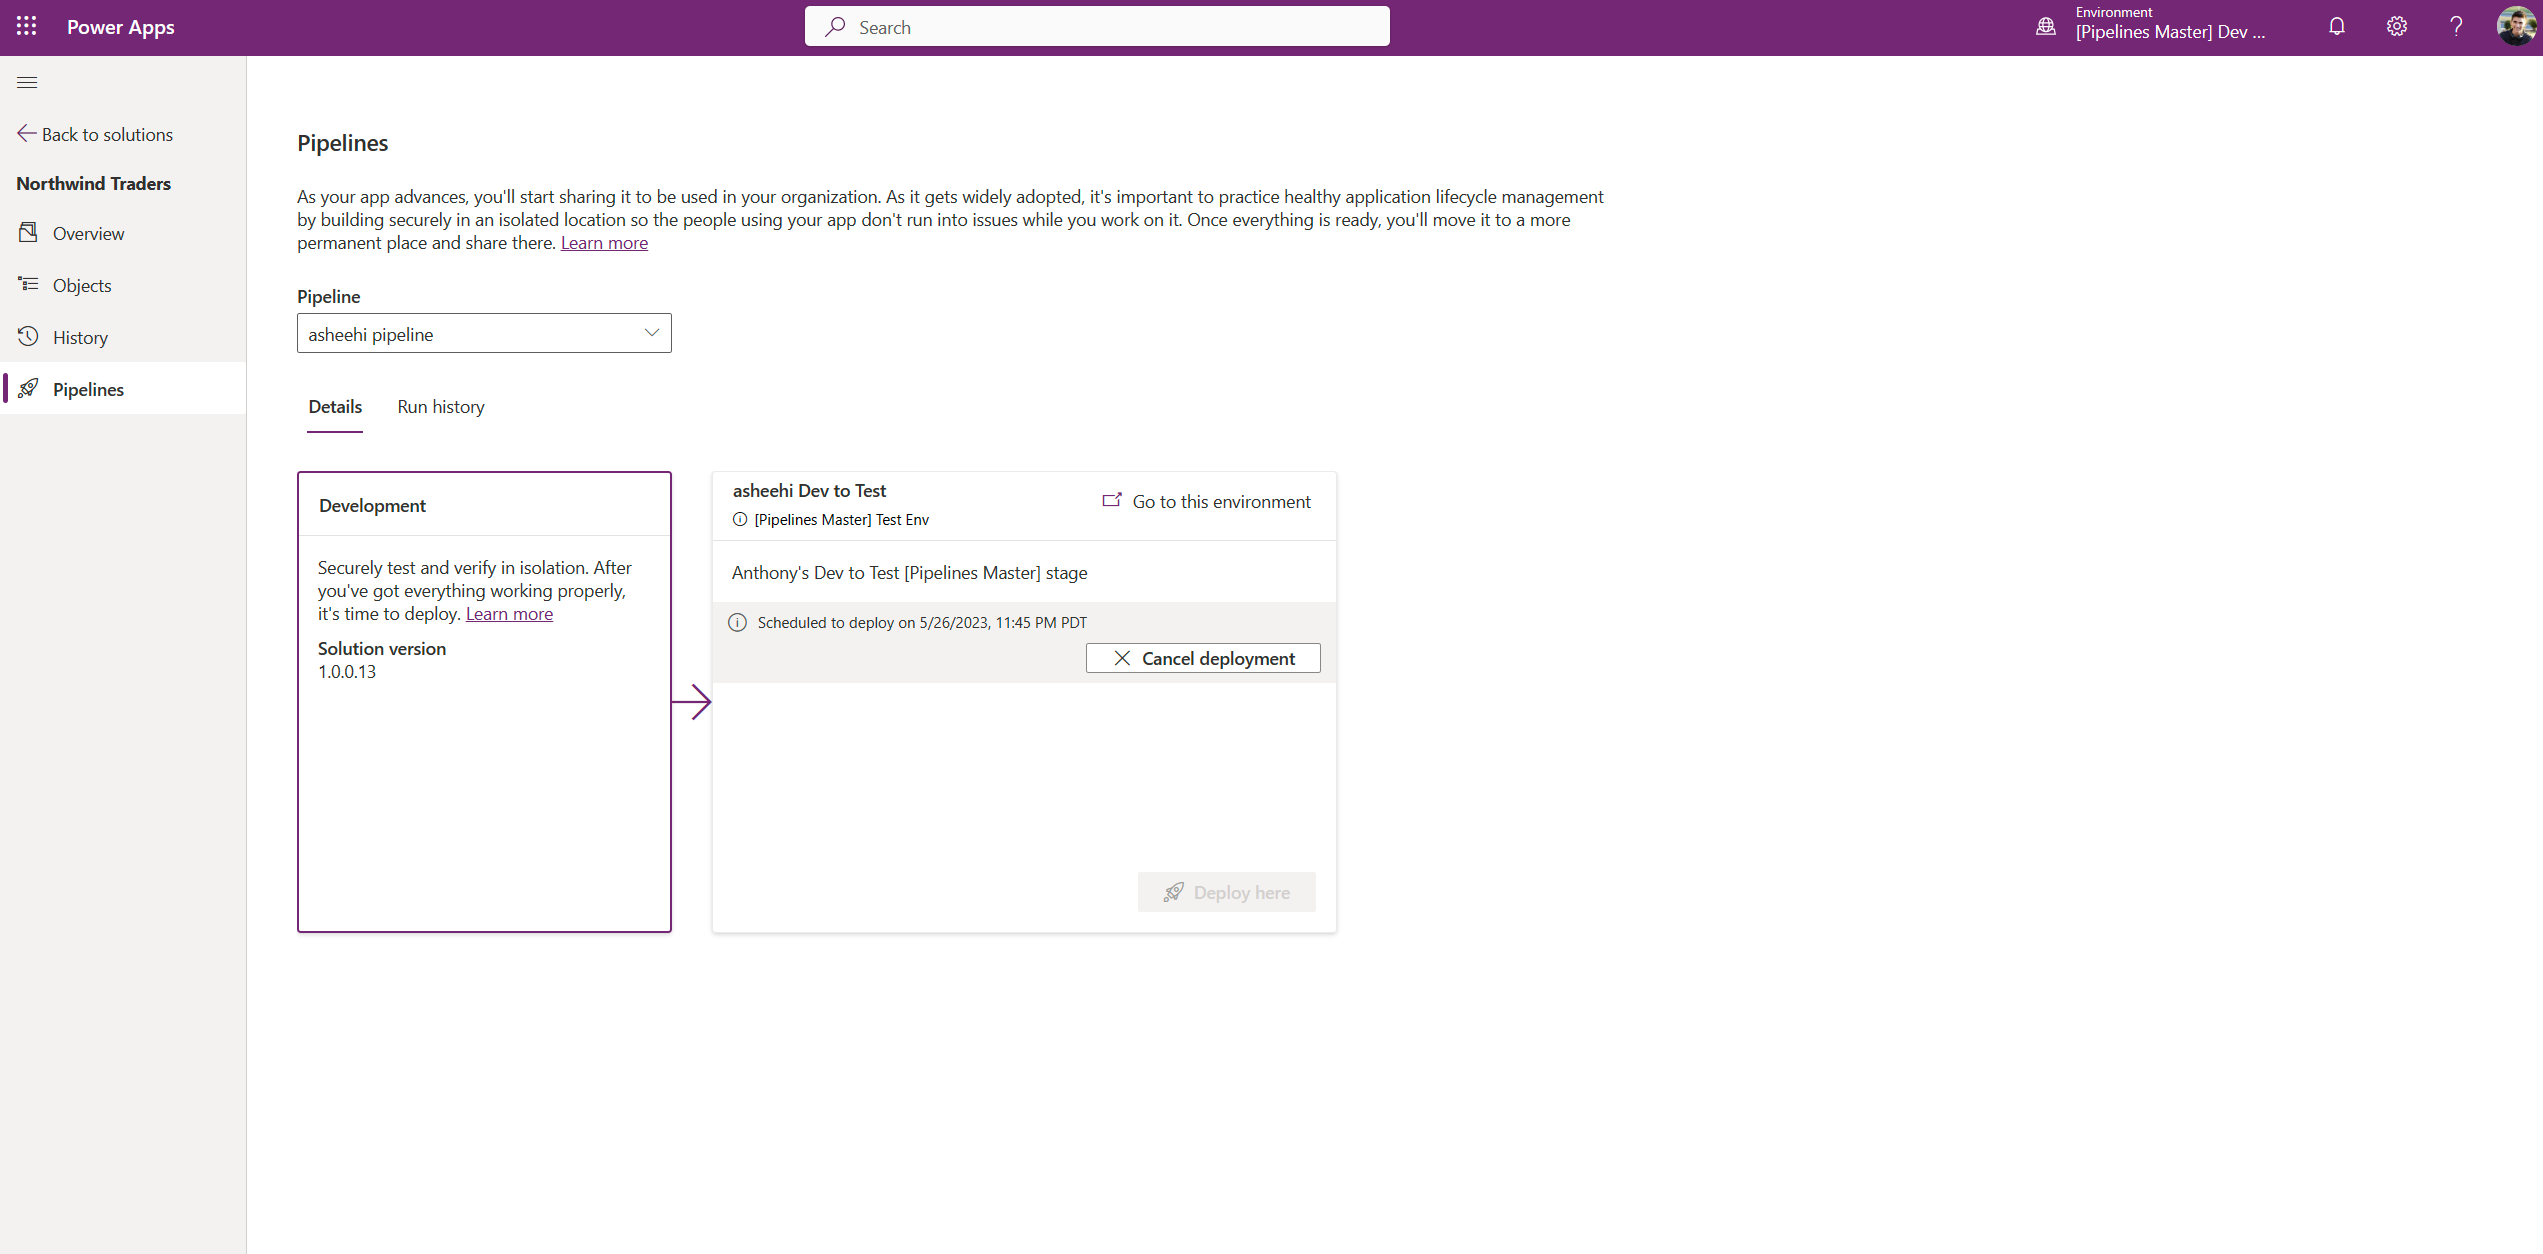
- Select the stage to deploy to, such as Deploy to Test, select Deploy here, and the deployment pane appears on the right.
- Choose to deploy Now or schedule for Later, and then select Next on the right pane. This initiates validation of the solution against the test environment. This validation can also be referred to as preflight checks. Missing dependencies and other common issues are checked that might cause a deployment to fail.
- If connection references or environment variables are present, you’re prompted to provide these (just as you would when manually importing solutions).
- Review the summary of the deployment and optionally add deployment notes.
- Select Deploy. This initiates an automated deployment to the target environment.
Note
- Pipelines aren't visible within the default solution, managed solutions, or target environments.
- You must complete the deployment stages in order. For example, you can't deploy version 1.0.0.1 to production before it has been deployed to test. After you deploy to test, the same solution that was deployed will then be deployed to production, even if afterward you made changes to the solution without incrementing the version.
- A message stating your request to deploy here is pending, which means your admin attached background processes or approvals that run before your deployment can proceed.
Cancel a scheduled deployment
If you have a scheduled deployment, you can cancel it through three different methods:
- In the pipeline Details section where you began your deployment, there's an option to Cancel deployment before the scheduled deployment time.
- In Run history, selecting ... on a scheduled deployment displays a Cancel deployment option.
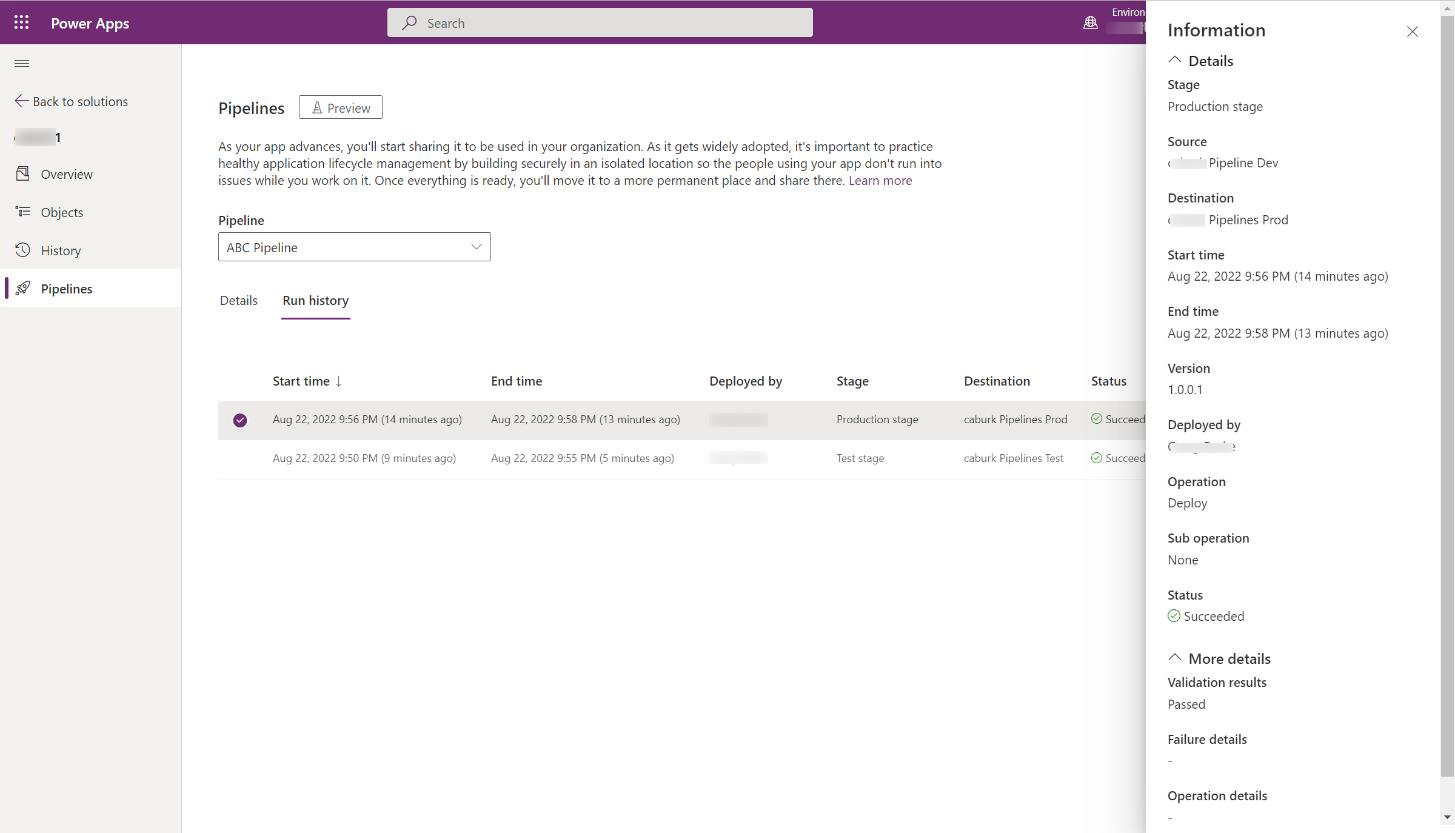
- In the Information pane, select a deployment record in Run history, and then select Cancel deployment under the Status of a scheduled deployment.
Change the time of a scheduled deployment as a pipeline admin
In the Deployment Pipeline Configuration app, perform the following steps:
- Navigate to Run history under Deployments.
- Select the record for the scheduled deployment that you want to change.
- Change the Scheduled Time (shown in UTC, which might differ from your time zone) as desired.
Monitor pipeline deployments
The Pipelines page in the Solutions area displays all deployment activity for the current pipeline and solution.
Select a pipeline, then select Run history to view more detail and error information if there was a failure.