Note
Access to this page requires authorization. You can try signing in or changing directories.
Access to this page requires authorization. You can try changing directories.
You can customize the user experience in the ALM Accelerator for Power Platform by using deployment user settings to turn on or off some of the features in the UI. To help all makers use the app effectively, you can create separate experiences for users who are unfamiliar with application lifecycle management (ALM) and for those who are more experienced. User settings are linked to deployment profiles.
This section covers how to use the ALM Accelerator administration app to configure user settings. You don't need to do this manually, however. If a user doesn't have an experience assigned, the ALM Accelerator app automatically creates one when the user signs in. The default user setting enables all the app's functionality, including import, delete, and all advanced features.
Create user settings with the administration app
Open the ALM Accelerator administration app, and then select Deployment User Settings.
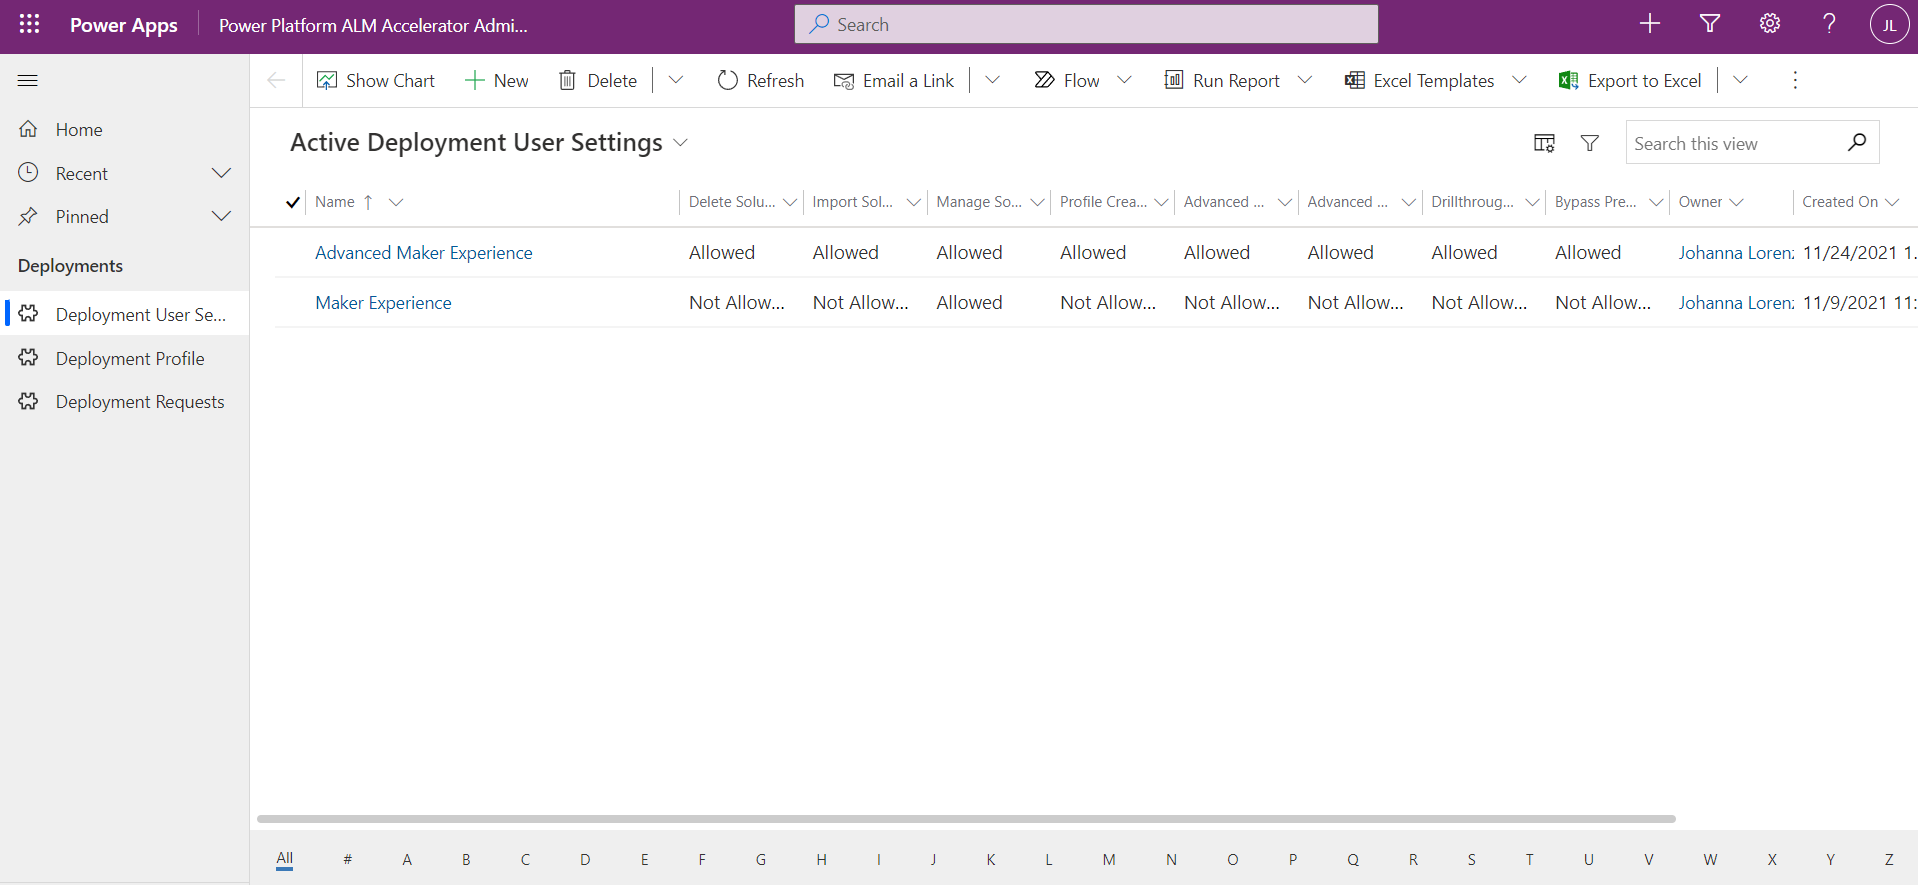
Select New.
Enter a name for the user setting. The name is only displayed to users who have more than one user setting assigned to them.
Select the following User Functions to allow or disallow in the ALM Accelerator canvas app:
- Import Solutions: Allow this function to show the Import Solution command in the app.
- Delete Solutions: Allow this function to show the Delete Solution command in the app.
- Manage Solutions: Allow this function to show the Manage Solutions command in the app.
- Drillthrough Status: Allow this function to enable users to drill into promote and deploy pipeline runs in the app.
- Profile Creation: Allow this function to enable users to create deployment profiles in the app.
- Profile Updates: Allow this function to enable users to update deployment profiles in the app.
- Advanced Deploy: Allow this function to enable users to specify a source and target branch for a pull request using the advanced deploy functionality.
- Advanced Promote: Allow this function to enable users to specify a source and target branch, or create a branch, using the advanced promote functionality.
- Bypass Prepare: Allow this function to enable users to skip the preparation step during the promotion of a solution, bypassing the need to configure deployment settings before committing to source control.
- Bypass Prepare Default: Sets the Bypass Prepare toggle to True or False in the ALM Accelerator app depending on whether or not Bypass Prepare is allowed.
- Deployment Configuration: Allow this function to enable users to skip the preparation step during the promotion of a solution, and bypass the need to configure deployment settings before they commit to source control.
- Show All Solutions: Allow this function to enable users to see all solutions in the selected environment.
- Bypass Approval: Allow this function to enable users to skip the approval of their pull requests during the deployment of a solution to test environments.
- Bypass Approval Default: Sets the Bypass Approval toggle to True or False in the ALM Accelerator app depending on whether or not Bypass Approval is allowed.
- Commit Portals: Allow this function to enable users to include the Power Apps portal and Power Pages website when the solution is committed to source control.
- Commit Portals Default: Sets the Include Power Apps Portal/Power Pages toggle to True or False in the ALM Accelerator app depending on whether or not Commit Portals is allowed.
- Publish Customizations: Allow this function to enable users to publish customizations when the solution is committed to source control or skip publishing to save time.
- Publish Customizations Default: Sets the Publish Customizations toggle to True or False in the ALM Accelerator app depending on whether or not Publish Customizations is allowed.
- Allow Import Managed: Allow this function to enable users to import managed and unmanaged solutions into their maker environments.
- Import Managed Default: Sets the Allow Import Managed toggle to True or False in the ALM Accelerator app depending on whether or not Allow Import Managed is allowed.
Configure User Labels. These values also appear in the Deployment History view under the action that was executed.
- Deploy Solution: Enter a label or set the value to blank to use the default label, DEPLOY SOLUTION.
- Commit Solution: Enter a label or set the value to blank to use the default label, COMMIT SOLUTION.
- Import Solution: Enter a label or set the value to blank to use the default label, IMPORT SOLUTION.
- Delete Solution: Enter a label or set the value to blank to use the default label, DELETE SOLUTION.
Select Save.
Share user settings with the ALM Accelerator administration app
To share user settings created for a particular user profile, we recommend that you share the user setting row with a Microsoft Entra group team. Sharing with a Microsoft Entra group team allows you to manage access to user settings and deployment profiles by adding the user to the group in Microsoft Entra ID.
Create a Microsoft Entra group team
If you already have a Microsoft Entra group team in Microsoft Dataverse to share user settings, skip this section.
Sign in to the Power Platform admin center, and then select the environment in which you installed the ALM Accelerator app.
Under Access -Teams, select See all, and then select Create Team.
Enter the required fields, and then select Microsoft Entra Group Team as the Team Type.
Select the Microsoft Entra Group to use for this team, and then select Next.
Select ALM Power App Access and Basic User as the roles for the team.
Select Save.
Share user settings with a Microsoft Entra group team
Open the ALM Accelerator administration app and go to Deployment User Settings.
Open the user setting that you want to share with your team, and then select Share.
Use Advanced lookup to search for and select your Microsoft Entra group team in your organization's Microsoft Entra security group teams.
Select Done.
Under Manage Share Access, select the team, and then select Read and Append as the privileges.
Select Share.