Note
Access to this page requires authorization. You can try signing in or changing directories.
Access to this page requires authorization. You can try changing directories.
Summary
| Item | Description |
|---|---|
| Release State | General Availability |
| Products | Power BI Semantic models (Desktop + Service) Power BI (Dataflows) Fabric (Dataflow Gen2) |
| Authentication Types Supported | Organizational Account |
Note
Some capabilities might be present in one product but not others due to deployment schedules and host-specific capabilities.
Prerequisites
An Azure subscription. Go to Get Azure free trial.
You must have appropriate rights in Azure role-based access control (Azure RBAC) with at least read access to the resources you want to query.
Tip
If you participated in the private preview, be sure to delete the AzureResourceGraph.mez preview file. Failure to do so might result in your test custom connector being used by Power Query inadvertently instead of the newly certified connector.
Capabilities supported
- Import
- Advanced options
- Scope by subscription(s) and/or management group(s)
Connect to Azure Resource Graph from Power Query Desktop
To connect to Azure Resource Graph from Power Query Desktop:
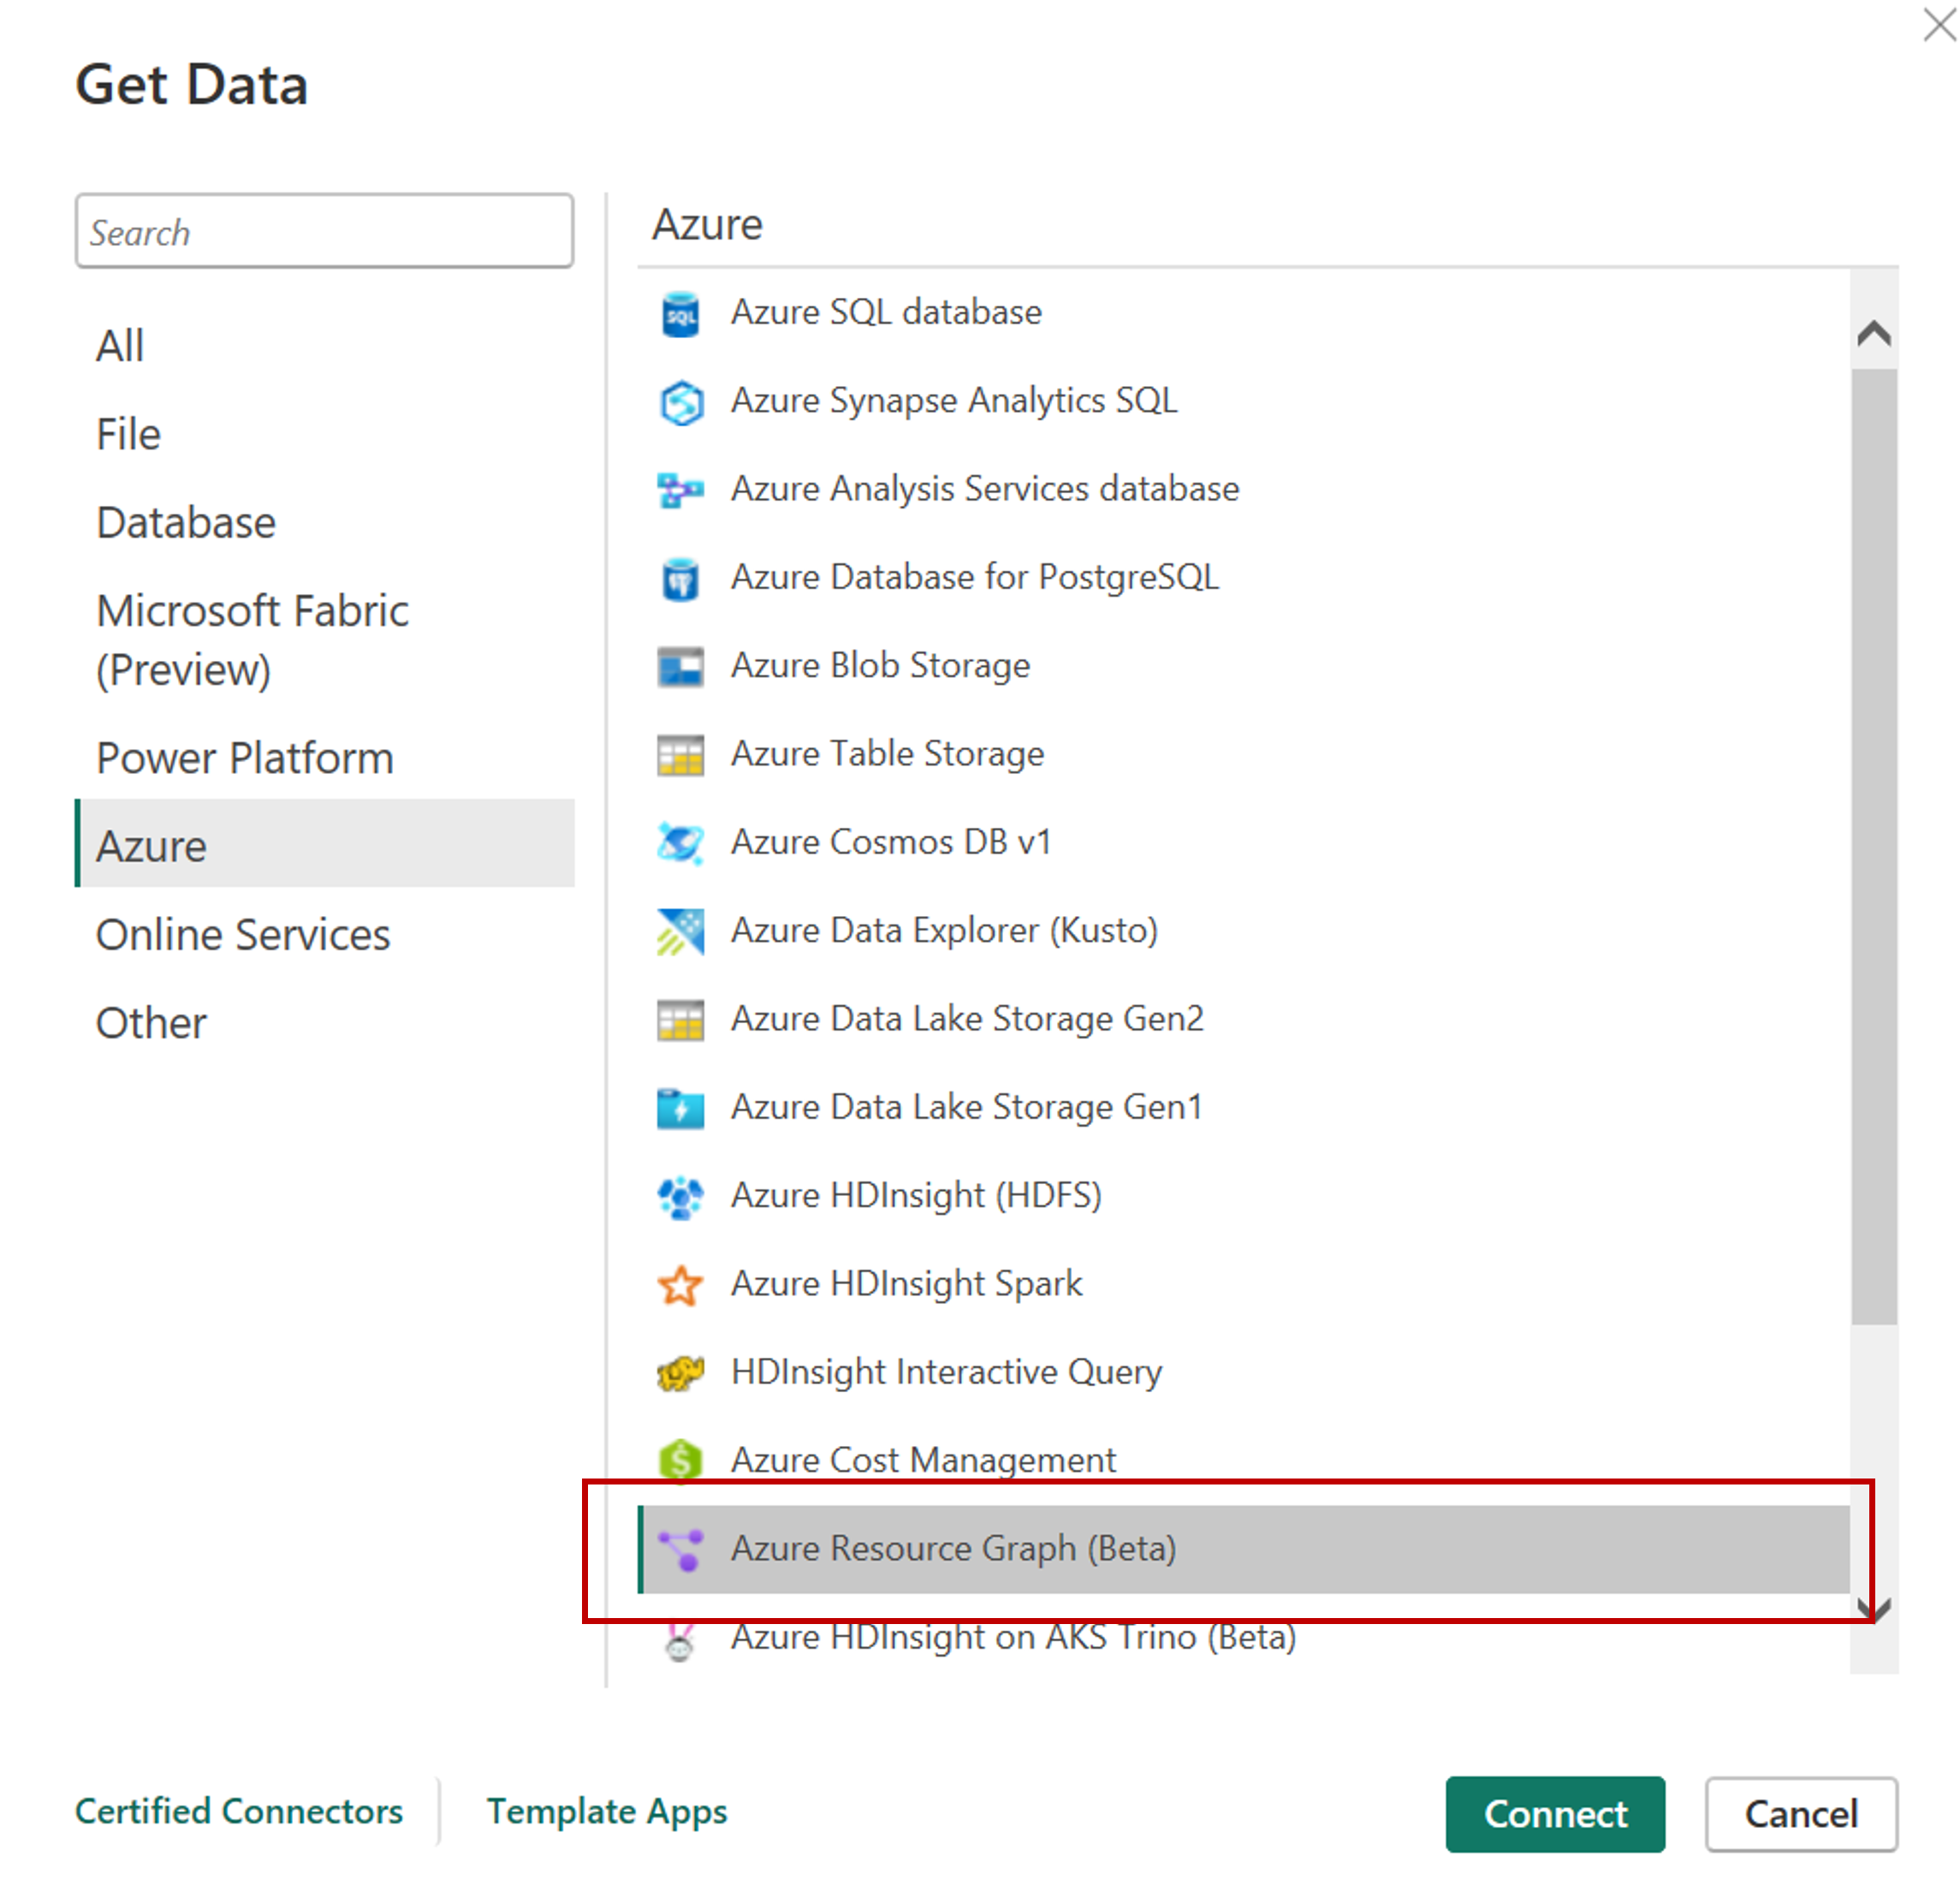
In Get Data, select Azure or search for Azure Resource Graph, and then select Azure Resource Graph. More information: Where to get data
In the Azure Resource Graph dialog box, fill in the query and any optional fields, such as Scope.
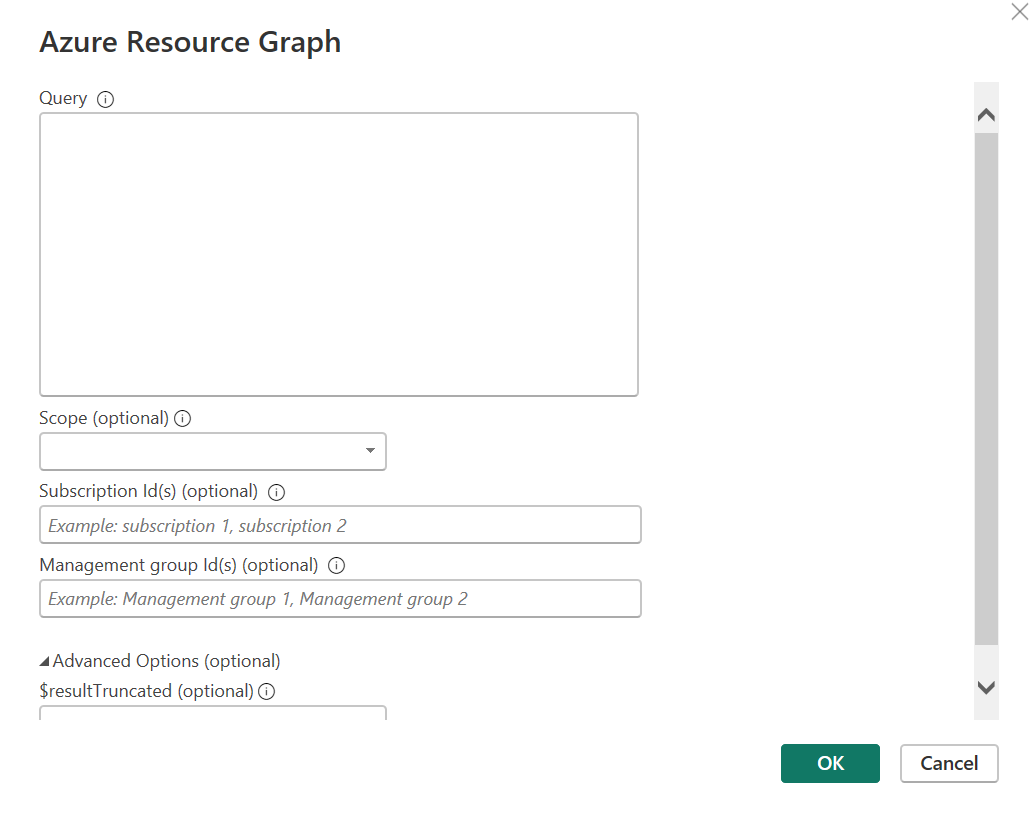
Note
You can scope queries to either subscription or management group level, if neither option is chosen the query will execute at the tenant level by default.
If you're connecting to this site for the first time, select Sign in and input your credentials. Then select Connect.
In Navigator, select the tables you require, then either load or transform the data.
Connect to Azure Resource Graph from Power Query Online
To connect to Azure Resource Graph from Power Query Online:
In Choose data source, select Azure or search for Azure Resource Graph, and then select Azure Resource Graph. More information: Where to get data
In Connect to data source, fill in the query and any optional fields, such as Scope.
Sign in to your organizational account.
When you're successfully signed in, select Next.
In Choose data, select the data you require, and then select Transform Data.
Note
Expect longer wait times for large query results.
Connect using advanced options
Power Query provides an advanced option that you can add to your query if needed.
| Advanced option | Description |
|---|---|
| Scope | Specify whether you want to query at the subscription or management level. If you don't select either subscription or management, the query automatically applies to the tenant level by default. |
| Subscription Id(s) | Specify any specific subscriptions you want to query against. Enter each subscription ID separated by commas. This field is required if you select the subscription scope. |
| Management Group Id(s) | Specify any specific management groups you want to query against. Enter each management group separated by commas. This field is required if you select management group scope. |
| $resultTruncated | If you would like to retrieve more than 1,000 records, set $resultTruncated to FALSE. By default, Azure Resource Graph returns only up to 1,000 records. |
Related content
For more information about the Azure Resource Graph (ARG) Power BI connector, refer to these resources: