Note
Access to this page requires authorization. You can try signing in or changing directories.
Access to this page requires authorization. You can try changing directories.
Note
This connector is owned and provided by CloudBluePSA.
Summary
| Item | Description |
|---|---|
| Release State | Beta |
| Products | Power BI (Semantic models) Power BI (Dataflows) Fabric (Dataflow Gen2) |
| Authentication Types Supported | API Key |
| Function Reference Documentation | CloudBluePSA Connector.Help |
Prerequisites
Before you can use the CloudBluePSA connector, you must have a CloudBluePSA instance (username/password) and an API key. Sign in to your PSA instance, which is usually at a URL similar to YOUR_COMPANY_NAME.cloudbluepsa.io, and then navigate to Setup > Employees > Find employees and add a new API user, which gives you an API key.
Capabilities
- Import
Connect to CloudBluePSA from Power Query Desktop
To connect to CloudBluePSA data:
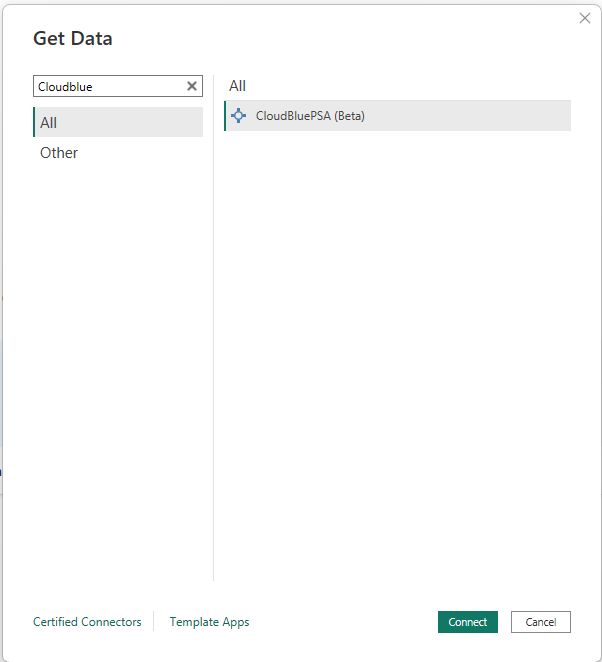
Select Get Data from the Home ribbon in Power BI Desktop.
Select the Search box and start typing CloudBluePSA. Then select CloudBluePSA from the list on the right, and select Connect.
In the Retrieve all pages of data window that appears, copy and paste the URL generated on the GET side of the API endpoint of your choice. Then in Filter, copy and paste the constructed filter on the same API endpoint. For example:
URL:
https://INSTANCE_URL/webapi/v1.3/tickets/getticketsreportFilter:\
{ "pageno": 1, "pagesize": 10, "filters": [{"field": "Type", "op": "cn", "data": "n"}], "filterop": "AND", "sortcolumn": "Name", "sortorder": "Asc", "resulttype": "Json", "includeccysymbols": true, "gridcolumns": "RefNumber,Type,Name"}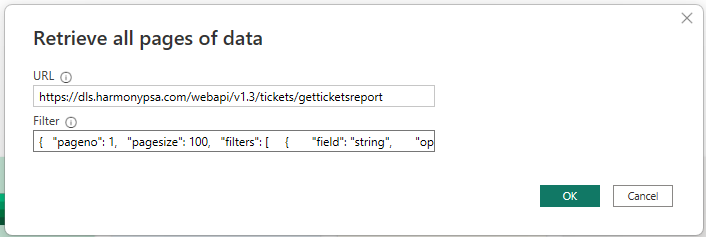
Select OK.
Provide your API key generated in CloudBluePSA and select Connect.
You need to select Transform Data and this selection opens the Power Query editor.
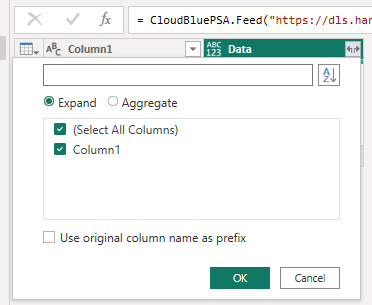
Expand the Data column, then select OK.
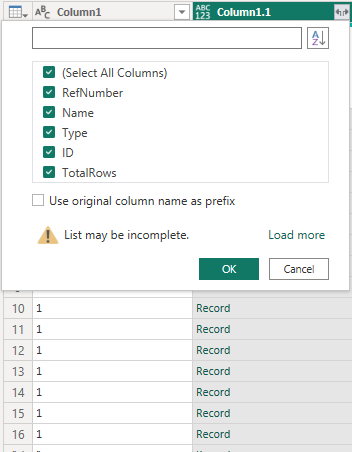
Expand the Column1.1 column. This time, on the list of columns, all the grid columns included in the filter are displayed. Select as many columns as required, and then select OK. All the selected data is now displayed, and can be reshaped and used to create reports as required.
Select Close & Apply. You can now start using your data.
Connect to CloudBluePSA from PowerQuery Online
To connect to CloudBluePSA:
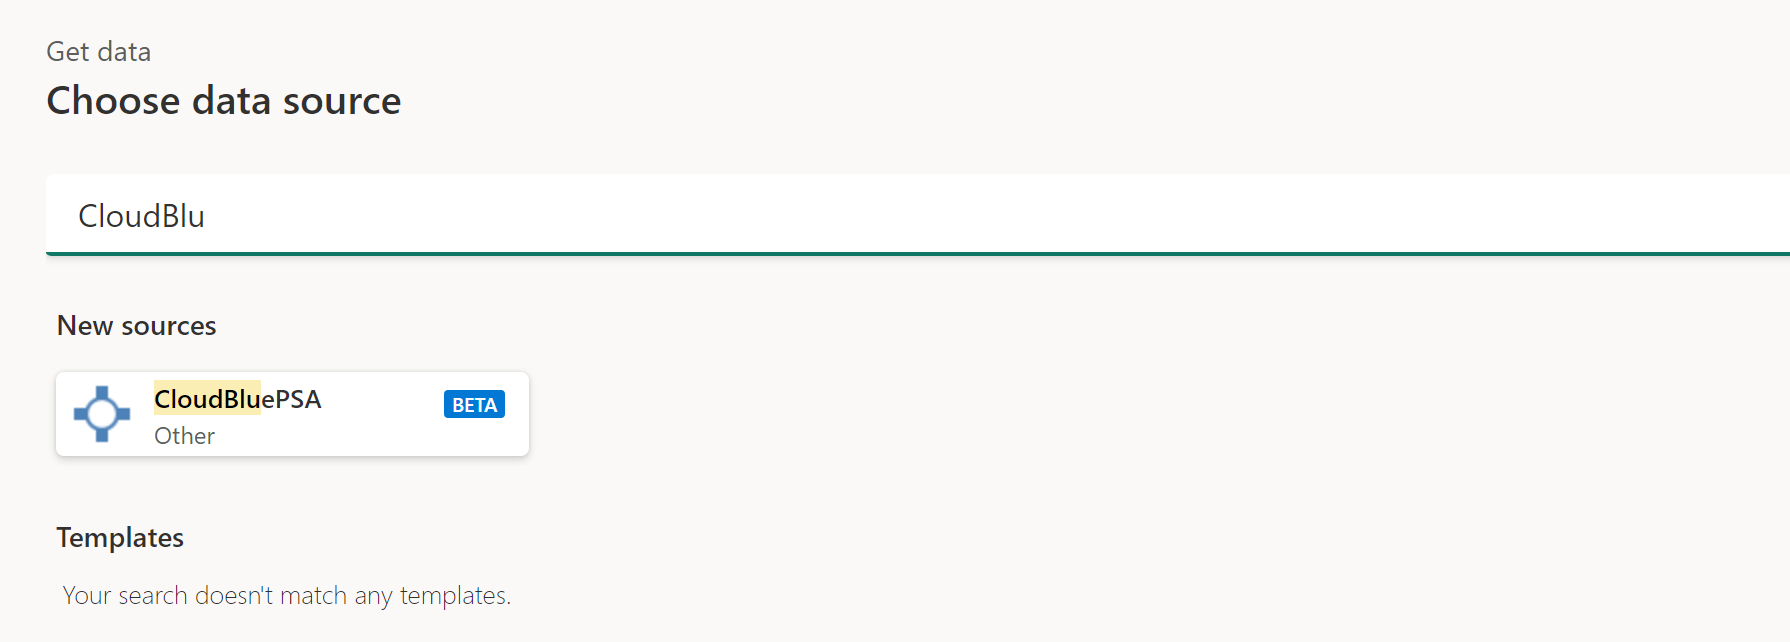
From Choose data source, start typing in the search box: CloudBluePSA.
In Connect to data source, provide the URL and Filter as defined and generated in your instance, as shown in the example inside each text box. Finally paste your API key in the Account Key field.
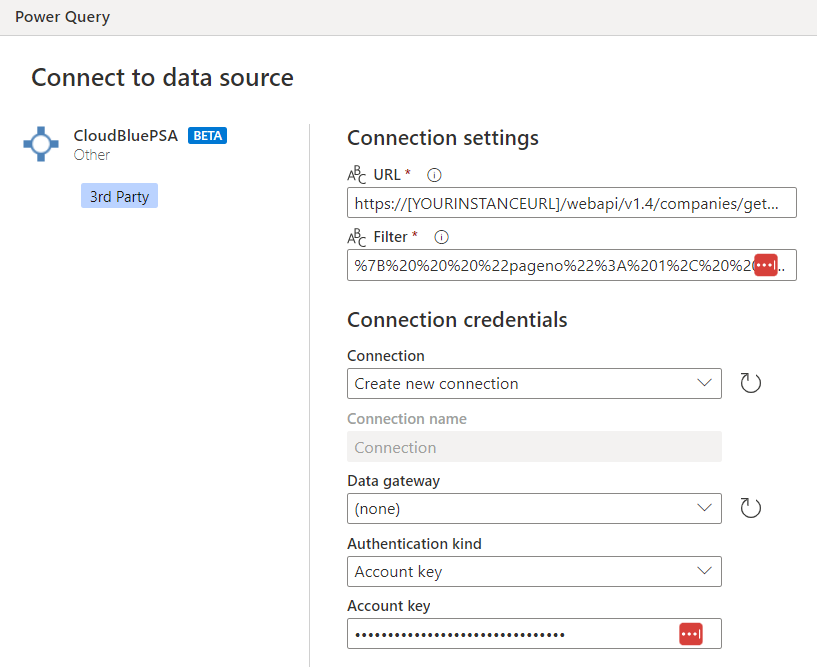
Select Next.
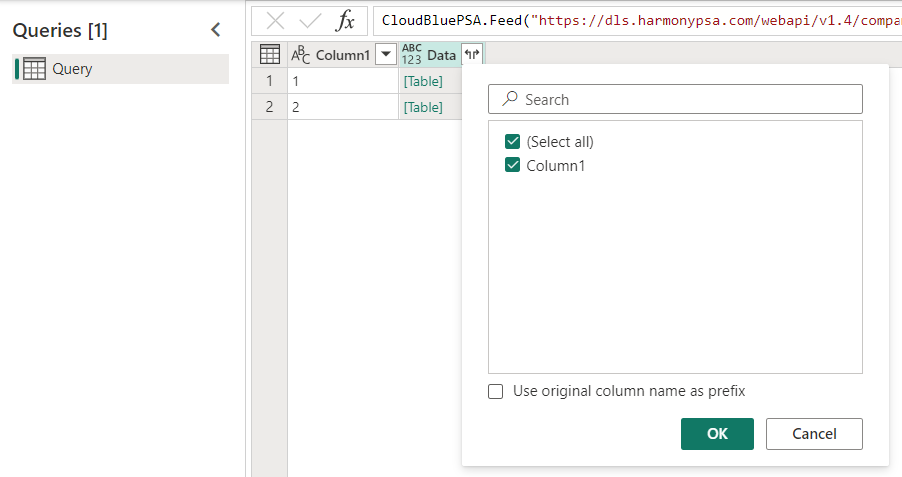
In the Navigator screen, select the Expand button next to the Data column, and then select OK.
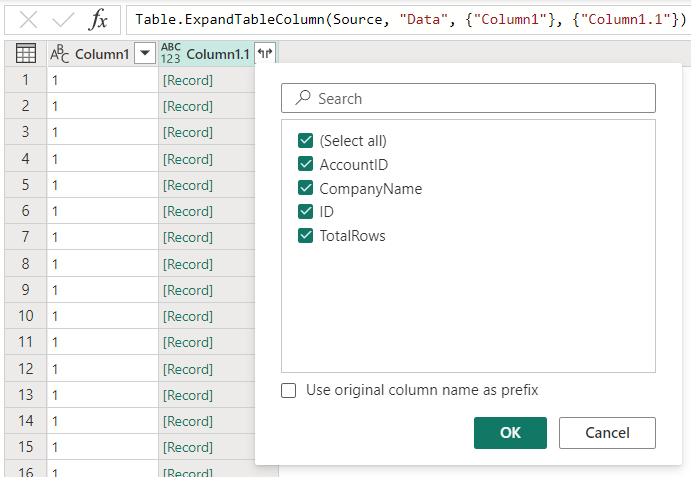
Two new columns now appear. Select the Expand button next to the Column1.1 column and then select OK. You can now start using your data.
Related content
You might also find the following CloudBluePSA information useful: