Note
Access to this page requires authorization. You can try signing in or changing directories.
Access to this page requires authorization. You can try changing directories.
Note
The following connector article is provided by inwink, the owner of this connector and a member of the Microsoft Power Query Connector Certification Program. If you have questions regarding the content of this article or have changes you would like to see made to this article, visit the inwink website and use the support channels there.
Summary
| Item | Description |
|---|---|
| Release State | Beta |
| Products | Power BI (Semantic models) Power BI (Dataflows) Fabric (Dataflow Gen2) |
| Authentication Types Supported | Organizational account |
Prerequisites
Before you can sign in to the inwink connector, you must have an inwink account (username/password).
Connect to inwink data
To connect to inwink data:
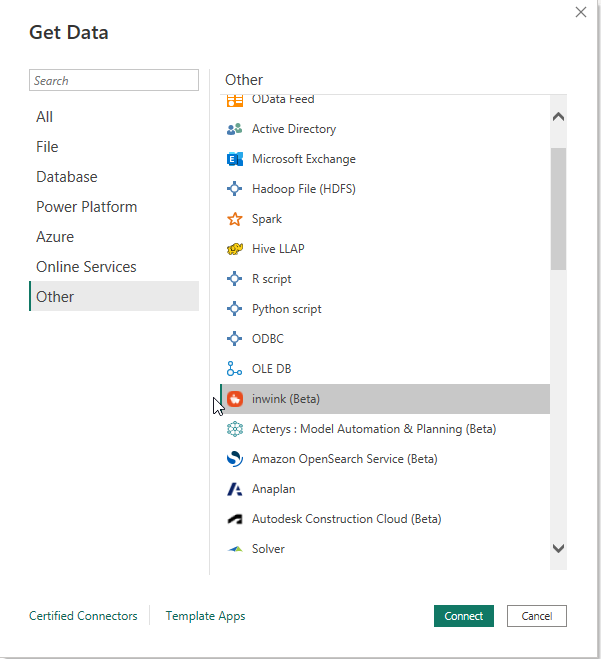
Select Get Data from the Home ribbon in Power BI Desktop. Select Online Services from the categories on the left, select inwink, and then select Connect.
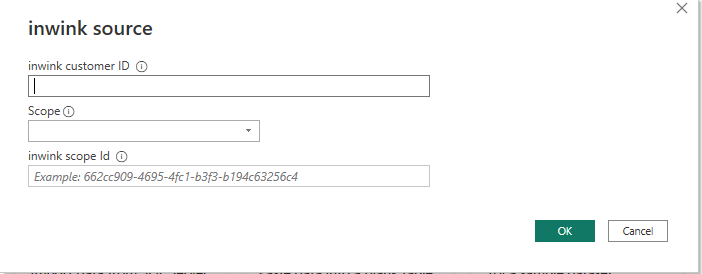
Provide your inwink customer ID, the scope you want to retrieve data from (Event, Community, or Audience), and the scope ID.
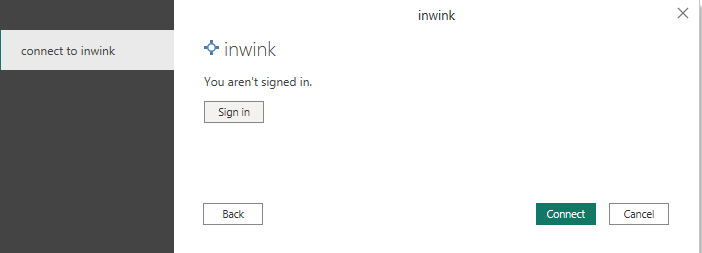
Select Sign in to sign in to your inwink account.
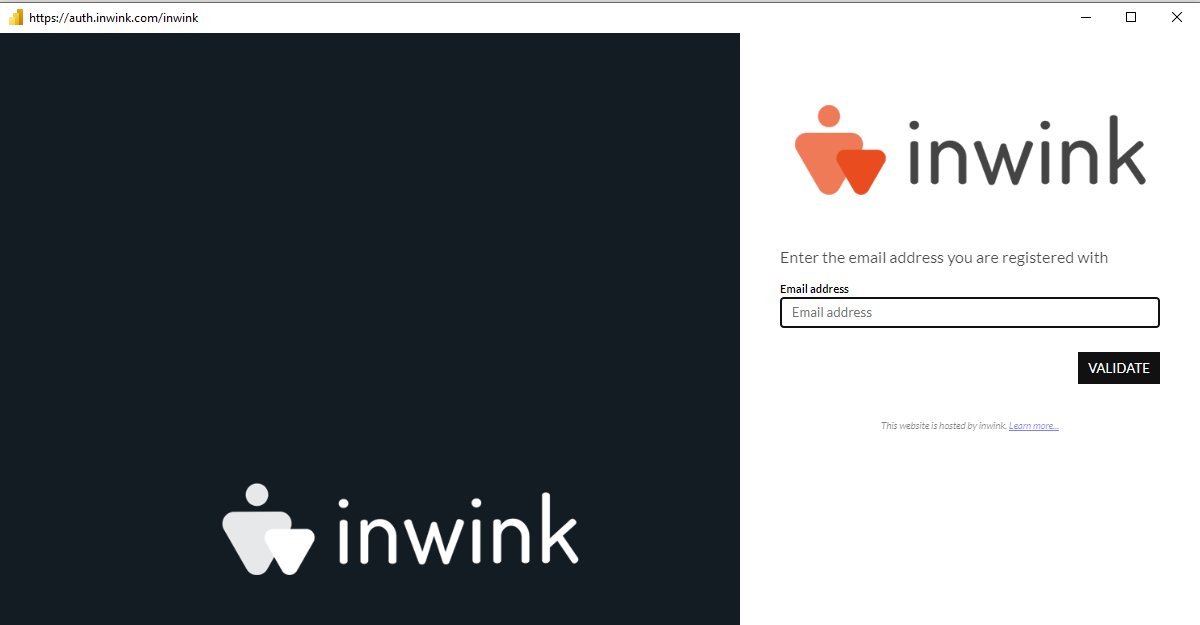
Connect using your user email and password.
Once the connection is established, you can preview and select Tables within the Navigator.
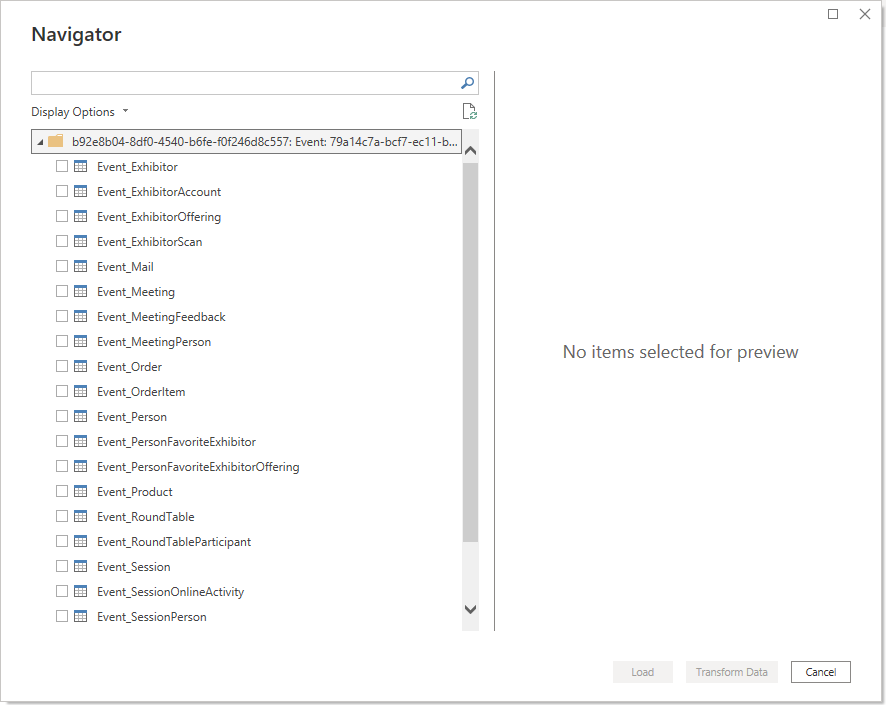

You can select Load on the selected tables, which brings all the tables into Power BI Desktop, or you can select Transform Data to edit the query, which opens the Power Query editor. You can then filter and refine the set of data you want to use, and then load that refined set of data into Power BI Desktop.
Limitations and issues
Table relationships might be automatically set by Power BI Desktop when loading the tables and induce errors. Delete all relationships on column 'Status'.