Note
Access to this page requires authorization. You can try signing in or changing directories.
Access to this page requires authorization. You can try changing directories.
Note
This connector is owned and provided by SingleStore.
Summary
| Item | Description |
|---|---|
| Release State | General Availability |
| Products | Power BI (Semantic models) Power BI (Dataflows) Fabric (Dataflow Gen2) |
| Authentication Types Supported | Basic Windows |
Capabilities supported
- Import
- DirectQuery (Power BI semantic models)
Connect to SingleStore
To connect Microsoft Power BI Desktop to SingleStore DB or Managed Service:
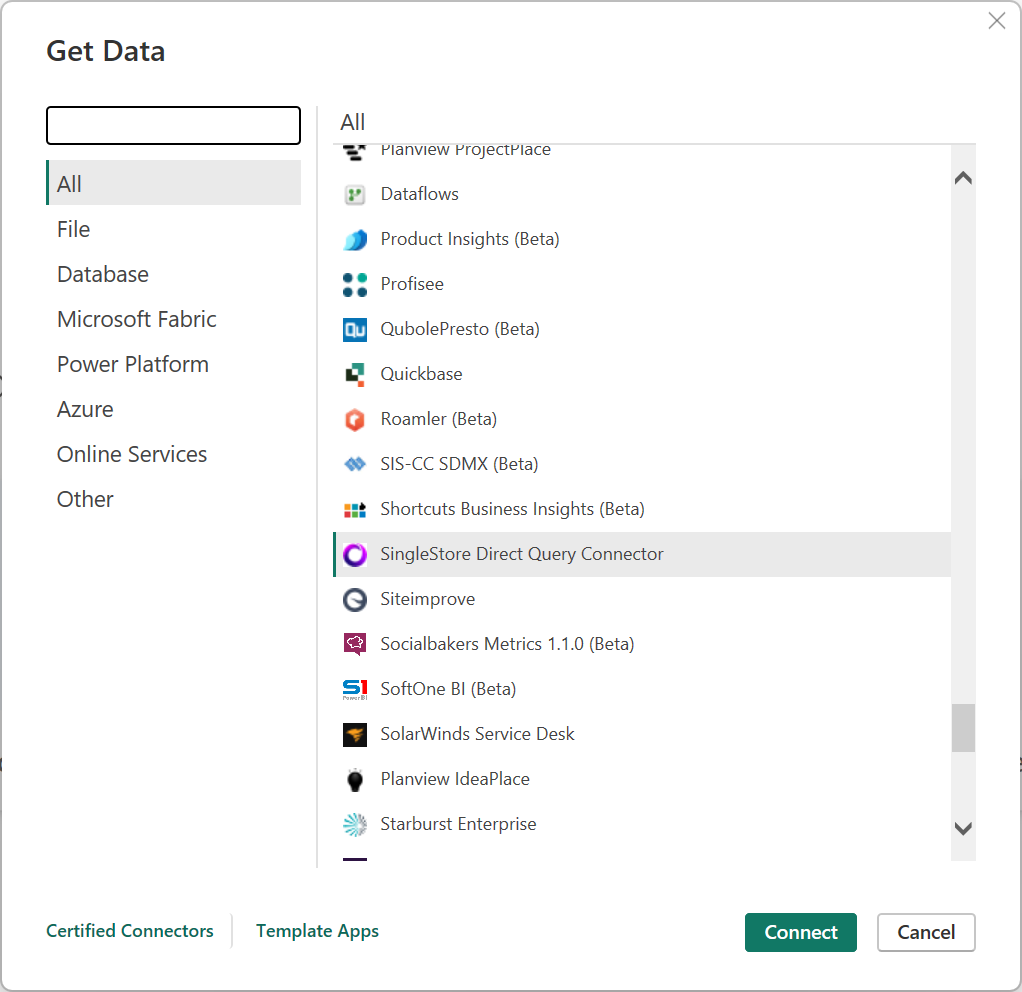
In the Home ribbon, from the Get Data list, select More.
In the Get Data dialog, select SingleStore Direct Query Connector.
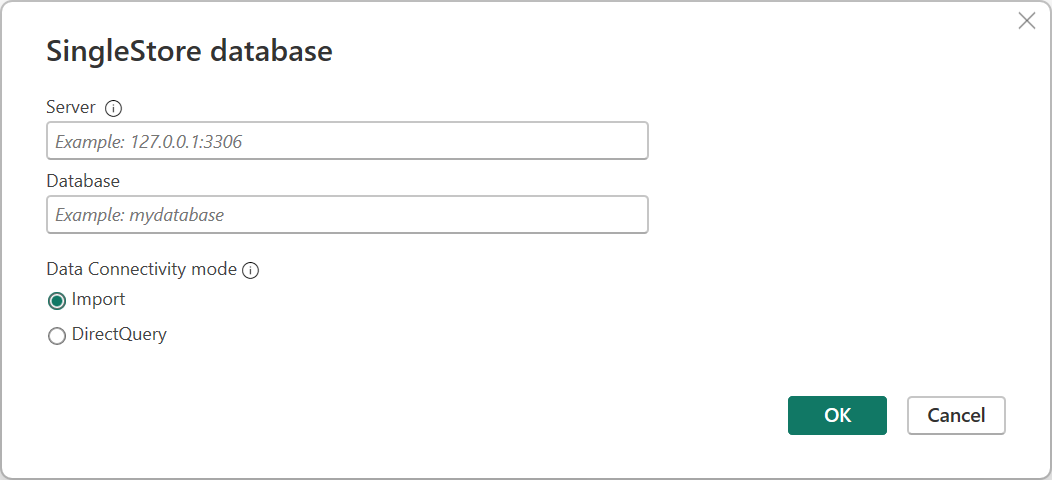
In the SingleStore database dialog box, enter the IP address or hostname of the SingleStore cluster in Server. In Database, enter the database name.
Under Data Connectivity mode, select the Import or DirectQuery mode, and then select OK.
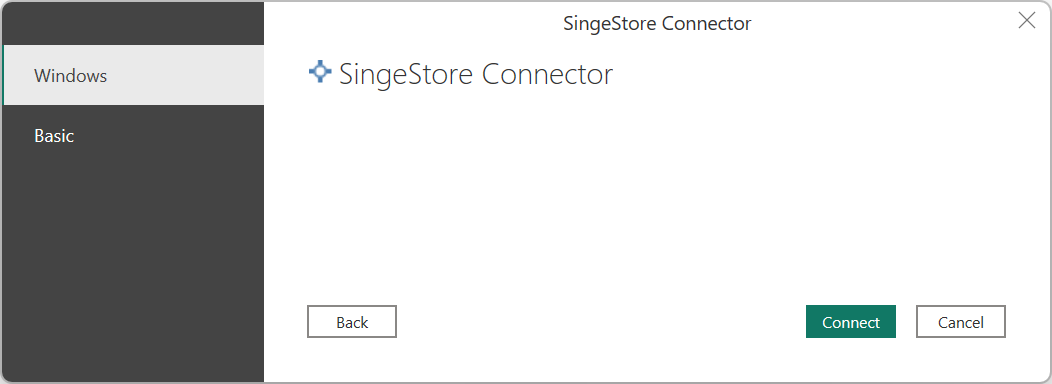
In the SingleStore Direct Query Connector dialog box, in the left pane, select the authentication type (either Windows or Basic).
Note
SingleStoreDB Cloud users can only use Basic authentication.
For Windows authentication, set up a SingleStore server for Kerberos authentication. Then select the Connect button.
Note
You need to run Power BI with the user account that maps to the SingleStore DB user.
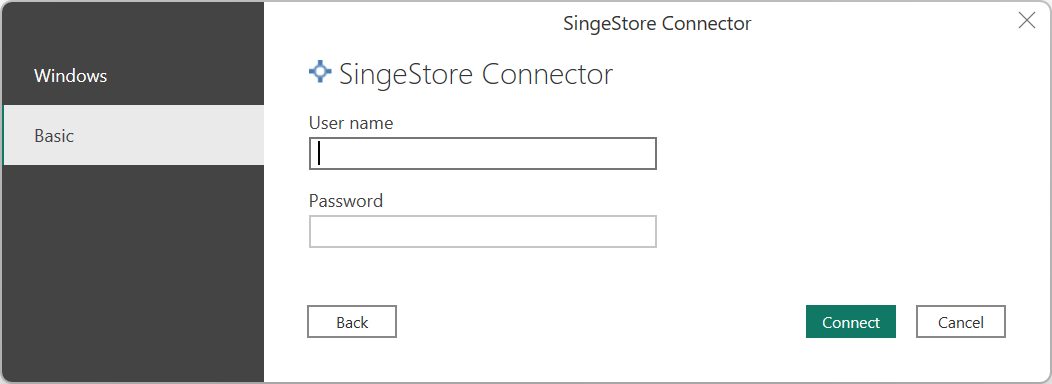
For Basic authentication, enter the username and password used to connect to SingleStore, and then select the Connect button.
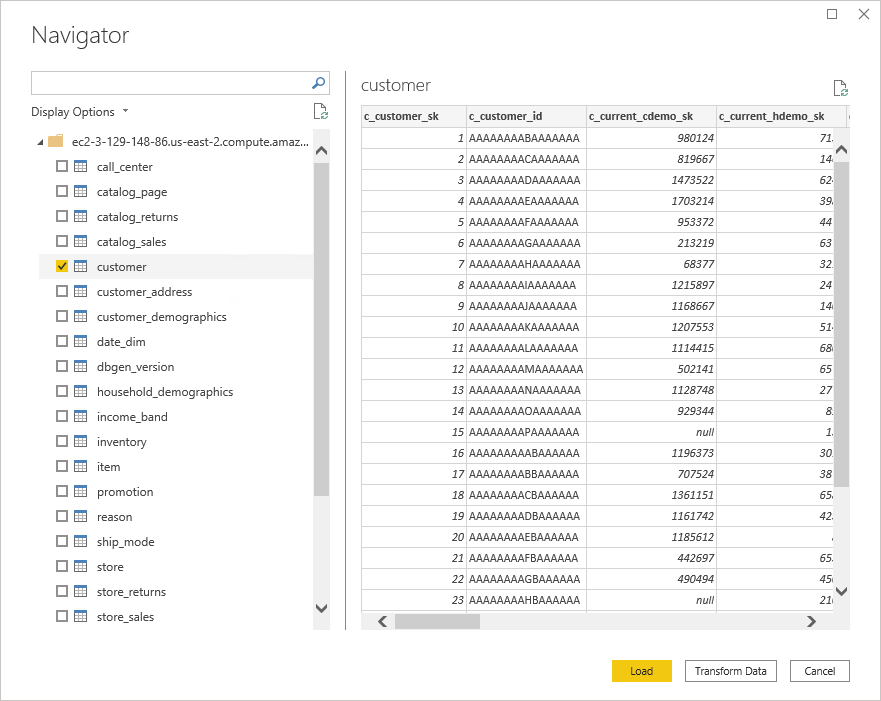
Once authenticated—for Import or DirectQuery mode—in the Navigator dialog box, choose the desired tables and select the Load button.
You can now use Power BI to explore SingleStore data.
Create a custom SQL report
Note
Any user that creates a custom SQL report must only have read-only access to the SingleStore databases.
To create a new custom SQL report:
Open Power BI Desktop.
In the Home ribbon, from the Get Data list, select Blank query.
In the Power Query Editor dialog, specify the query in the following format:
SingleStoreODBC.Query("<ip_address_or_hostname>", "<database>", "<query>")
Submit the query.
Note
If you're using the server for the first time, select Edit Credentials and enter the credentials. Go to Step 4 in Connect to SingleStore for more information.
Verify the data to load, and select Close & Apply.
If you've worked with the data set before and it's cached in memory, refresh the report to reset the local cache. On the Home ribbon, select Refresh.
To update the existing custom SQL reports, select the Refresh button on the Home ribbon.
Modify credentials
To modify the credentials used to connect to SingleStore:
In the File ribbon, select Options and settings > Data source settings.
In the Data source settings dialog, select SingleStore Direct Query Connector, and then select Edit Permissions.