Note
Access to this page requires authorization. You can try signing in or changing directories.
Access to this page requires authorization. You can try changing directories.
Note
This connector is owned and provided by Zendesk.
Summary
| Item | Description |
|---|---|
| Release State | Beta |
| Products | Power BI (Semantic models) |
| Authentication Types Supported | Zendesk account |
Prerequisites
Before you can sign in to Zendesk, you must have a Zendesk account (username/password).
Capabilities Supported
- Import
Connect to Zendesk data
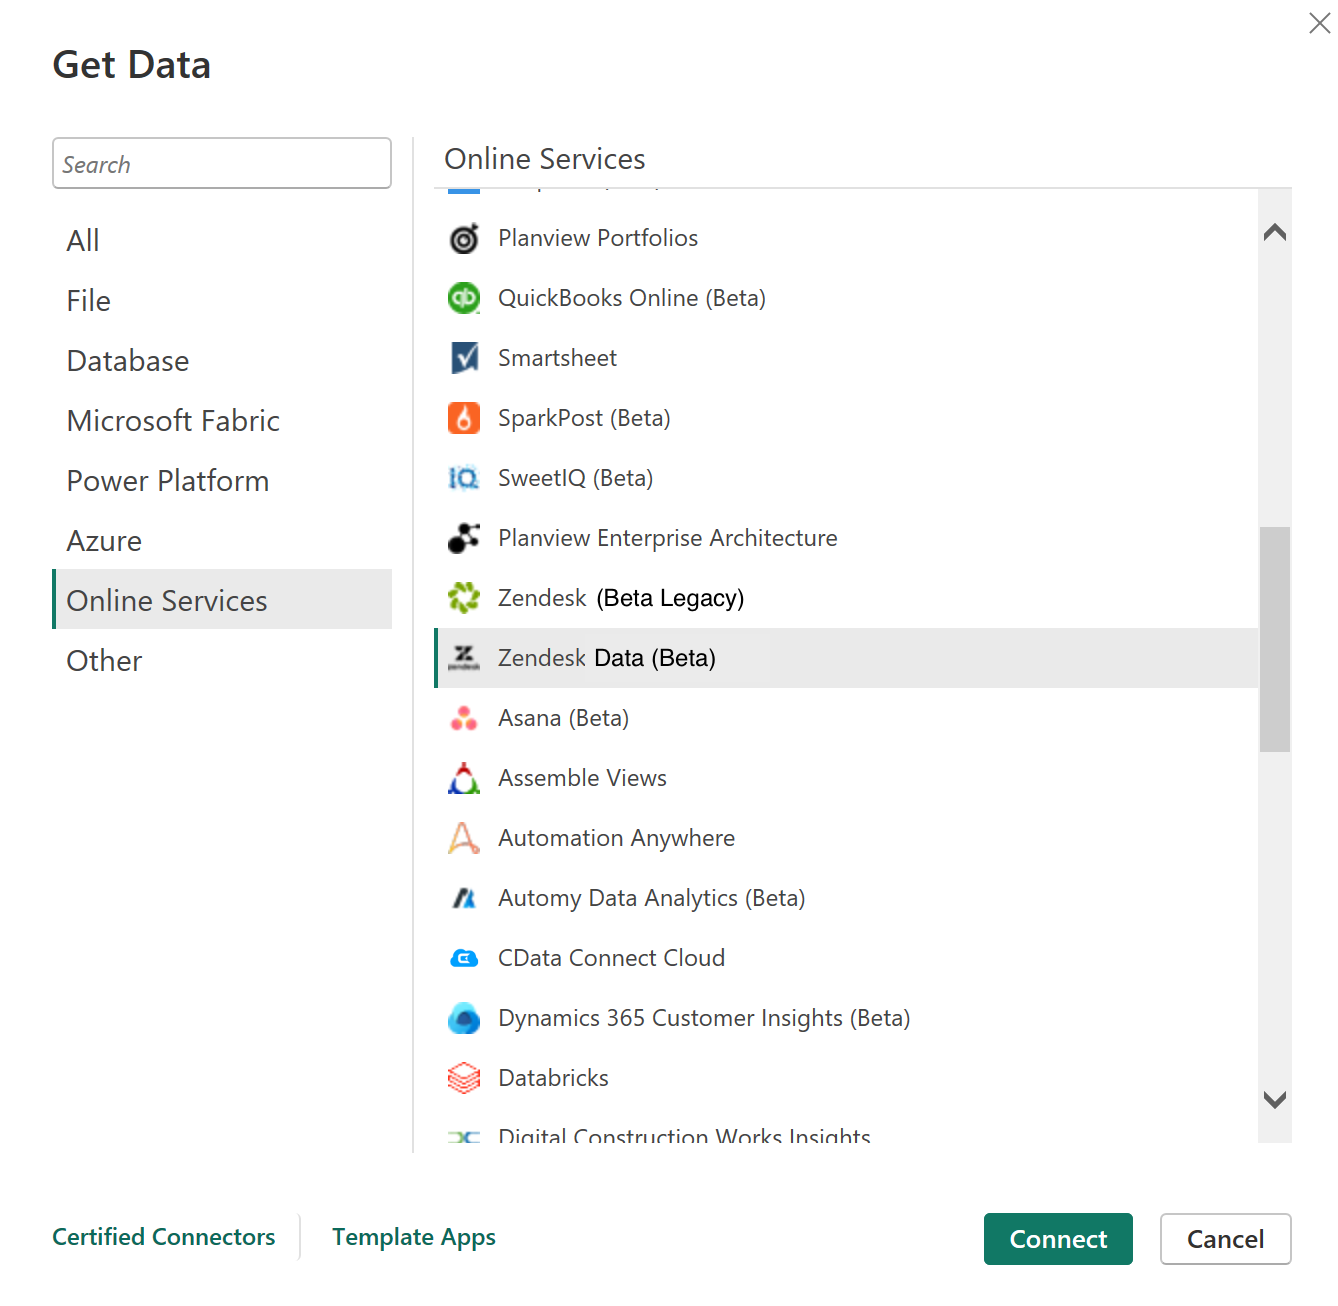
To connect to Zendesk data:
Select Get Data from the Home ribbon in Power BI Desktop. Select Online Services from the categories on the left, select Zendesk Data (Beta), and then select Connect.
If you're getting data through the Zendesk Data connector for the first time, a preview connector notice is displayed. Select Don't warn me again with this connector if you don't want this message to be displayed again, and then select Continue.
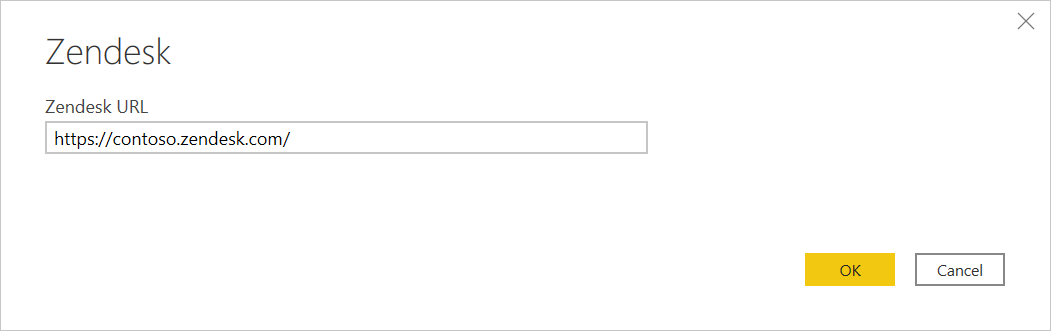
Enter the Zendesk URL location that you want to access, and the select OK.
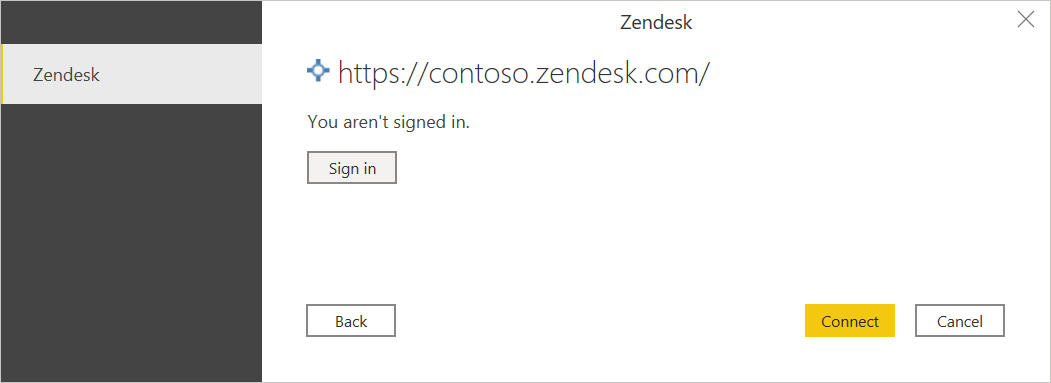
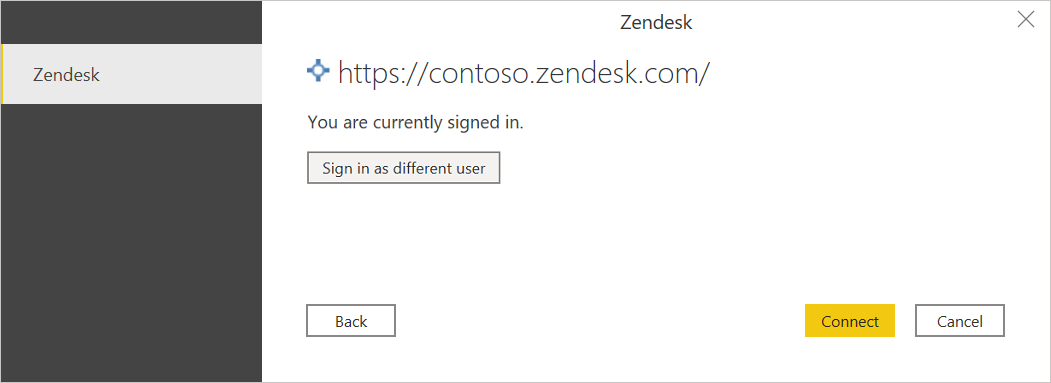
To sign in to your Zendesk account, select Sign in.
In the Zendesk window that appears, provide your credentials to sign in to your Zendesk account.
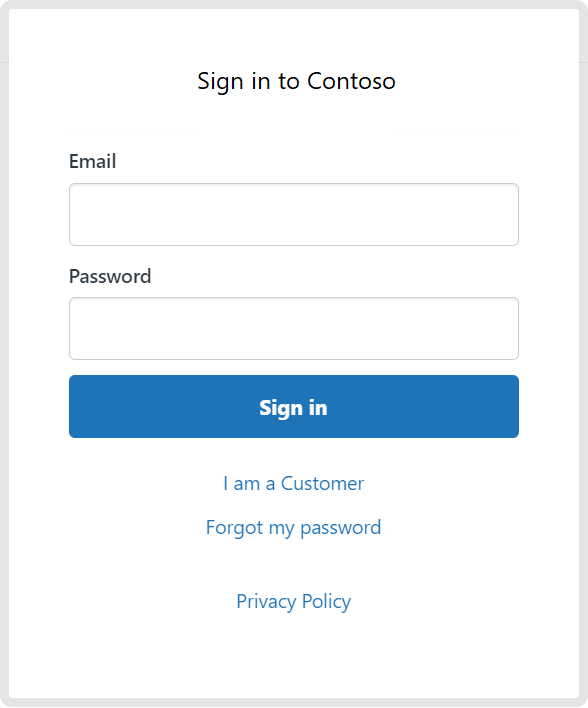
Select Sign in.
Once you successfully sign in, select Connect.
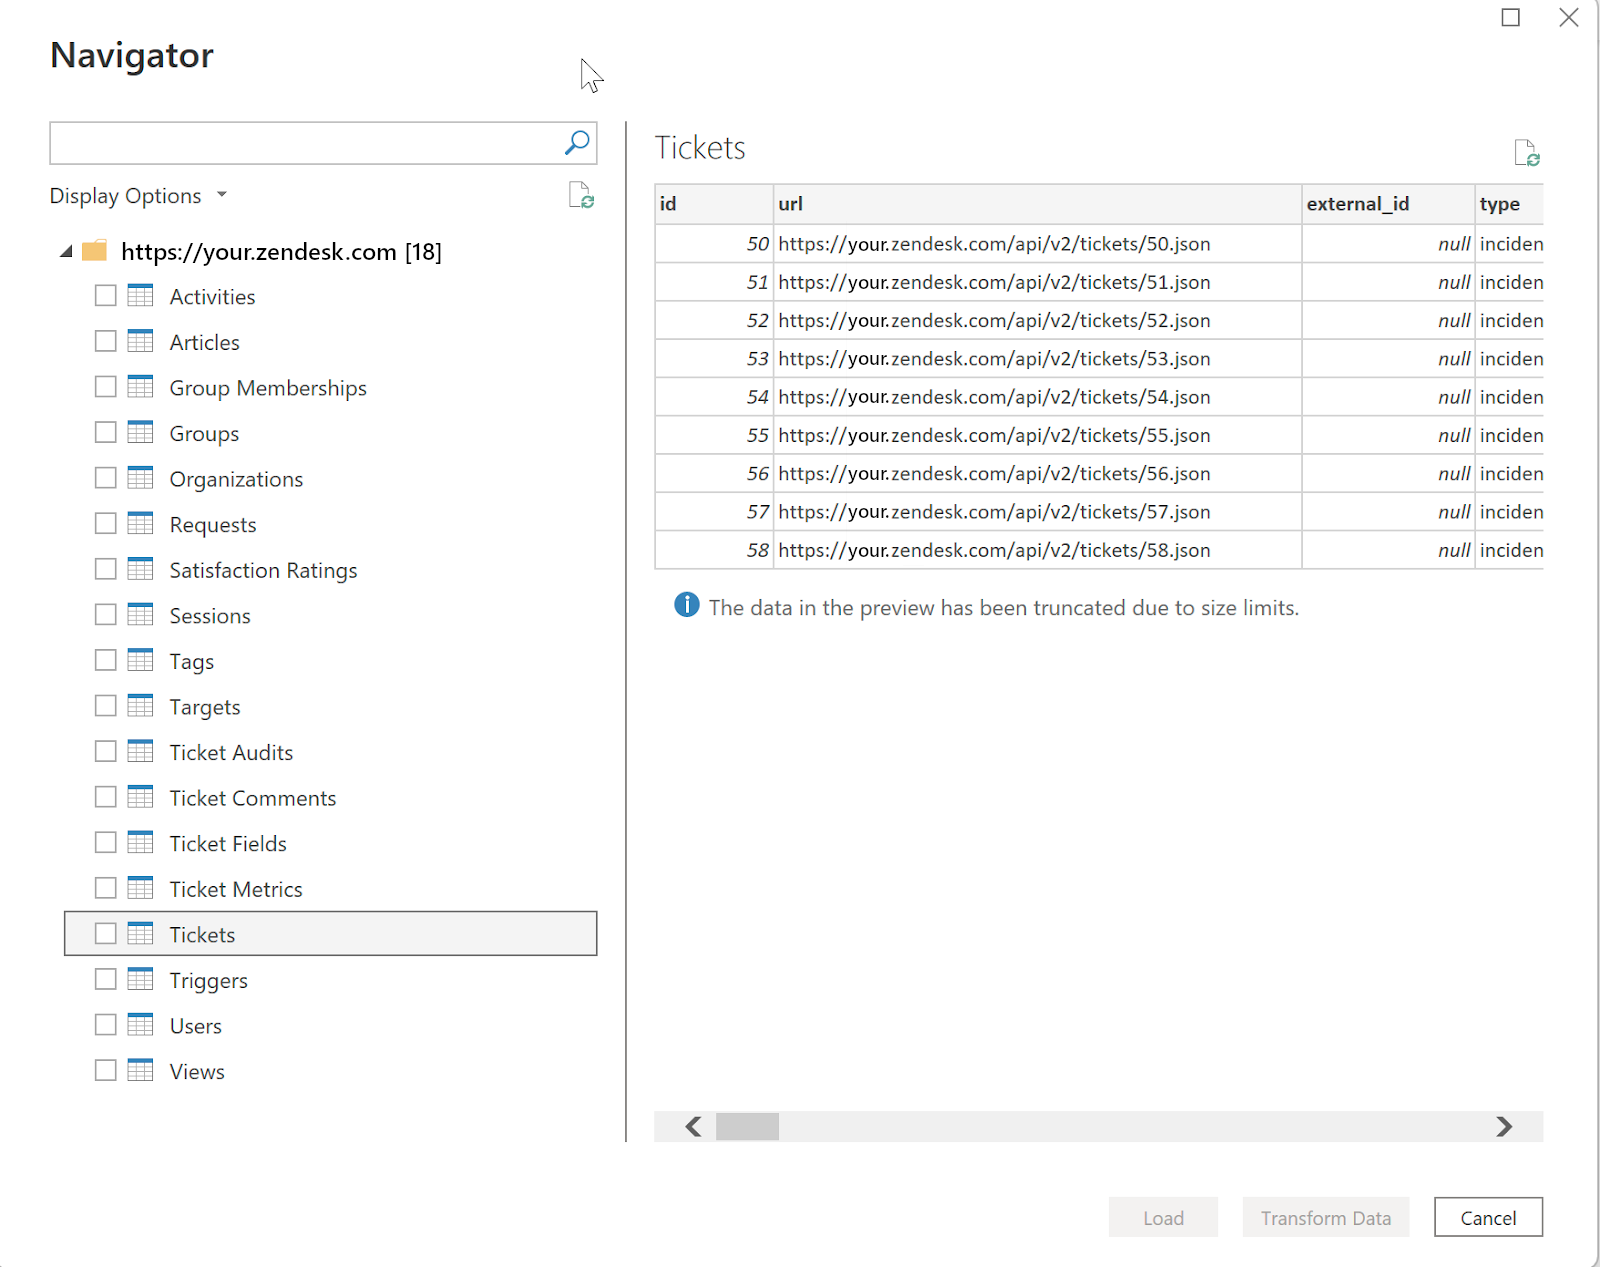
In Navigator, select the information you want, then either select Load to load the data or Transform Data to continue transforming the data in Power Query Editor.
Related content
You might also find the following information useful: