Split columns by delimiter
In Power Query, you can split a column through different methods. In this case, you can split one or more selected columns by a delimiter.
Where to find Split Columns > By Delimiter
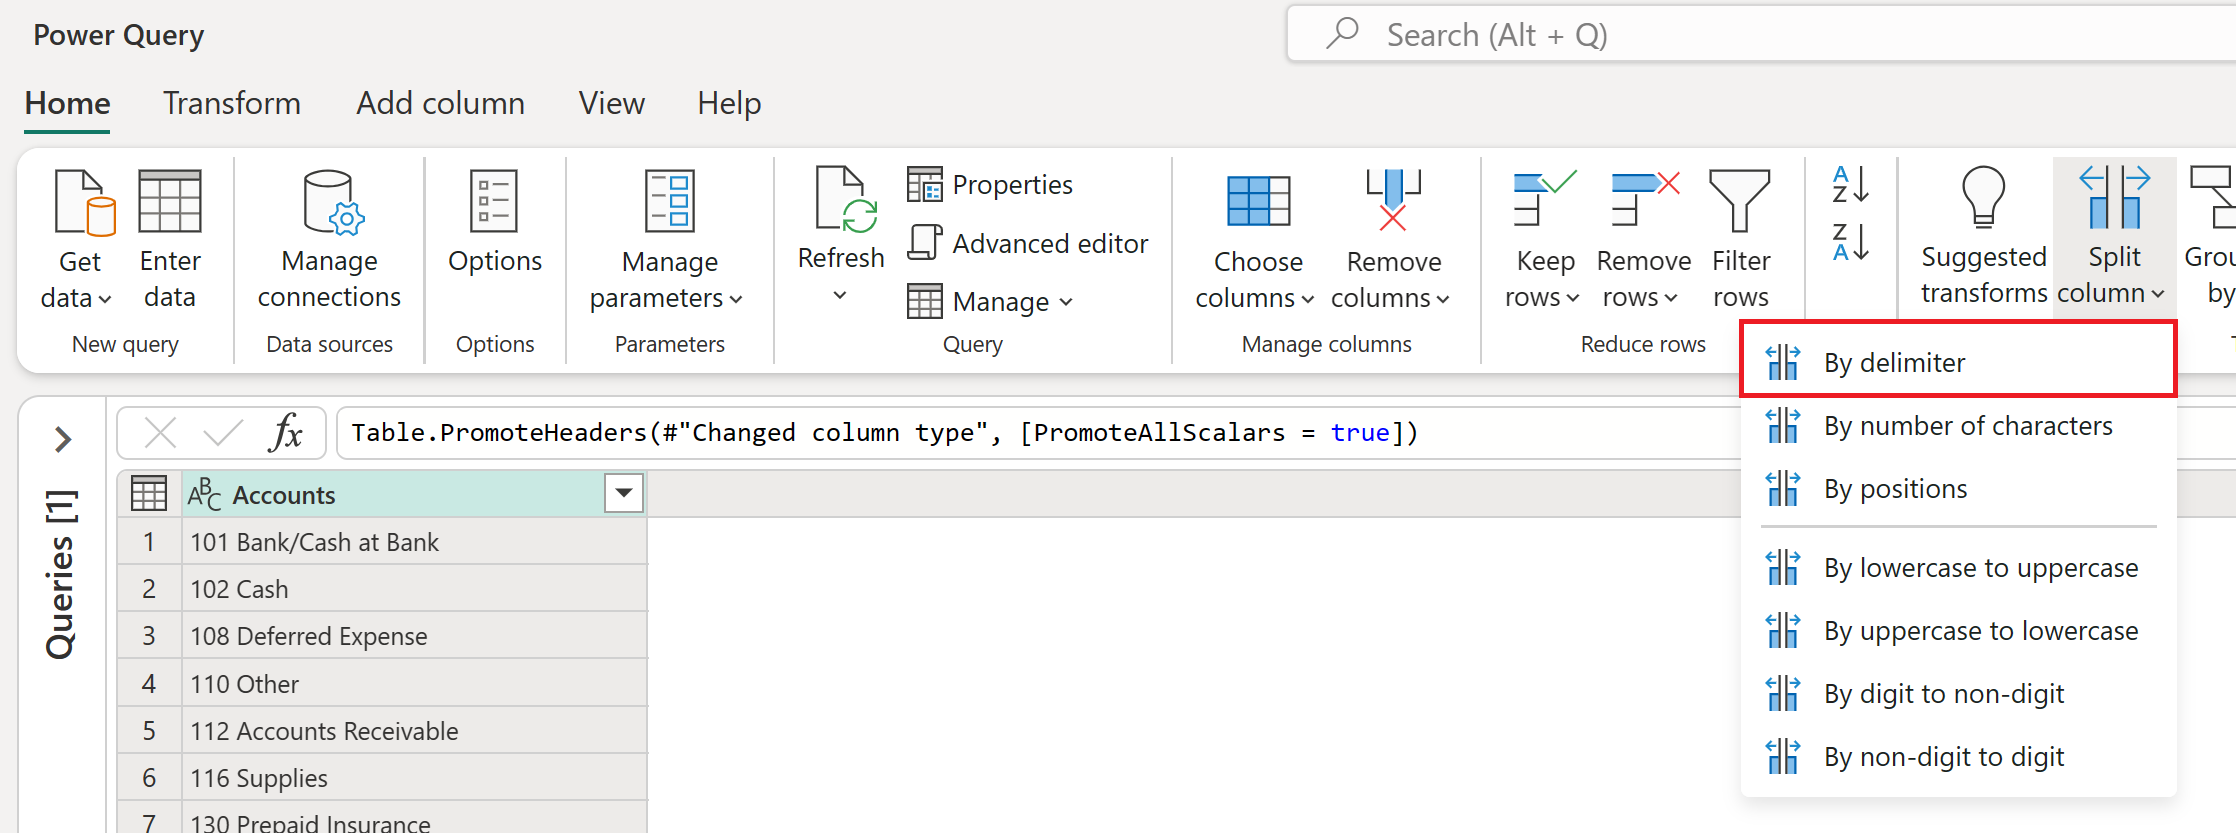
You can find the Split Columns: By Delimiter option in three places:
Home tab—under the Split column dropdown menu inside the Transform group.
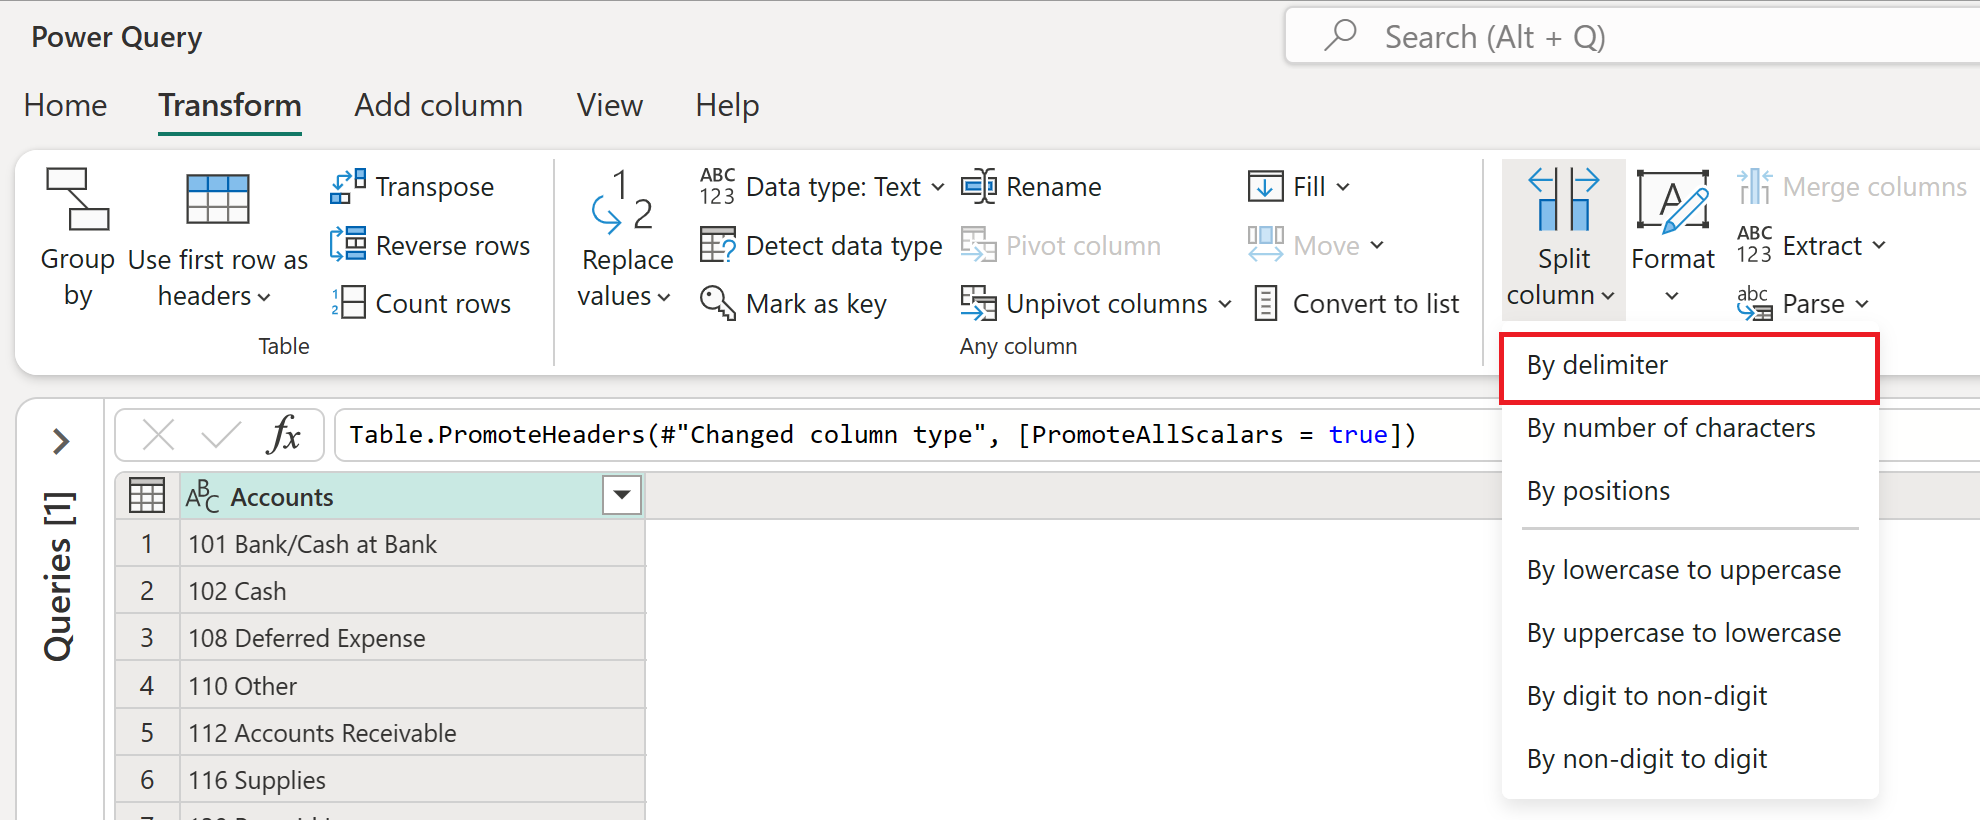
Transform tab—under the Split column dropdown menu inside the Text column group.
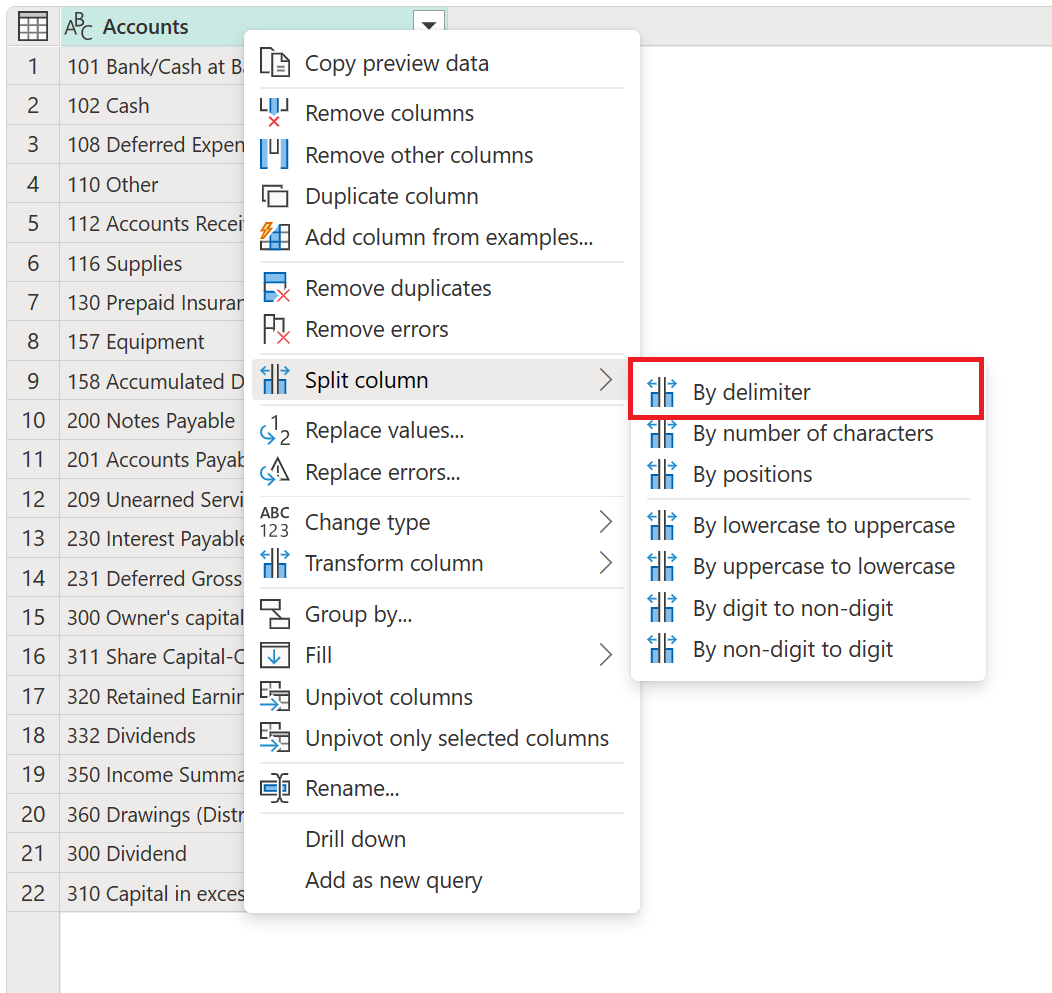
Right-click a column—inside the Split column option.
Split columns by delimiter into columns
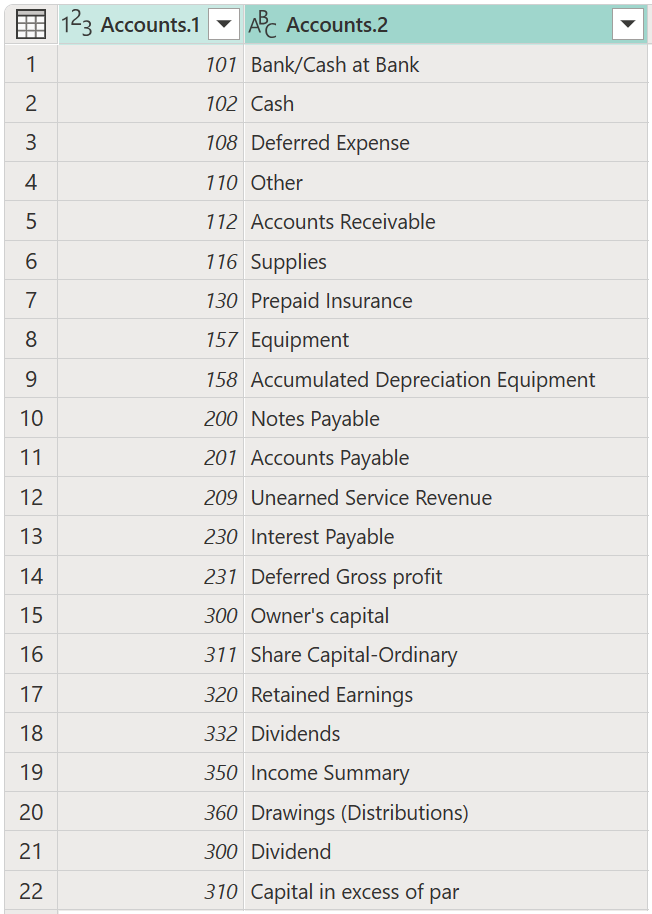
In this example, the initial table is shown in the following image, with only one column for Accounts.
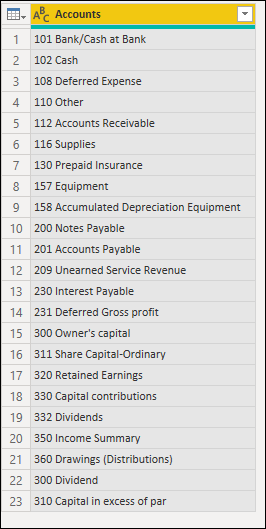
This column holds two values:
- Account number
- Account name
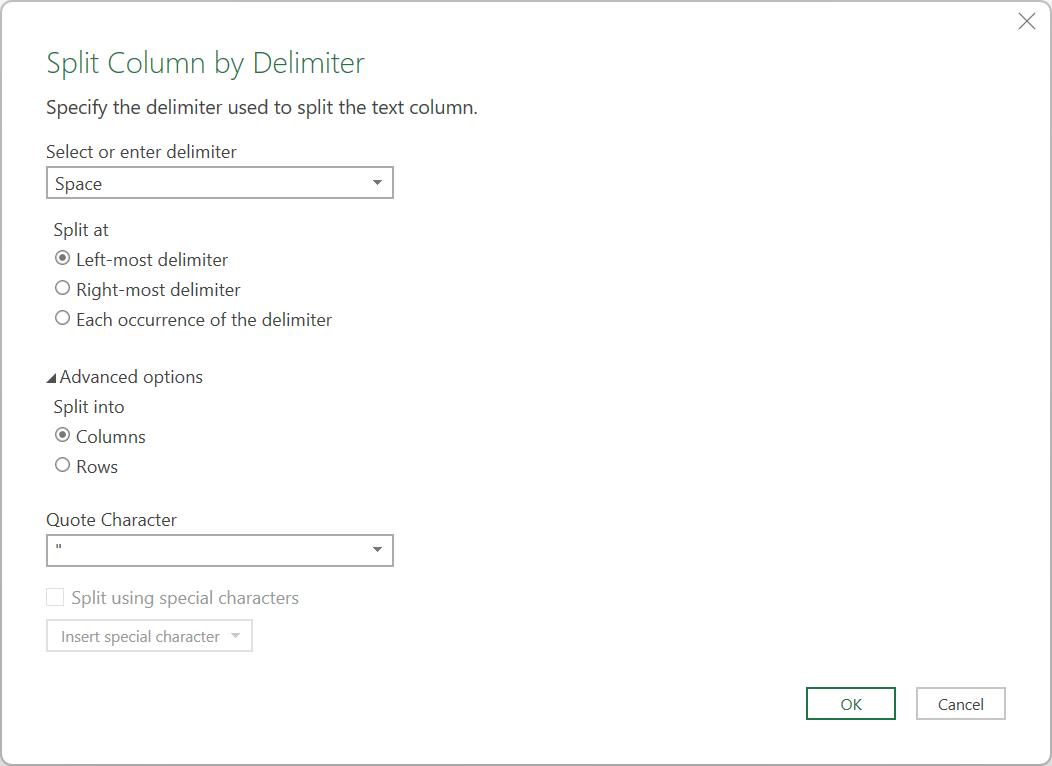
In this example using Power Query Online, you want to split this column into two columns. A space character delimits the values—the first space from left to right. To do this split, select the column, and then select the option to split the column by a delimiter. In Split Column by Delimiter, apply the following configuration:
- Basic/Advanced: Advanced
- Select or enter delimiter: Space
- Split at: Left-most delimiter
- Split into: Columns

Note
The Split column dialog has a different format in Power Query Desktop, but the options are basically the same. In Power Query Desktop, you only need to select Space as the delimiter and Left-most delimiter for Split at. The Split into option is under Advanced in Power Query Desktop, but the default value is already set to Columns.
The result of that operation gives you a table with the two columns that you're expecting.
Note
Power Query splits the column into as many columns as needed. The name of the new columns contains the same name as the original column. A suffix that includes a dot and a number that represents the split sections of the original column is appended to the name of the new columns.
Split columns by delimiter into rows
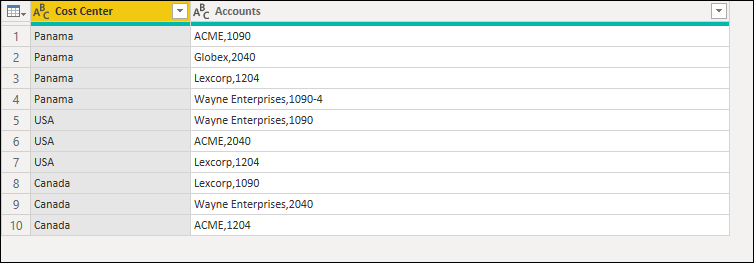
In this example, your initial table is shown in the following image, with the columns Cost Center and Accounts.

The Accounts column has values in pairs separated by a comma. These pairs are separated by a semicolon. The goal of this example is to split this column into new rows by using the semicolon as the delimiter.
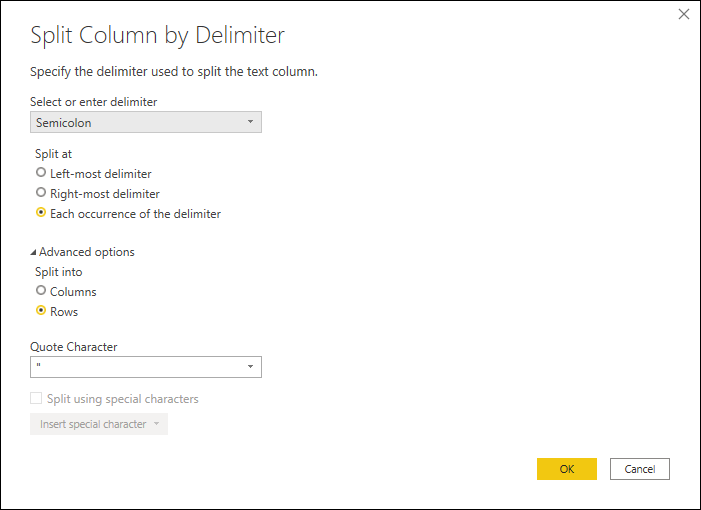
To do that split in Power Query Online, select the Accounts column. Select the option to split the column by a delimiter. In Split Column by Delimiter, apply the following configuration:
- Basic/Advanced: Advanced
- Select or enter delimiter: Semicolon
- Split at: Each occurrence of the delimiter
- Split into: Rows
Note
The Split column dialog has a different format in Power Query Desktop, but the options are basically the same. In Power Query Desktop, you only need to select Semicolon as the delimiter, Each occurrence of the delimiter for Split at, and Rows for Split into under Advanced options.
The result of that operation gives you a table with the same number of columns, but many more rows because the values inside the cells are now in their own cells.
Final Split
Your table still requires one last split column operation. You need to split the Accounts column by the first comma that it finds. This split creates a column for the account name and another one for the account number.
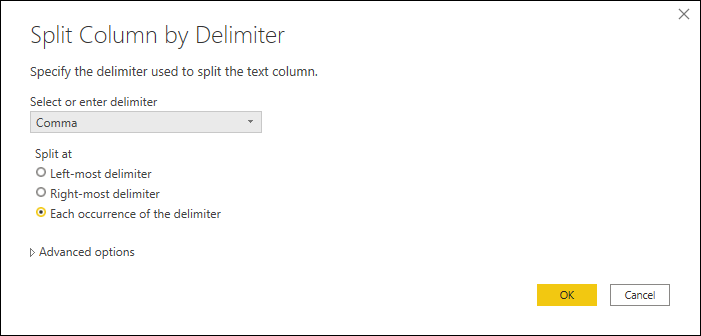
To do that split in Power Query Online, select the Accounts column and then select Split Column > By Delimiter. Inside the Split column window, apply the following configuration:
- Basic/Advanced: Advanced
- Select or enter delimiter: Comma
- Split at: Each occurrence of the delimiter
- Split into: Columns
Note
The Split column dialog has a different format in Power Query Desktop, but the options are basically the same. In Power Query Desktop, you only need to select Comma as the delimiter and Each occurrence of the delimiter for Split at. The Split into option is under Advanced in Power Query Desktop, but the default value is already set to Columns.
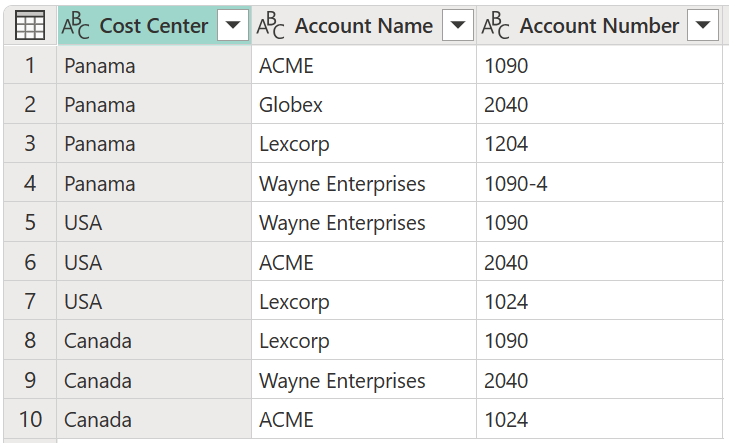
The result of that operation gives you a table with the three columns that you're expecting. You then rename the columns as follows:
| Previous Name | New Name |
|---|---|
| Accounts.1 | Account Name |
| Accounts.2 | Account Number |
Your final table looks like the one in the following image.
Feedback
Coming soon: Throughout 2024 we will be phasing out GitHub Issues as the feedback mechanism for content and replacing it with a new feedback system. For more information see: https://aka.ms/ContentUserFeedback.
Submit and view feedback for