Note
Access to this page requires authorization. You can try signing in or changing directories.
Access to this page requires authorization. You can try changing directories.
In Power Query, you can split a column through different methods. In this case, the column(s) selected can be split by the number of characters.
Where to find Split Columns > By Number of Characters
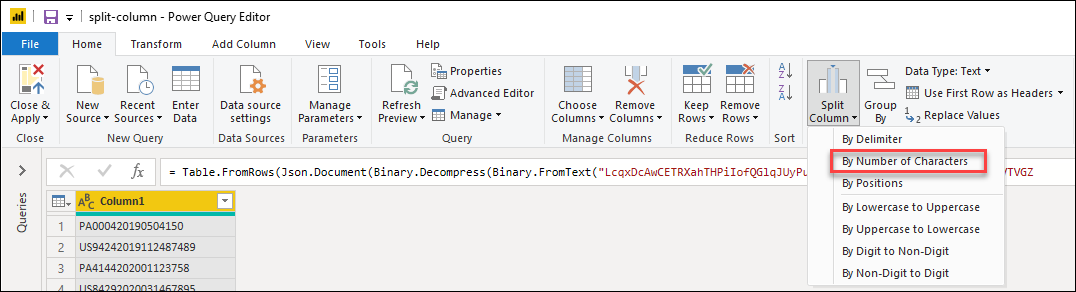
You can find the Split Columns > By Number of Characters option in three places:
Home tab—under the Split Column dropdown menu inside the Transform group.
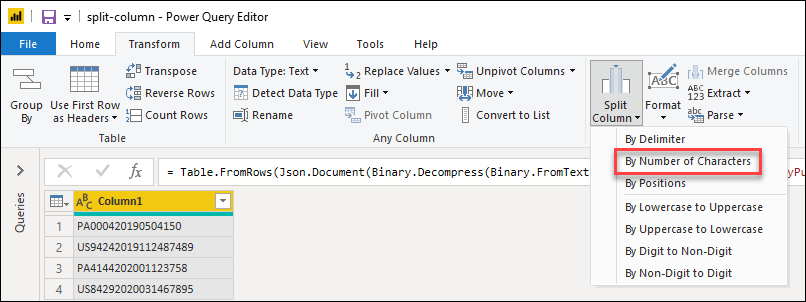
Transform tab—under the Split Column dropdown menu inside the Text Column group.
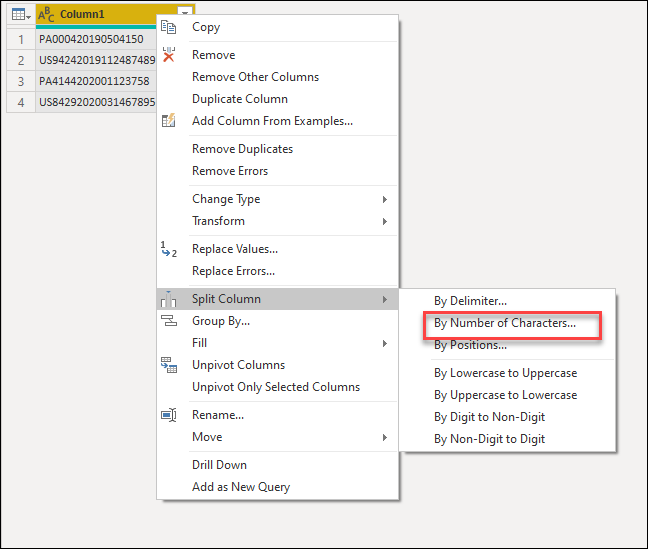
Right-click a column—inside the Split Column option.
Split columns by number of characters into columns
The following table is the initial table for this example, with only one column for Column1.
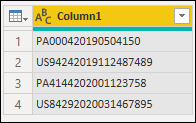
This column holds three values:
- Account Name—in the first six characters
- Date—in the following eight characters with the format yyyymmdd
- Units—the remaining characters
In this example, you want to split this column into three columns containing the values described in the list above.
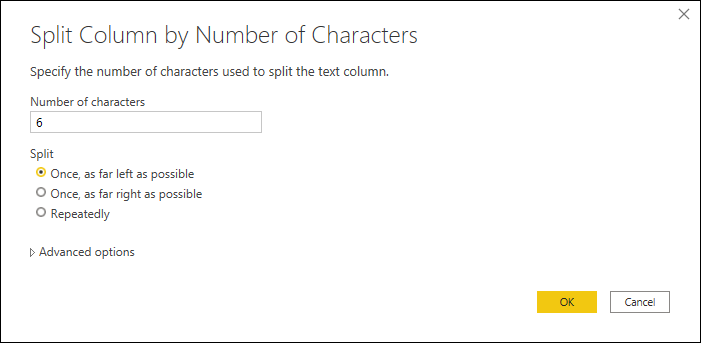
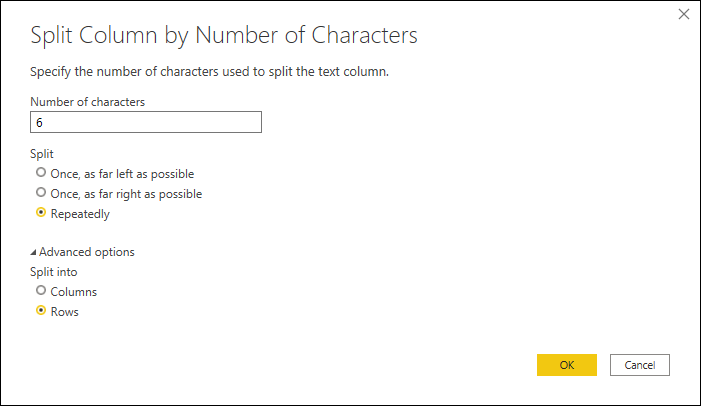
To do this split, select the column and then select the option to split the column by the number of characters. In Split column by Number of Characters, apply the following configuration:
- Number of characters: 6
- Split: Once, as far left as possible
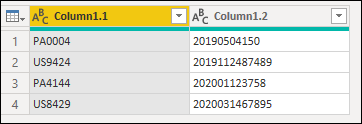
The result of that operation gives you a table with two columns. One for the account name and the other one that contains the combined values for the date and units.
Note
Power Query splits the column into only two columns. The name of the new columns contain the same name as the original column. A suffix containing a dot and a number that represents the split section of the column are appended to the names of the new columns.
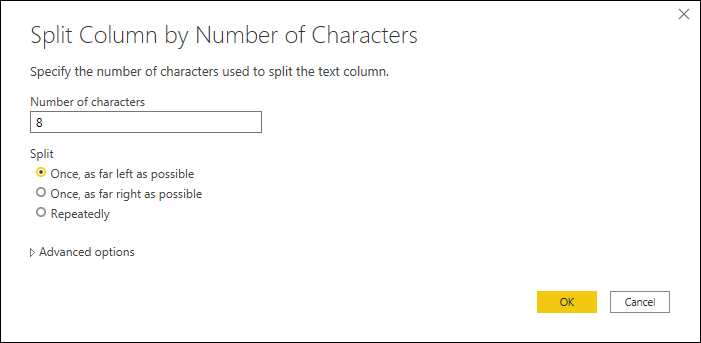
Now continue to do the same operation over the new Column1.2 column, but with the following configuration:
- Number of characters: 8
- Split: Once, as far left as possible
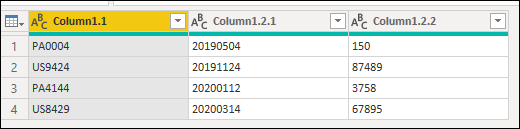
The result of that operation yields a table with three columns. Notice the new names of the two columns on the far right. Column1.2.1 and Column1.2.2 were automatically created by the split column operation.
You can now change the name of the columns and also define the data types of each column as follows:
| Original Column Name | New Column name | Data type |
|---|---|---|
| Column1.1 | Account Name | Text |
| Column1.2.1 | Date | Date |
| Column1.2.2 | Units | Whole Number |
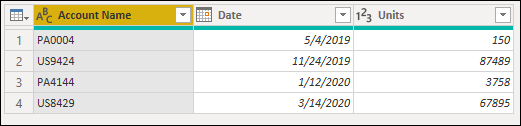
Your final table looks like the one in the following image.
Split columns by number of characters into rows
The following table is the initial table for this example, with the columns Group and Account.
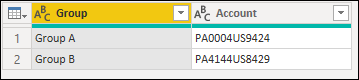
The Account column can hold multiple values in the same cell. Each value has the same length in characters, with a total of six characters. In this example, you want to split these values so you can have each account value in its own row.
To do that, select the Account column and then select the option to split the column by the number of characters. In Split column by Number of Characters, apply the following configuration:
- Number of characters: 6
- Split: Repeatedly
- Split into: Rows
The result of that operation gives you a table with the same number of columns, but many more rows because the fragments inside the original cell values in the Account column are now split into multiple rows.
