Add an embedded canvas app on a model-driven form
This article explains how to embed a canvas app on a model-driven form. Canvas apps can be connected to a wide range of data sources and offer designers greater control around the overall user experience.
Two methods of integration are described in this article. First, using the modern Unified Interface experience, and second, using the classic experience.
Note
There is a third and more recent method of embedding canvas apps inside a modern app, which uses custom pages for better integration with the canvas app. Overview of custom pages for model-driven apps.
Embed a canvas app using the modern experience
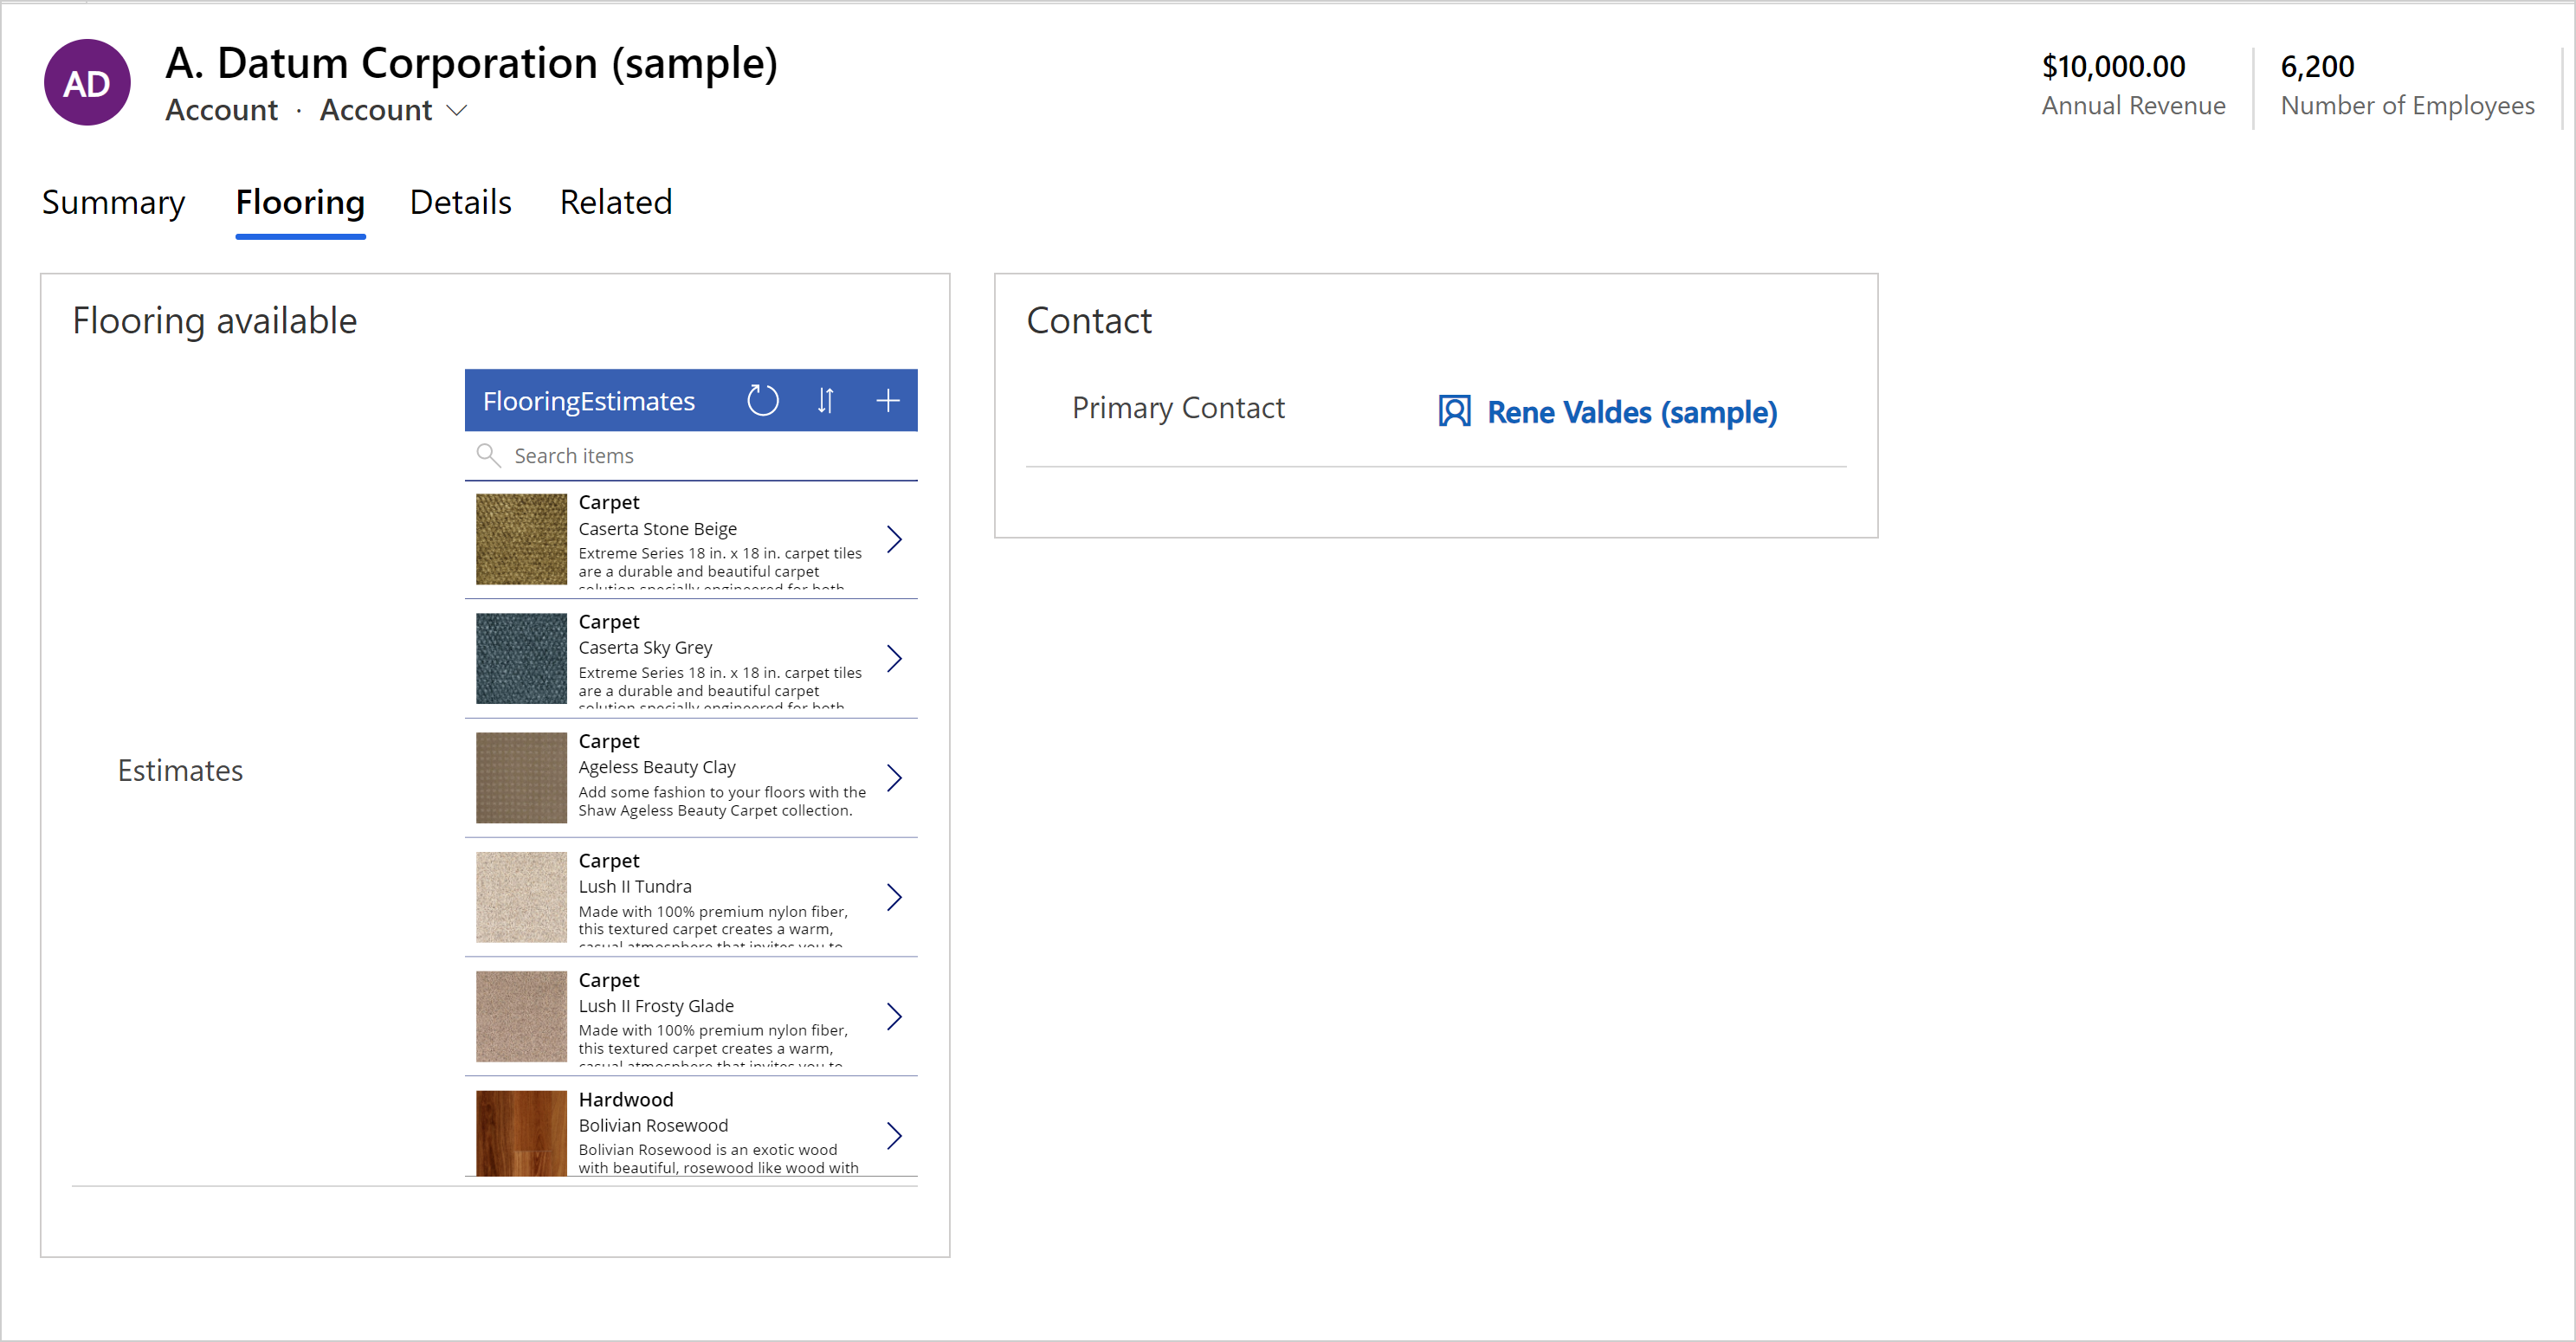
To embed a canvas app on a model-driven app main form, such as the main form for the Accounts table, follow these steps:
Sign in to Power Apps.
Choose the environment, and then select Solutions from the left navigation pane. If the item isn’t in the side panel pane, select …More and then select the item you want.
Open the solution that has the table where you want to add a canvas app to a main form.
Open the table, select Forms, and then open the Main form you want.
Tip
By default, the canvas app component label is New canvas app. You may want to change the canvas app label name to something more meaningful, such as the name of the canvas app or a short description of the canvas app that you’re embedding onto the form.
Select the area on the form where you want the canvas app to display or create a new tab to display the canvas app.
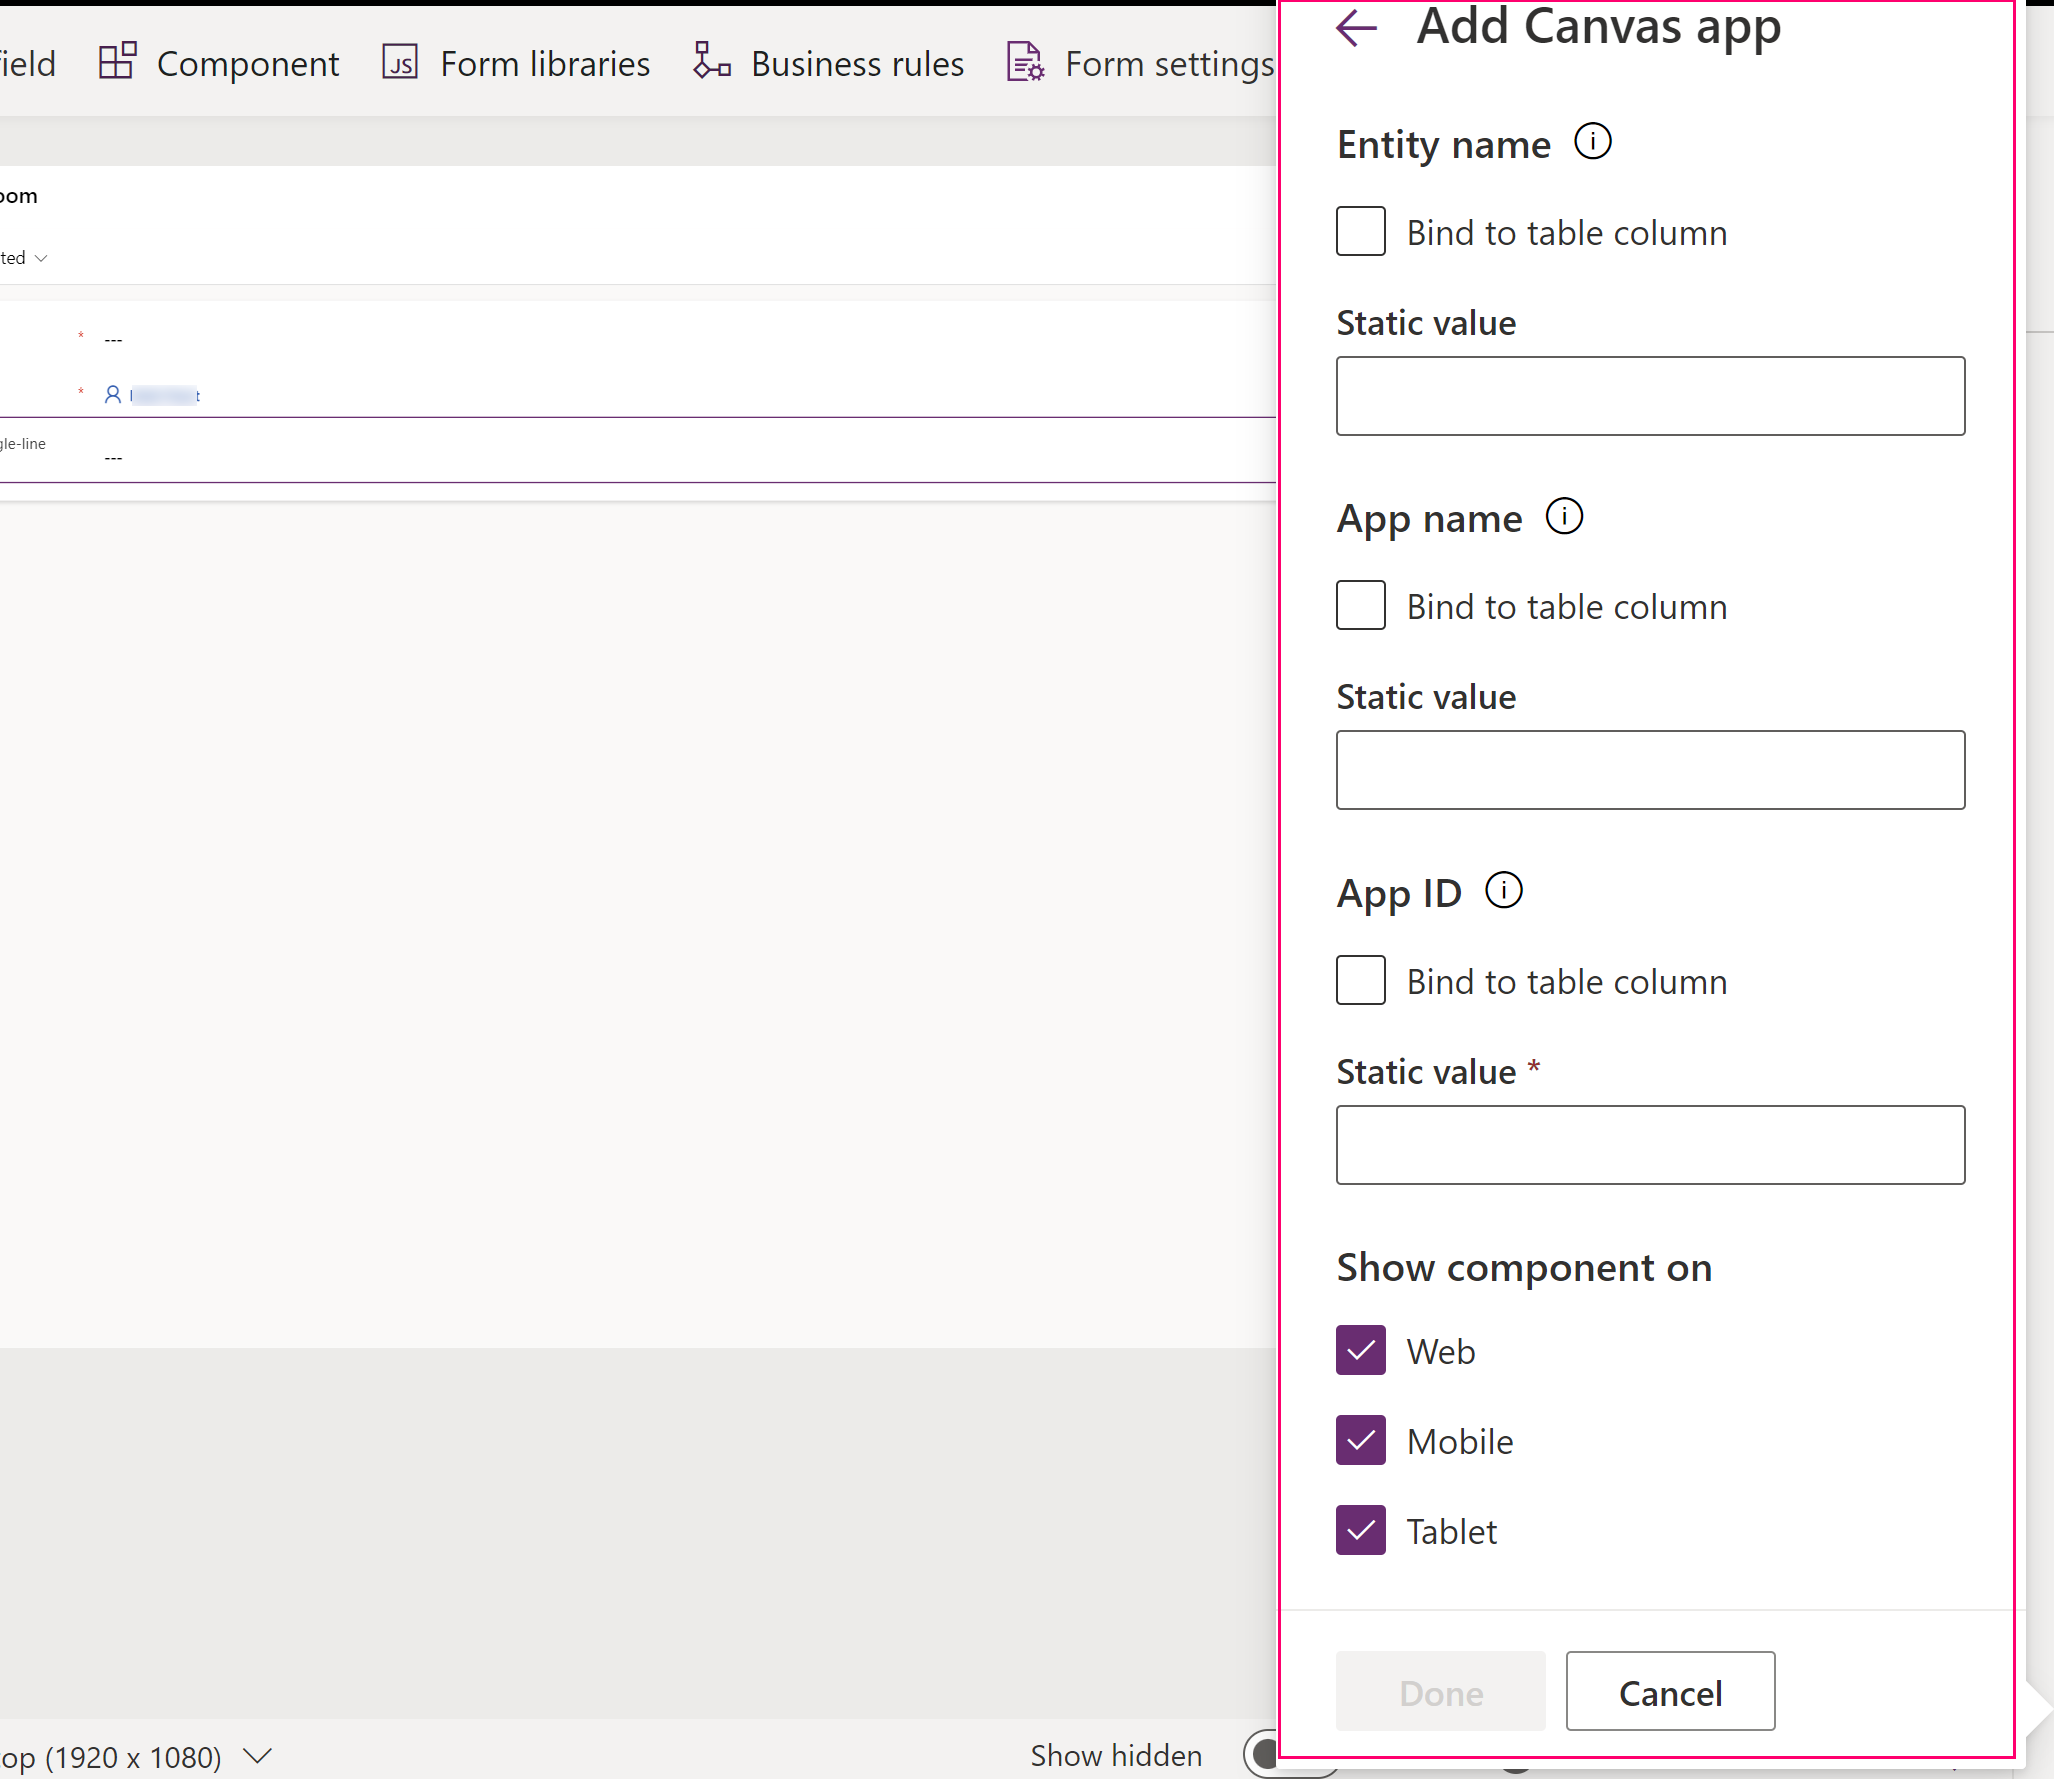
On the left navigation pane select Components, expand Display, and then select the Canvas app component.
The following properties can be configured for the control.
The Entity name area lets you specify the following properties:
Bind to table column: When the Bind to table column is selected, the Static value property changes to allow you to select what table column to bind to. When you choose to bind to a table column, the column will be defined by the table column value. For example, when Bind to table column is selected for the Entity name, at app runtime the value of the table name takes the value of the Table column specified.
Static value: Use this to add a name for you to refer to the canvas app. Notice that this value has no effect on the embedded canvas app. It's meant only to serve as a reference point.
The App name area specifies the unique name of the canvas app.
Bind to table column: When you select the Bind to table column, the Static value property changes to allow you to select what table column to bind to. When you choose to bind to a table column, the column will be defined by the table column value. For example, when you select Bind to table column for the App Name, at app runtime the value of the app name takes the value of the Table column, such as the value from a custom text column.
Static value: Specifies the unique name of the canvas app to embed. Enter the canvas app's unique name for an existing canvas app. More information: How to find the unique name and app ID for a canvas app
The required App ID area specifies the app ID for the canvas app.
- Bind to table column: When you select Bind to table column, the list changes to allow you to select what table column to bind to. When you choose to bind to a table column, the column will be defined by the table column value. For example, when you select Bind to table column for the App Name, at app runtime the value of the app name takes the value of the column, such as the value from a custom text column.
Important
For most situations, we don’t recommend using the Bind to table column option for the App ID as this would require the correct app ID to be shown in a field within the record.
- Static value: Enter the app ID for an existing canvas app. More information: How to find the unique name and app ID for a canvas app
Show component on. Specifies the client type to display the embedded canvas app. Choose from Web, Mobile, and Tablet.
Select Done. Then, to publish your app to make it available to users, select Publish.
After you have published an embedded canvas app to your model-driven form, share your embedded canvas app with other users. More information: Share an embedded canvas app.
When users open a model-driven app that includes the form you have modified, they see the embedded canvas app on the form. Changing the record displayed on the main form changes the data context that is passed to the form, and the embedded app refreshes to show the relevant data.
This article showed you how to get started with embedding a canvas app in a model-driven form. You can further customize the embedded canvas app to connect and bring in data from various data sources. Use the Filter, Search, and LookUp functions and the context passed in from the host model-driven form to filter or find specific records in those data sources. Use the WYSIWYG canvas app editor to easily design the interface to match your requirements.
How to find the unique name and app ID for a canvas app
The canvas app control looks for the canvas app first by using the unique name found in the App name field. If a canvas app with that unique name can't be found in the environment, the canvas app control next uses the specified value in the App ID field to load the canvas app. Although you must enter values in both the App name and App ID fields, only one of the values needs to be accurate for the embedded canvas app to load in the control. Note that the canvas app must be in the current environment.
- The App name field is the unique name of the canvas app. To find the unique name, add the canvas app to a solution. The canvas app unique name is displayed in the Name column and appears in the form solutionpublisherprefix_appnamenospaces_appendix. For example, contoso_canvasappwithsharepointlist_5ee16.

- The App ID property specifies the ID of the embedded canvas app. Enter the App ID for an existing canvas app. The canvas App ID can be found on Power Apps, go to Apps, select the canvas app, and then select Details on the command bar.

Embed a canvas app using the classic experience
Sign in to Power Apps.
Create or edit the main form of a table, Accounts table in our example.
In the command bar, select Switch to classic to open the form in the classic form designer.
In the classic form designer, select the section on the form where you want the embedded canvas app to appear.
Using the column pane, add a required column, such as Account Name.
Important
Always use a required column that is guaranteed to have a value. If your column does not have a value, your embedded canvas app will not refresh in response to any change in data on the host model-driven form.
With the column selected, on the Home tab in the Edit group, select Change Properties.
On the Column Properties dialog box, select the Controls tab.
On the Controls tab, select Add Control.
On the Add Control dialog box, in the list of available controls, select Canvas app and then select Add.
On the Column Properties dialog box, in the list of controls select Canvas app, and then select the Web option.
In the section below the controls list, the lists of properties available to the canvas app control are displayed.
- The Table name property specifies the table that will provide the data to your embedded canvas app. It will be set to the table that contains the column you added in an earlier step.
- Notice that, even though this property appears changeable, changing it has no effect on the embedded canvas app. It's meant only to serve as a reference for you.
- The App Name property specifies the name of the canvas app to embed. The model-driven form looks for the canvas app with the specified name in the current environment. If a canvas app with that name can't be found in the environment, the canvas app control will use the App ID to load the canvas app. Enter the App Name for an existing canvas app.
- The App ID property specifies the ID of the embedded canvas app. You can enter an App ID for an existing canvas app or an App ID will be automatically generated and filled-in for you when you create or edit a canvas app by selecting Customize. The canvas App ID can be found on Power Apps, go to Apps, select the canvas app, and then select Details on the command bar.
Note
Notice that any change to the App ID value breaks the link from the model-driven form to the embedded canvas app.
If neither the App Name or App ID match an existing canvas app, the form displays the message "Sorry, we didn't find that app."
- The Table name property specifies the table that will provide the data to your embedded canvas app. It will be set to the table that contains the column you added in an earlier step.
Go to step 20 if you're adding a completed canvas app. If you're creating a new or editing an existing canvas app, continue to follow these steps. Select Customize to create or edit a canvas app. This opens Power Apps Studio in a new tab.
Note
If opening Power Apps Studio is blocked due to a web browser pop-up blocker you must enable the make.powerapps.com site or temporarily disable the pop-up blocker and then select Customize again.
Observe the following:
- In Power Apps Studio notice that there's a special ModelDrivenFormIntegration control in the left pane. This control is responsible for bringing contextual data from the host model-driven form to the embedded canvas app.
- Observe that a canvas app form control was automatically added to your embedded canvas app and displays the data being passed to it from the host model-driven form via the ModelDrivenFormIntegration control.
- Select the View tab, and then select Data sources. Notice that a data source for the parent table of your host model-driven form, Accounts in this case, was automatically added to your embedded canvas app. - Select the Form1 control and observe that the DataSource property is set to Accounts.
- With the Form1 control still selected, observe that the Item property is set to ModelDrivenFormIntegration.Item.
Note
The embedded canvas app has full access to read from the host model-driven form via ModelDrivenFormIntegration.Item. As an example, to get the value of a column with the name accountnumber and display name Account Number, you can use ModelDrivenFormIntegration.Item.accountnumber or ModelDrivenFormIntegration.Item.'Account Number'.
In the property pane on the right, next to Columns, select Edit columns.
Select + Add column to add another column to the canvas app form or reorder existing columns using drag and drop. Close the data pane when you're done adding and reordering columns.
Select the File tab, and then select Save.
Select the The cloud tab. Provide a unique name for the app and then select Save located on the lower right. Note the following behavior:
- Saving an app for the first time automatically publishes the app.
- On subsequent saves, select Publish and then select Publish this version to make your changes available.
On the menu, select Back.
Select the browser tab that has the classic form designer open. Observe that the App ID and App Name properties of the canvas app control now have a value automatically filled in.
Important
- The form designer has a direct link with Power Apps Studio that was opened in another browser tab in an earlier step.
- Make sure the App name has a value similar to the screenshot below. The App name property specifies the unique name that will be used to reference the canvas app at runtime. If this name isn’t set, the App ID property will be used to reference the canvas app, which may cause issues when you import the canvas app as part of a solution. We recommend that you set this name to ensure proper canvas app referencing between environments. To set it, go back to step 12 and follow the steps to create the canvas app to embed.

On the Column Properties dialog box, select the Display tab.
Clear Display label on the form and then select OK.
- If you already have a canvas app embedded on this form, a message is displayed that “Only one canvas app can be enabled on a form.” To add the new canvas app, you must first disable the current embedded canvas app. Then, enable the new embedded canvas app.
On the Home tab, select Save, and then select Publish.
See also
Edit a canvas app embedded on a model-driven form
Perform predefined actions on the host form from within an embedded canvas app
ModelDrivenFormIntegration control's properties and actions
Guidelines on working with embedded canvas apps
Feedback
Coming soon: Throughout 2024 we will be phasing out GitHub Issues as the feedback mechanism for content and replacing it with a new feedback system. For more information see: https://aka.ms/ContentUserFeedback.
Submit and view feedback for