Move customizations between environments
Microsoft Dataverse for Teams provides a simplified way to transport customizations between Dataverse for Teams environments. Additionally, customizations can also be moved between Dataverse and Dataverse for Teams environments.
Export customizations from Dataverse for Teams
Take the following steps to export your customizations from Dataverse for Teams. Notice that the solution packages you export from Dataverse for Teams are unmanaged.
- From the Power Apps personal app in Teams, select the Build tab of the team where you want to export your customizations. More information: Install the Power Apps personal app in Microsoft Teams
- Select See all, and select the items you want to export.
- On the command bar, select Export.
- You can now review your selected items. By default, all dependencies of the items you selected are added too.
We recommend that you keep the option Export all dependencies under Advanced settings selected. By including all dependencies, you're optimizing your success when importing your customizations into another environment.
If you prefer to manually select the dependencies of your items, you can change the value to Export selected dependencies under Advanced settings. Importing customizations that don't include all dependencies will fail if those dependencies aren't already in the destination environment.
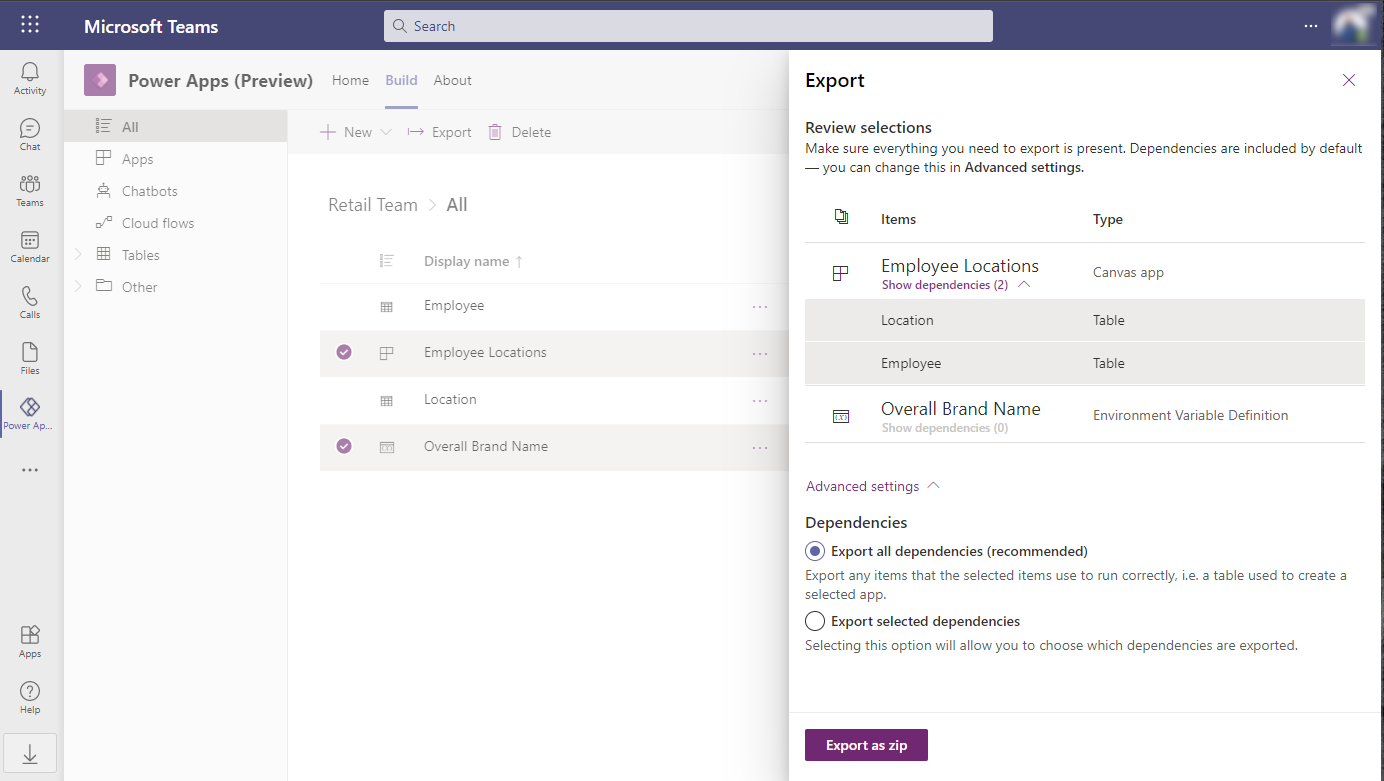
- Select Export as zip. The selected items are exported as a compressed solution file (.zip). The solution file is automatically offered for download when the export completes.
- Files you download from Microsoft Teams will show up in your device's downloads folder. In Microsoft Teams desktop, you can navigate to the Downloads section by select Files on the left side of the Teams client.
Import customizations into Dataverse for Teams
Take the following steps to import your customizations into Dataverse for Teams:
From the Power Apps personal app in Teams, select the Build tab of the team where you want to import your customizations. More information: Install the Power Apps personal app in Microsoft Teams
Select See all, and then on the command bar, select Import.
On the Import a solution page, select Browse.
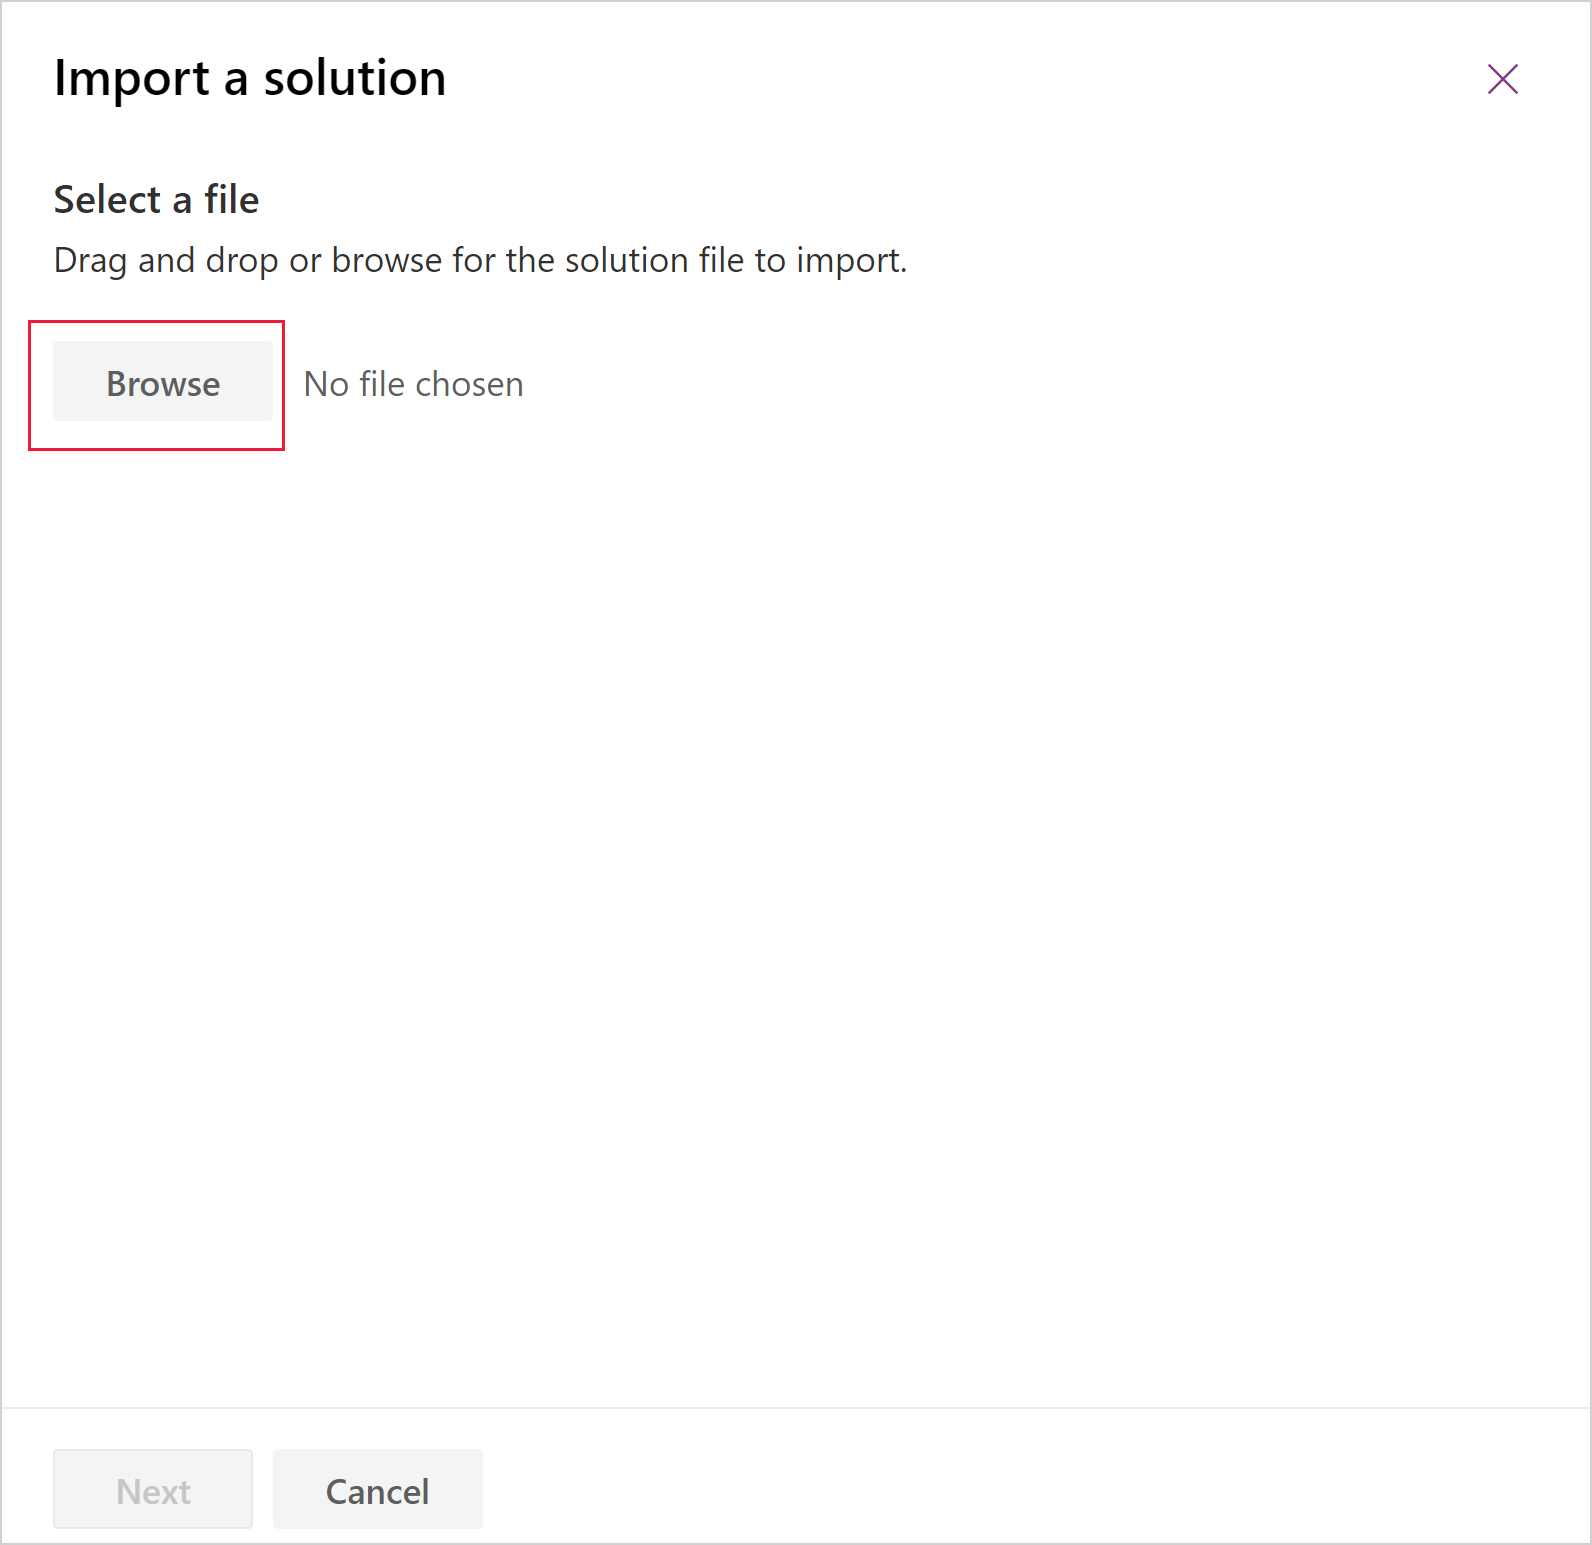
Locate the compressed (.zip) file that contains the solution you want to import, select Open, and then select Next.
Review the items that you want to import.
- If you're importing an unmanaged solution, you can select the item that you want to import into your team. We recommend that you keep the default selection and import all of the items. This helps ensure that all items and their dependencies are imported. Import will fail when you exclude an item that isn't already in the team and another item in the import is dependent on it.
- If you're importing a managed solution, all the items will be imported.

Depending on the components in the solution, you might be prompted for additional information when you select Next.
- If your solution contains connection references, you’ll be prompted to select the connections you want. If a connection doesn't already exist, create a new one.
- If your solution contains environment variables, you'll be prompted to enter values. You won't see this page if values are already present in your solution or the target environment.
Select Import.
Your solution imports in the background and might take a while. A notification appears on the Build tab as the solution is imported.
 After the import completes, a success or failure notification is displayed.
The location of your solution components is different depending on whether you imported a managed or unmanaged solution:
- With a managed solution, all your customizations appear on the Build tab under Installed apps using the name of the solution.
- With an unmanaged solution, all your customizations appear on the Build tab under Built by this team.
Move customizations from Microsoft Dataverse to Dataverse for Teams
Create a solution in a Power Platform environment
The first step to move your customizations from Microsoft Dataverse to Dataverse for Teams is to create a solution in Dataverse. Include only components that are fully supported for Dataverse for Teams. Solutions that include components that aren't supported by Dataverse for Teams won’t import.
The following custom components can be imported into Dataverse for Teams:
- Canvas apps
- Tables
- Flows
- Bots
- Connection references
- Environment variables
Note
Only include items that you or your team have created. Solutions that contain any of the standard Dataverse or Dynamics 365 tables, such as account or contact, won’t import.
For information about the differences between Dataverse for Teams and Dataverse, go to How are Dataverse for Teams and Dataverse different?
For information about how to create a solution with Dataverse, go to Create a solution.
Export the solution from Dataverse
Typically, you want to export your solution from Dataverse as managed. However, if your goal is to transport your customizations to Dataverse for Teams and continue your development from there, export your solution as an unmanaged solution. More information: Export solutions
You can now import your solution into Dataverse for Teams. More information: import customizations into Dataverse for teams.
Troubleshooting import failures
If the import isn’t successful, you’ll see a notification on the solutions page that displays error or warning messages that were captured. Select Download Log File to capture details about what caused the import to fail. The most common cause for an import to fail is that the solution didn't contain some required components.
When you download the log file, you'll find an XML file in your browser's default download folder that you can open using an XML reader, such as Microsoft Excel, to view the contents.
Known issues
When you're working with a new Dataverse for Teams environment, the Import command is missing because the See all link located on the Build tab isn't displayed for that environment.
To work around this issue, create and save an app in the environment. When an item exists in the environment, the See all link is available and you'll be able to browse to the Build tab.