Note
Access to this page requires authorization. You can try signing in or changing directories.
Access to this page requires authorization. You can try changing directories.
This article describes the steps to upgrade your HPC Pack cluster to HPC Pack 2019 Update 3.
Important
Before updating existing HPC Pack 2019 Update 2 and earlier clusters, including Windows-only clusters, to Update 3 or later, users must refer to Manage Linux authentication key for HPC Pack to set a Linux authentication key to address the critical vulnerability CVE-2025-21198. For backward compatibility reasons, applying the HPC Pack 2019 Update 3 patcher does NOT fix the vulnerability for existing clusters; instead users must set the Linux authentication key on head node(s) and Linux compute nodes prior to updating.
Important
Before upgrading, please check if HPC Pack 2019, HPC Pack 2019 Update 1 or HPC Pack 2019 Update 2 is installed. Open the HPC Cluster Manager and click Help->About, the server version shall be 6.0.7205, 6.0.7214, 6.1.7531 or 6.2.7756. If you are still running HPC Pack 2016 with versions (5.x), you may reinstall the cluster with HPC Pack 2019 Update 3 slipstream.
Important
Downgrading from HPC Pack 2019 Update 3 to a previous version is not supported. If you upgrade your cluster to HPC Pack 2019 Update 3, you are not able to downgrade it back to the previous version after upgrading.
Important
Starting from HPC Pack 2019 Update 3, 32-bit installations are no longer available. 32-bit SOA DLLs are still supported.
Preparation
Before the upgrading, you need to do the following:
Note
When upgrading a built-in high availability head node cluster that requires business continuity, step 1 - 4 are optional.
Stop all running jobs.
Stop all Azure PaaS nodes if you have deployed them.
Take all other nodes to offline.
Run the following command to determine what the current setting of the Azure Auto grow and shrink service.
Add-PSSnapin Microsoft.Hpc
Get-HpcClusterProperty -AutogrowShrink
In this example the EnableGrowShrink is set to True or 1.
Run the following PowerShell command to stop the Azure auto grow and shrink service if it is enabled. Setting the value to 0, changes the value to False for the EnableGrowShrink property.
Set-HpcClusterProperty -EnableGrowShrink 0Optionally back up the HPC databases manually.
Download HPCPack2019Update3-Patch-v8328.zip from Microsoft Download Center. Unzip the package to your local folder of the head node(s). This zip file folder will be used to upgrade the head nodes and contains updates for the InstallShare folder described in the upcoming steps. In the examples below, copy the contents of the zip file folder to a headnode share (i.e. "\\HPCHN01\HPCUpdates").
Upgrade the head node(s)
Important
For a HPC Pack cluster with a single head node, refer to Upgrade single head node. For a HPC Pack cluster with multiple high availability head nodes, refer to Upgrade high availability head nodes
Important
Before upgrading the head nodes, please ensure the Linux authentication key is properly set.
Upgrade single head node
To upgrade the head nodes for a HPC Pack cluster with a single head node, run HPCPack2019Update3_x64.exe as administrator on the head node, and reboot if required.
Upgrade built-in high availability head nodes
To upgrade the head node for a HPC Pack cluster with built-in high availability head nodes, run HPCPack2019Update3_x64.exe as administrator on the two head nodes, and reboot if required. It is recommended to run the following PowerShell cmdlet to find the primary head node and do the upgrade on secondary head nodes first.
Get-HpcServicePrimary
Run HPCPack2019Update3_x64.exe as administrator on each of the head nodes, and reboot if required.
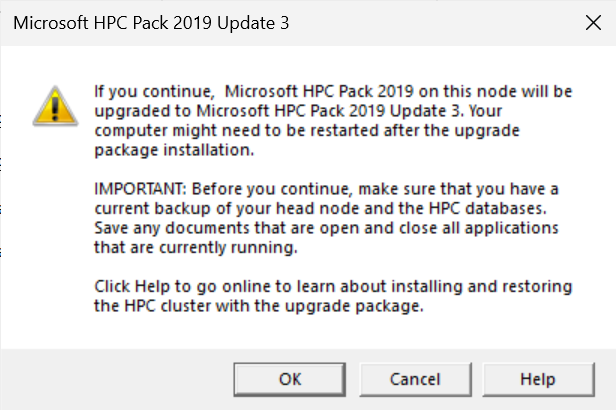
Click OK to continue.
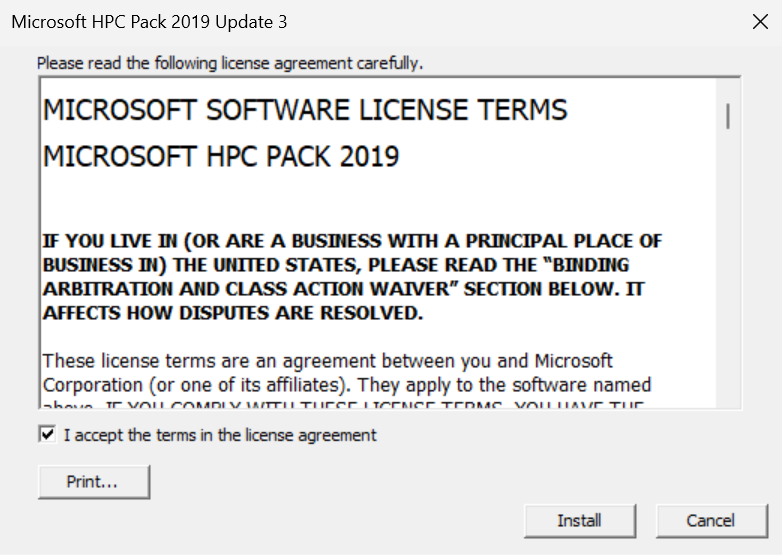 Click Install.
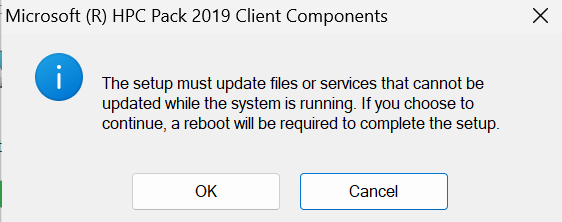
Click OK if prompted with the following dialogs.
Upgrade Service Fabric high availability head nodes
To upgrade the head nodes for a HPC Pack cluster with Service Fabric high availability, do the following steps:
Important
Starting from HPC Pack Update 3, the minimum version for Service Fabric runtime has changed from 5.6 to 8.2 CU9 (8.2.1748.9590). If you are upgrading your cluster on an older Service Fabric runtime, you need to upgrade your Service Fabric runtime to a higher version before upgrading HPC Pack to Update 3.
1. (Optional) Upgrade the Service Fabric runtime
It is recommended to upgrade the Service Fabric runtime to the latest version. Run the following PowerShell commands on any one head node.
Connect to the cluster and get the list of available versions that you can upgrade to.
Connect-ServiceFabricCluster
Get-ServiceFabricRegisteredClusterCodeVersion
Start a cluster upgrade to the latest version from the list (for example 6.5.639.9590).
Start-ServiceFabricClusterUpgrade -Code -CodePackageVersion 6.5.639.9590 -Monitored -FailureAction Rollback
During the upgrade the original PowerShell console will close. Open a new one as administrator, connect to the Service Fabric cluster again with the Connect-ServiceFabricCluster command, and run the following command to monitor the upgrade progress.
Get-ServiceFabricClusterUpgrade
The upgrade completes when the UpgradeState becomes RollingForwardCompleted.
2. Upgrade the HPC Service Fabric application
Open a PowerShell console as administrator on any one head node, and run the following PowerShell command.
.\Upgrade-HpcApplication.ps1
Note
If you find it is stuck at "PreUpgradeSafetyCheck" due to a service failing to cancel, you could try to manually kill the corresponding process on the right node.
3. Upgrade HPC components on all three head nodes
Run HPCPack2019Update3_x64.exe as administrator on all three head nodes one by one.
Replace the installation package in the install share.
Locate the InstallShare.zip file that was included in the folder when downloading HPCPack2019Update3-Patch-v8328.zip. The InstallShare.zip contains parts of slip stream install package of update 3, which is useful in installing HPC Pack on on-premise compute nodes.
Unzip the InstallShare.zip file, and copy all the sub-folders and files to a shared folder which can be accessed by all nodes in the cluster, with read permissions for all users.
It is recommended to use %CCP_DATA%InstallShare. Run the following PowerShell command as administrator to get the install share.
Add-PSSnapin Microsoft.Hpc
Get-HpcClusterRegistry | ?{$_.Name -eq "InstallShare"}
The output should be similar to the following:
Name                                         Value
----                                         ----
InstallShare                                 \\HPCHN01\REMINST
Upgrade Windows compute nodes, broker nodes, un-managed server nodes and workstation nodes
- Locate HPCPack2019Update3_x64.exe on the network share folder (i.e. "\\HPCHN01\HPCUpdates").
- Open a command prompt console as administrator on one head node, and use the clusrun utility to upgrade the nodes. If some nodes roles are not part of the solution, this command may be skipped. Below is an example; update the share location as needed.
clusrun /nodegroup:ComputeNodes \\HPCHN01\HPCUpdates\HPCPack2019Update3_x64.exe -unattend -SystemReboot

clusrun /nodegroup:WCFBrokerNodes \\HPCHN01\HPCUpdates\HPCPack2019Update3_x64.exe -unattend -SystemReboot

clusrun /nodegroup:WorkstationNodes \\HPCHN01\HPCUpdates\HPCPack2019Update3_x64.exe -unattend -SystemReboot

clusrun /nodegroup:UnmanagedServerNodes \\HPCHN01\HPCUpdates\HPCPack2019Update3_x64.exe -unattend -SystemReboot
Note
If the cluster administrator doesn't have administrative privileges on workstation nodes and unmanaged server nodes, the clusrun utility may not be able to apply the update. In these cases the update should be performed by the administrator of the workstation and unmanaged servers.
Upgrade Linux compute nodes
Linux compute node agent does not need to be upgraded for existing Linux nodes, but users must follow the steps in Manage HPC Pack Linux authentication key to set the Linux authentication key on Linux compute nodes prior to upgrading the cluster to HPC Pack 2019 Update 3.
Upgrade Azure IaaS Windows compute nodes
Azure IaaS Windows compute nodes are by default deployed with “Microsoft ® HPC Pack 2019 ComputeNode Components" (You may go to Control Panel->Programs on the compute node to check it). For these Azure IaaS Windows compute nodes, please follow the steps below to apply the patch.
- Download and copy “HpcCompute_x64.msi” and "UpdateCompactCN.ps1" to the remote install share on the head node \\<headnode>\REMINST or any file share that can be access by the compute nodes.
- Open a command prompt console and run the following command.
clusrun /nodegroup:AzureIaaSNodes PowerShell.exe -ExecutionPolicy ByPass -Command "\\<headnode>\REMINST\UpdateCompactCN.ps1 -NewPackage \\<headnode>\REMINST\HpcCompute_x64.msi -RunAsScheduledTask
Update Windows Client Machines
Client machines on-premises may not have access to Azure head node file share via SMB. In this case the installation zip file needs to be downloaded locally to install on any on-premises client machine utilizing HPC Pack Client Utilities.
Download the Hpc Pack Update 3 zip file HPCPack2019Update3-Patch-v8328.zip locally and extract it to a local share that on-premises users have access to.
Run the HPCPack2019Update3_x64.exe install to upgrade the Hpc Pack client utilities. This installation will upgrade the client utilities to Update 3. A reboot may be required.
The Installed Apps section of the client machine will show the HPC Pack 2019 Client Components version after a successful update as version 6.3.8328.0.

Post Installation Notes
Reset PowerShell properties for EnableGrowShrink to what they were previously. In this example setting the value to 1 is setting this value to True.
Add-PSSnapin Microsoft.Hpc
Set-HpcClusterProperty -EnableGrowShrink 1
On the head node check the HPC Cluster Manager software version.
