Capture images in Azure Percept Studio
Important
Retirement of Azure Percept DK:
Update 22 February 2023: A firmware update for the Percept DK Vision and Audio accessory components (also known as Vision and Audio SOM) is now available here, and will enable the accessory components to continue functioning beyond the retirement date.
The Azure Percept public preview will be evolving to support new edge device platforms and developer experiences. As part of this evolution the Azure Percept DK and Audio Accessory and associated supporting Azure services for the Percept DK will be retired March 30th, 2023.
Effective March 30th, 2023, the Azure Percept DK and Audio Accessory will no longer be supported by any Azure services including Azure Percept Studio, OS updates, containers updates, view web stream, and Custom Vision integration. Microsoft will no longer provide customer success support and any associated supporting services. For more information, please visit the Retirement Notice Blog Post.
Follow this guide to capture images using Azure Percept DK for an existing vision project. If you haven't created a vision project yet, see the no-code vision tutorial.
Prerequisites
- Azure Percept DK (devkit)
- Azure subscription
- Azure Percept DK setup experience: you connected your devkit to a Wi-Fi network, created an IoT Hub, and connected your devkit to the IoT Hub
- No-code vision project
Capture images
Power on your devkit.
Navigate to Azure Percept Studio.
On the left side of the overview page, select Devices.

Select your devkit from the list.

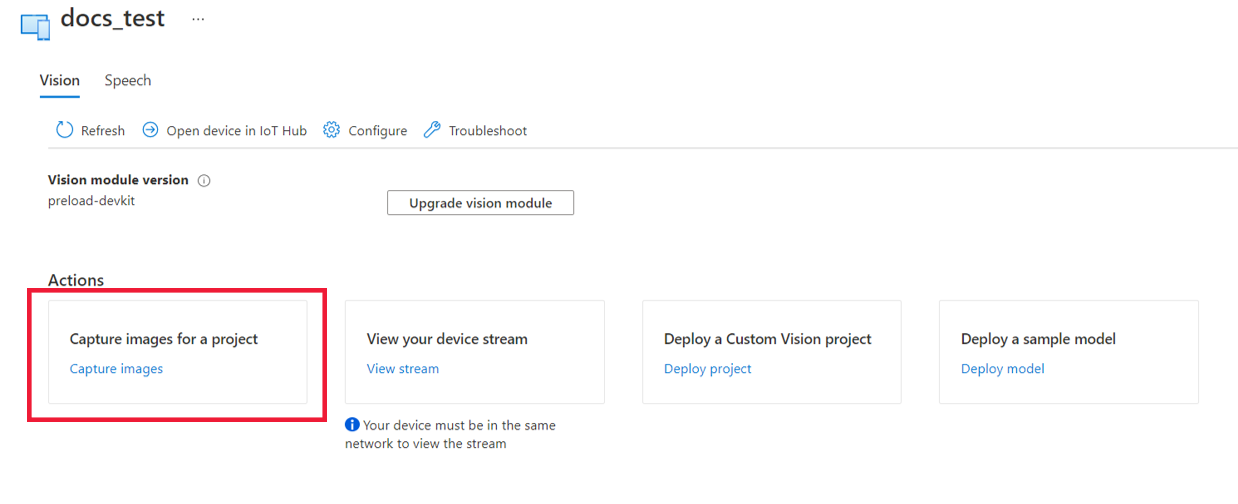
On your device page, select Capture images for a project.
In the Image capture window, follow these steps:
In the Project dropdown menu, select the vision project you would like to collect images for.
Select View device stream to ensure the camera of the Vision SoM is placed correctly.
Select Take photo to capture an image.
Instead, check the box next to Automatic image capture to set up a timer for image capture:
- Select your preferred imaging rate under Capture rate.
- Select the total number of images you would like to collect under Target.


All images will be accessible in Custom Vision.