Install NuGet packages with Visual Studio
TFS 2017
Using Azure Artifacts and Visual Studio, you can set up your development machine to access and install packages from your feeds and public registries such as NuGet.org.
Get source URL
To connect Visual Studio to our feed, we must first get the Source URL:
Select Build and Release, and then select Packages.
Select your feed from the dropdown menu.
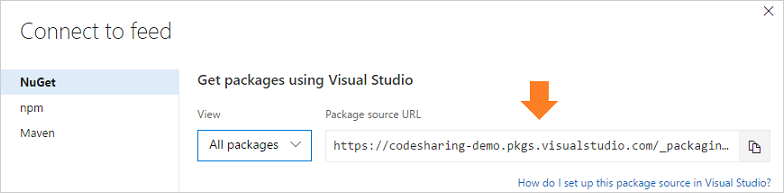
Select Connect to feed.
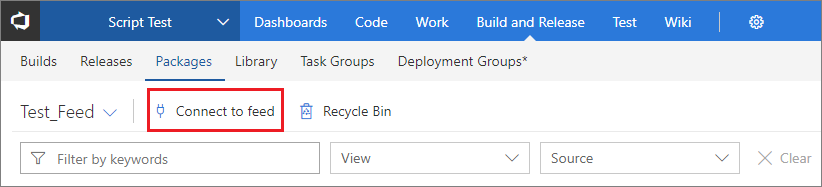
Copy your feed's Source URL.
Set up Visual Studio
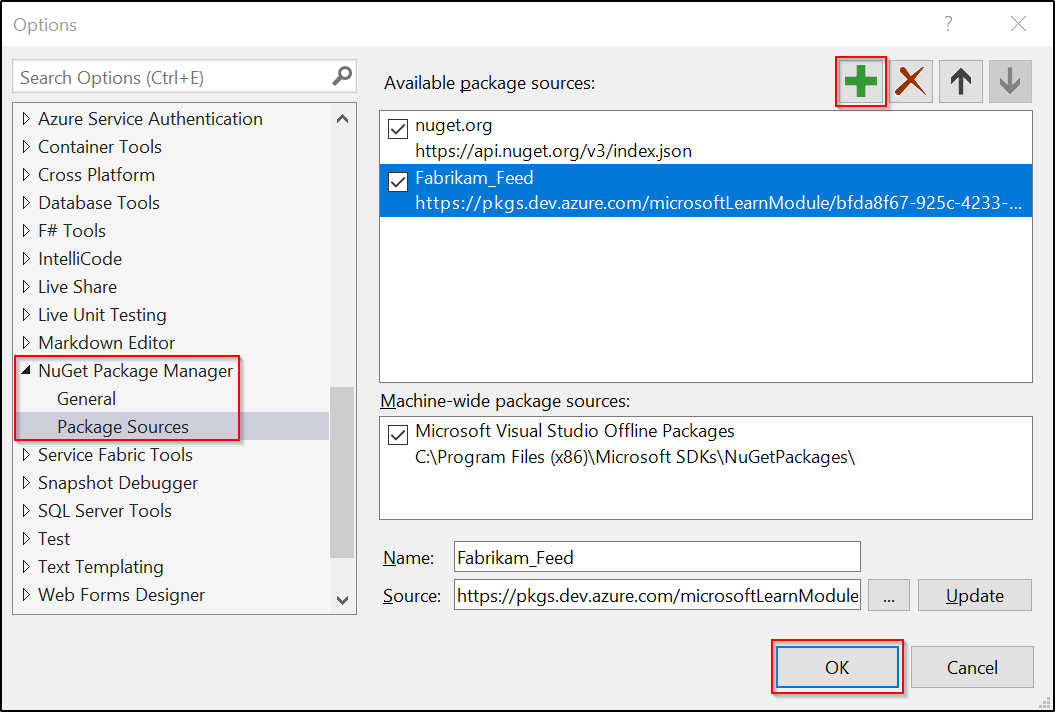
In Visual Studio, select Tools, and then select Options.
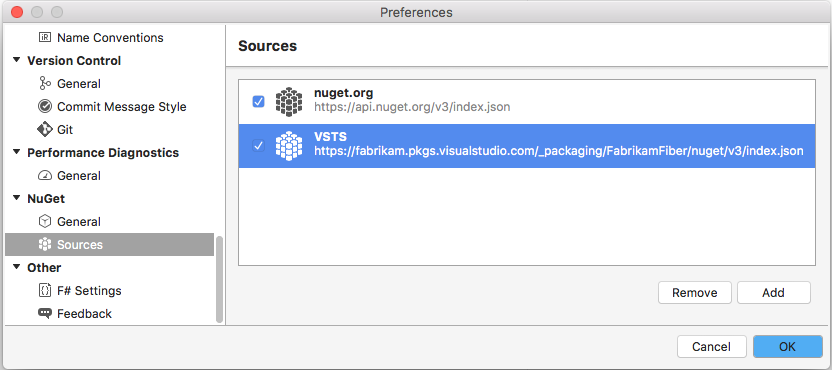
Select NuGet Package Manager, and then select Package Sources.
Enter the feed's Name and Source URL, and then select the green (+) sign to add a new package source.
If you enabled upstream sources in your feed, clear the nuget.org checkbox.
Select OK when you are done.
Install packages from your feed
Now that we set up Visual Studio and added a new package source pointing to our feed, we can now search and install packages from our feed.
In Visual Studio, right-click on your project in the Solution Explorer, and then select Manage NuGet Packages....
Select Browse, and then select your feed from the Package source dropdown menu.

Use the search bar to look for packages from your feed.
Note
If you enabled upstream sources, any packages that haven't been saved to your feed (by using them at least once) won't appear in the search result.
Install packages from NuGet.org
Navigate to NuGet.org and search for the package you want to install.
Select Package Manager, and then copy the Install-Package command.
In Visual Studio, select Tools > NuGet Package Manager > Package Manager Console to open the package manager console.
Paste the command into the Package Manager Console and then press Enter.