Connect to a project in Azure DevOps
TFS 2017 | TFS 2015 | TFS 2013
Learn how to connect to a project to share code, build apps, track work, and collaborate with team members. You can use any of the following clients:
- Web portal
- Visual Studio or Team Explorer
- Eclipse/Team Explorer Everywhere
- Android Studio with the Azure DevOps Services Plugin for Android Studio
- IntelliJ with the Azure DevOps Services Plugin for IntelliJ
- Visual Studio Code
A project defines a process and data storage in which you manage your software projects from planning to deployment. When you connect to a project, you connect to an organization or project collection. One or more projects may be defined within a collection. There must be at least one project. For more information, see About projects and scaling your organization.
Prerequisites
If you don't have a project yet, create one.
If you need to add a team, see Add teams. If you don't have access to the project, get invited to the team.
From each of these clients, you can switch context to a different project and connect as a different user. If you work remotely, configure your client to connect to an Azure DevOps Proxy Server.
To get started with a code base, set up Git or set up TFVC.
Connect from the web portal
If you're not a member of a security group, ask your Project Administrator to add you.
Open a browser and enter a URL that uses the following form:
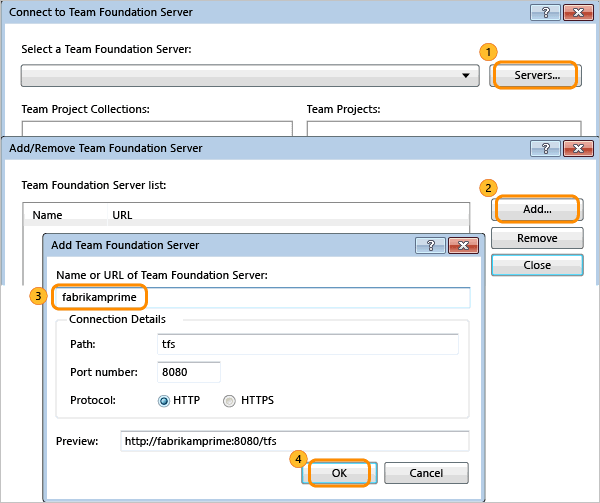
http://ServerName:8080/tfs/DefaultCollection/ProjectNameFor example, to connect to the server named FabrikamPrime, type: http://FabrikamPrime:8080/tfs/DefaultCollection.
The default Port is 8080. If you don't use default values, specify the port number and directory for your server.
When you access the server for the first time, a Windows Identity dialog box appears. Enter your credentials and choose OK.
Tip
If you select Remember me, you won't have to enter your credentials the next time you connect.
Choose your project, team, or page of interest.
From the project summary page, hover over a service and then choose the page you want. To choose another project, choose the
 Azure DevOps logo.
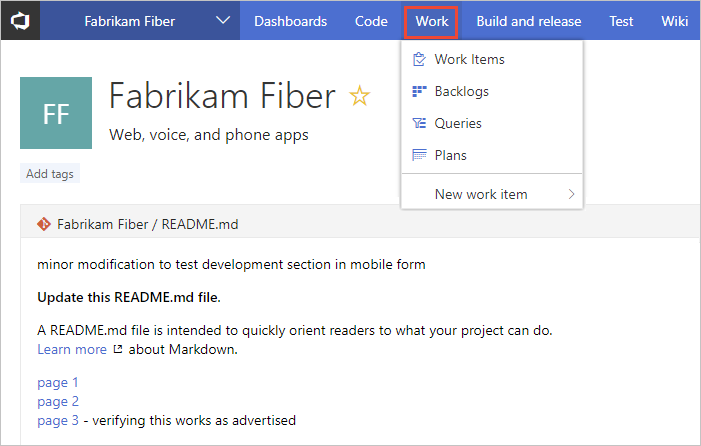
To learn more about each page and the tasks you can do, see Web portal navigation.
Sign in with different credentials
Open your profile menu and choose Sign out.

Choose Sign in and enter your credentials.
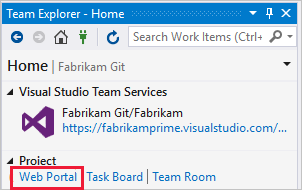
Open the web portal from Team Explorer
Open the web portal from the home page.
Connect from Visual Studio or Team Explorer
If you haven't already, download and install a version of Visual Studio.
If you're not a member of an Azure DevOps security group, get added to one. Check with a team member. You'll need the names of the server, project collection, and project to connect to.
Visual Studio 2019
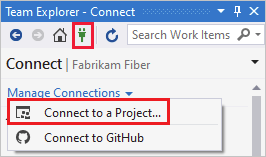
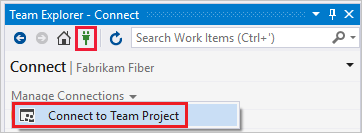
Select the Manage Connections button in Team Explorer to open the Connect page. Choose Connect to a Project to select a project to connect to.
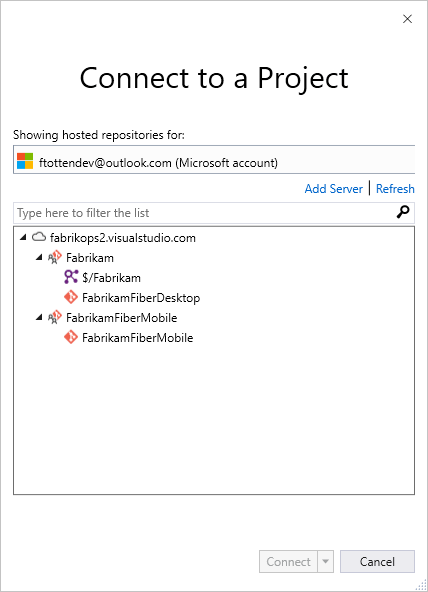
Connect to a Project shows the projects you can connect to, along with the repos in those projects.
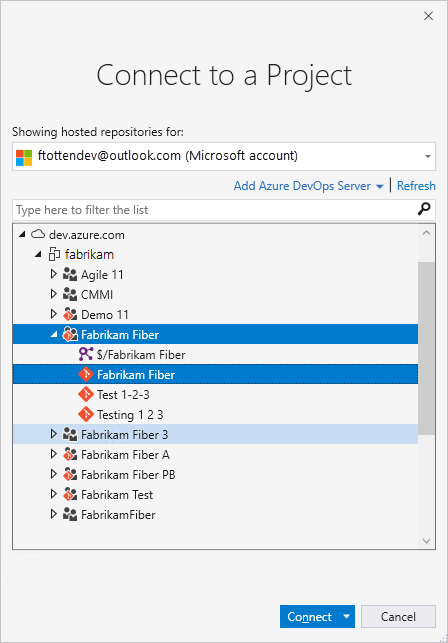
Select Add Azure DevOps Server to connect to a project in Azure DevOps Services. Enter the URL to your server and select Add.

Select a project from the list and select Connect.


Change sign-in credentials
Visual Studio 2019
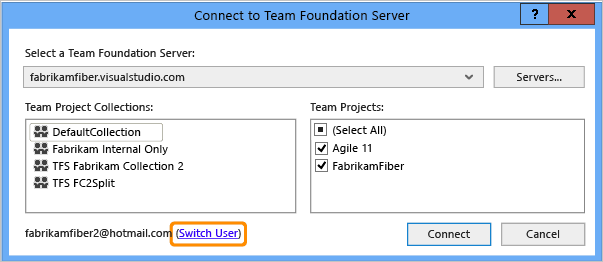
From Connect, choose the Connect to a Project link to sign in with different credentials.
Select a different user or select Add an account to access a project using different credentials.

Sign in using an account that is associated with an Azure DevOps project, either a valid Microsoft account or GitHub account.
Use different Visual Studio credentials
You can run Visual Studio with credentials different from your current Windows user account. Find devenv.exe under the Program Files (86) folder for your version of Visual Studio.
Select Shift and right-click devenv.exe, then select Run as different user.

User accounts and licensing for Visual Studio
To connect to a project, you need your user account added to the project. The Organization owner for Azure DevOps Services or a member of the Project Administrators group usually adds user accounts. To learn more, see Add organization users and manage access or Add or remove users or groups, manage security groups.
For on-premises TFS, each user account must have a TFS client access license (CAL). All Visual Studio subscriptions and paid Azure DevOps Services users include a TFS CAL. Find out more about licensing from the Team Foundation Server pricing page.
You can also provide access to Stakeholders in your organization who have limited access to select features as described in Work as a Stakeholder.
Configure Visual Studio to connect to Azure DevOps Proxy Server
If your remote team uses a Azure DevOps Proxy Server to cache files, you can configure Visual Studio to connect through that proxy server and download files under Team Foundation version control.
First, make sure that you've connected to Azure DevOps Server as described in the previous section.
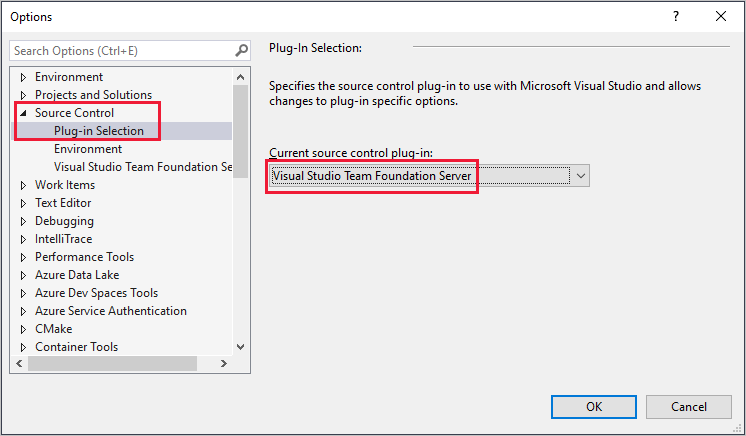
From the Visual Studio Tools menu, select Options, then select Source Control > Plug-in Selection. Select Visual Studio Team Foundation Server.
For Visual Studio Team Foundation Server, enter the name and port number for the Azure DevOps Proxy Server. Select Use SSL encryption (https) to connect.
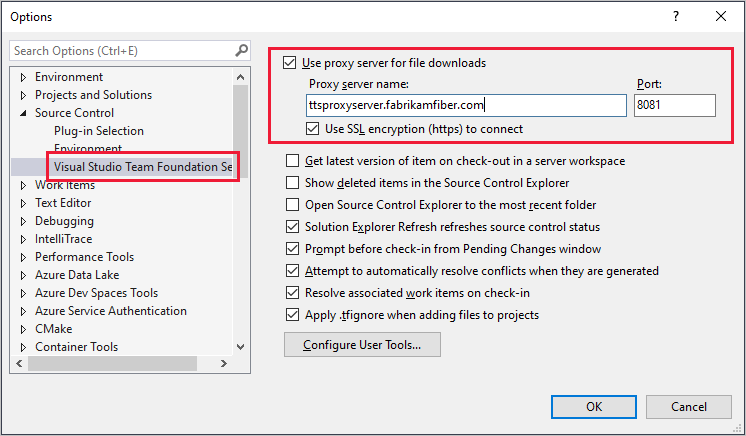
Make sure you specify the port number that your administrator assigned to TFS Proxy.
To associate a file type with a compare or merge tool, see Associate a file type with a file-comparison tool or Associate a file type with a merge tool.
What other clients support connection to Azure DevOps?
Besides connecting through a web browser, Visual Studio, Eclipse, Excel, and Project you can connect to a project from these clients:
- Visual Studio Code
- Visual Studio Community
- Eclipse: Team Explorer Everywhere
- Azure Test Plans (formerly Test Manager)
- Microsoft Feedback Client
Requirements and client compatibility
Some tasks or features aren't available when you connect to a later version of Azure DevOps Server than your client supports. For more information, see client compatibility.
Determine your platform version
See Feedback and support.
Next steps
Learn more about how to:
If all you need is a code repository and bug tracking solution, then start with the Get Started with Azure Repos and Manage bugs.
To start planning and tracking work, see Get started with Agile tools to plan and track work.