Release deployment control using approvals
TFS 2017 | TFS 2015
Note
In Microsoft Team Foundation Server (TFS) 2018 and previous versions, build and release pipelines are called definitions, runs are called builds, service connections are called service endpoints, stages are called environments, and jobs are called phases.
When a release is created from a release pipeline that defines approvals, the deployment stops at each point where approval is required until the specified approver grants approval or rejects the release (or re-assigns the approval to another user). You can enable manual deployment approvals for each stage in a release pipeline.
Define a deployment approval
You can define approvals at the start of a stage (pre-deployment approvers), at the end of a stage (post-deployment approvers), or both. For details of how to define and use approvals, see Add approvals within a release pipeline.
- For a pre-deployment approval, choose the icon at the entry point of the stage and enable pre-deployment approvers.
- For a post-deployment approval, choose the icon at the exit point of the stage and enable post-deployment approvers.
You can add multiple approvers for both pre-deployment and post-deployment settings. These approvers can be individual users or groups of users. These users must have the View releases permission.
When a group is specified as an approver, only one of the users in that group needs to approve for the deployment to occur or the release to move forward.
- If you are using Azure Pipelines, you can use local groups managed in Azure Pipelines or Azure Active Directory (Azure AD) groups if they have been added into Azure Pipelines.
- If you are using Team Foundation Server (TFS), you can use local groups managed in TFS or Active Directory (AD) groups if they have been added into TFS.
The creator of a deployment is considered to be a separate user role for deployments. For more details, see Release permissions. Either the release creator or the deployment creator can be restricted from approving deployments.
If no approval is granted within the Timeout specified for the approval, the deployment is rejected.
Use the Approval policies to:
- Specify that the user who requested (initiated or created) the release cannot approve it. If you are experimenting with approvals, uncheck this option so that you can approve or reject your own deployments. For information about the ID of the requester for CI/CD releases, see How are the identity variables set?
- Force a revalidation of the user identity to take into account recently changed permissions.
- Reduce user workload by automatically approving subsequent prompts if the specified user has already approved the deployment to a previous stage in the pipeline (applies to pre-deployment approvals only). Take care when using this option; for example, you may want to require a user to physically approve a deployment to production even though that user has previously approved a deployment to a QA stage in the same release pipeline.
For information about approving or rejecting deployments, and viewing approval logs, see Create a release, View the logs for approvals, and Monitor and track deployments.
Approval notifications
Notifications such as an email message can be sent to the approver(s) defined for each approval step. Configure recipients and settings in the Notifications section of the project settings page.
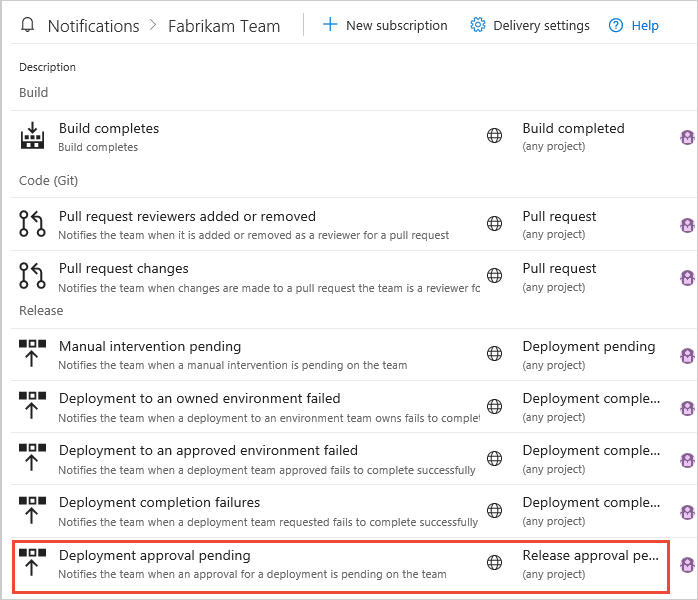
The link in the email message opens the Summary page for the release where the user can approve or reject the release.
Related articles
Help and support
- See our troubleshooting page
- Get advice on Stack Overflow, and feel free to post your questions, search for answers, or suggest a feature on our Azure DevOps Developer Community. Support page.