Note
Access to this page requires authorization. You can try signing in or changing directories.
Access to this page requires authorization. You can try changing directories.
Applies to: ![]() Visual Studio
Visual Studio ![]() Visual Studio for Mac
Visual Studio for Mac
Note
This article applies to Visual Studio 2017. If you're looking for the latest Visual Studio documentation, see Visual Studio documentation. We recommend upgrading to the latest version of Visual Studio. Download it here
In this tutorial, you'll learn how to manage more than one container and communicate between them when using Container Tools in Visual Studio. Managing multiple containers requires container orchestration and requires an orchestrator such as Docker Compose, Kubernetes, or Service Fabric. Here, we'll use Docker Compose. Docker Compose is great for local debugging and testing in the course of the development cycle.
Prerequisites
- Docker Desktop
- Visual Studio 2017 with the Web Development, Azure Tools workload, or .NET Core cross-platform development workload installed
Create a Web Application project
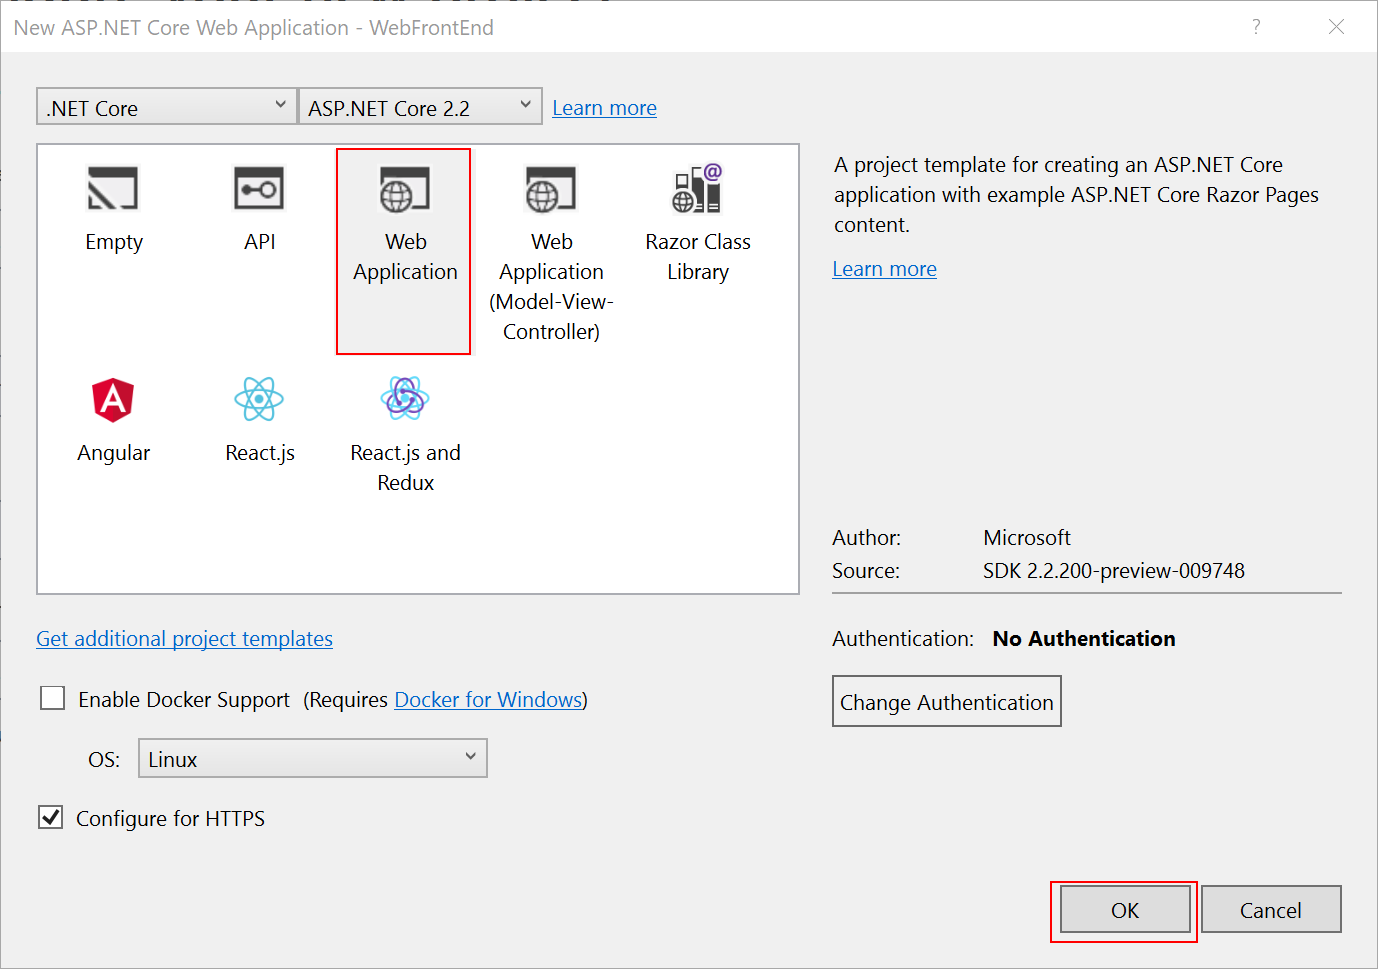
In Visual Studio, create an ASP.NET Core Web App project, named WebFrontEnd, to create a web application with Razor pages.
Do not select Enable Docker Support. You'll add Docker support later.
Create a Web API project
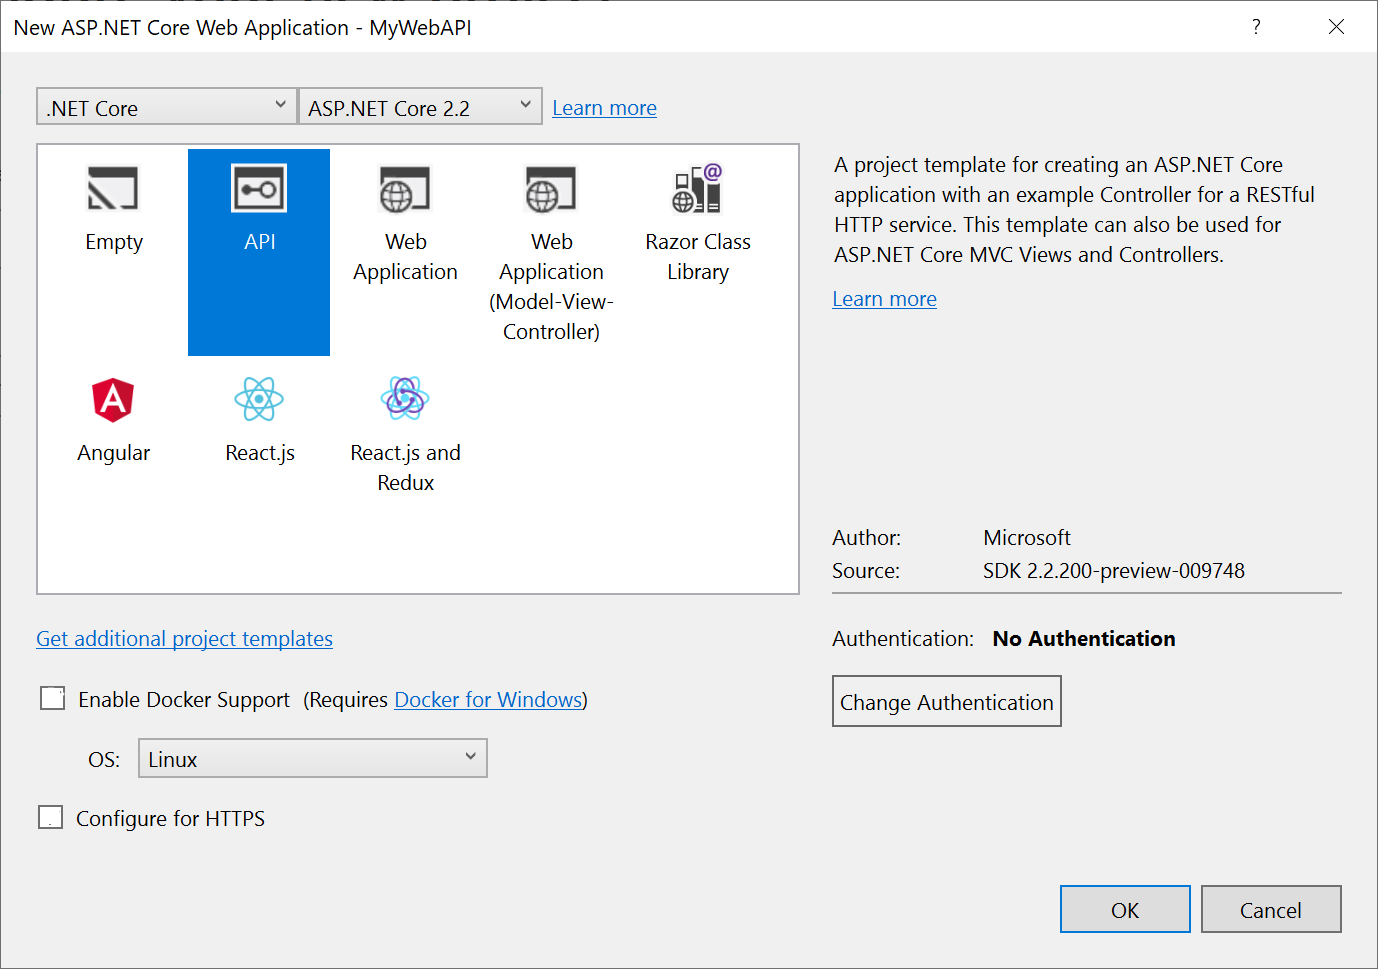
Add a project to the same solution and call it MyWebAPI. Select API as the project type, and clear the checkbox for Configure for HTTPS. In this design, we're only using SSL for communication with the client, not for communication from between containers in the same web application. Only WebFrontEnd needs HTTPS and the code in the examples assumes that you have cleared that checkbox. In general, the .NET developer certificates used by Visual Studio are only supported for external-to-container requests, not for container-to-container requests.
Add code to call the Web API
In the
WebFrontEndproject, open the Index.cshtml.cs file, and replace theOnGetmethod with the following code.public async Task OnGet() { ViewData["Message"] = "Hello from webfrontend"; using (var client = new System.Net.Http.HttpClient()) { // Call *mywebapi*, and display its response in the page var request = new System.Net.Http.HttpRequestMessage(); request.RequestUri = new Uri("http://mywebapi/WeatherForecast"); // request.RequestUri = new Uri("http://mywebapi/api/values/1"); // For ASP.NET 2.x, comment out previous line and uncomment this line. var response = await client.SendAsync(request); ViewData["Message"] += " and " + await response.Content.ReadAsStringAsync(); } }Note
In real-world code, you shouldn't dispose
HttpClientafter every request. For best practices, see Use HttpClientFactory to implement resilient HTTP requests.In the Index.cshtml file, add a line to display
ViewData["Message"]so that the file looks like the following code:@page @model IndexModel @{ ViewData["Title"] = "Home page"; } <div class="text-center"> <h1 class="display-4">Welcome</h1> <p>Learn about <a href="/aspnet/core">building Web apps with ASP.NET Core</a>.</p> <p>@ViewData["Message"]</p> </div>(ASP.NET 2.x only) Now in the Web API project, add code to the Values controller to customize the message returned by the API for the call you added from webfrontend.
  // GET api/values/5
  [HttpGet("{id}")]
  public ActionResult<string> Get(int id)
  {
      return "webapi (with value " + id + ")";
  }
With .NET Core 3.1 and later, you don't need this, because you can use the WeatherForecast API that is already there. However, you need to comment out the call to UseHttpsRedirection in the Web API project, because this code uses HTTP, not HTTPS, to call the Web API.
//app.UseHttpsRedirection();In the
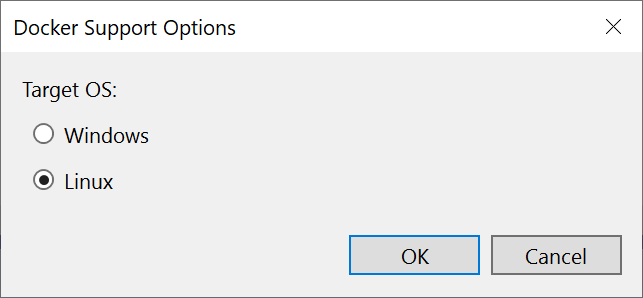
WebFrontEndproject, choose Add > Container Orchestrator Support. The Docker Support Options dialog appears.Choose Docker Compose.
Choose your Target OS, for example, Linux.
Visual Studio creates a docker-compose.yml file and a .dockerignore file in the docker-compose node in the solution, and that project shows in boldface font, which shows that it's the startup project.

The docker-compose.yml appears as follows:
version: '3.4'

 services:
   webfrontend:
     image: ${DOCKER_REGISTRY-}webfrontend
     build:
       context: .
       dockerfile: WebFrontEnd/Dockerfile
The .dockerignore file contains file types and extensions that you don't want Docker to include in the container. These files are generally associated with the development environment and source control, not part of the app or service you're developing.
Look at the Container Tools section of the output pane for details of the commands being run. You can see the command-line tool docker-compose is used to configure and create the runtime containers.
In the Web API project, again right-click on the project node, and choose Add > Container Orchestrator Support. Choose Docker Compose, and then select the same target OS.
Note
In this step, Visual Studio will offer to create a Dockerfile. If you do this on a project that already has Docker support, you are prompted whether you want to overwrite the existing Dockerfile. If you've made changes in your Dockerfile that you want to keep, choose no.
Visual Studio makes some changes to your docker compose YML file. Now both services are included.
version: '3.4'

services:
  webfrontend:
    image: ${DOCKER_REGISTRY-}webfrontend
    build:
      context: .
      dockerfile: WebFrontEnd/Dockerfile

  mywebapi:
    image: ${DOCKER_REGISTRY-}mywebapi
    build:
      context: .
      dockerfile: MyWebAPI/Dockerfile
To run the site normally (not with Docker Compose), you have to use a different URL for the request to the Web API service, since Docker Compose sets up the host names in its own network, so that
mywebapiis visible to other services as a hostname. To run outside of Docker Compose, first replacemywebapiin theOnGetmethod in Index.cshtml.cs with a localhost and port syntax. You can get the port number either from launching the webapi project on its own or from the App URL setting in the Debug section of Project Properties (Alt+Enter).request.RequestUri = new Uri("http://localhost:{port}/WeatherForecast");Run the site normally (not with Docker Compose) now to verify that it works as expected. Right-click on the Web API project, and choose Set as startup project, and then choose Debug > Start without debugging. Then, right-click the WebFrontEnd project node and choose Set as startup project, and press F5 to start debugging.
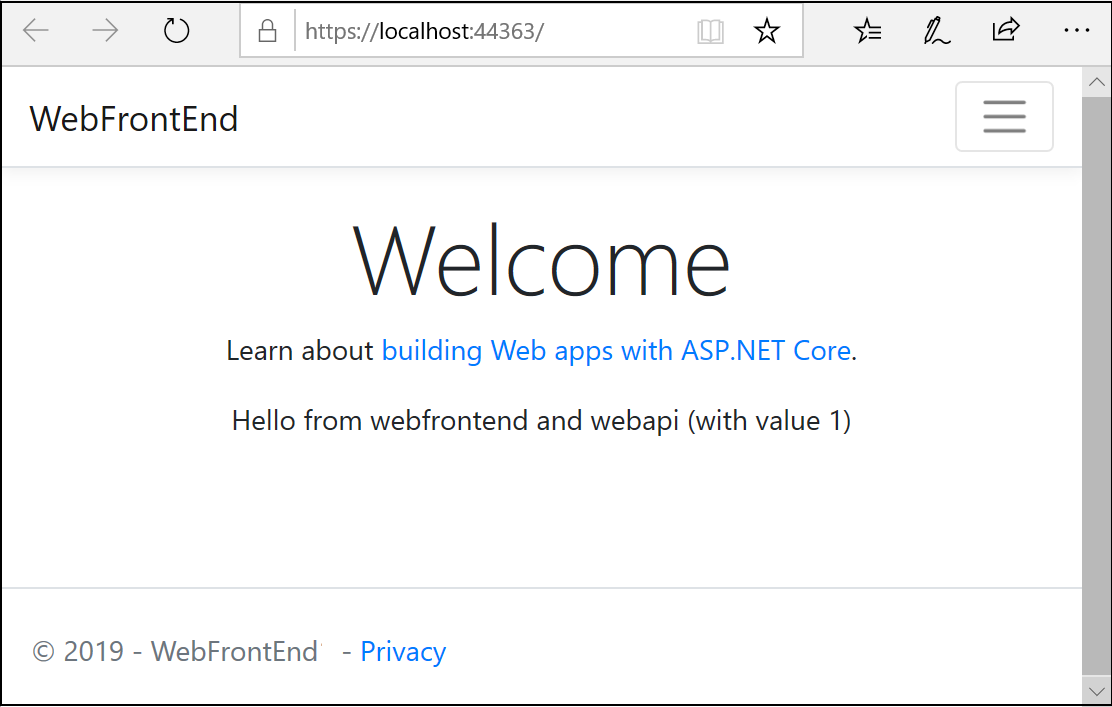
If everything is configured correctly with the .NET Core 2.x version, you see the message "Hello from webfrontend and webapi (with value 1)." With .NET Core 3, you see weather forecast data.
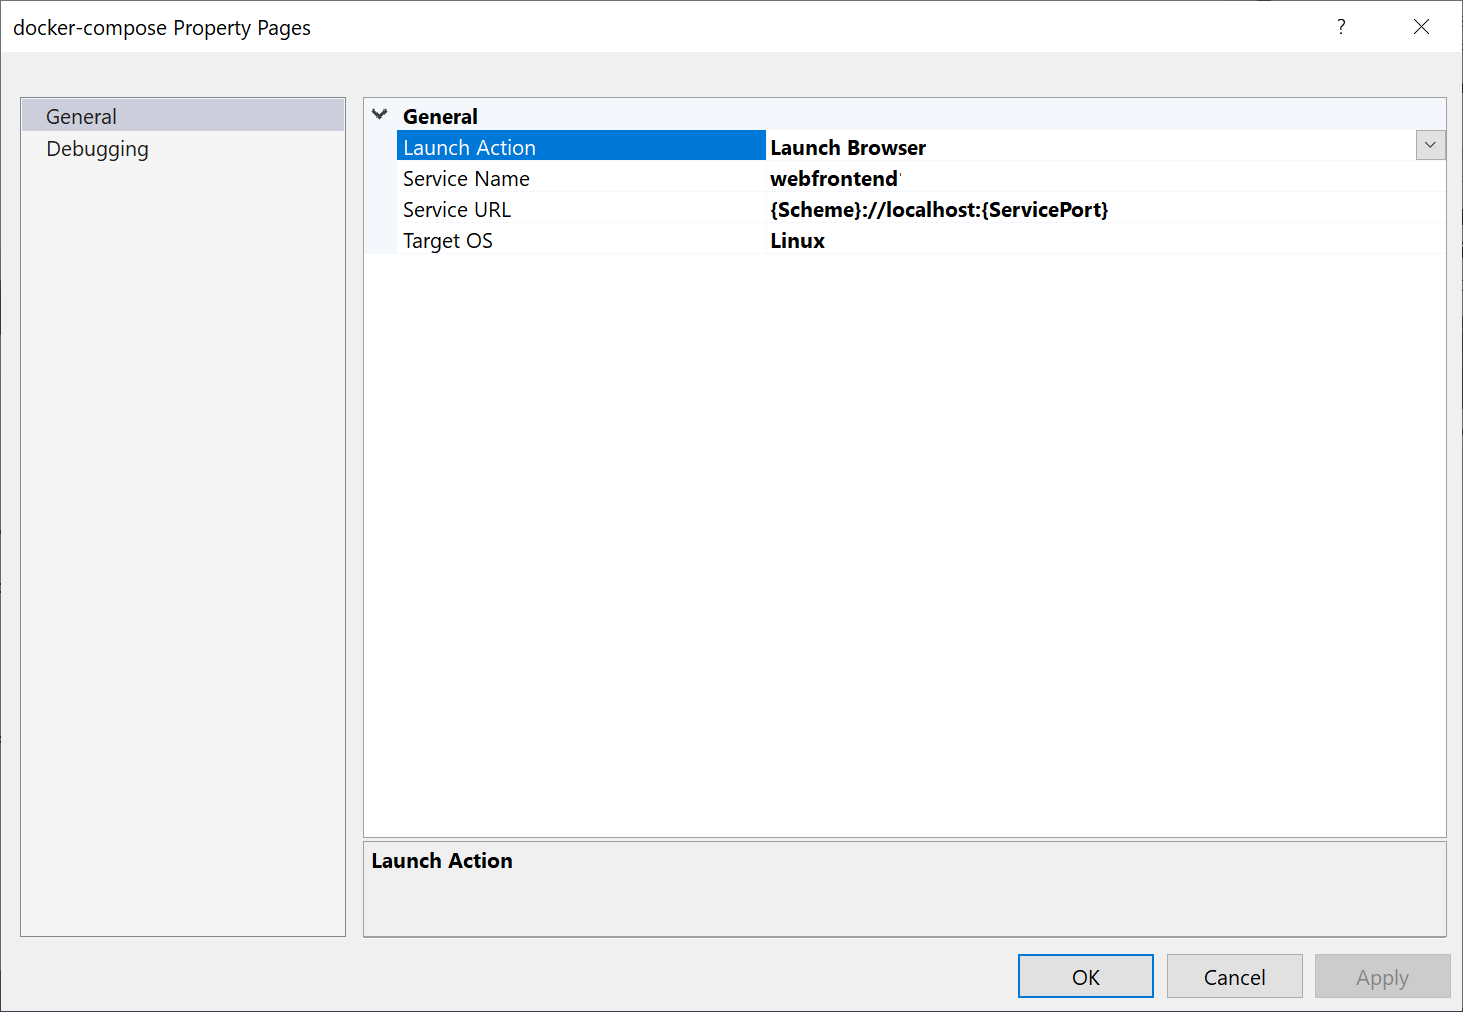
Once you've verified it works outside of Docker Compose, change the URL in
OnGetin Index.cshtml.cs back to reference mywebapi in preparation for running in Docker Compose. You might wish to use a configuration file to obtain the URL, if you want to use the same code for both Docker and non-container run and debug configurations.The first project that you use when you add container orchestration is set up to be launched when you run or debug. You can configure the launch action in the Project Properties for the docker-compose project. On the docker-compose project node, right-click to open the context menu, and then choose Properties, or use Alt+Enter. The following screenshot shows the properties you would want for the solution used here. For example, you can change the page that is loaded by customizing the Service URL property.
Here's what you see when launched (the .NET Core 2.x version):
The web app for .NET 3.1 shows the weather data in JSON format.
Next steps
Look at the options for deploying your containers to Azure.