Note
Access to this page requires authorization. You can try signing in or changing directories.
Access to this page requires authorization. You can try changing directories.
When you need to add a column to use in your projects but none of the available built-in columns meet your need, create a custom column.
Note
Most changes to the Project Power App can be made with only the System Customizer security role. Some changes such as configuring the Option Set require that you have privileges that are part of the System Administrator security role. Learn more about Project Power App security roles.
Tip
Make all changes to the Project Power App inside of a new solution. This will make it easier to backup and deploy any changes you make. Learn more about solutions.
To create a custom table column in Project Power App, you have two choices:
- The Power Apps portal has a nice, friendly UI. This article provides steps to use the Power Apps portal to add a custom column to a Dataverse table for Project Power App. It's convenient and suitable most of the time, but a few options aren't available.
- The Power Apps solution explorer provides advanced options that aren't available on the Power Apps portal.
Note
Don't add a custom column to the Task table in Dataverse. Columns added to the Task table in Dataverse aren't available in the Tasks tab of the Project Power App.
Add a custom column using the Power App portal
Open the Power Apps portal.
In the navigation pane, select Dataverse > Tables.
Find and select the table that needs a custom column.
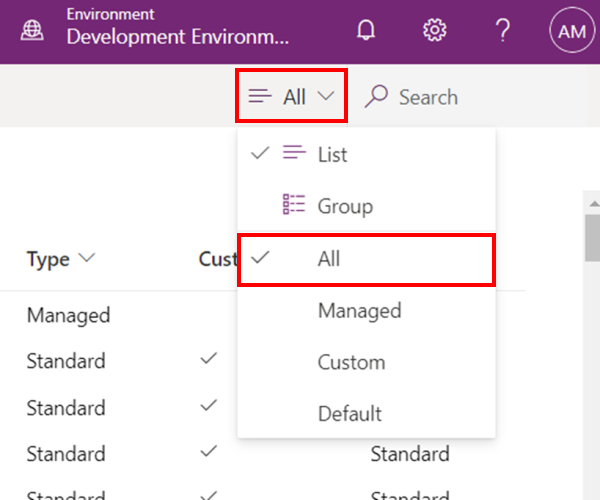
Tip
The table you want might not be listed by default. Use the item filter on the command bar to choose the type of items Power Apps lists.
On the command bar, select + Add column.
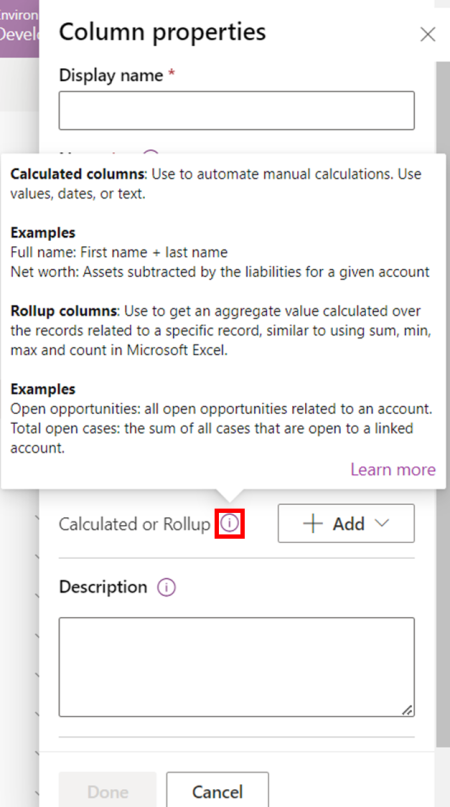
In the Column properties pane, set the column properties as needed. Properties that require a value have an asterisk next to their name.
After you set all the properties you need, select Done at the bottom of the Column properties pane to save the new column.
Column properties
| Property | Description |
|---|---|
| Display Name | Text that appears next to and identifies the column in the user interface. |
| Name | Provides a unique name for the column across your environment. An automatically generated name appears when you enter a display name, but you can edit the value before you save the column properties. After you save the column properties when you create the column, its name can’t be changed. The name always has the customization prefix for your Dataverse Default Publisher. |
| Data type | Controls how values are stored, and in some applications how they're formatted. After you save the column properties, you can't change the data type. Exception: you can convert text columns to autonumber columns. |
| Required | A row can't be saved without data in this column. For more information, see Saving rows programmatically for required columns. |
| Searchable | Controls whether the column appears in Advanced Find and is available when customizing views. |
| Calculated or Rollup | Use to automate manual calculations. Use values, dates, or text. |
| Advanced Options | Add a description, and specify a maximum length and IME mode for the column. |
Note
Other properties may become available when you set a value for Data type.
Example: Add a Budget column to the Project table
Anita Montero has determined that her business has grown complex enough to require more granular accounting. She needs to start allocating funds at the Project level. There's no built-in column that works for her, so she's adding a custom column to the Project Power App using the Power Apps portal.
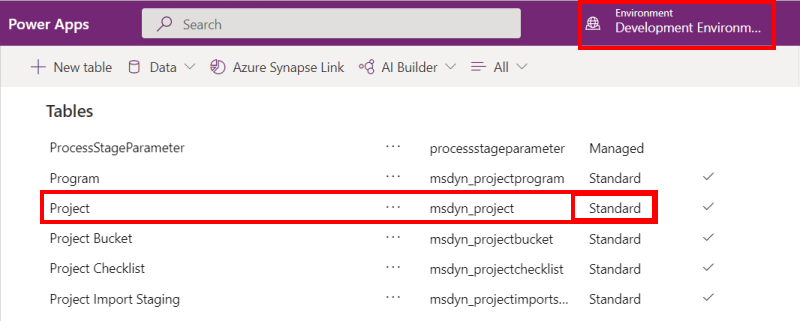
She opens the Project table and verifies it's not a Managed or a System table, so it's safe to change.
She adds the new column, names it Budget, and sets Data type to Currency.

Because there are already some projects underway, she sets Required to Recommended. She leaves Searchable selected so she can easily find projects that don't have a value for Budget yet, and so people can use the column in Advanced Find operations.
Ready to start allocating funds, at the bottom of the pane, Anita selects Done.
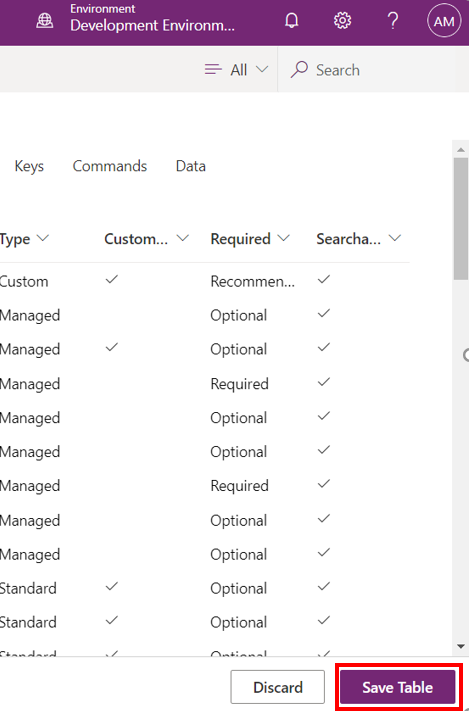
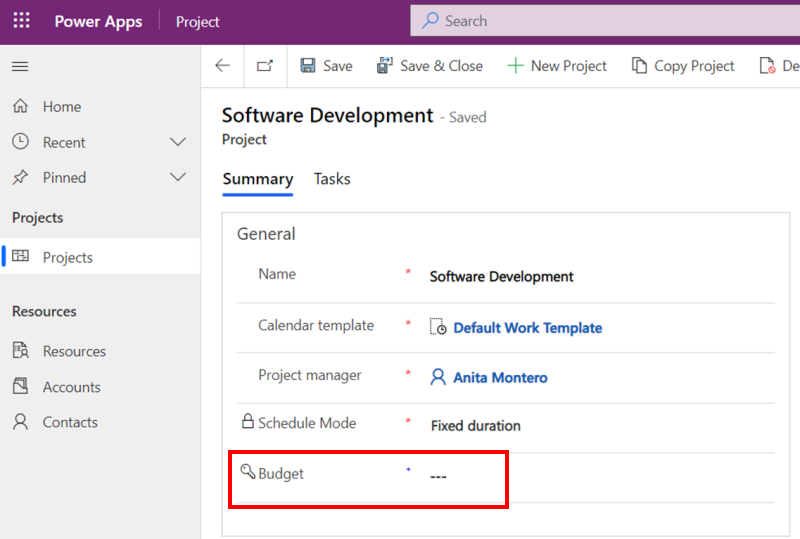
The Budget column is now visible in the Project table. Anita selects Save Table.
After saving, Anita notices there's another new column, right under Budget: Budget (Base). It's an automatic column that shows the value of Budget in terms of the base currency defined for her app. Power Platform adds one when you add a column with the Currency data type.
Add a form field to the Information form
After you add a custom column to the Project Power App, you should add it to the Information form as a field. Most people won't be using the tables directly—they'll use the Information form to work with project data.
After you save the table, select the Forms area.
Select the Information form. You might have to adjust the view's filter to find it.

On the command bar, select + Form field.
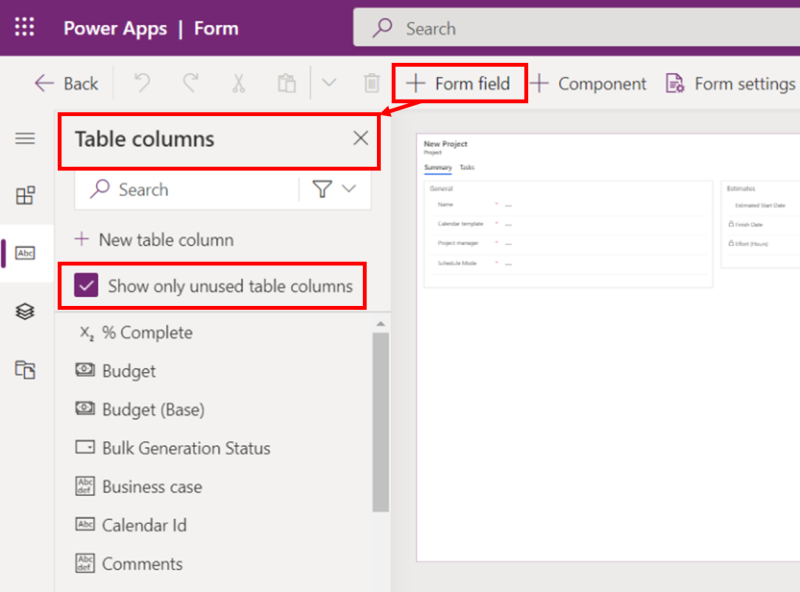
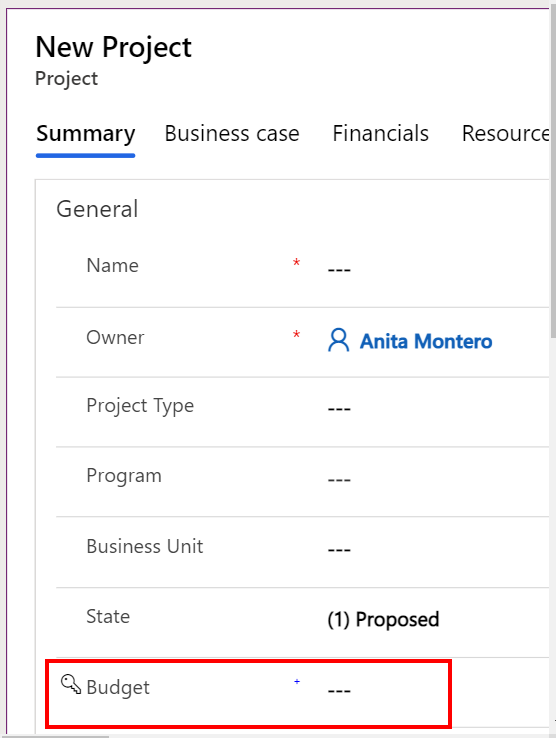
Because you haven't added the column to a form yet, it's listed in the Table columns pane. Drag it from the pane onto the form to add it as a field in the General section. If you want it in a specific place, drop it where you want it to appear. You can adjust the size and position of the new field as needed.
On the command bar, select Save.
When you're ready to roll out your changes to the environment you're in, on the command bar, select Publish.
Next Steps
- Consider whether you should create or adjust any business process flows for your new column.
- If the new form field requires it, add or change business rules.
- If the new column will require associated Dataverse actions when its values change, implement them using Power Automate.
- Consider adding the new column to your Power BI template for Project. Adding it to your Power BI template makes it part of reports that use the template.