Note
Access to this page requires authorization. You can try signing in or changing directories.
Access to this page requires authorization. You can try changing directories.
 Microsoft Project for the web will soon become Microsoft Planner, which is currently rolling out to customers. To learn more about setting up the new Planner for your organization, see Microsoft Planner for admins.
The Project Management Office Accelerator solution gives you a head start customizing Project for the web to support common project management scenarios. It's a managed solution, making it easy to deploy new versions as updates.
We've prepared a Power BI template for the Project Management Office Accelerator (PMO Accelerator). To add the Power BI template, create a managed solution for it, then deploy that solution on top of the PMO Accelerator.
The process has four broad steps:
- Open a development environment where you're an admin, with Project and the PMO Accelerator deployed already.
- Download the Power BI template and deploy it to that development environment.
- In that environment, create a managed solution that contains the steps to integrate the Power BI template.
- Export the solution, and then import it into your production Project+Accelerator environment.
Prerequisites
- Admin rights in a development environment with the Project Management Office Accelerator deployed
- Power BI Desktop and a Power BI Pro account
- Rights to use the Common Data Service connector
- An understanding of managed solution layers
- (Optional, but recommended) A Developer plan so you can export your solution to easily deploy in other environments
Deploy the Power BI template
Download the Power BI template at https://aka.ms/ProjectReports. (See Extend the Power BI template for Project for the web.)
Open Power BI Desktop.
Select File > Import, then select the downloaded template.
When prompted for the environment url, use the base url of your development environment. For example:
https://mydevenvironment.crm.dynamics.comNote the workspace where you save the report.
To ensure that your team will have access to the report, share it.
On the Power BI portal, in the navigation pane select Workplace and then select the workspace where you put the report.
In the report's row select the three vertical dots to open the menu, and then select Manage permissions.
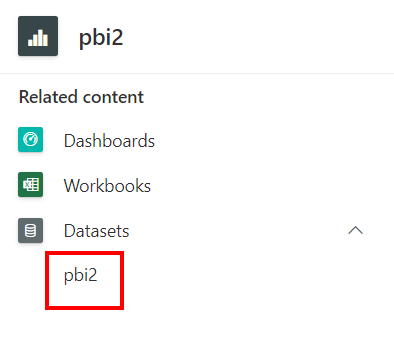
Under Related content, expand Datasets, and then select the report.

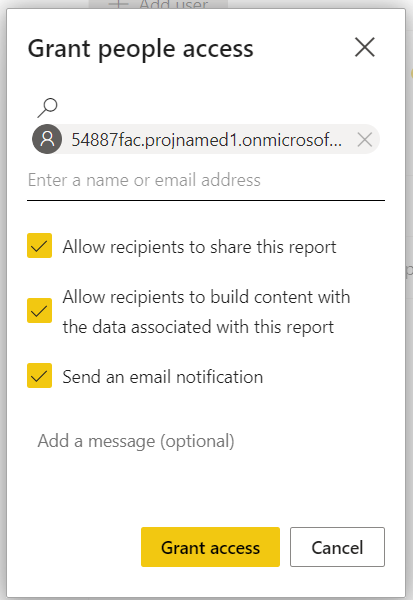
In the Grant people access dialog, enter the email addresses of the Teams groups who need access, select the sharing options you want, and then select Grant access.
Note
You might want to repeat this process for several different groups to control who can do what with the report in Project for the web.
Create a managed solution for deploying the Power BI template
Like the Project Power App, the PMO Accelerator is a managed solution so that Microsoft can make future improvements and fixes, and so customers can deploy such changes as upgrades to their environment. Although you can customize the environment after you deploy the Accelerator, this might cause issues if you then try to deploy an update.
To add the Power BI template, you should create a managed solution that contains the customizations required to integrate the template into the Project+Accelerator environment.
Tip
If you're a beginner to managed solutions, visit Application lifecycle management (ALM) with Microsoft Power Platform to prepare before your first try.
Open your development environment with Project for the web and the PMO Accelerator deployed.
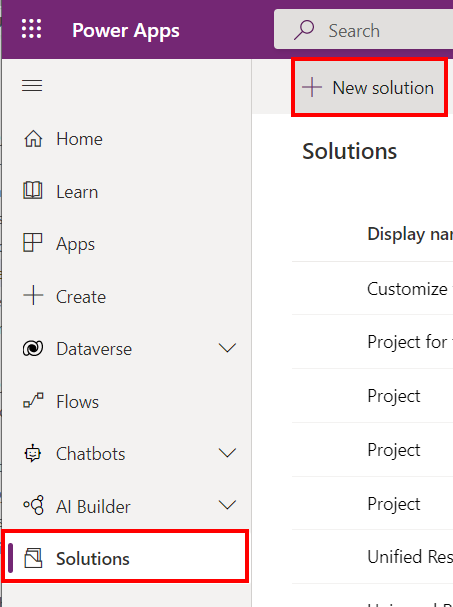
In the navigation pane, select Solutions, and then on the command bar select + New Solution.
Add a Display Name—the solution will bear this name in environments where it's deployed.
A value for Name will then appear. It's safe to accept this value, but you can change it provided you don't use any invalid characters.
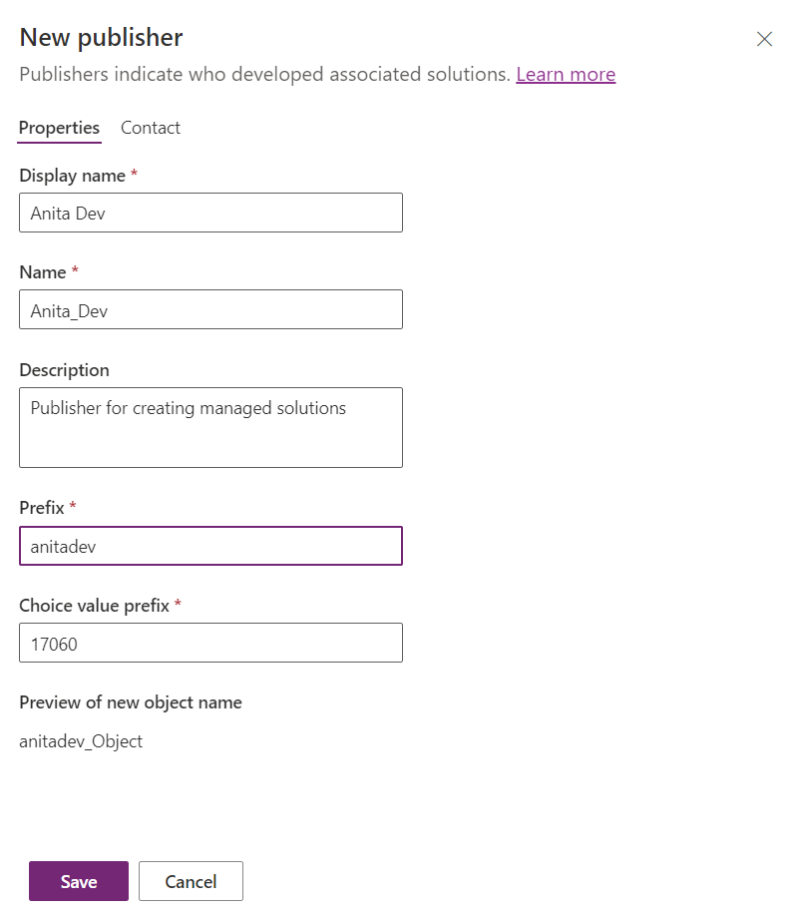
If you already have a solution publisher for your custom solutions, use it for Publisher. If not, create one to use:
- In the New Solution dialog, under Publisher select + New publisher, complete the dialog that opens and then select Create.
Adjust the Version if you want, and then select Create. Your new solution opens.
Tip
For more options when you create a custom solution, go to Create a solution.
Modify the PMO Accelerator – Reports menu to include the deployed Power BI template
Important
You must first deploy the Power BI report to PowerBI.com.
When you deploy the PMO Accelerator, the Reports menu points to a web resource file with instructions on how to get the Power BI Template with the Accelerator. Because the Accelerator is a managed solution, this web resource cannot be edited. There are two options to have the report bring up the report from the Power BI template.
Option 1: Add a dashboard with the Power BI embedded report
Open the Power Apps Portal.
Select the environment where you created your customized managed solution.
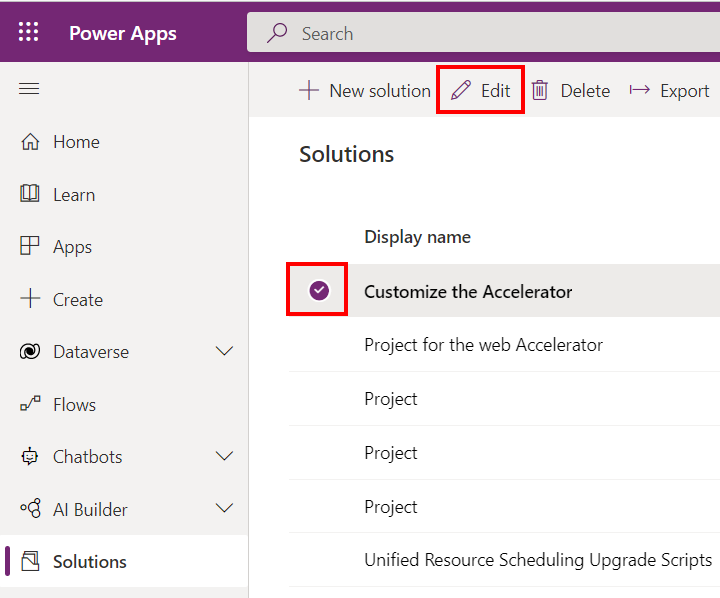
In the navigation pane, select Solutions.
Select your customized managed solution, and then on the command bar select Edit.
In the navigation pane, select Objects.
On the command bar, select New > Dashboard > Power BI embedded.
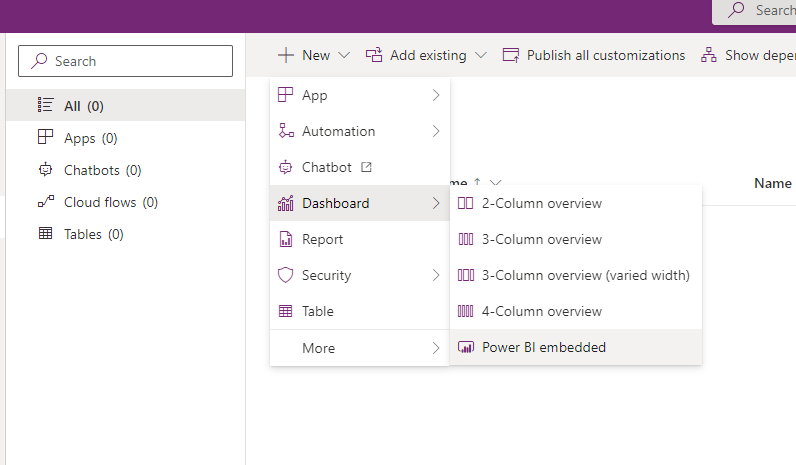
In the New Power BI embedded Dashboard dialog, enter a Display Name, then select a Power BI workspace and Power BI report, and then select Save.
Add the Project site map to your custom solution.
- On the command bar, select Add existing > More > Site Map.
- Select the item with the Name msdyn_ProjectServiceCore, and then at the bottom of the dialog select Add.
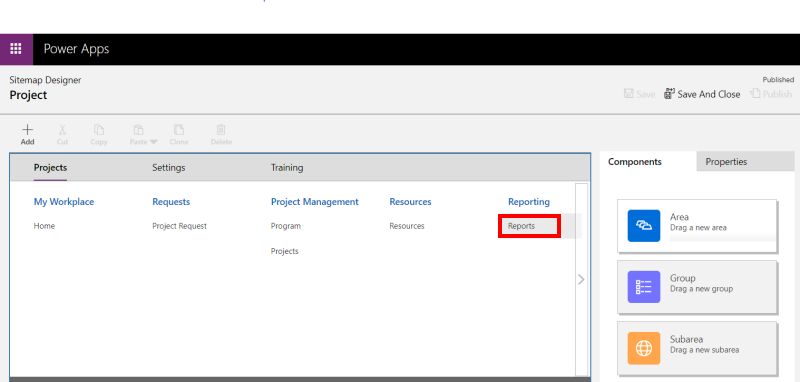
Select the Project site map, and then on the command bar select Edit.
Select Reporting > Reports.
- Set Type to Dashboard.
- For Default Dashboard, select the Power BI report, and then on the command bar select Save and close.
Select Publish.
Open Project for the web, and in the navigation pane select Reports.
The Power BI embedded dashboard now appears.
Option 2: Add a Web resource that embeds the Power BI report (full frame)
The Accelerator includes a placeholder for the Power BI template. Once you've deployed the Accelerator and the Power BI template, follow these steps to have the Power BI report appear in the Accelerator.
Once you've deployed the Power BI template, open the report in PowerBI.com.
Select File > Embed Report > Website or portal.
Copy the link labeled Here's a link you can use to embed content and keep it handy.
Open the Power Apps Portal.
Select the environment that contains the Accelerator.
In the navigation pane, select Solutions, then select your custom managed solution, and the on the command bar select Edit.
In the navigation pane, select Objects.
On the command bar, select New > More > Web resource.
Enter the following values:
- Display Name = Accelerator Power BI report
- Name: Accelerator_report
- Type: Webpage HTML
Create a new HTML file to upload with the following text, but change the value of src to the powerbi.com link you copied in step 3 of this procedure. Give a short descriptive name, such as PBI extra.html
<html>
<head>
</head>
<body onfocusout="parent.setEmailRange();" style="overflow-wrap: break-word;">
 <iframe width="100%" height="100%" src="REPLACE THIS" frameborder="0" allowfullscreen="true"></iframe>
</body>
</html>
Select OK.
If it's not already there, add the Project site map to your custom solution.
- On the command bar, select Add existing > More > Site Map.
- Select the item with the Name msdyn_ProjectServiceCore, and then at the bottom of the dialog select Add.
On the site map, under Reporting select Reports to open the control pane.
In the control pane, set Type to Web Resource, and then under URL, enter the name of the HTML file you created earlier in this process.
At the top right corner of the Site Map, select Save, and then select Publish. Close the site map.
On the command bar, select Publish all Customizations.
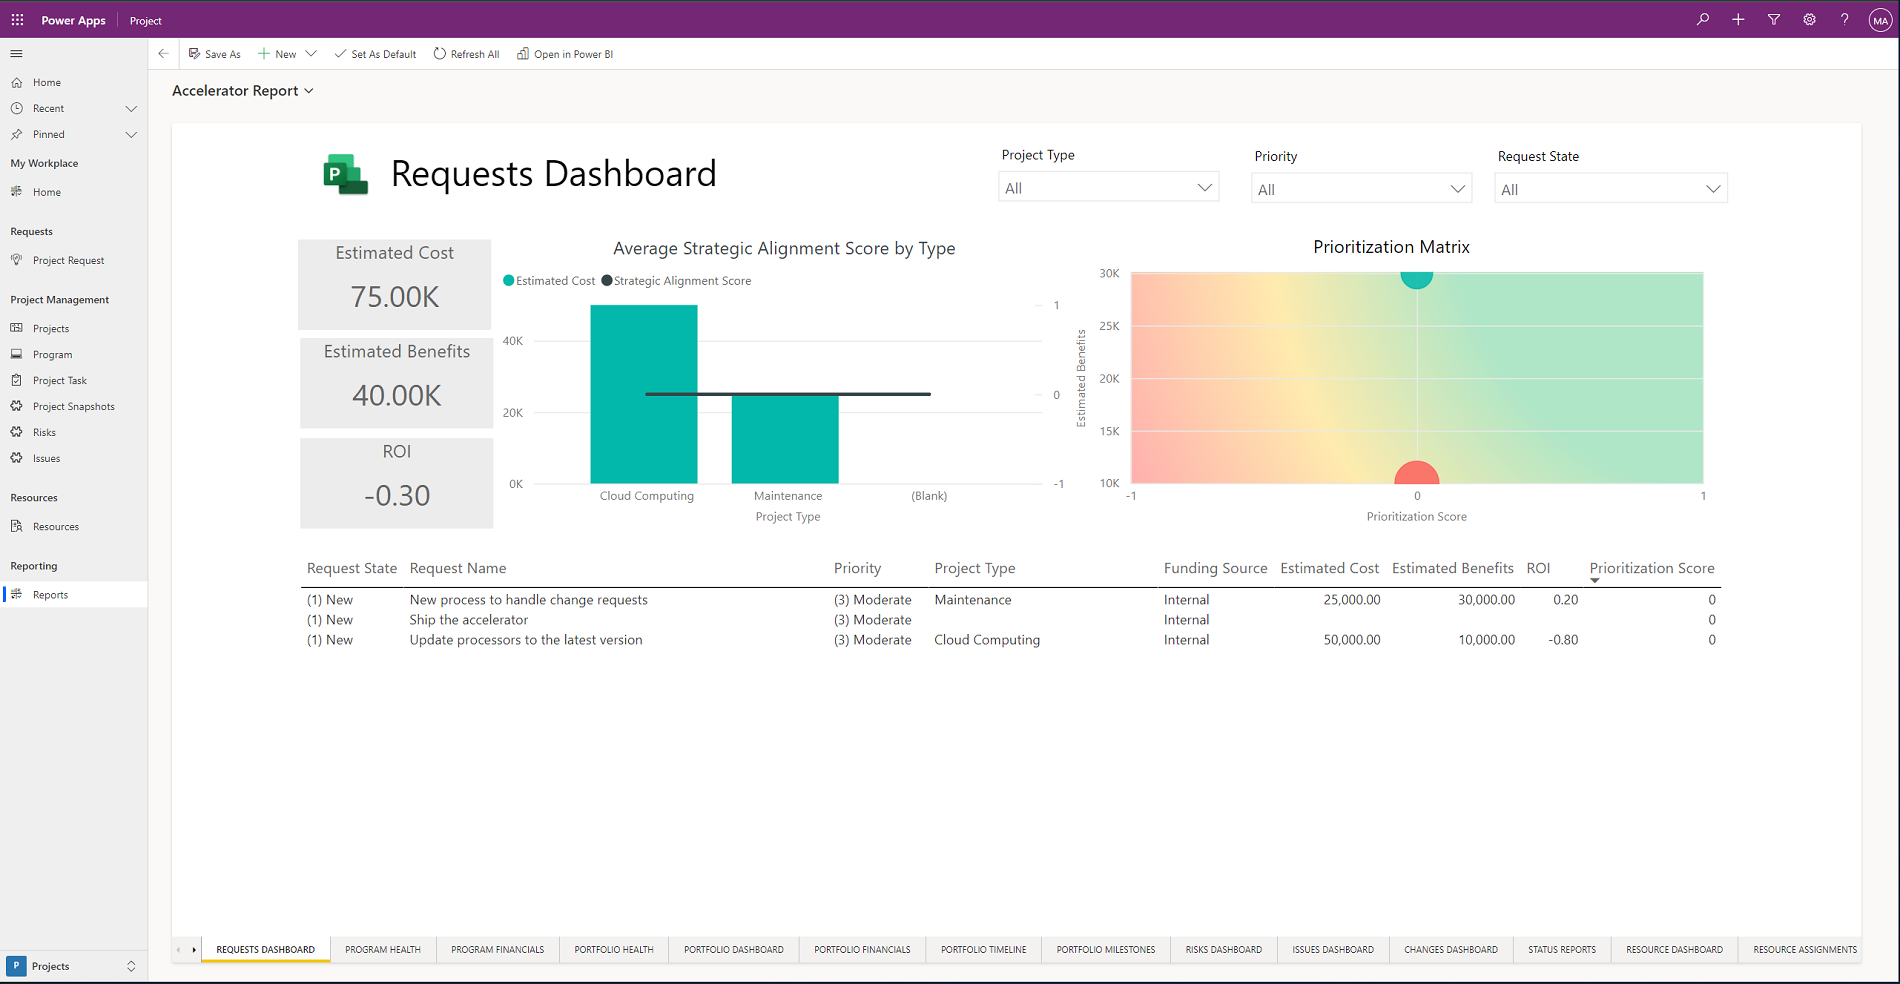
Open Project for the web, and in the navigation pane, select Reports.
The report now appears in Project for the web. To open it, on the navigation pane select Reports > Report.
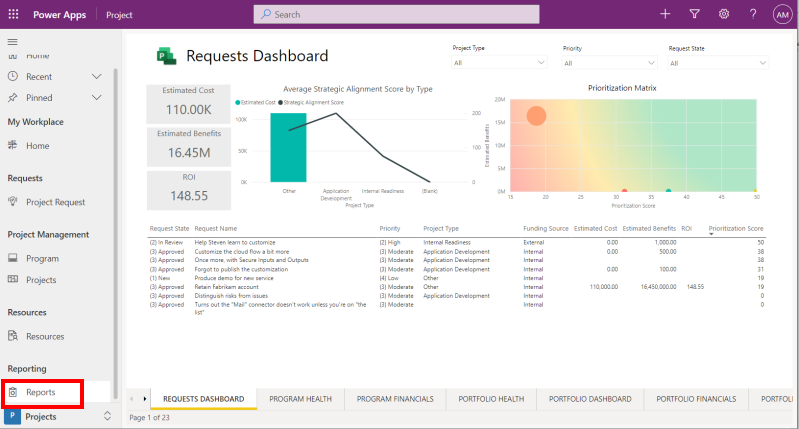
Note
The template includes numerous reports—use the tabs along the bottom to switch between them.