eDiscovery (Premium) dashboard for review sets
Important
This article applies only to the classic eDiscovery experience. The classic eDiscovery experience will be retired in August 2025 and won't be available as an experience option in the Microsoft Purview portal after retirement.
We recommend that you start planning for this transition early and start using the new eDiscovery experience in the Microsoft Purview portal. To learn more about using the most current eDiscovery capabilities and features, see Learn about eDiscovery.
Important
Search profile view has been retired as of March 31, 2024 and is not available in new eDiscovery cases.
For some cases in Microsoft Purview eDiscovery (Premium), you may have a large volume of documents and email messages that need to be reviewed. Before you start the review process, you may want to quickly analyze your corpus to identify trends or key statistics that will help you develop your review strategy. To do this, you can use the eDiscovery (Premium) dashboard for review sets to quickly analyze your corpus.
Tip
If you're not an E5 customer, use the 90-day Microsoft Purview solutions trial to explore how additional Purview capabilities can help your organization manage data security and compliance needs. Start now at the Microsoft Purview trials hub. Learn details about signing up and trial terms.
Step 1: Create a widget on the review set dashboard
Note
For a limited time, the classic eDiscovery experience is available in the new Microsoft Purview portal. Enable Purview portal classic eDiscovery experience in eDiscovery experience settings to display the classic experience in the new Microsoft Purview portal.
In the Microsoft Purview portal, go to eDiscovery > eDiscovery (Premium) to display the list of cases in your organization.
Select an existing case.
Select the Review Set tab, and then select a review set.
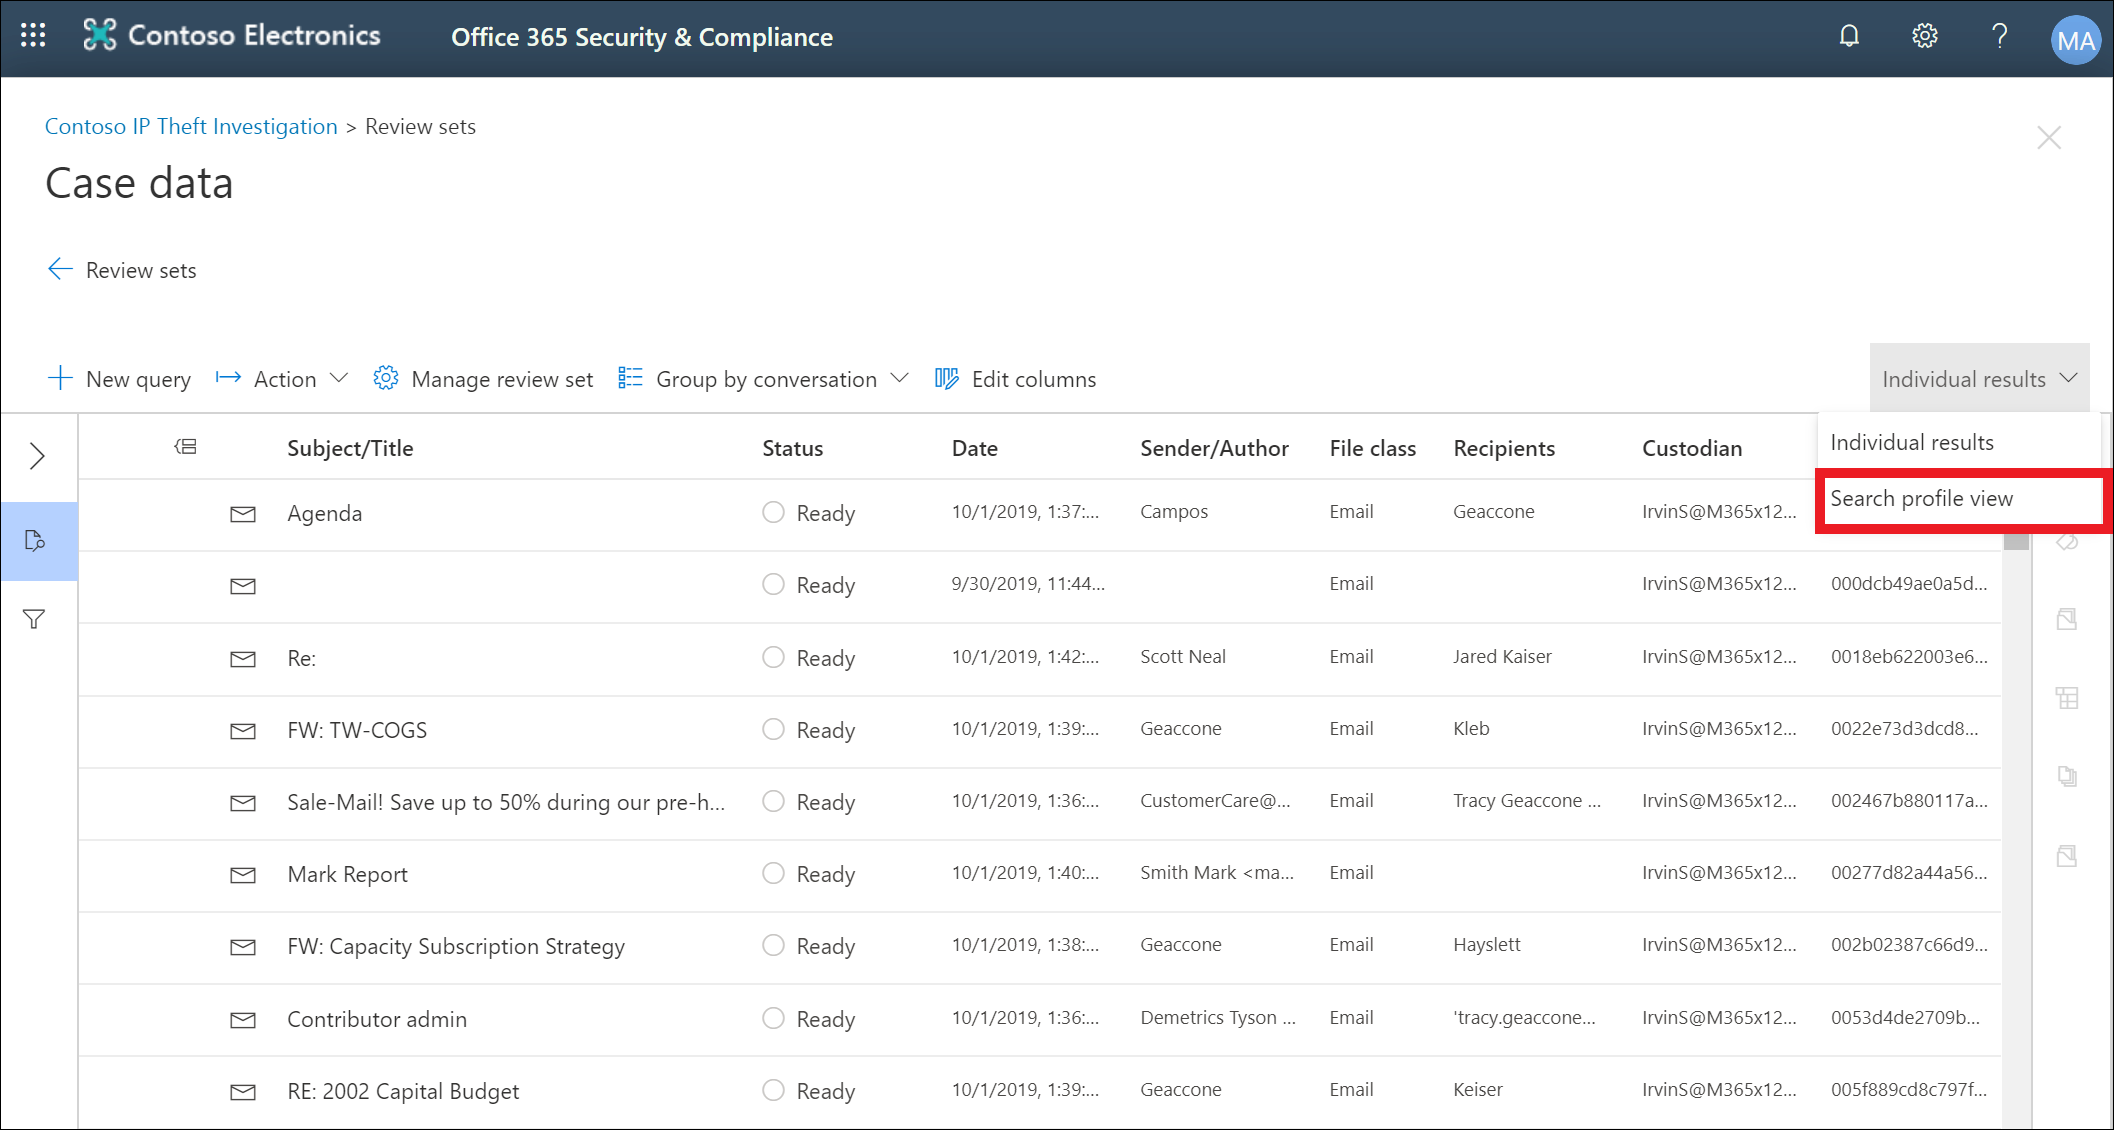
In the Individual results dropdown list, select Search profile view.
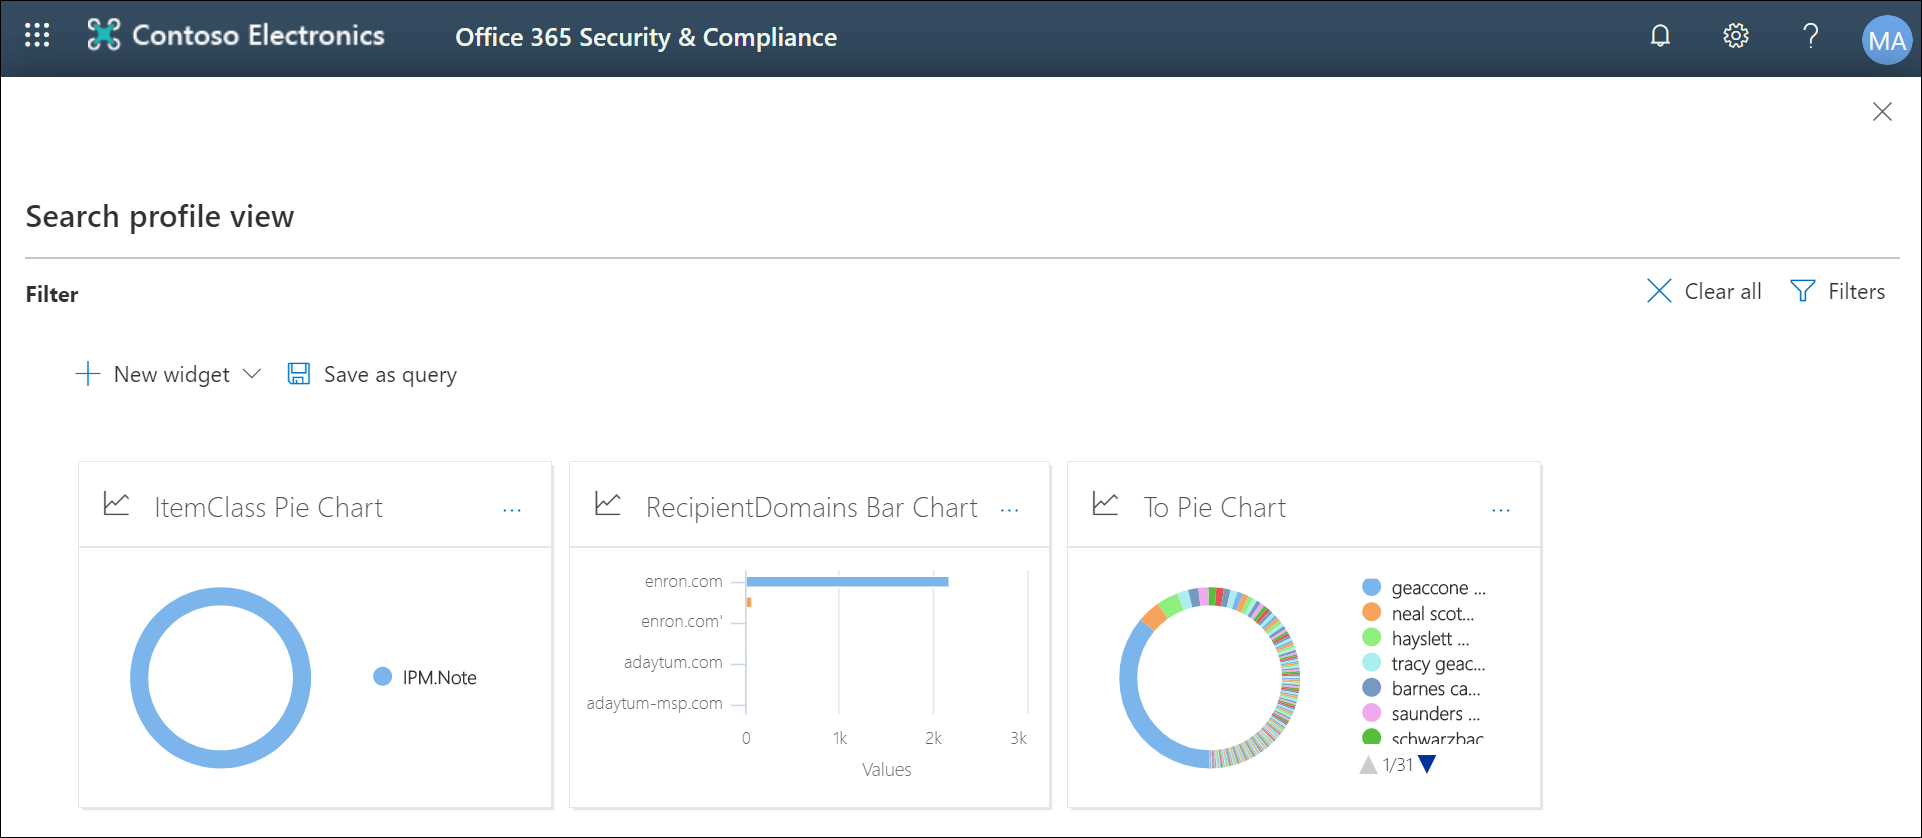
The Search profile view page is displayed; the first time you display this page, three default widgets are displayed.
Select the New widget and then select one of the following items:
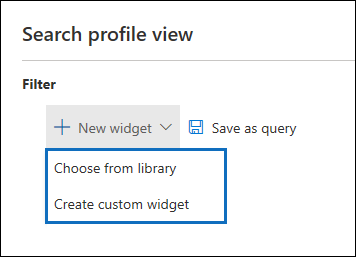
Choose from library: Displays a default library of widgets. You select a widget and then select Add to add it to the widgets on the Search profile view page.
Create custom widget: Displays a flyout page that you can use to set up a custom widget.
To create a custom widget, do the following on the Add widget flyout page:
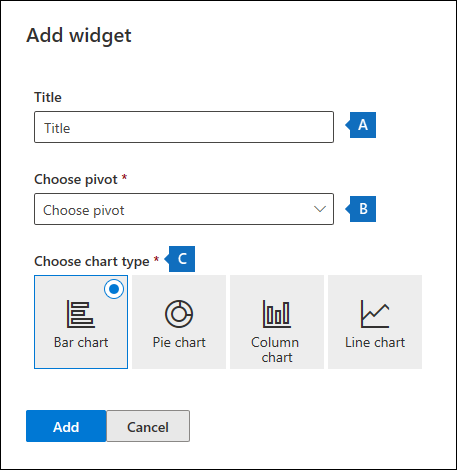
a. Type a name for the widget, which is displayed in the widget title bar. Naming a widget is required, but it's helpful to identify the widget data.
b. Select a property in the Choose pivot dropdown list that will be used for the widget data. The items in this list are the searchable properties for the items in the review set. For a description of these properties, see Document metadata fields in eDiscovery (Premium). The pivot options for the widget are listed in the Searchable field name column in this topic.
c. Select a chart type to display the data from the selected pivot property.
Select Add to create the custom widget and display it on the Search profile view page.
Step 2: Create a review set search query
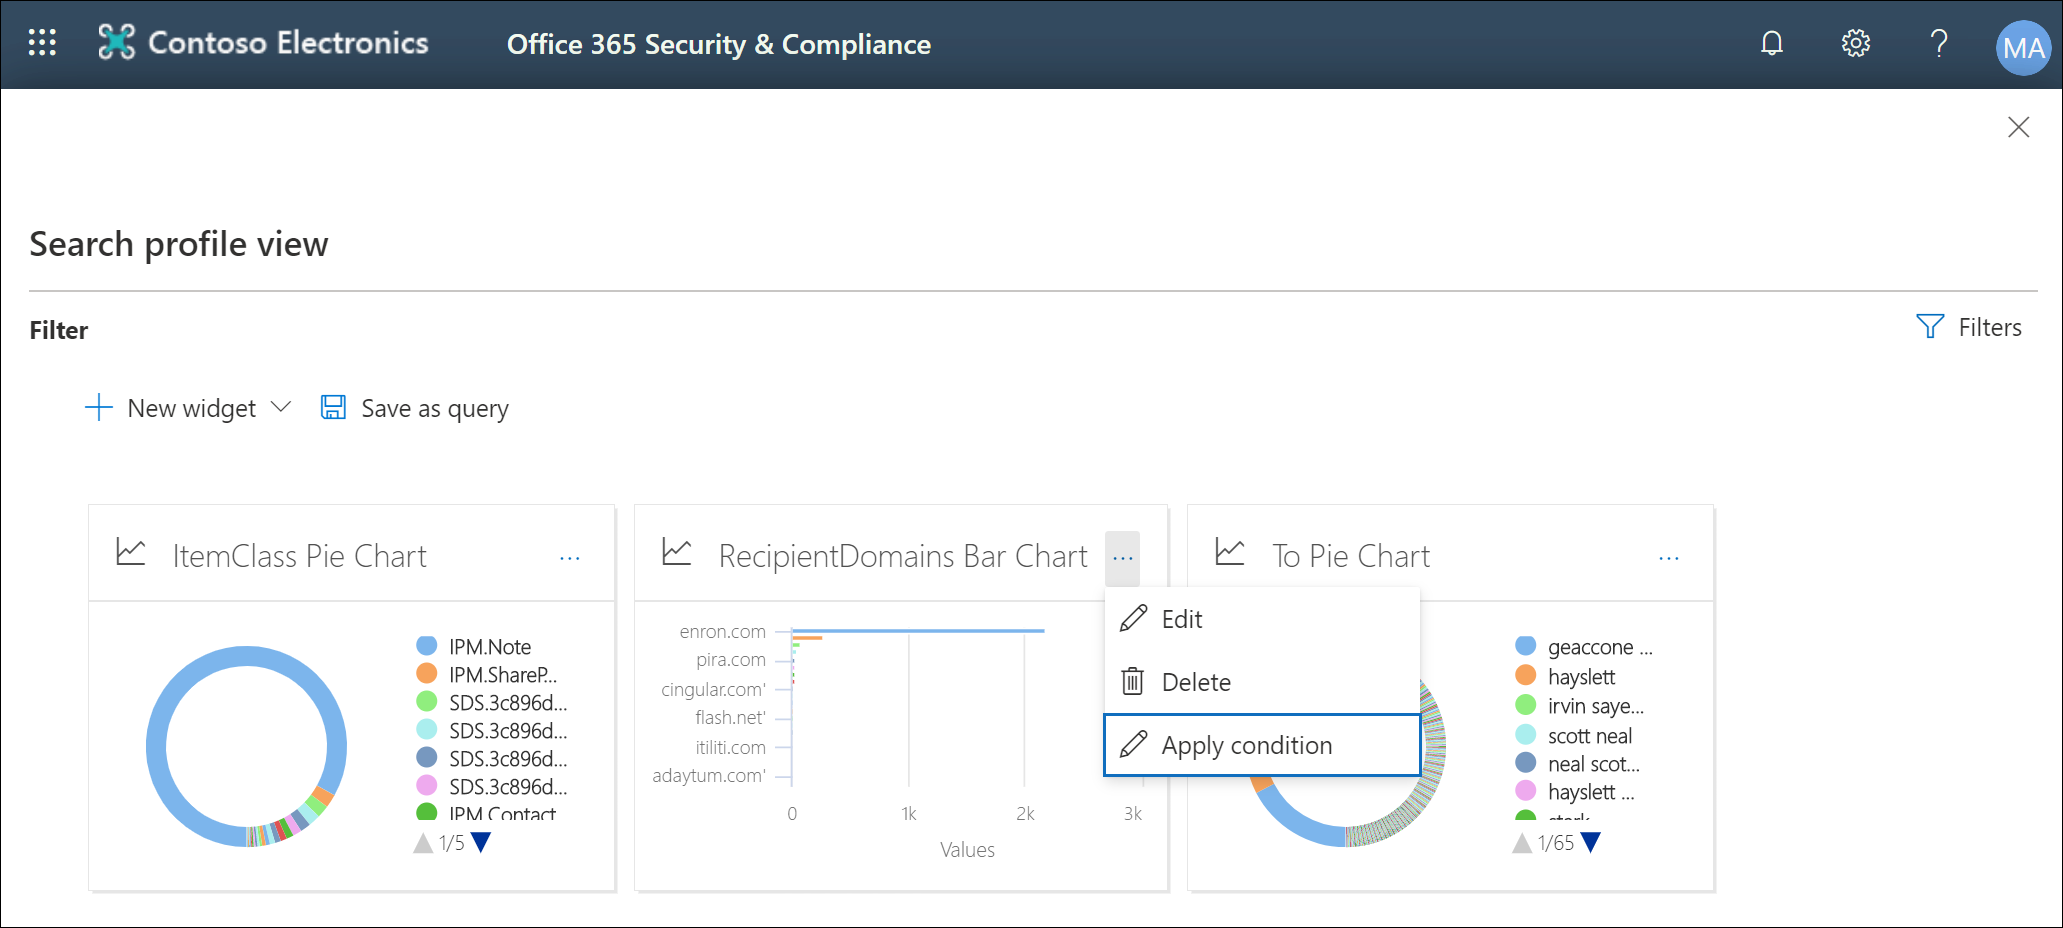
Select ... in the widget title bar, and then select Apply condition.
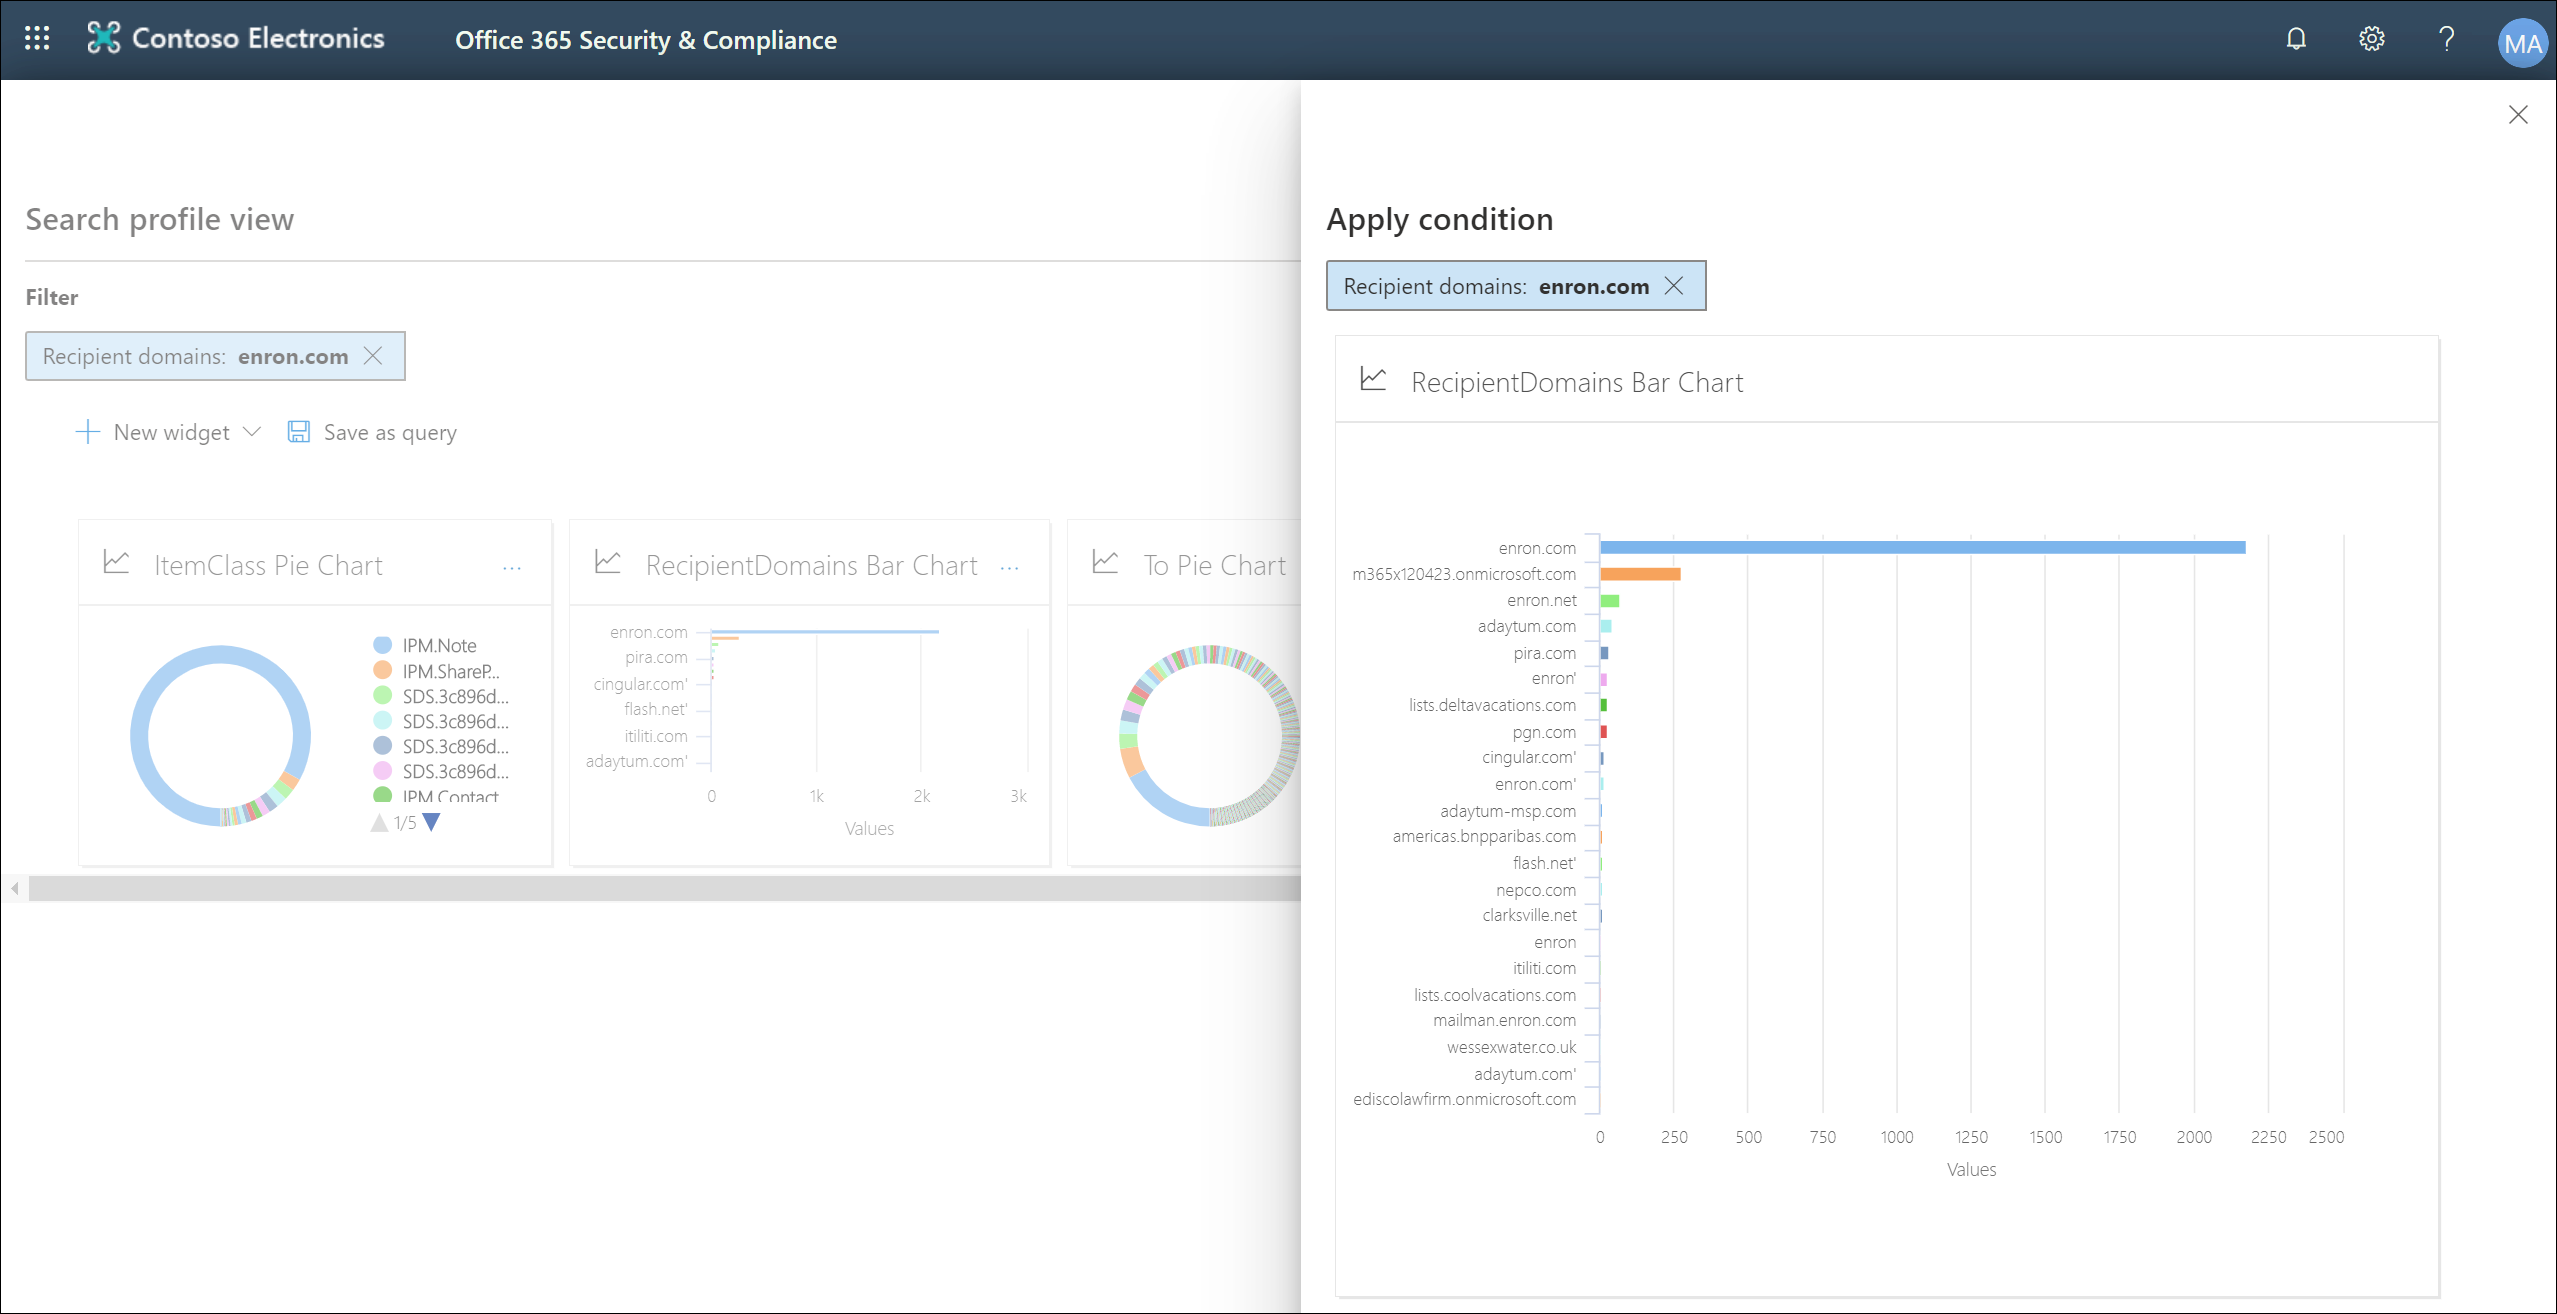
On the flyout page, select an element on the widget key or widget chart to create a filter.
Repeat steps 1-2 for other widgets multiple widgets.
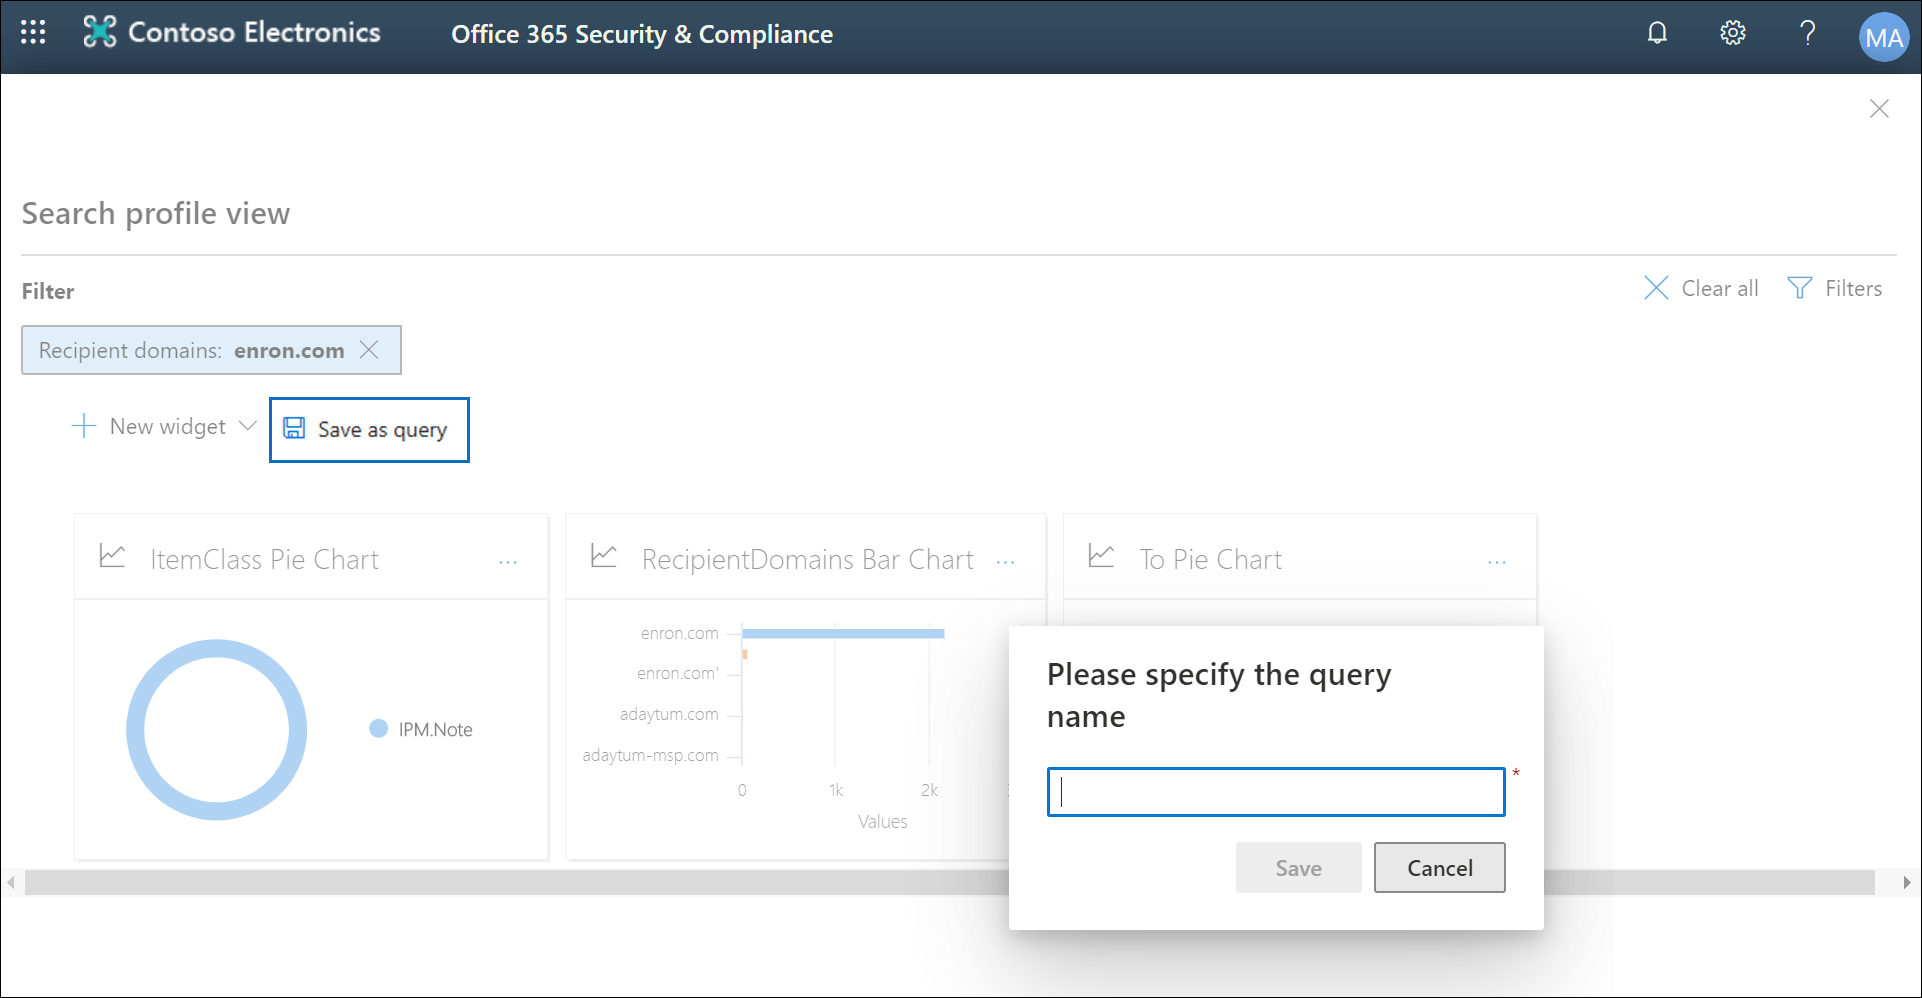
When you're done, select Save as query to save your conditions as a new search query for the review set.
Close the Search profile view to return to the search results view.
If you have created any visual filters, the resulting query is applied to the search results that are displayed, and the search query that you saved in step 4 is displayed under Saved queries. For more information about review set queries, see Query the data in a review set.