Connect to and manage Microsoft Dataverse in Microsoft Purview (Preview)
This article outlines the process to register and govern a Microsoft Dataverse environment data source in Microsoft Purview including instructions to authenticate and interact with the Microsoft Dataverse source.
Important
This feature is currently in preview. The Supplemental Terms of Use for Microsoft Azure Previews include additional legal terms that apply to Azure features that are in beta, in preview, or otherwise not yet released into general availability.
Supported capabilities
| Metadata Extraction | Full Scan | Incremental Scan | Scoped Scan | Classification | Labeling | Access Policy | Lineage | Data Sharing | Live view |
|---|---|---|---|---|---|---|---|---|---|
| Yes | Yes | No | Yes | Yes | Yes | No | No | No | No |
When scanning Dataverse source, Microsoft Purview supports extracting technical metadata including:
- Environment
- Tables, including columns
When setting up a scan, you can choose to scope the scan by selecting tables as needed.
Known limitations
- When object is deleted from the data source, currently the subsequent scan won't automatically remove the corresponding asset in Microsoft Purview.
Prerequisites
An Azure account with an active subscription. Create an account for free.
An active Microsoft Purview account.
You'll need to be a Data Source Administrator and Data Reader to register a source and manage it in the Microsoft Purview governance portal. See our Microsoft Purview Permissions page for details.
You need to have the permission in your Dataverse environment to create an application user and assign the Service Reader role for the user.
Register
This section describes how to register Dataverse in Microsoft Purview. Before you create a scan, it’s necessary to register the data source in Microsoft Purview.
Prerequisites for register
- You'll need to be a Data Source Admin and one of the other Purview roles (for example, Data Reader or Data Share Contributor) to register a source and manage it in the Microsoft Purview governance portal. See our Microsoft Purview Permissions page for details.
Steps to register
It's important to register the data source in Microsoft Purview prior to setting up a scan for the data source.
Go to the Microsoft Purview governance portal by:
- Browsing directly to https://web.purview.azure.com and selecting your Microsoft Purview account.
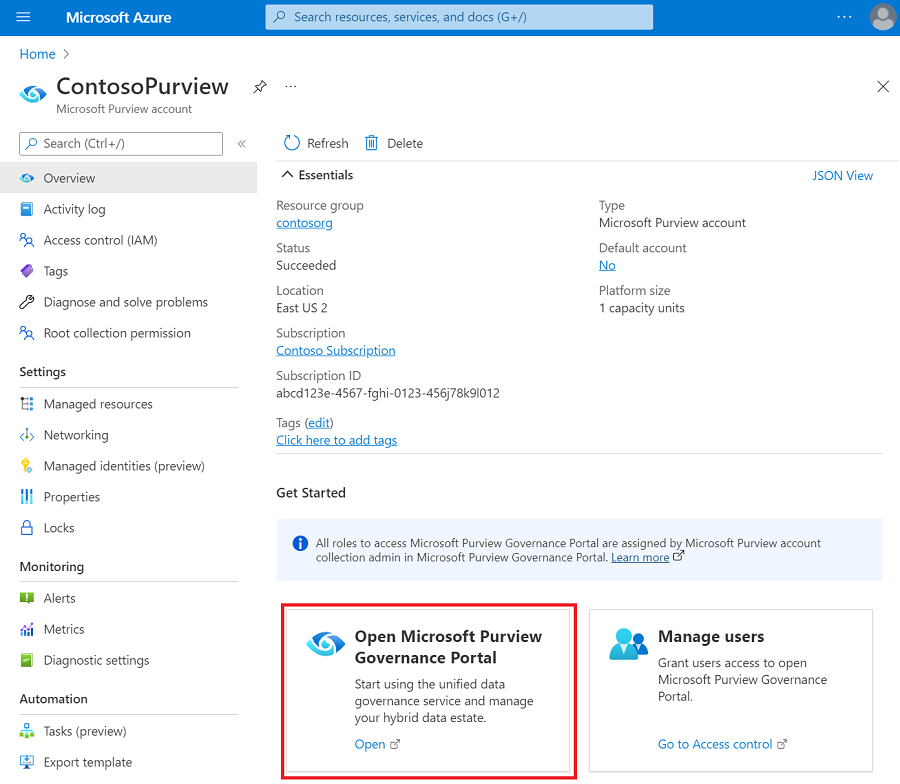
- Opening the Azure portal, searching for and selecting the Microsoft Purview account. Select the the Microsoft Purview governance portal button.
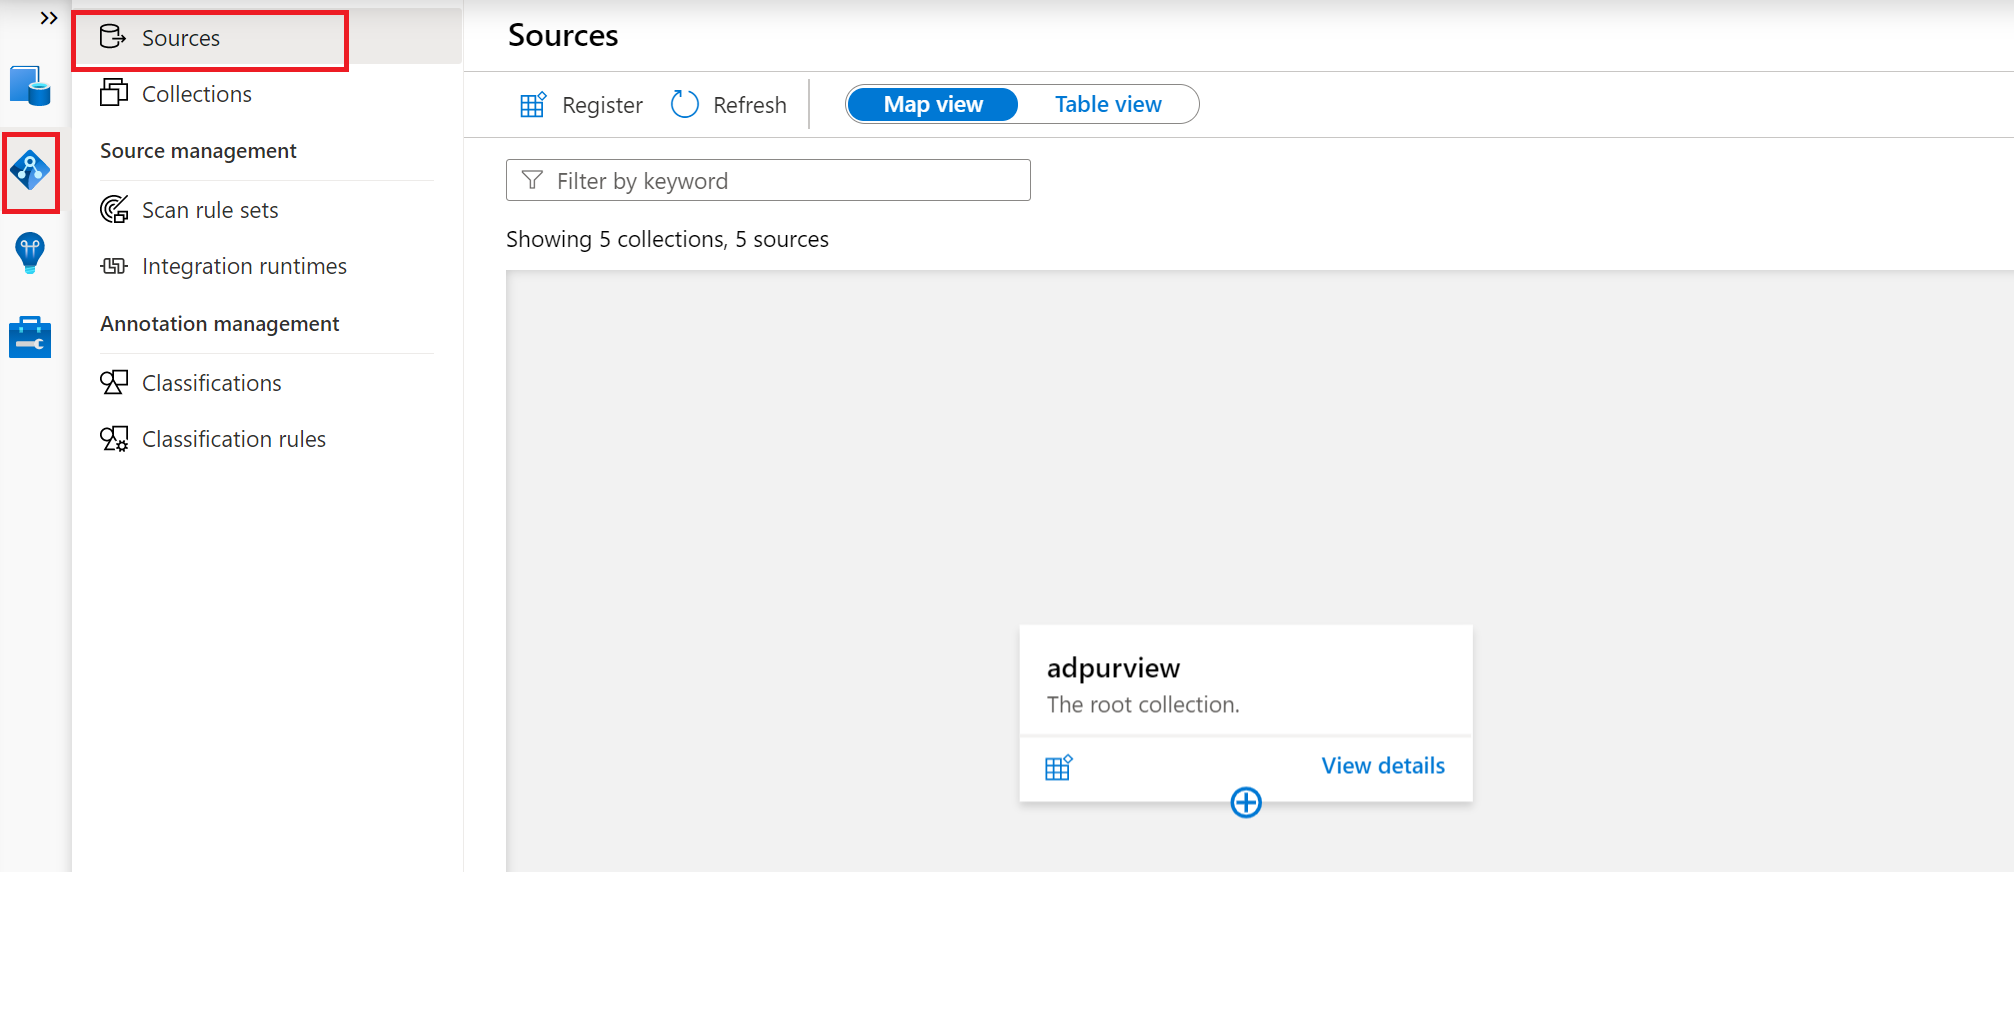
Navigate to the Data Map --> Sources
Create the Collection hierarchy using the Collections menu and assign permissions to individual subcollections, as required

Navigate to the appropriate collection under the Sources menu and select the Register icon to register a new Dataverse data source
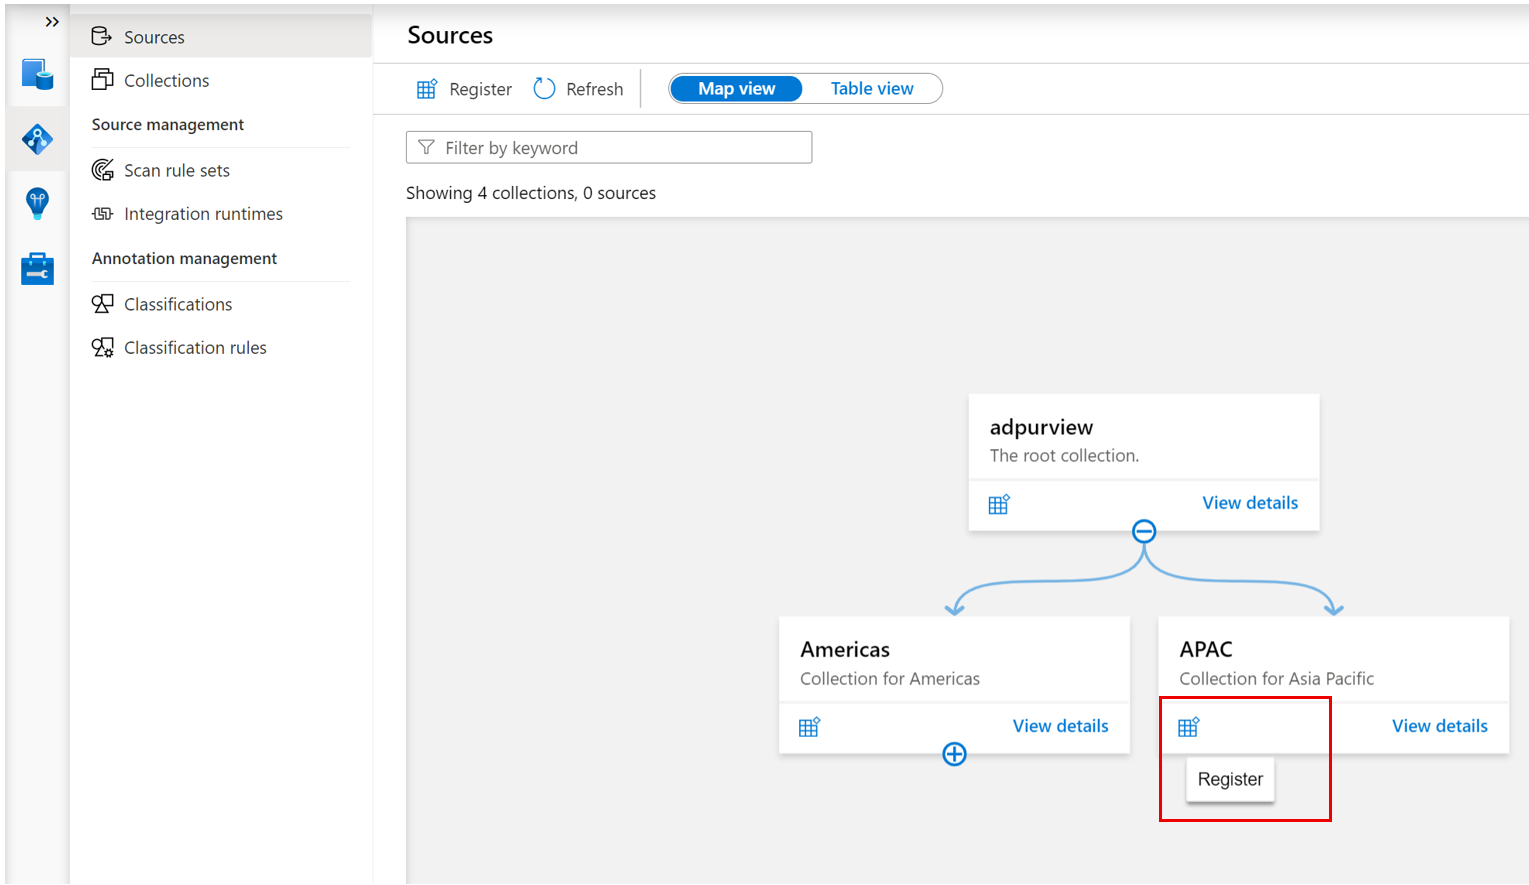
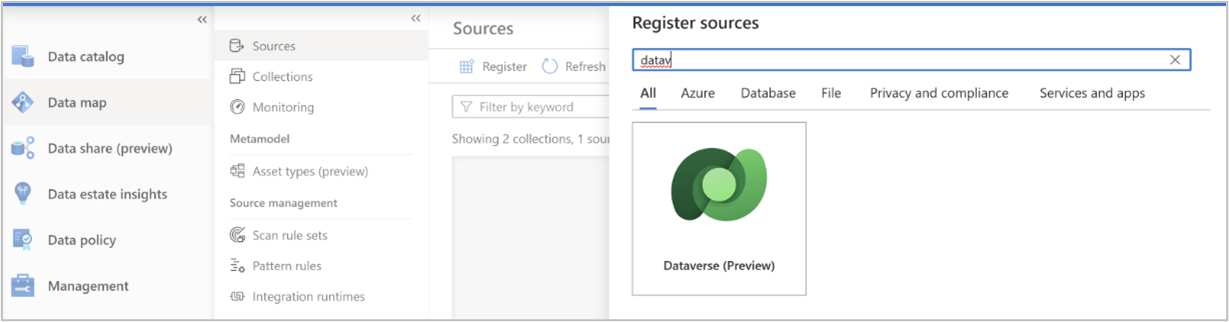
Select the Dataverse data source and select Continue
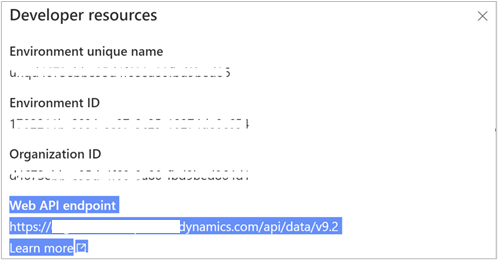
Provide a suitable Name for the data source. Fill in the Web API endpoint for your Dataverse environment as Environment URL and select a collection and select Apply.
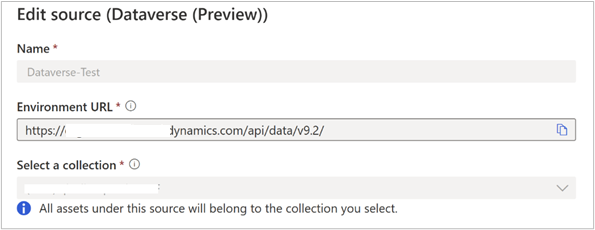
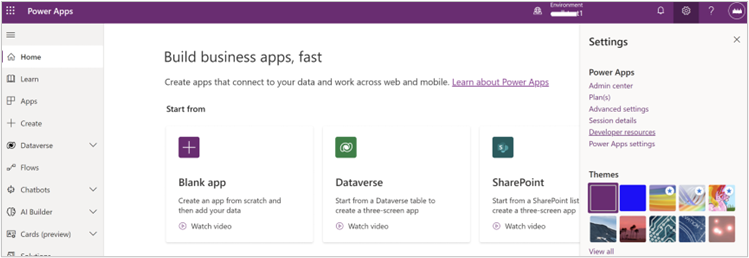
You can get the Web API endpoint from Developer resources from the Microsoft Power Apps maker portal.
The Dataverse source will be shown under the selected Collection
Scan
Authentication method
Currently Microsoft Purview supports the following options to scan Dataverse:
- System assigned managed identity (SAMI). This is an identity that's associated directly with your Microsoft Purview account. The SAMI is created when your Microsoft Purview resource is created. It's managed by Azure and uses your Microsoft Purview account's name.
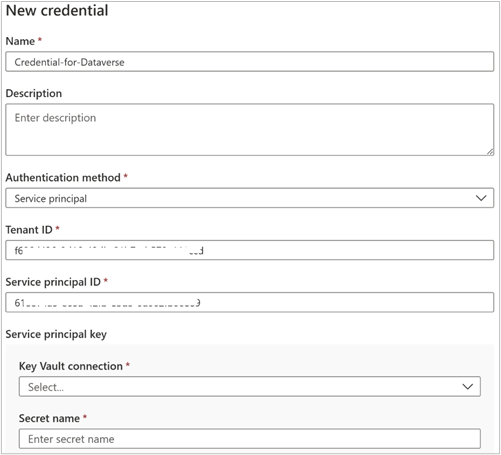
- Service principal. A service principal is an application that can be assigned permissions like any other group or user, without being associated directly with a person.
Using a system assigned managed identity for scanning
The system-assigned managed identity needs permission to get metadata from Dataverse environments. It must also be authorized to query the Dataverse tables to sample for classification. There are several steps to allow Microsoft Purview to use system-assigned managed identity to scan your Dataverse environment.
Get the application ID for the system-assigned managed identity
Open your Microsoft Purview governance portal.
Go to Data map > Sources to view the collection hierarchy.
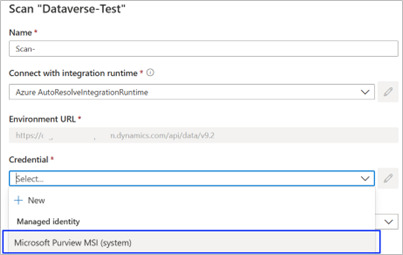
Select the New Scan icon under the Dataverse source that you registered earlier.
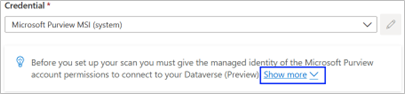
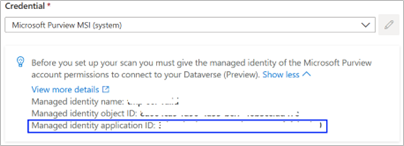
For Credential, select Microsoft Purview MSI (system) from the drop-down list then click on Show more to view details about the system assigned managed identity.
Record the managed identity application ID.
Create and enable an application user in Power Platform Admin Center
An application user is needed to be created in the Dataverse environment which you want to scan in Microsoft Purview, please follow the steps in Create An Application User to create the user with the application ID you just recorded and assign the security role Service Reader to it.
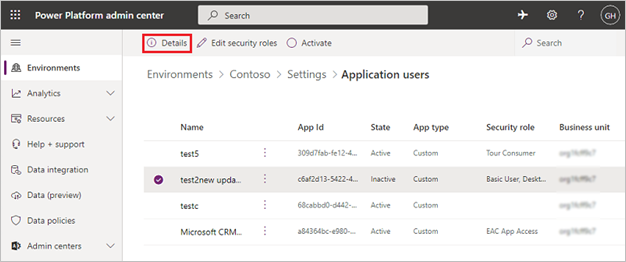
You can check the application user in the Details page. Now the application user is bound with the system assigned managed identity created with your Microsoft Purview resource.
Create the scan
- Open your Microsoft Purview governance portal.
- Go to Data map > Sources to view the collection hierarchy.
- Select the New Scan icon under the Dataverse source that you registered earlier.
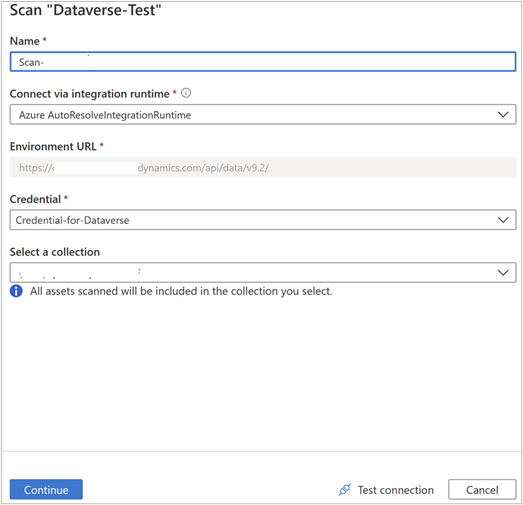
- For Name, provide a name for the scan.
- For Credential, select the credential you prepared earlier.
- If system-assigned managed identity is configured for authentication, then select Microsoft Purview MSI (system) from the drop-down list.
- If service principal is configured for authentication, then select the credential you created before from the drop-down list.
For Select a collection, choose the appropriate collection for the scan.
Select Test connection to validate the connection. After the connection is successful, select Continue.
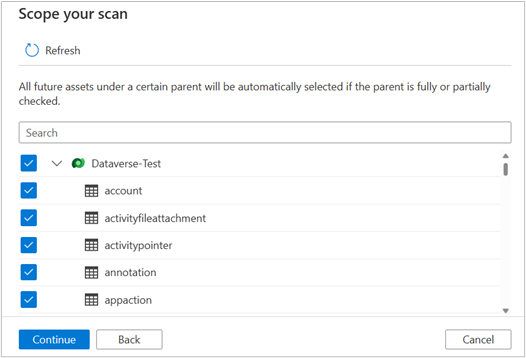
Scope and run the scan
You can scope your scan to specific Dataverse tables by choosing the appropriate items in the list.
Choose your scan trigger. You can set up a schedule or run the scan once.
Review your scan, and then select Save and run.
View and manage a scan
To check the status of a scan, go to the data source in the collection, and then select View details. The scan details indicate the progress of the scan in Last run status, along with the number of assets scanned and classified. Last run status is updated to In progress and then Completed after the entire scan has run successfully. After you run a scan, you can use the run history to manage it. In the run history, you have options for running the scan again, editing it, or deleting it.
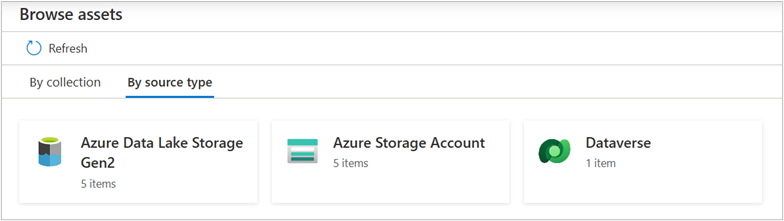
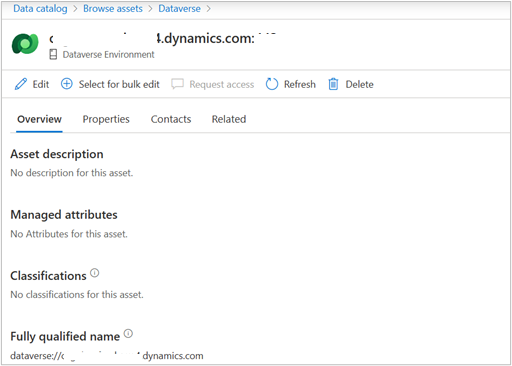
Browse, search and view Dataverse assets
Once the scan is completed, you can go to Data catalog to browse or search the Dataverse related assets, and view related details.