Azure MXChip IoT DevKit Translator
Use IoT DevKit AZ3166 with Azure Functions and Cognitive Services to make a language translator
In this article, you learn how to make IoT DevKit as a language translator by using Azure Cognitive Services. It records your voice and translates it to English text shown on the DevKit screen.
The MXChip IoT DevKit is an all-in-one Arduino compatible board with rich peripherals and sensors. You can develop for it using Azure IoT Tools extension pack in Visual Studio Code. The projects catalog contains sample applications to help you prototype IoT solutions.
Before you begin
To complete the steps in this tutorial, first do the following tasks:
- Prepare your DevKit by following the steps in Connect IoT DevKit AZ3166 to Azure IoT Hub in the cloud.
Create Azure Cognitive Service
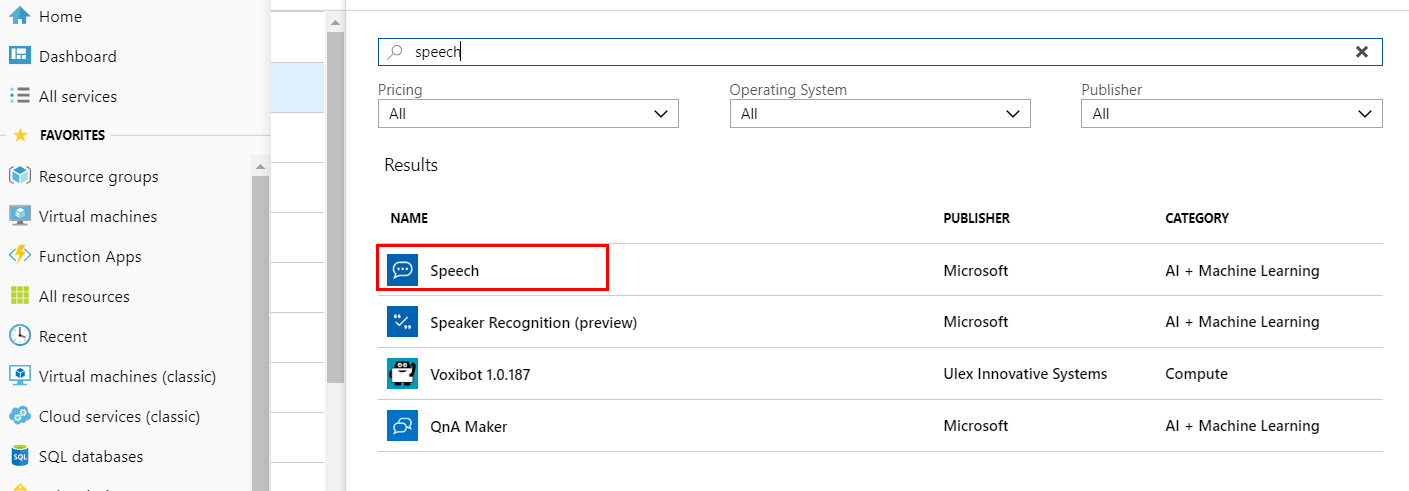
In the Azure portal, click Create a resource and search for Speech. Fill out the form to create the Speech Service.
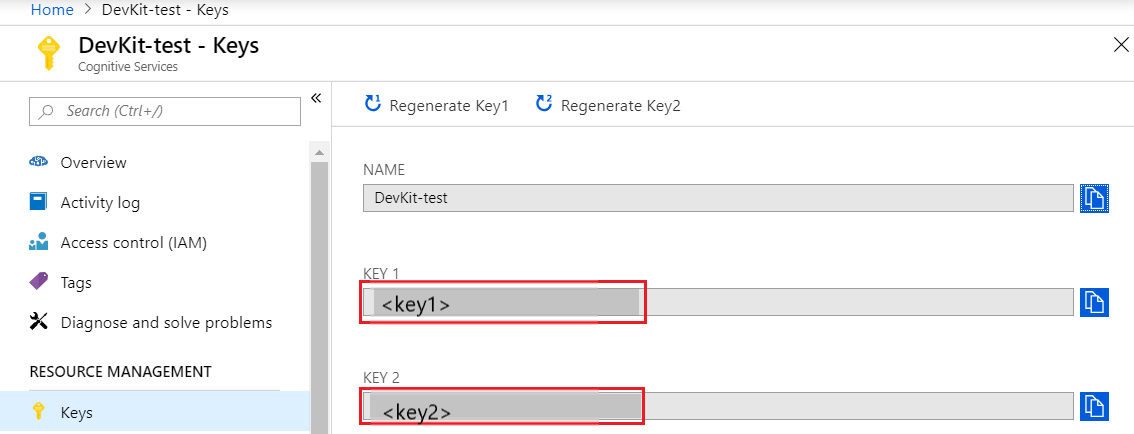
Go to the Speech service you just created, click Keys section to copy and note down the Key1 for DevKit accessing to it.
Open sample project
Make sure your IoT DevKit is not connected to your computer. Start VS Code first, and then connect the DevKit to your computer.
Click
F1to open the command palette, type and select Azure IoT Device Workbench: Open Examples.... Then select IoT DevKit as board.In the IoT Workbench Examples page, find DevKit Translator and click Open Sample. Then selects the default path to download the sample code.

Use Speech Service with Azure Functions
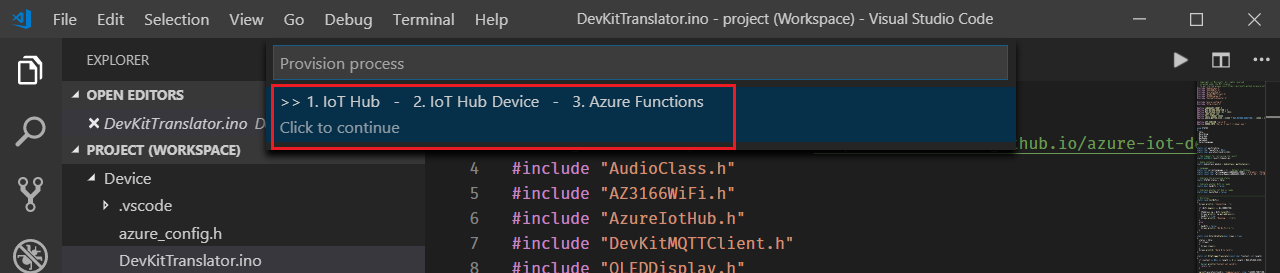
In VS Code, click
F1, type and select Azure IoT Device Workbench: Provision Azure Services....
Follow the steps to finish provisioning of Azure IoT Hub and Azure Functions.
Take a note of the Azure IoT Hub device name you created.
Open
Functions\DevKitTranslatorFunction.csand update the following lines of code with the device name and Speech Service key you noted down.// Subscription Key of Speech Service const string speechSubscriptionKey = ""; // Region of the speech service, see https://docs.microsoft.com/azure/cognitive-services/speech-service/regions for more details. const string speechServiceRegion = ""; // Device ID const string deviceName = "";Click
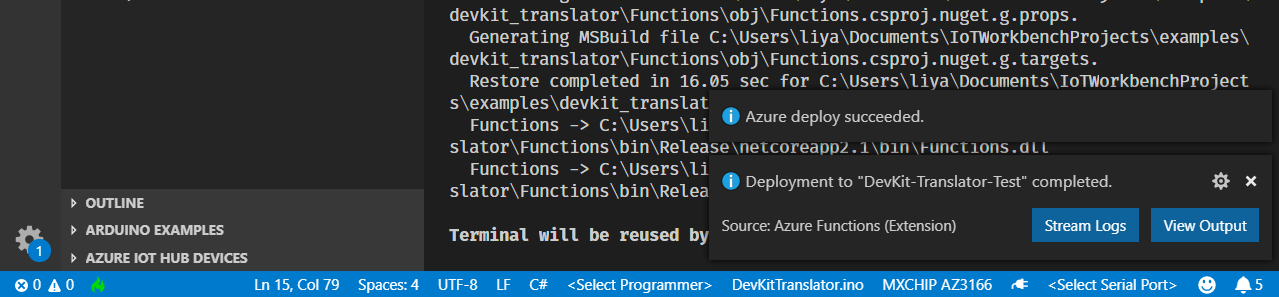
F1, type and select Azure IoT Device Workbench: Deploy to Azure.... If VS Code asks for confirmation for redeployment, click Yes.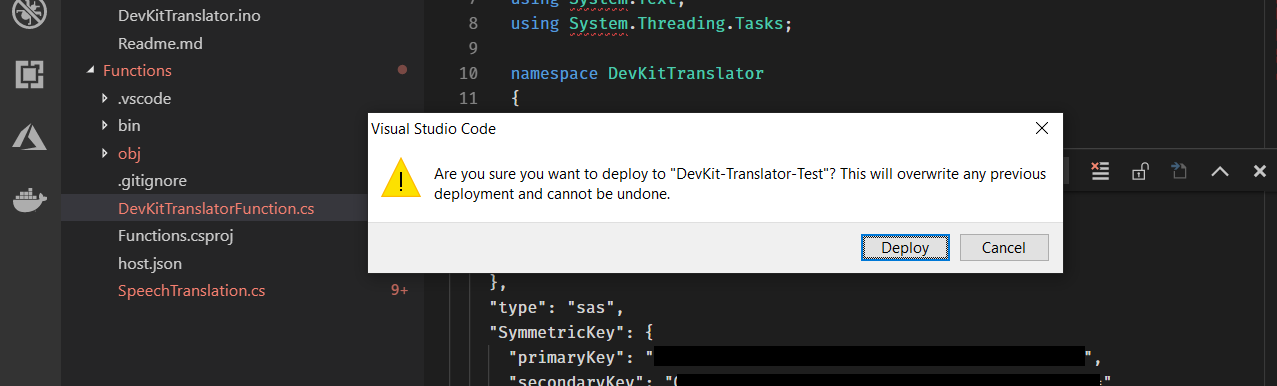
Make sure the deployment is successful.
In Azure portal, go to Functions Apps section, find the Azure Function app just created. Click
devkit_translator, then click </> Get Function URL to copy the URL.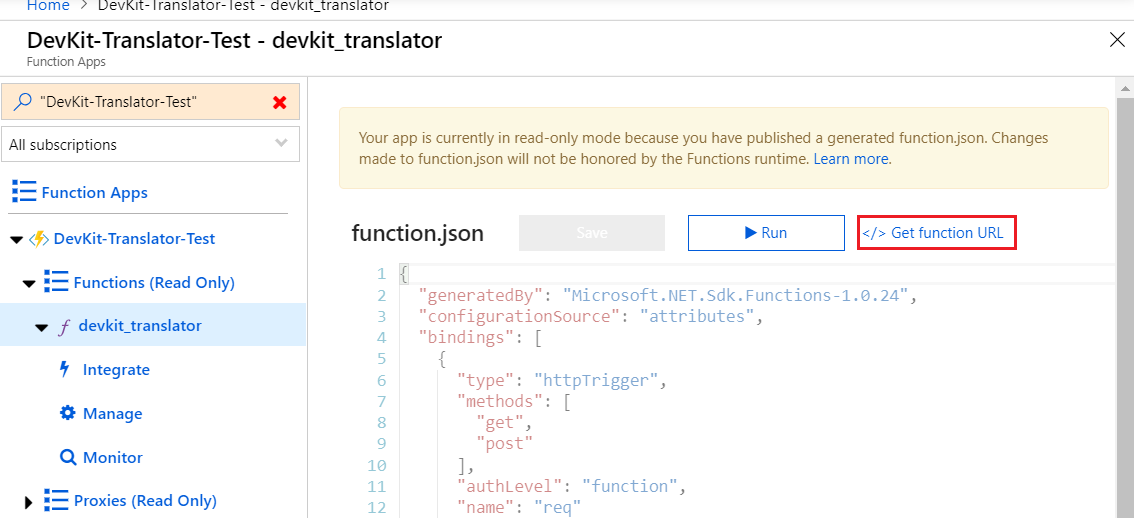
Paste the URL into
azure_config.hfile.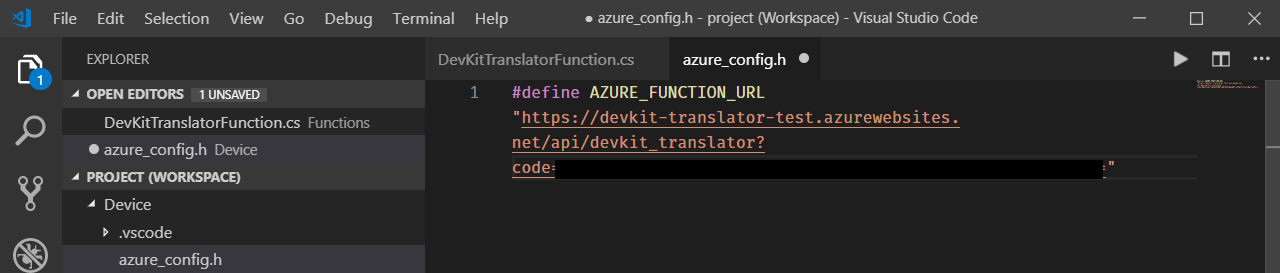
[NOTE] If the Function app does not work properly, check this FAQ section to resolve it.
Build and upload device code
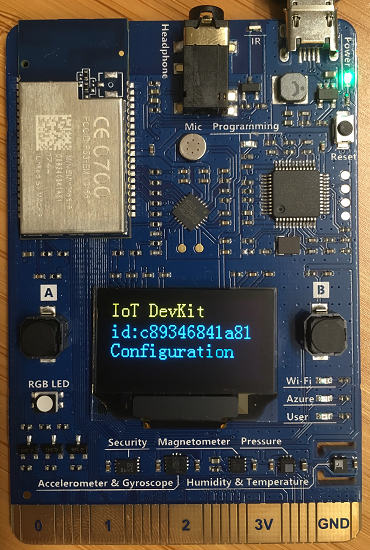
Switch the DevKit to configuration mode by:
- Hold down button A.
- Press and release Reset button.
You will see the screen displays the DevKit ID and Configuration.
Click
F1, type and select Azure IoT Device Workbench: Configure Device Settings... > Config Device Connection String. Select Select IoT Hub Device Connection String to configure it to the DevKit.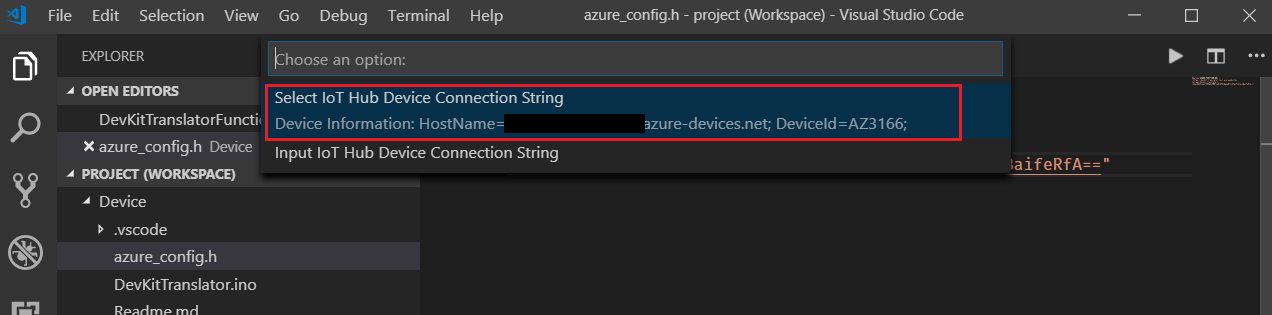
You will see the notification once it's done successfully.

Click
F1again, type and select Azure IoT Device Workbench: Upload Device Code. It starts compile and upload the code to DevKit.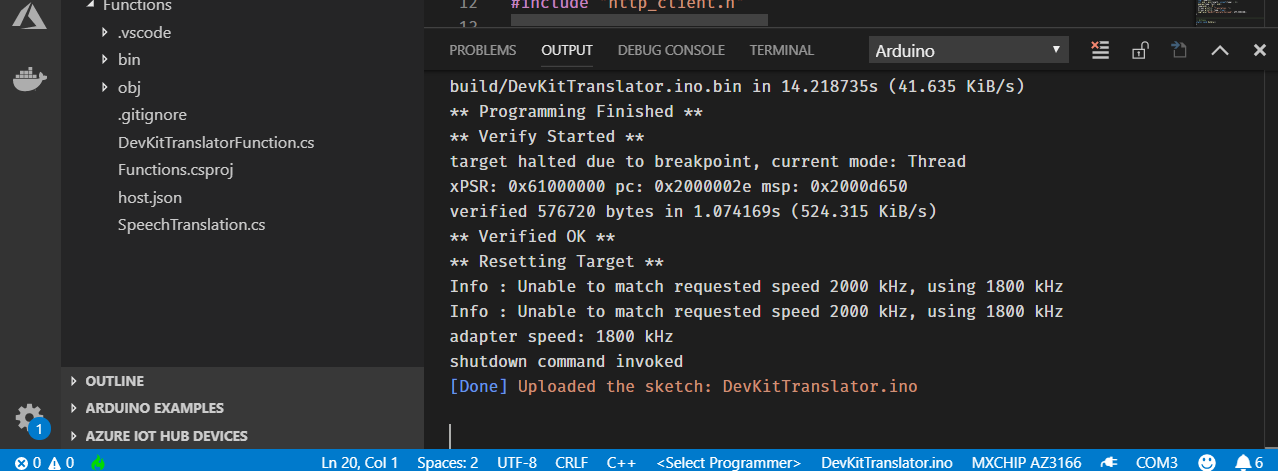
Test the project
After app initialization, follow the instructions on the DevKit screen. The default source language is Chinese.
To select another language for translation:
Press button A to enter setup mode.
Press button B to scroll all supported source languages.
Press button A to confirm your choice of source language.
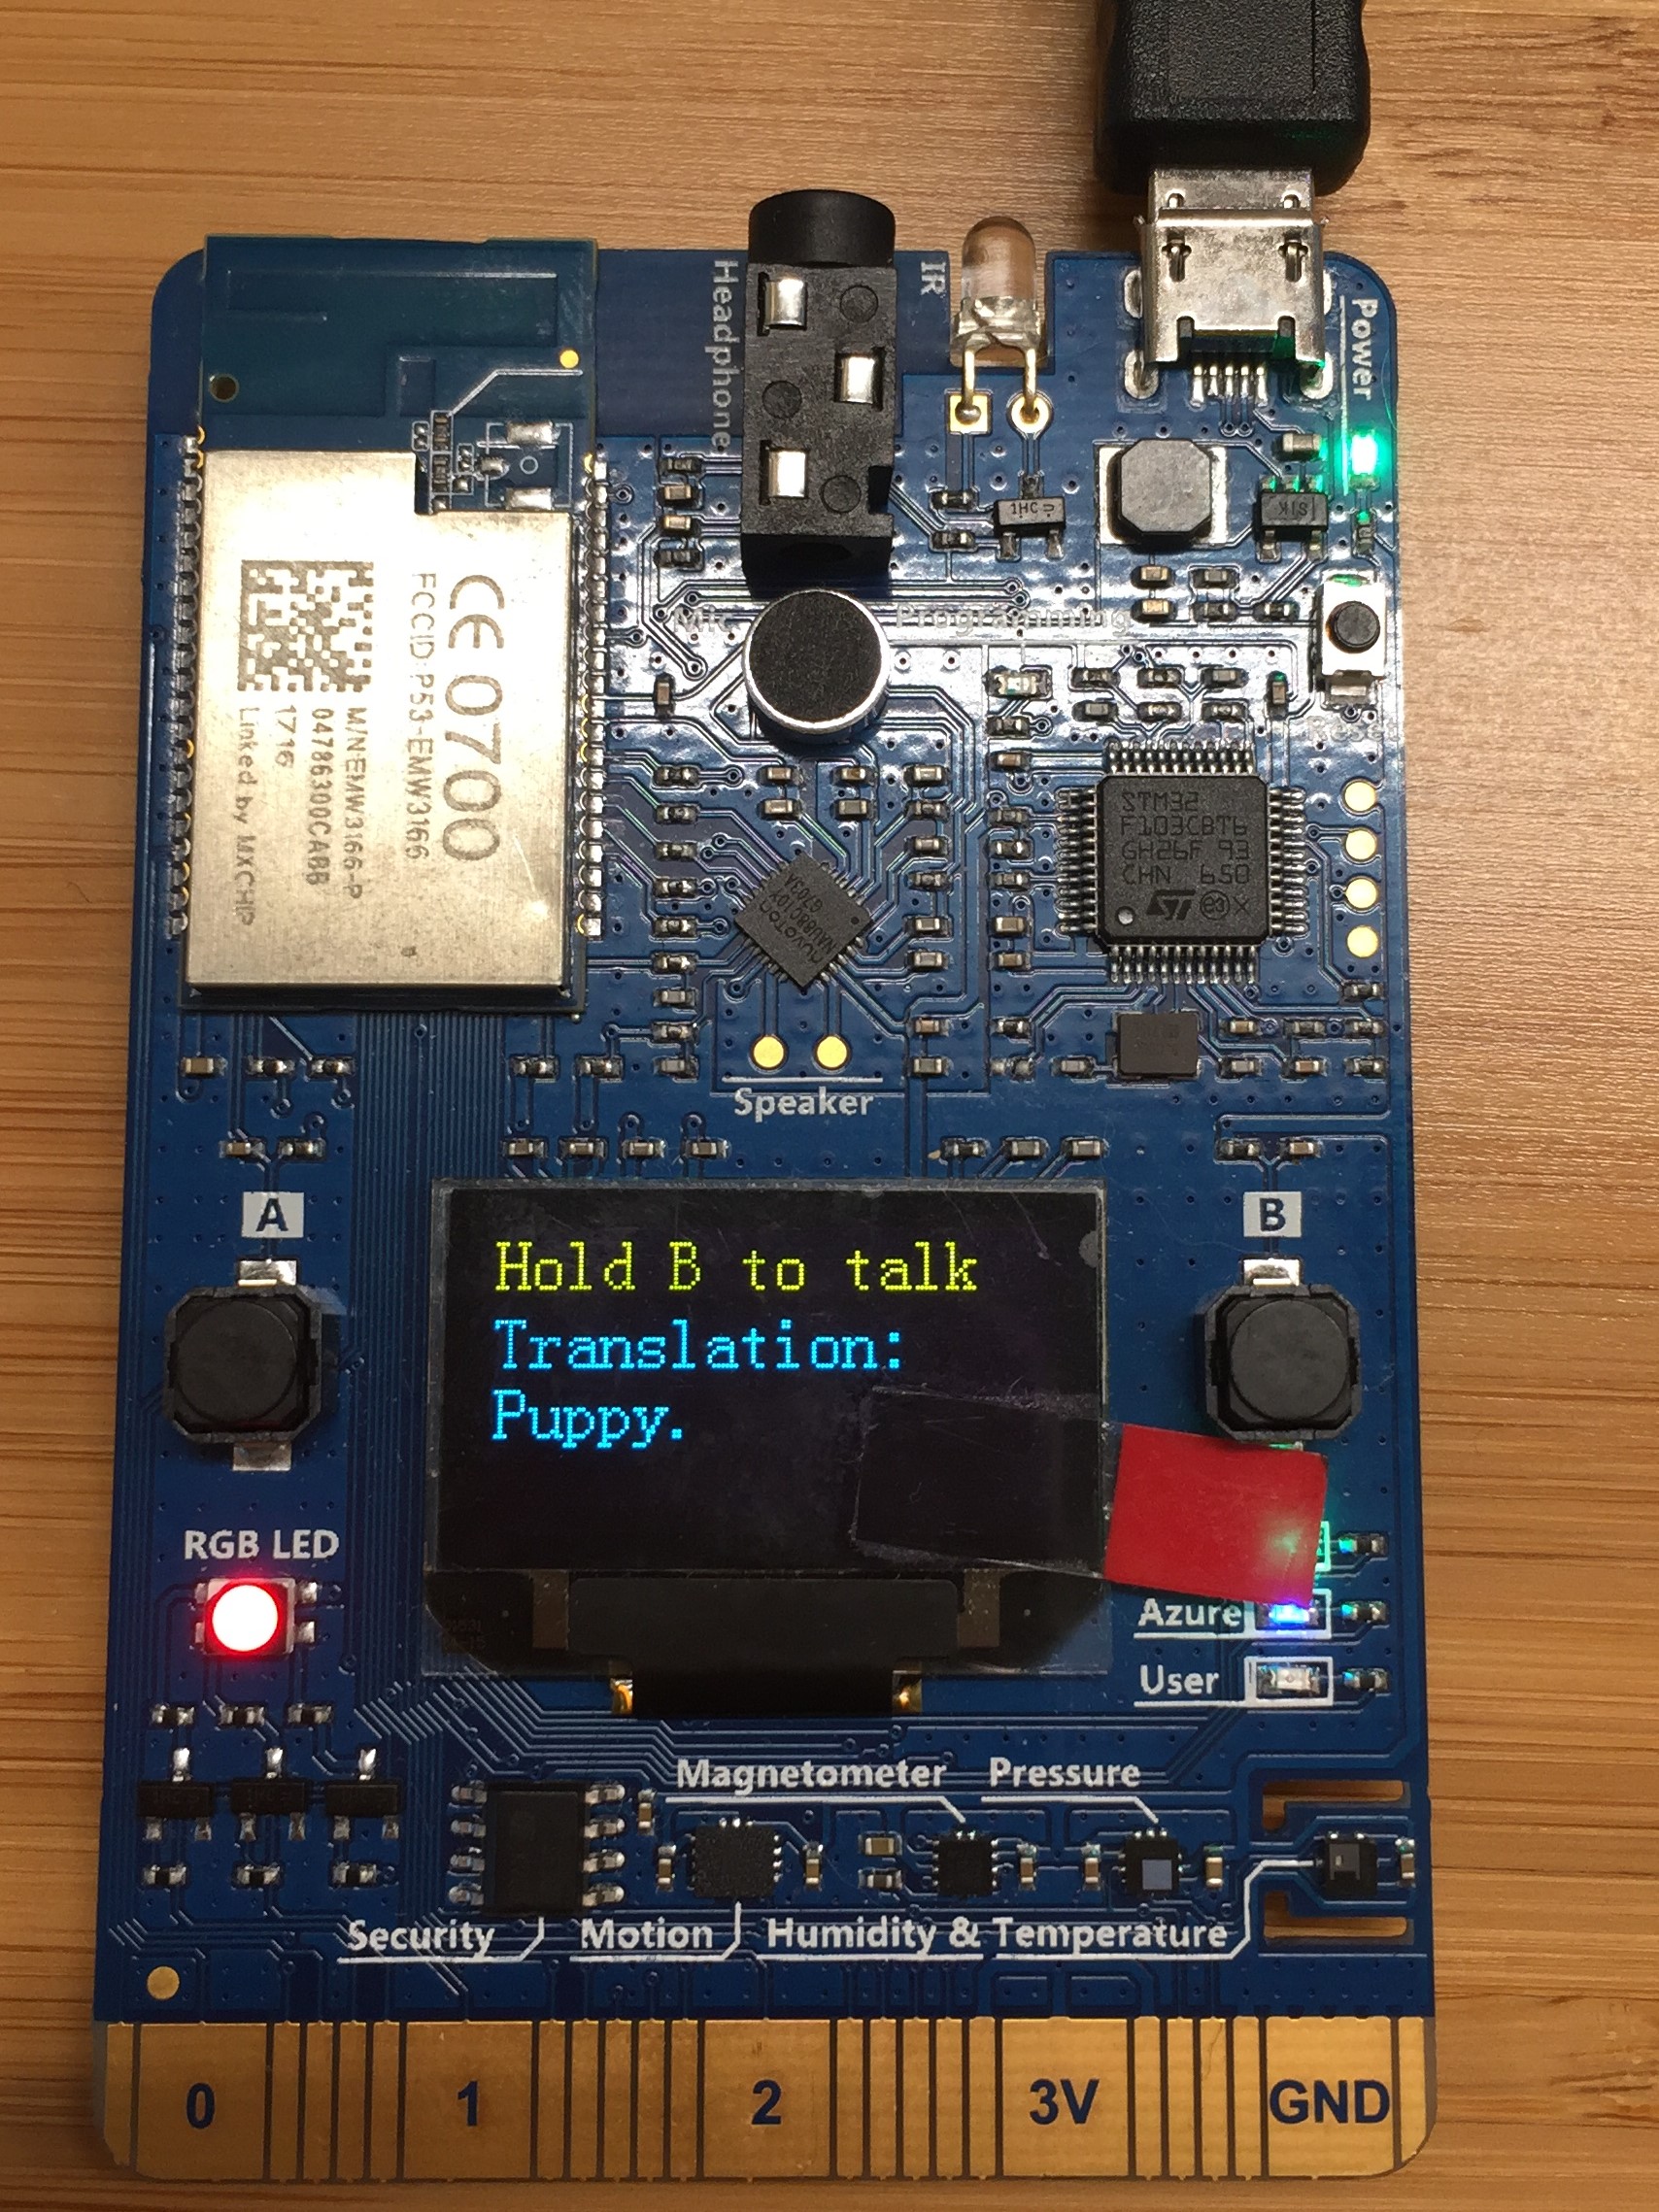
Press and hold button B while speaking, then release button B to initiate the translation.
The translated text in English shows on the screen.

On the translation result screen, you can:
Press buttons A and B to scroll and select the source language.
Press the B button to talk. To send the voice and get the translation text, release the B button.
How it works
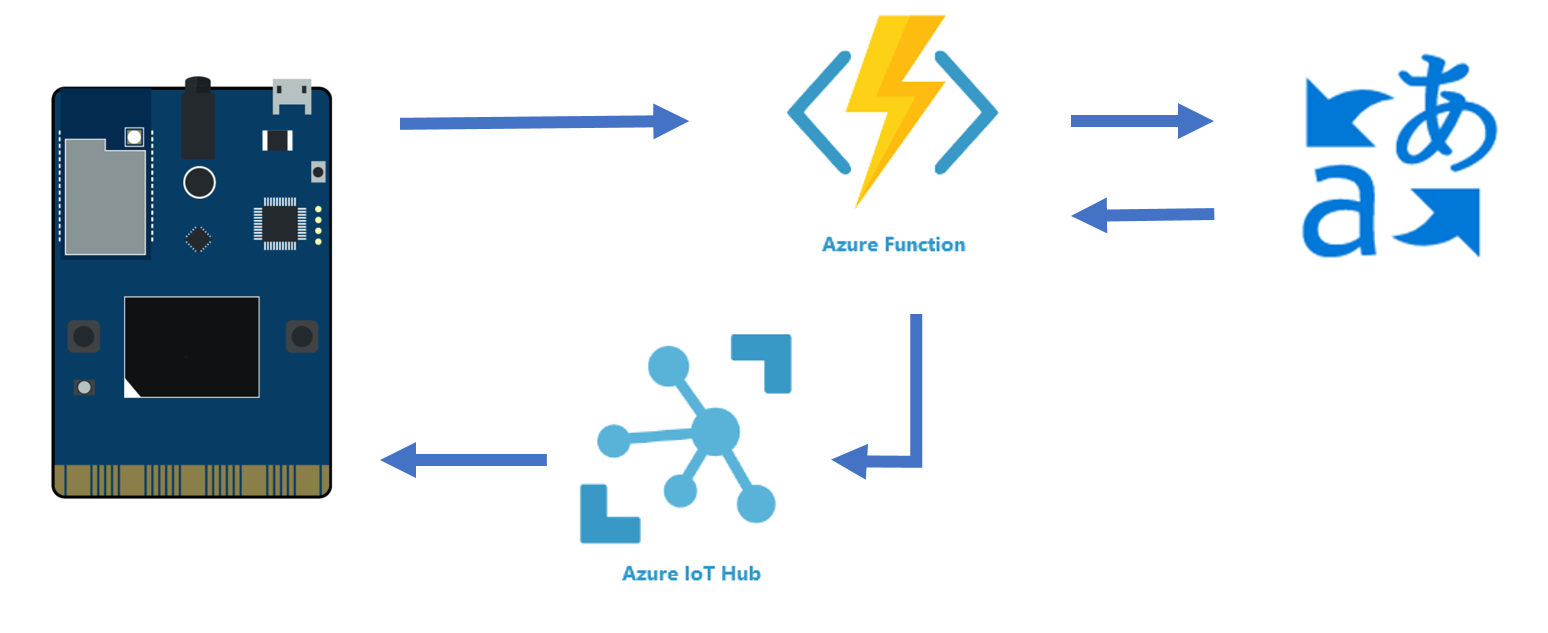
The IoT DevKit records your voice then posts an HTTP request to trigger Azure Functions. Azure Functions calls the cognitive service speech translator API to do the translation. After Azure Functions gets the translation text, it sends a C2D message to the device. Then the translation is displayed on the screen.
Problems and feedback
If you encounter problems, refer to the IoT DevKit FAQ or reach out to us using the following channels:
Next steps
You have learned how to use the IoT DevKit as a translator by using Azure Functions and Cognitive Services. In this how-to, you learned how to:
- Use Visual Studio Code task to automate cloud provisions
- Configure Azure IoT device connection string
- Deploy the Azure Function
- Test the voice message translation
Advance to the other tutorials to learn:
Connect IoT DevKit AZ3166 to Azure IoT Remote Monitoring solution accelerator