Manual CSV Upload with School Data Sync
Important
The following steps are the same regardless of SDS v1 CSV or SDS v2.1 CSV format. Refer to your file format for information on required and optional files. The following steps and screenshots are based on the SDS v2.1 CSV format.
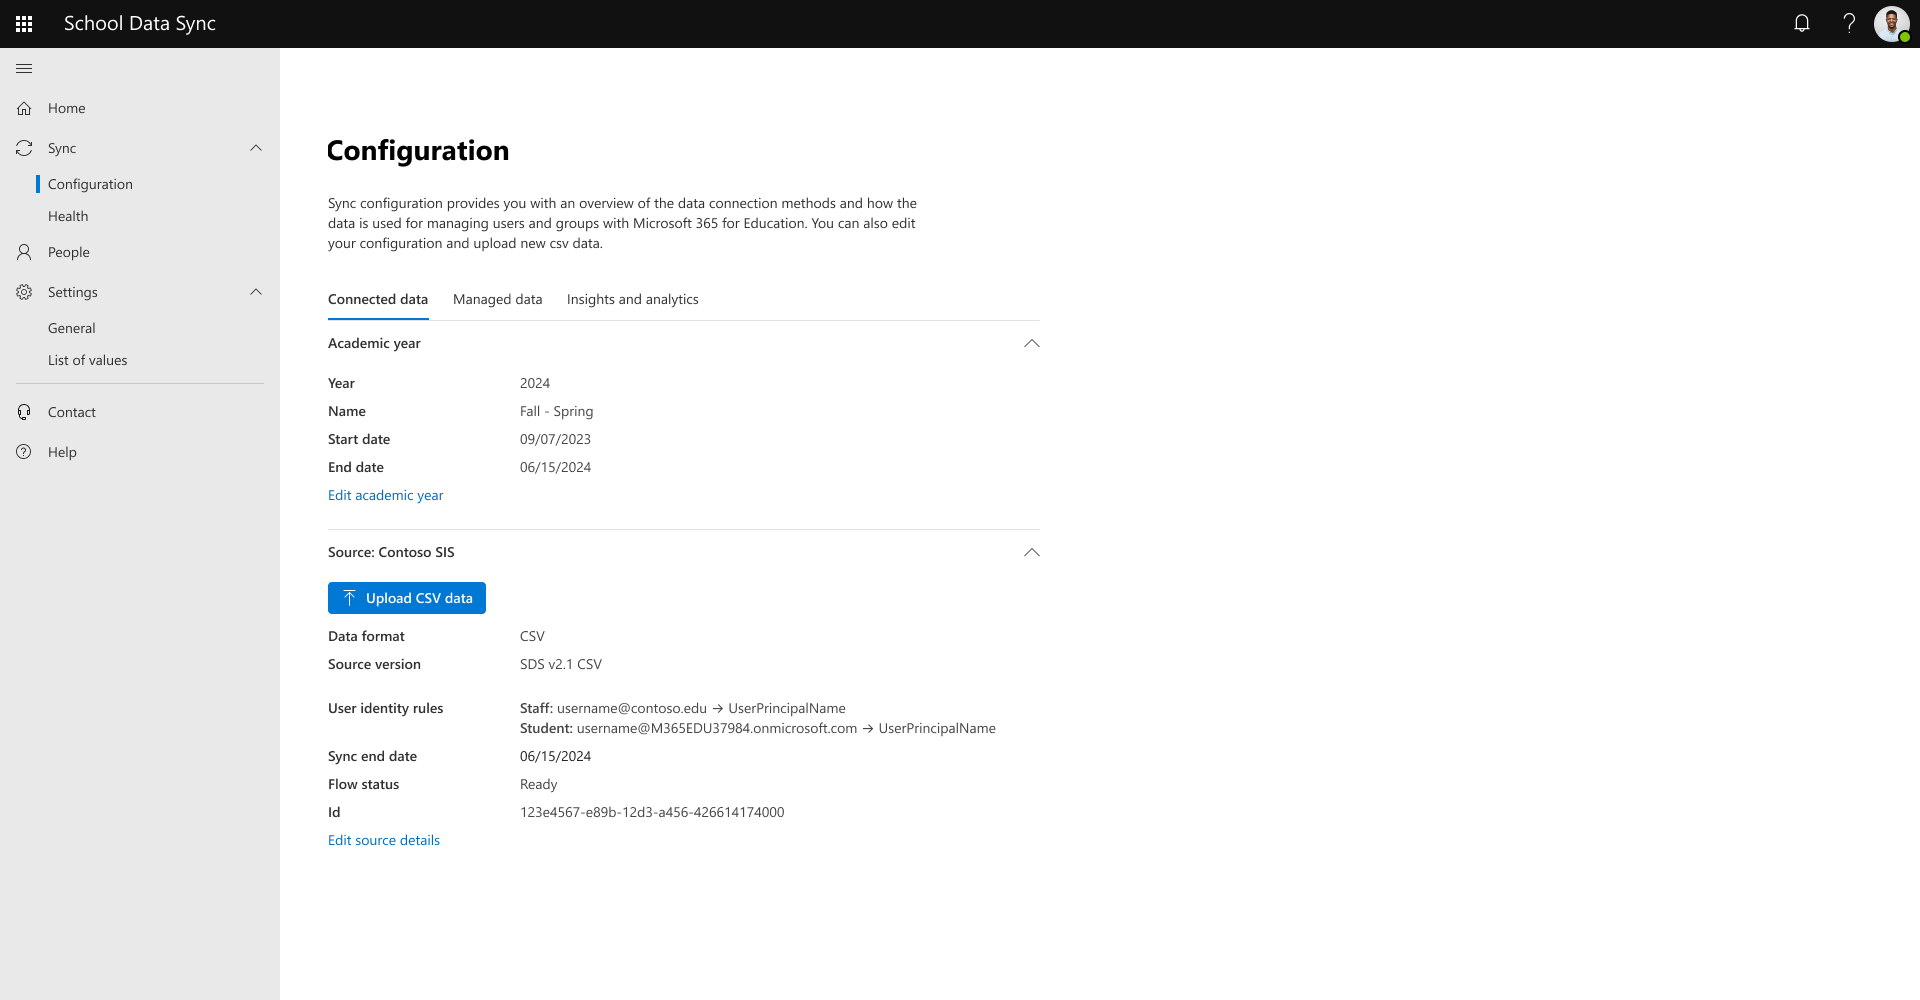
From the Home Dashboard, use left navigation to go Sync | Configuration. Select Upload CSV data.
Important
The maximum number of uploads with a corresponding run is six times per calendar day. After that if you upload, it'll only be run up to two more times based on SDS' automated run cadence of every 12 hours.
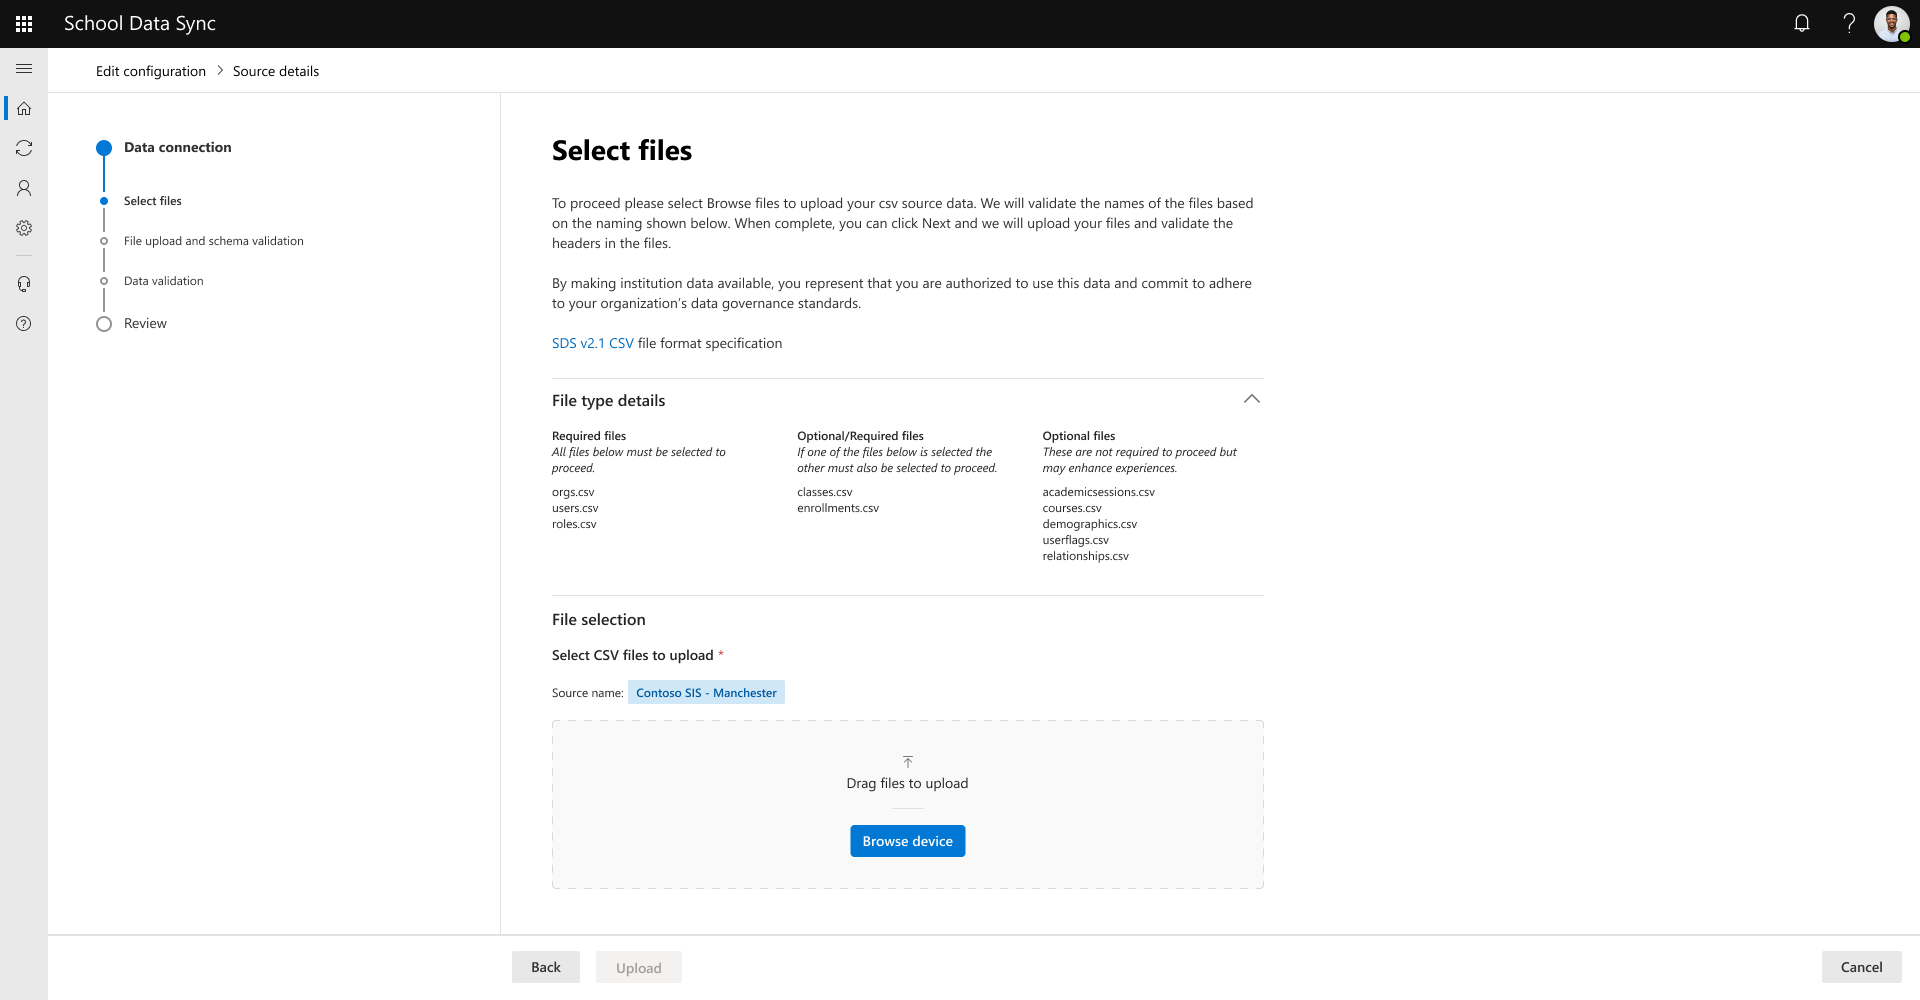
Select Browse files to present the browse and selection dialog.
Important
After your initial upload during the creation of your inbound flow, you'll need to always supply the same set of files for subsequent uploads, regardless of data changes made in the optional files or not. If you do not, the system will determine that the records are no longer active and will mark them as such.
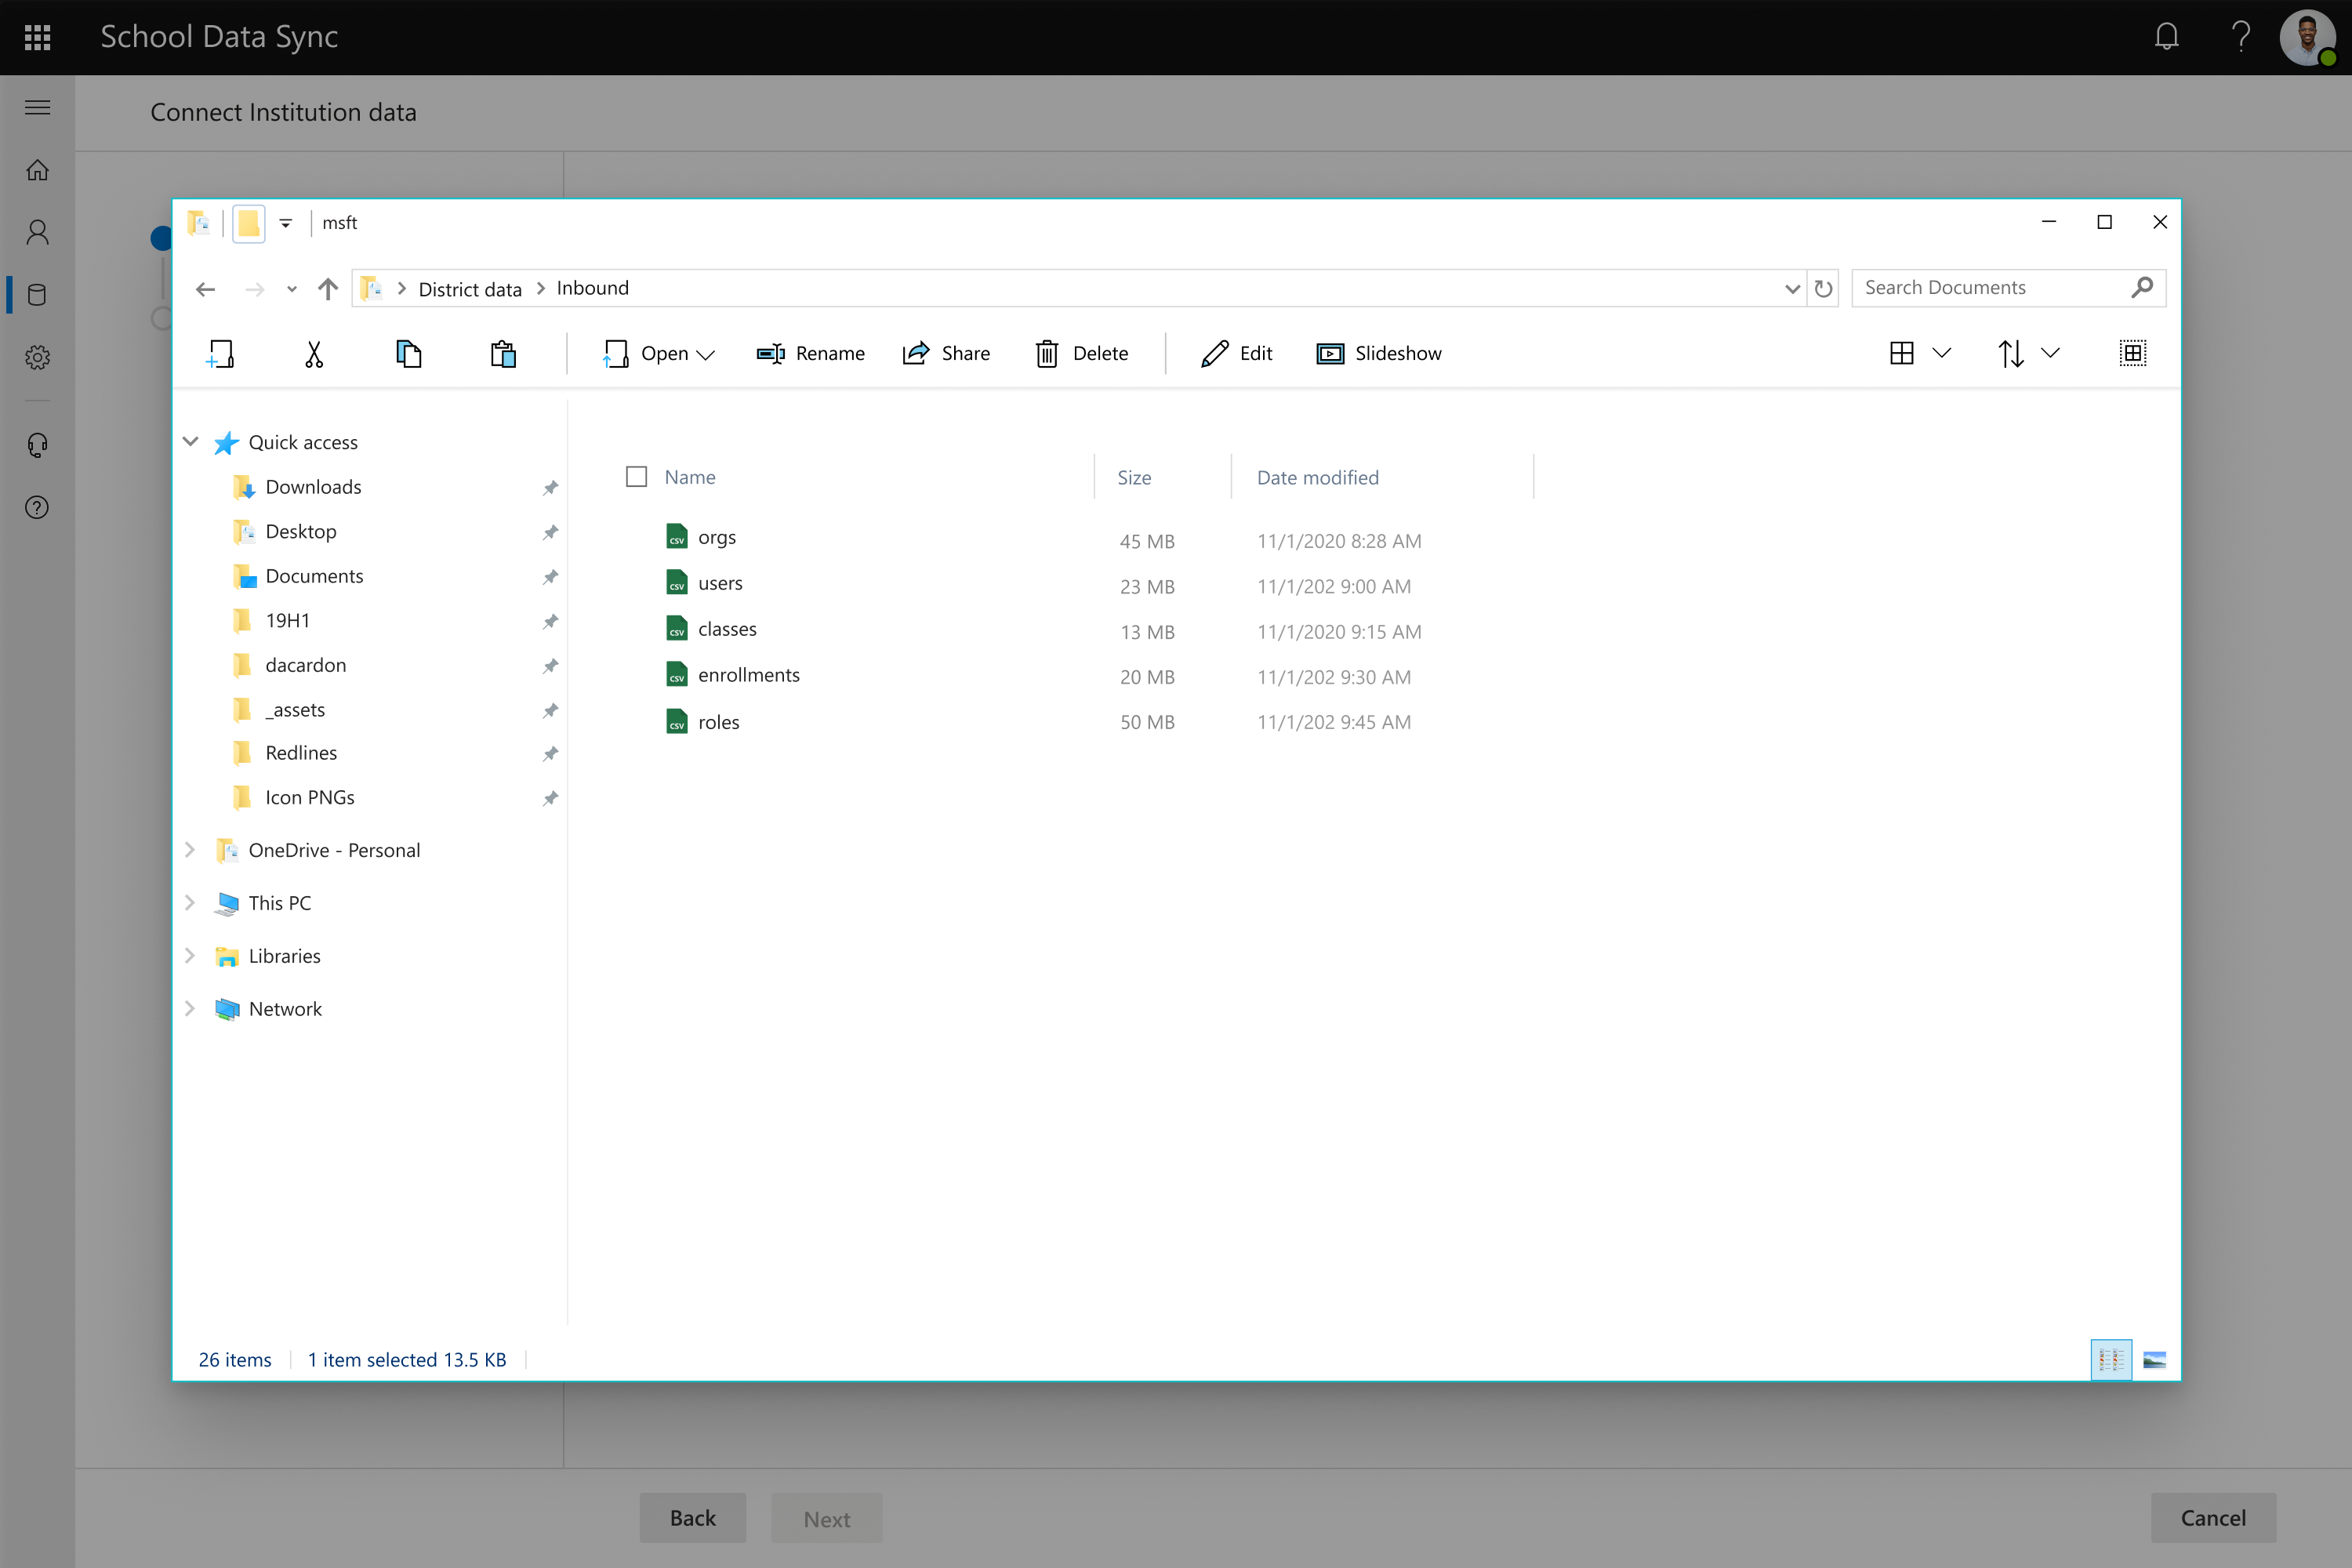
Navigate to the location where your files are located then select the files.
Refer to the files need for the SDS V2.1 CSV file format.
Refer to the files need for the SDS V1 CSV file format.
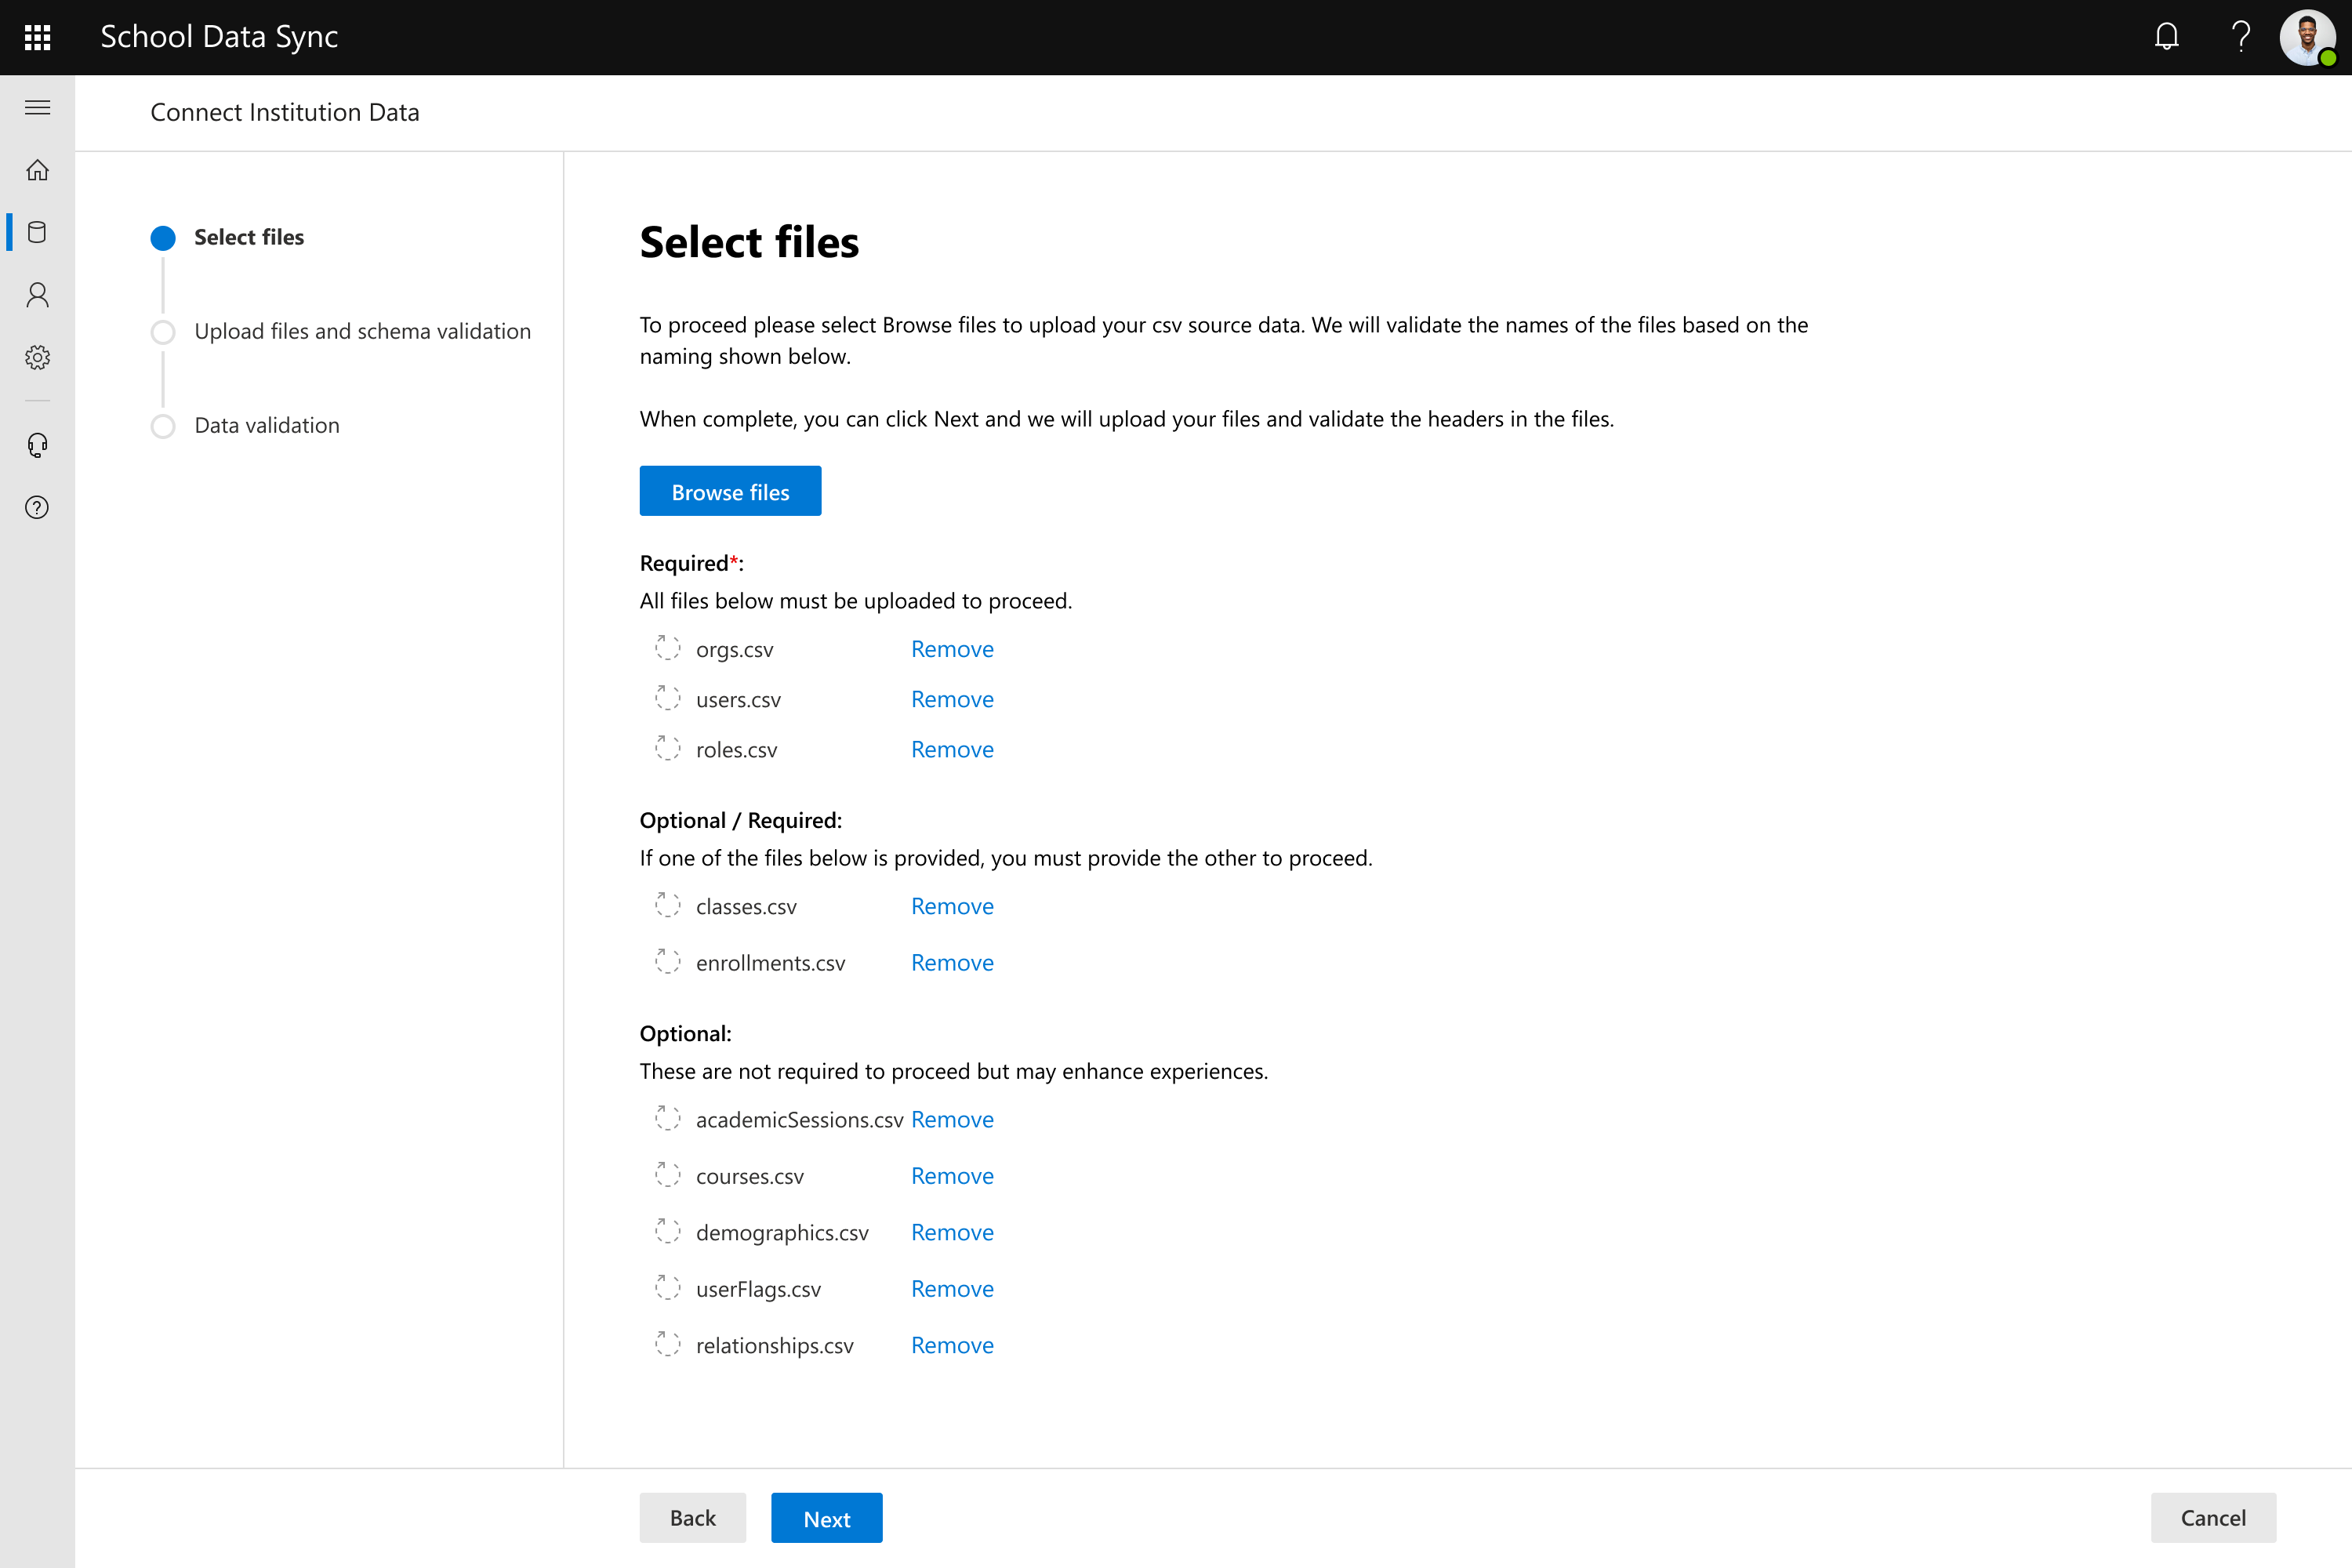
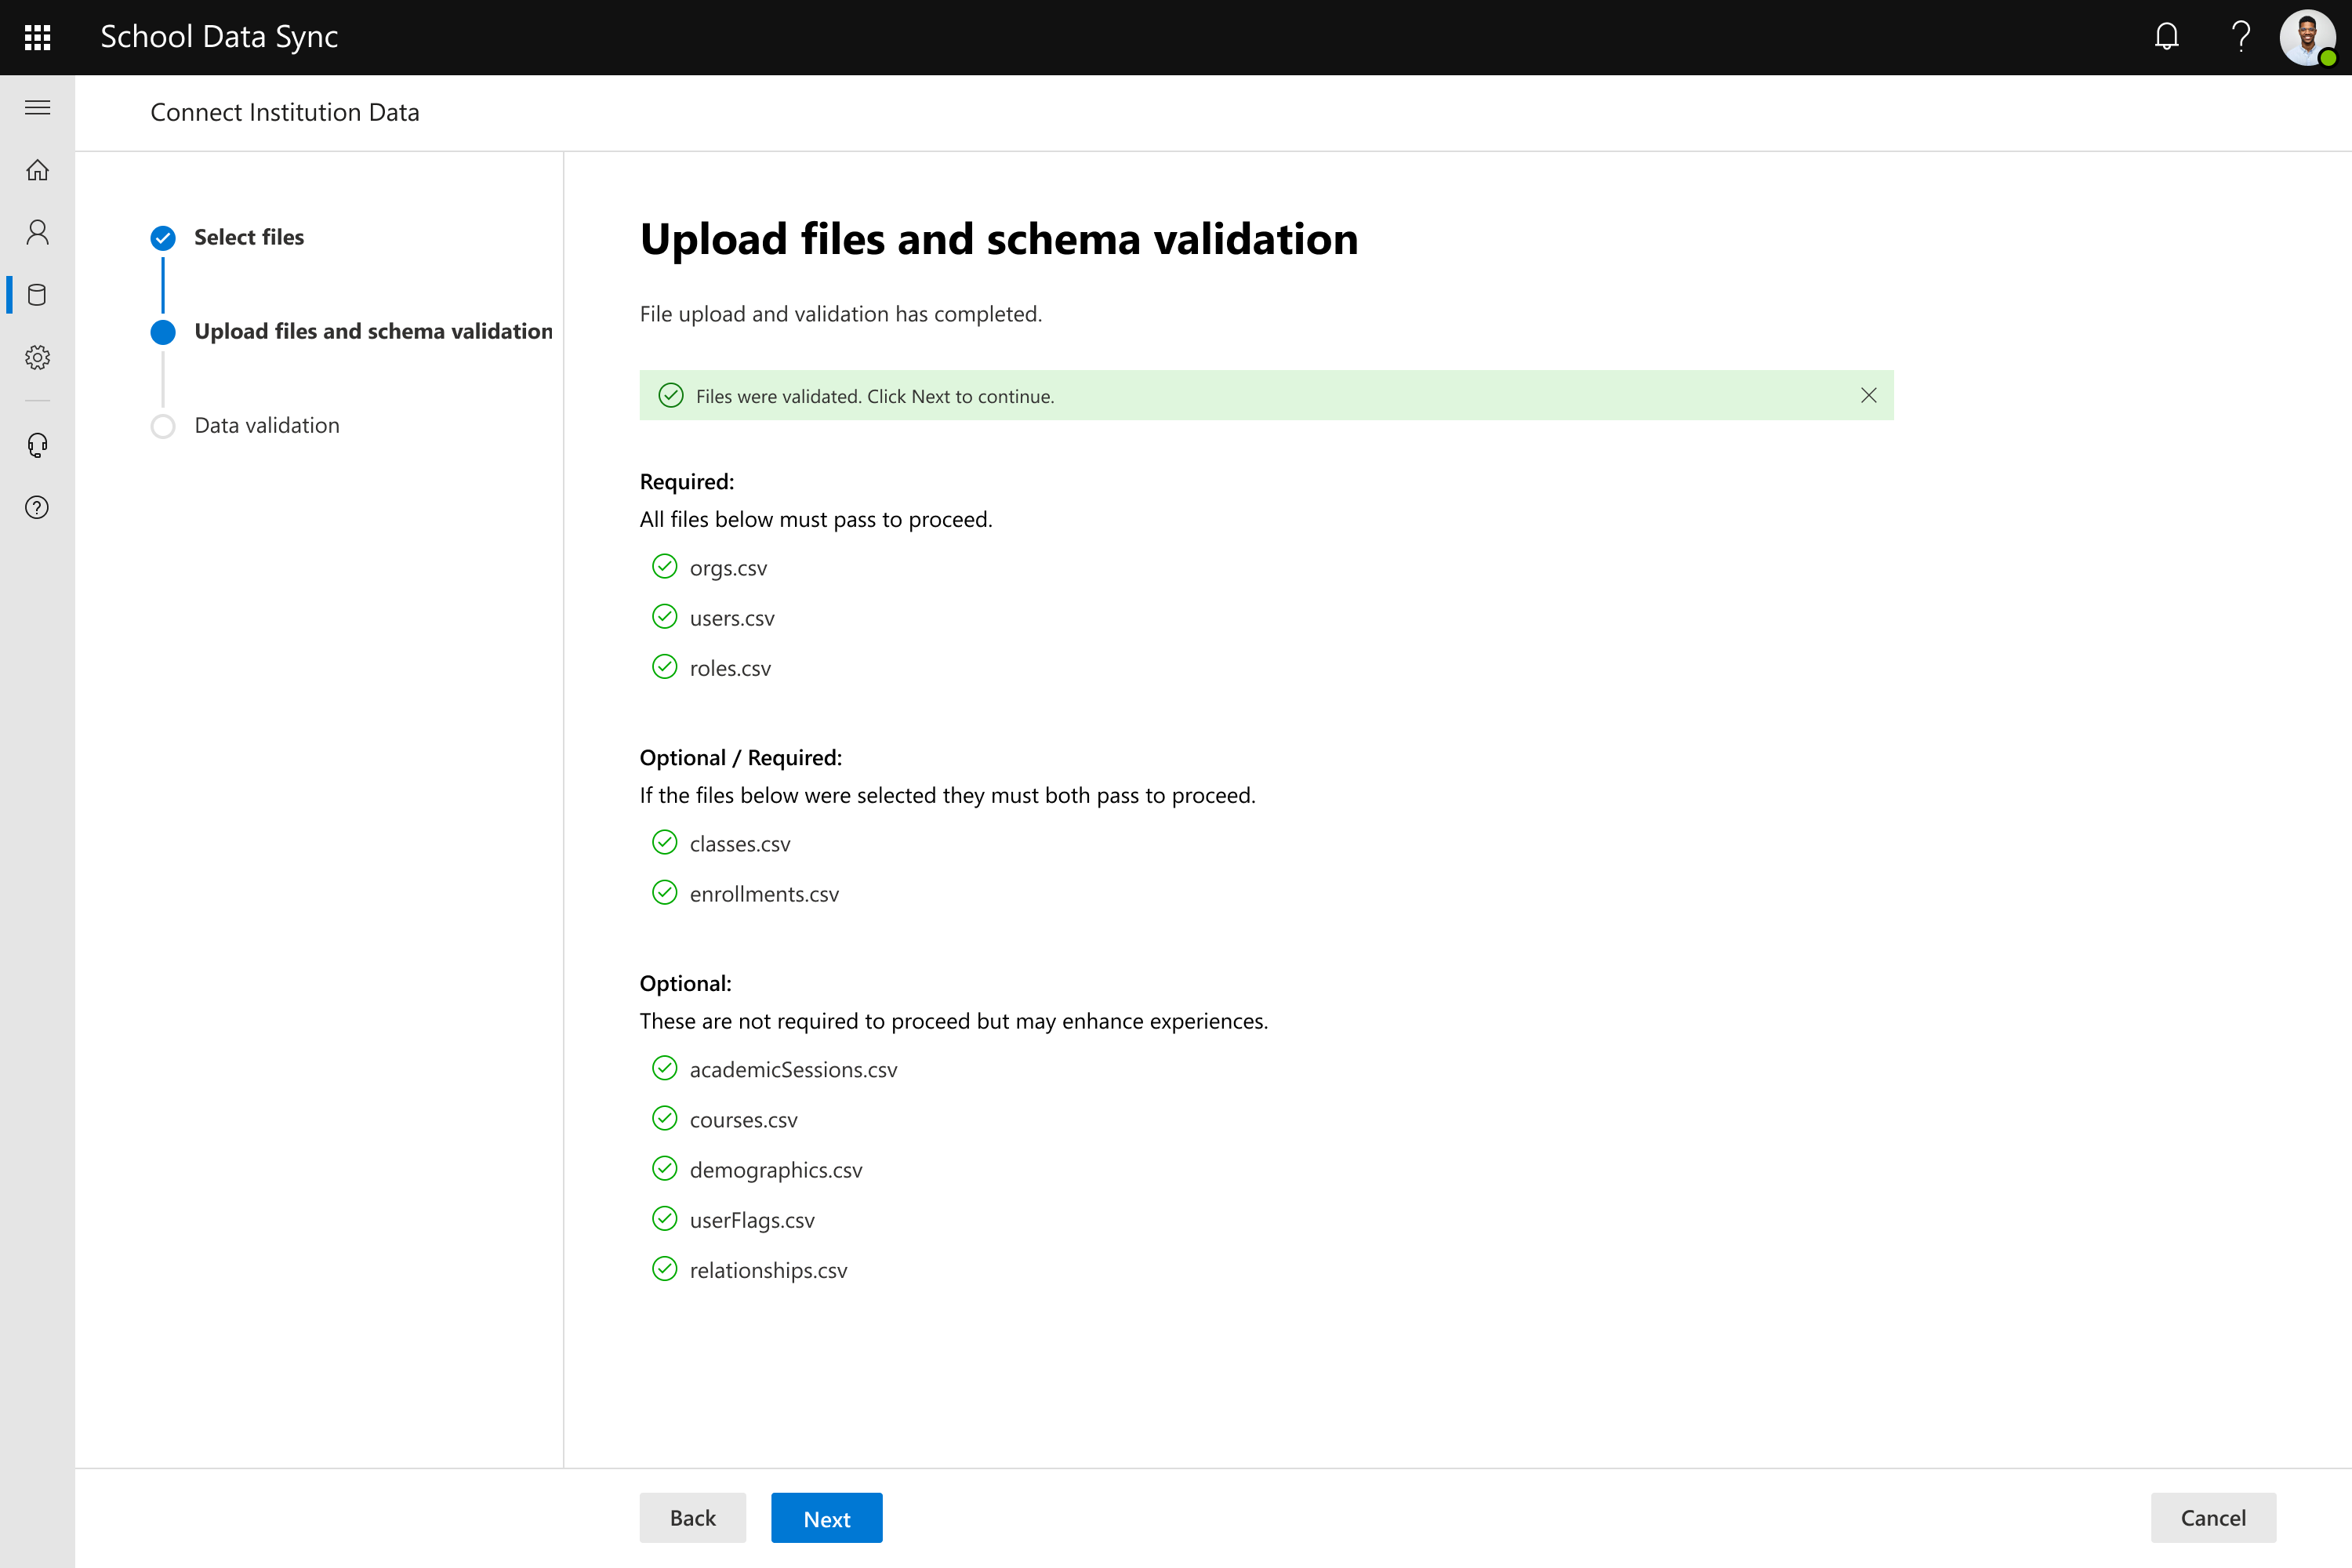
After selecting your files, select Next to continue. The system will validate the names of the selected files before continuing to the next screen.
If a required file isn't found a message appears, and you need to address and reselect one or more files.
After the file names are validated, the files will be uploaded to validate the structure. This validation ensures the files are formatted correctly with the header names based on the SDS CSV V2.1 specification.
If you receive the message: One or more of the files found below don't match the expected format
- Review the screen to see which files were found to not be correctly formatted and why
- You'll need to navigate back to the prior screen to reselect the files after correcting the issues. Select Back to correct.
If you receive the message: Weren't able to find one or more of the optional files. You can continue if the result is expected.
- Review the screen to see which files weren't found.
- If result isn't expected, you need to select Back to go to the prior screen to reselect the files.
- If result is expected, select Next.
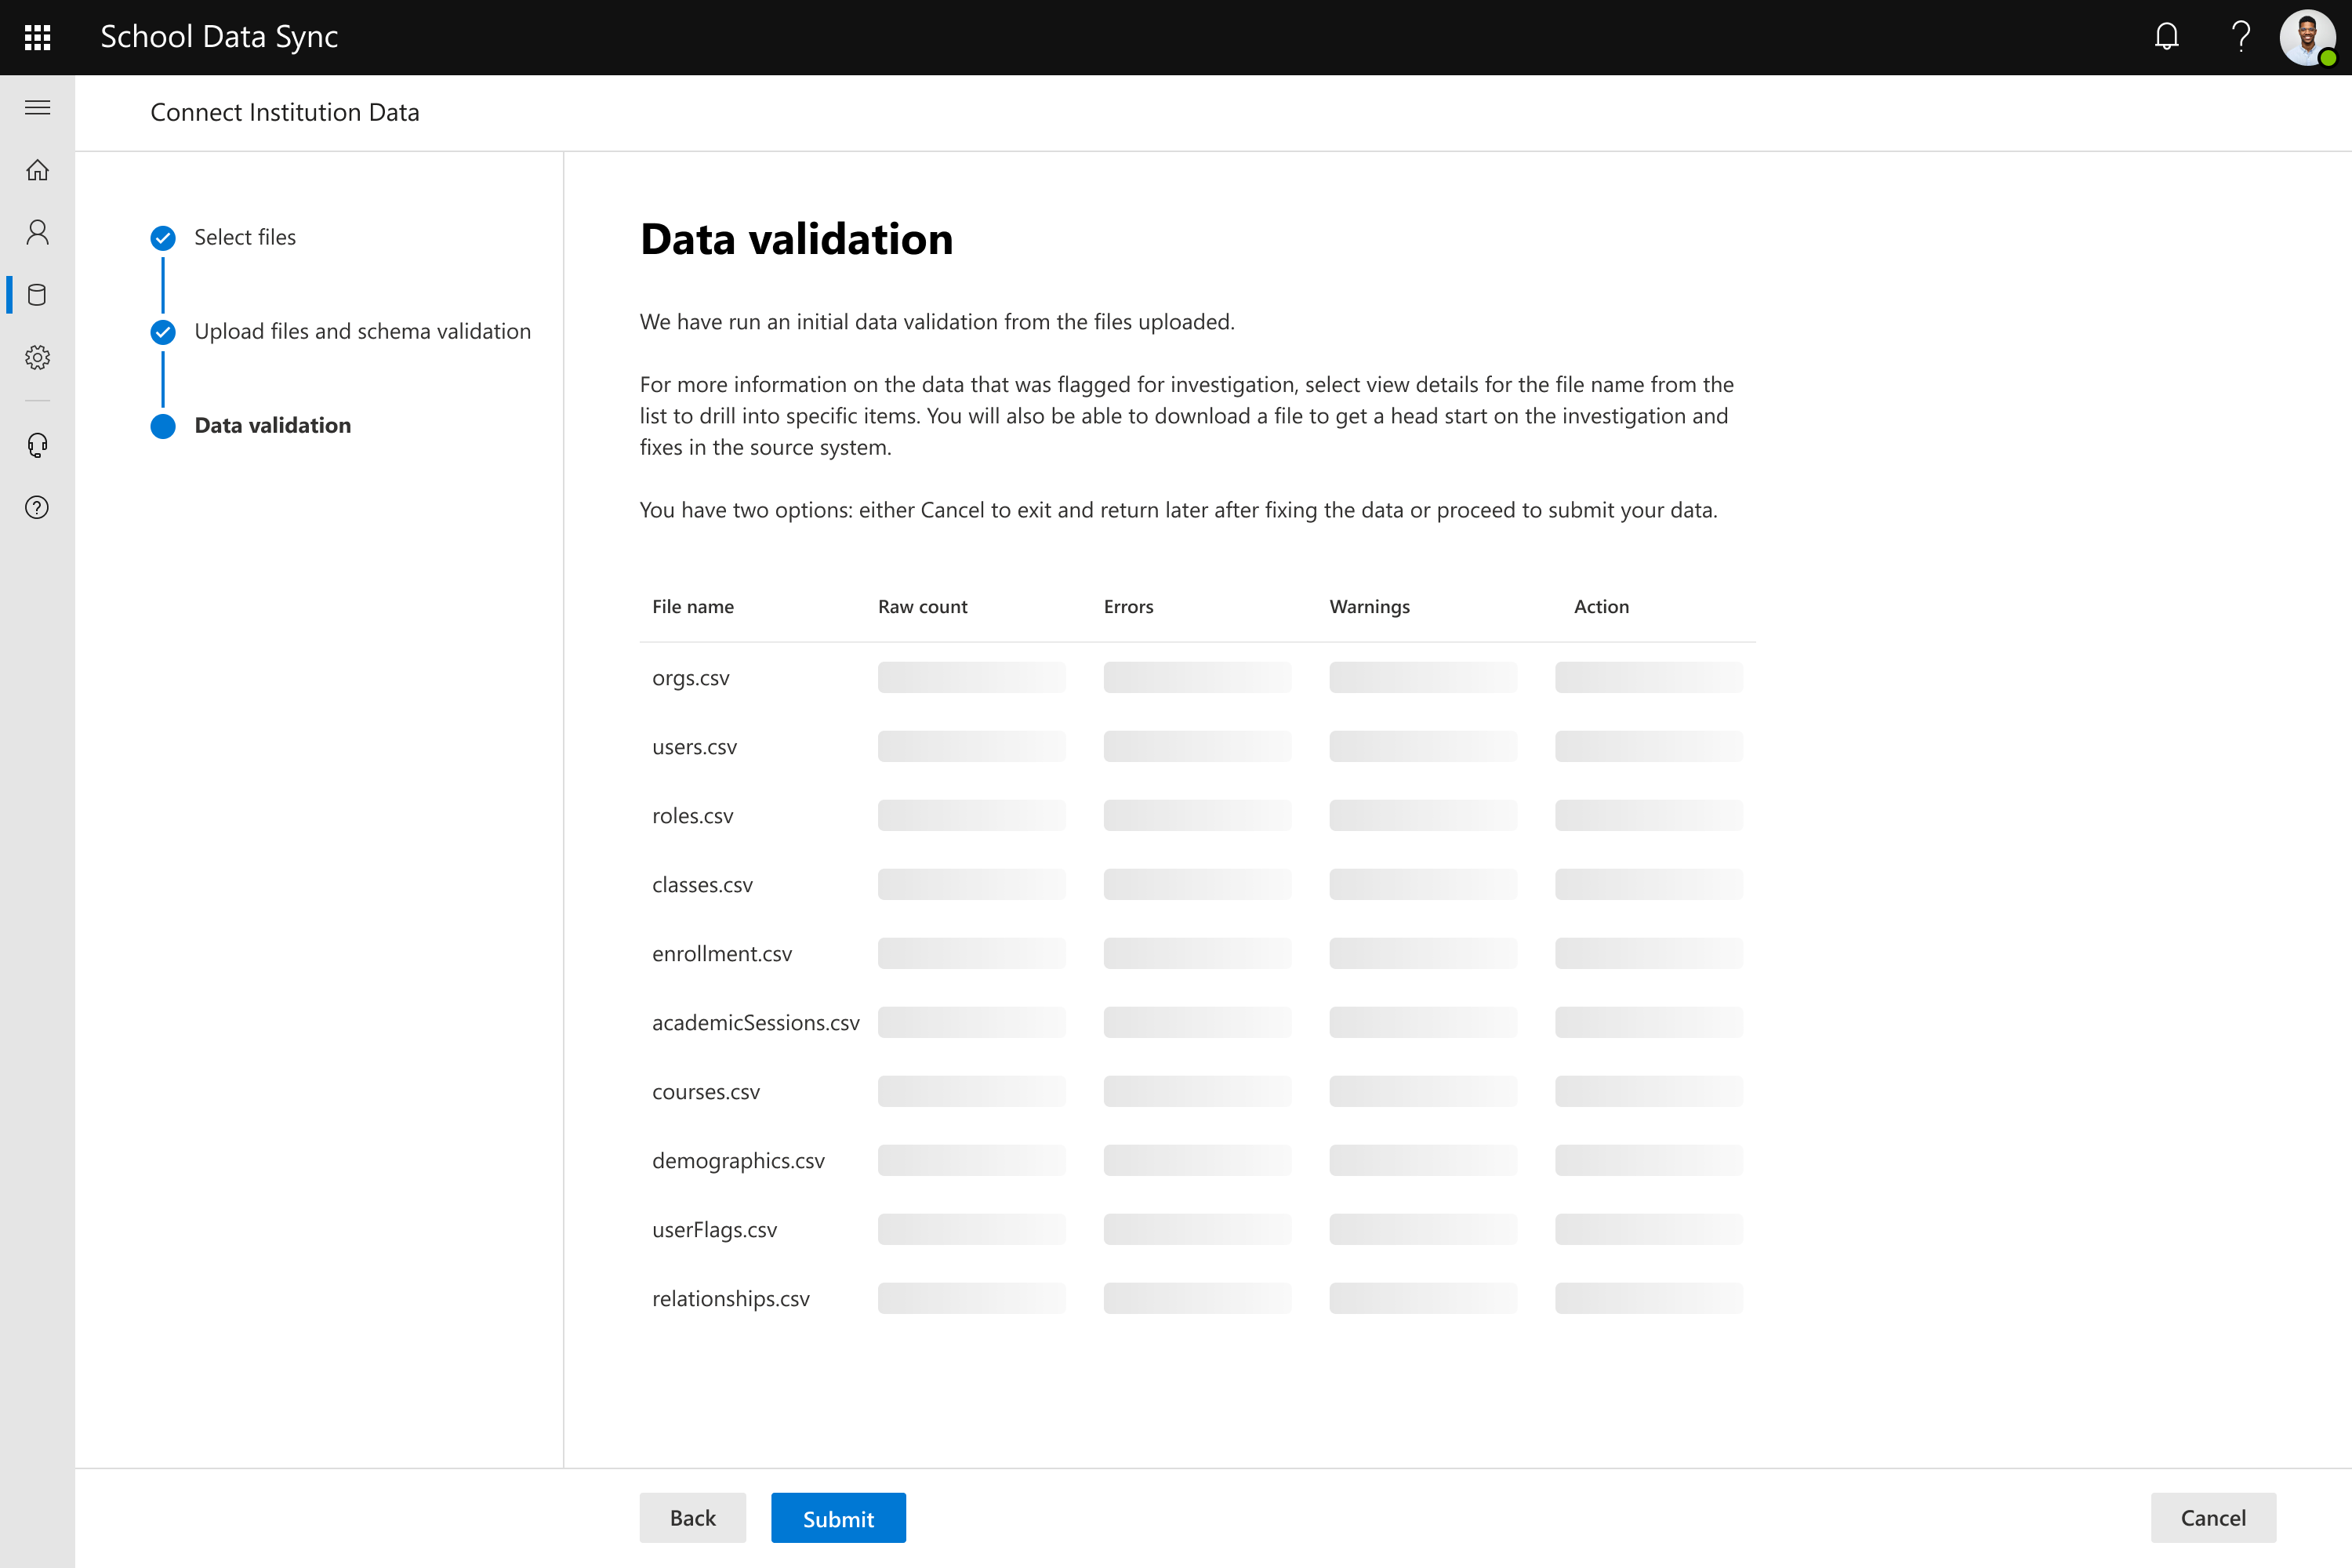
After the file schema is validated, SDS will perform a quick data validation from the files uploaded. The uploaded data passes through some of the SDS data matching and validation rules to help identify the good required and provided optional data. It isn't all the validation rules but the ones most encountered.
Tip
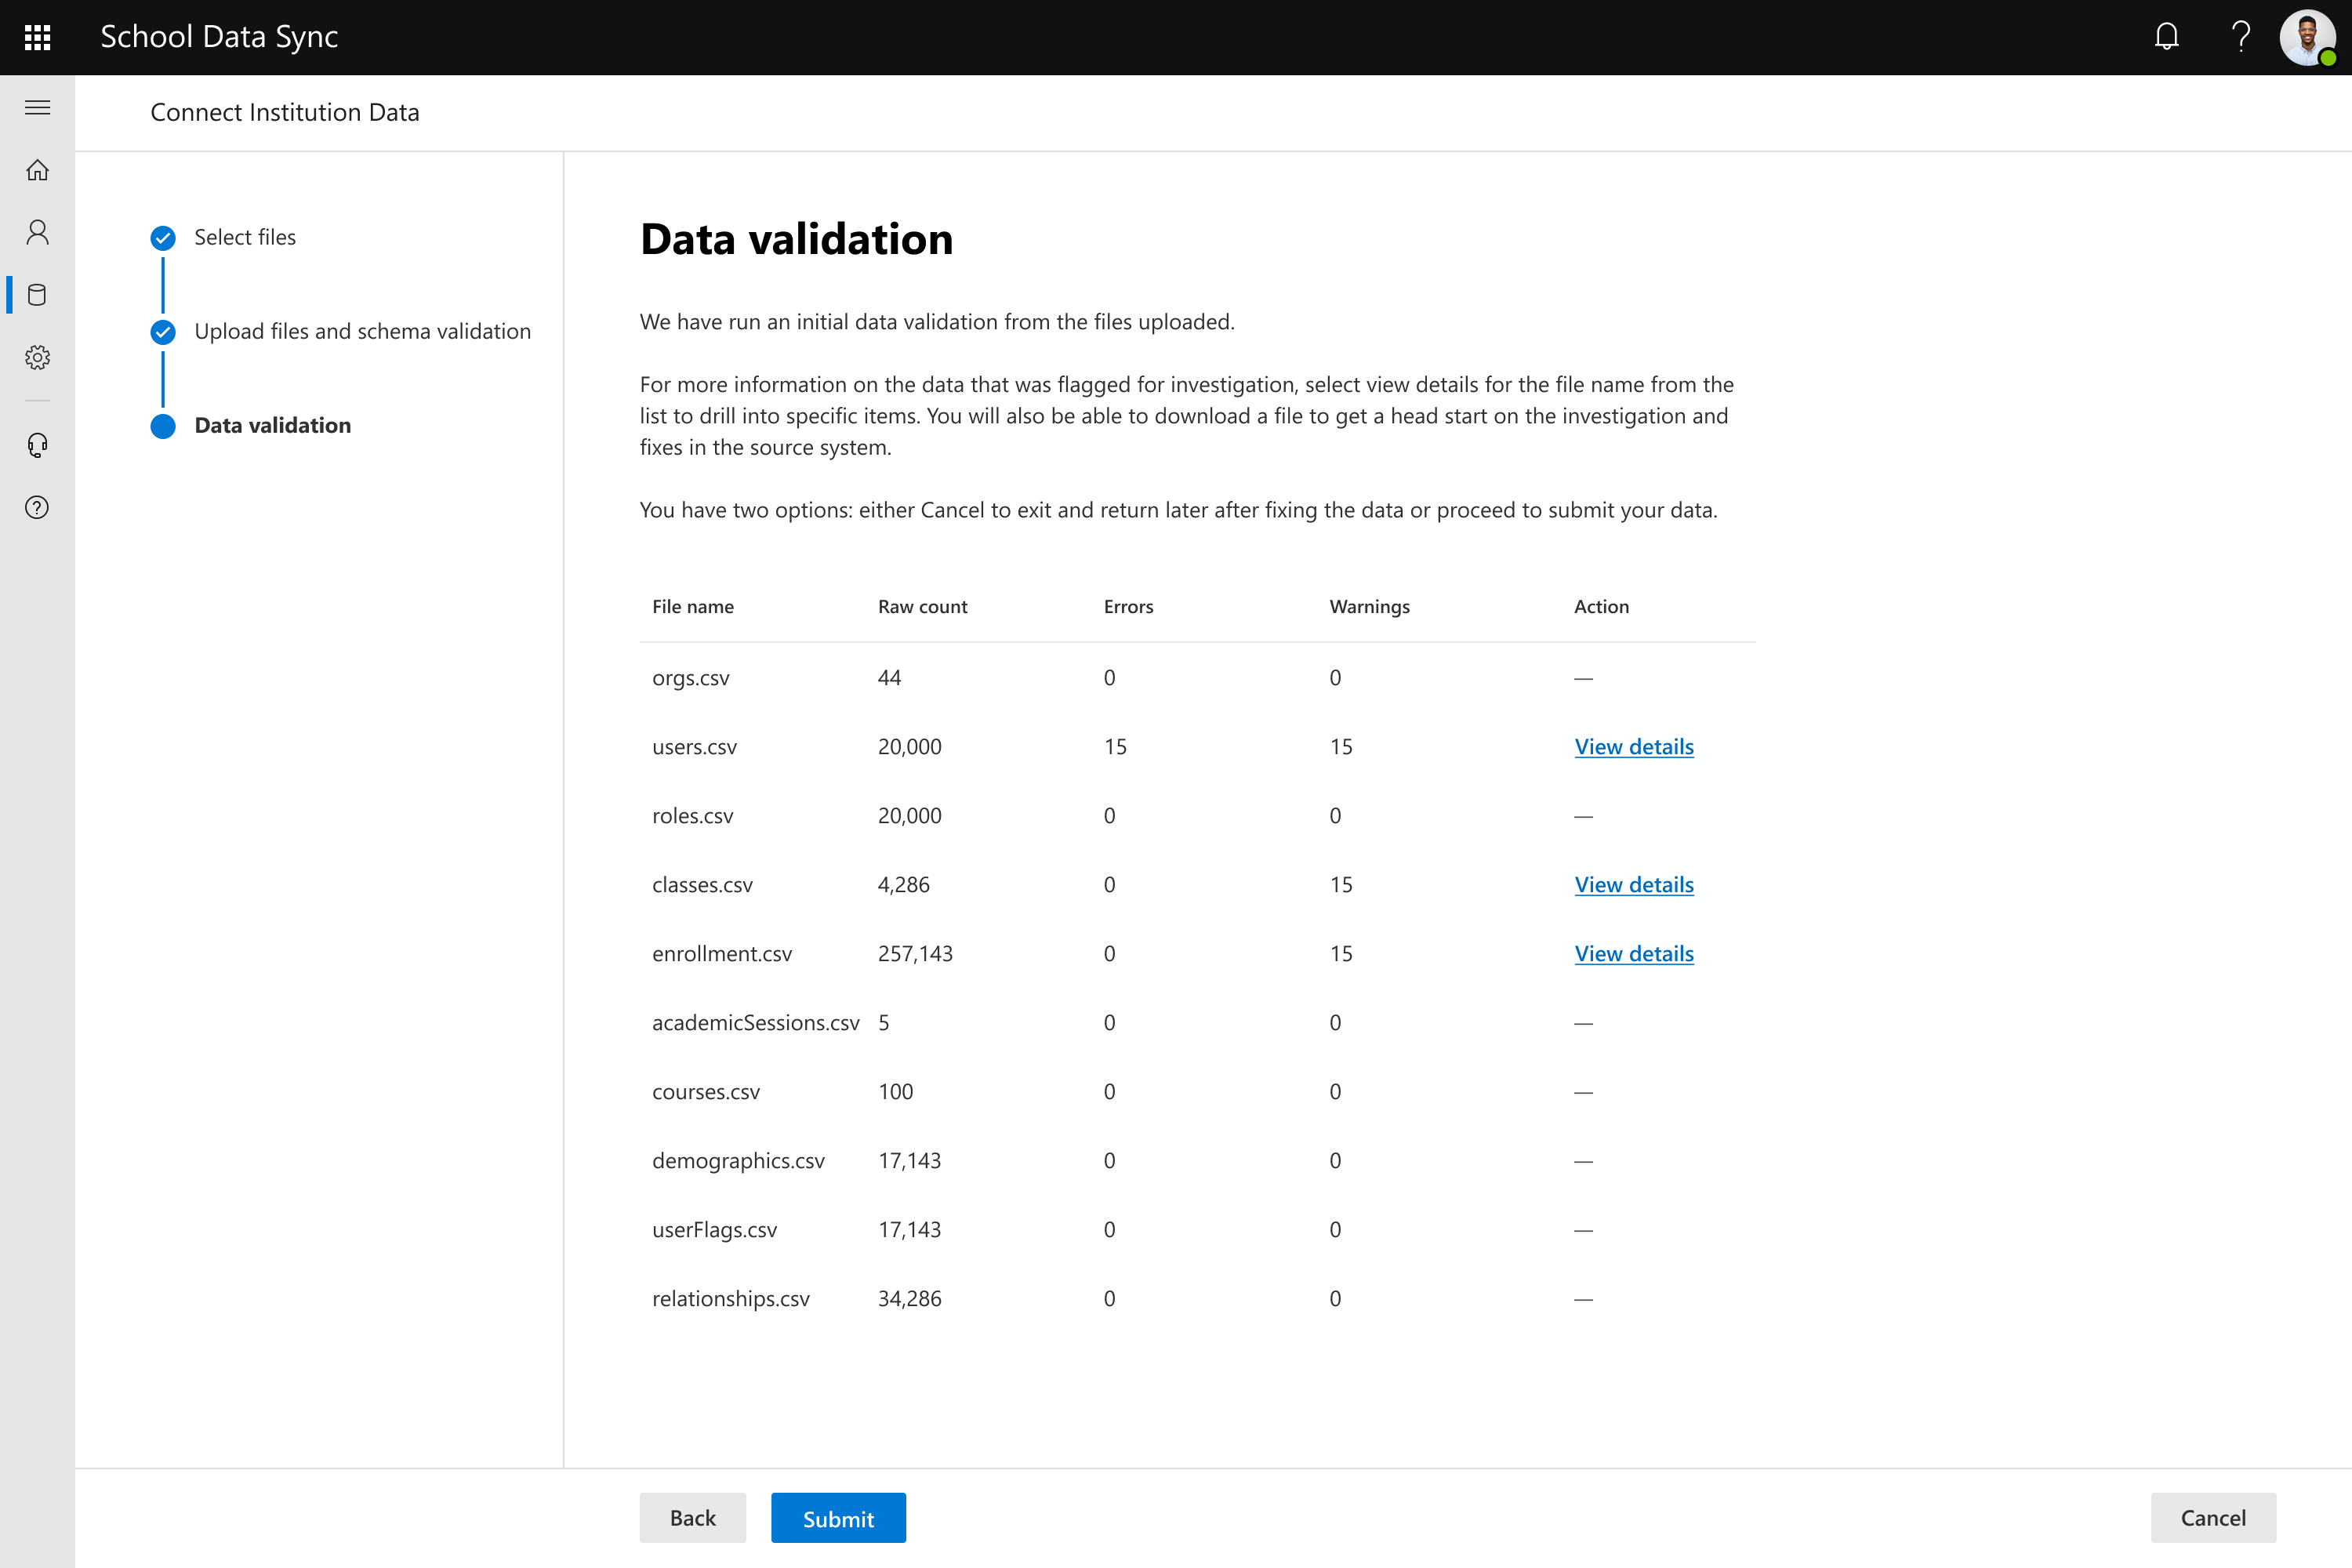
Data validation results are non-blocking during the onboarding or csv upload experiences, you have two options: either exit and return later after fixing the data or proceed to the next step to continue setting up your data connection and later supplying the corrected data with subsequent uploads.
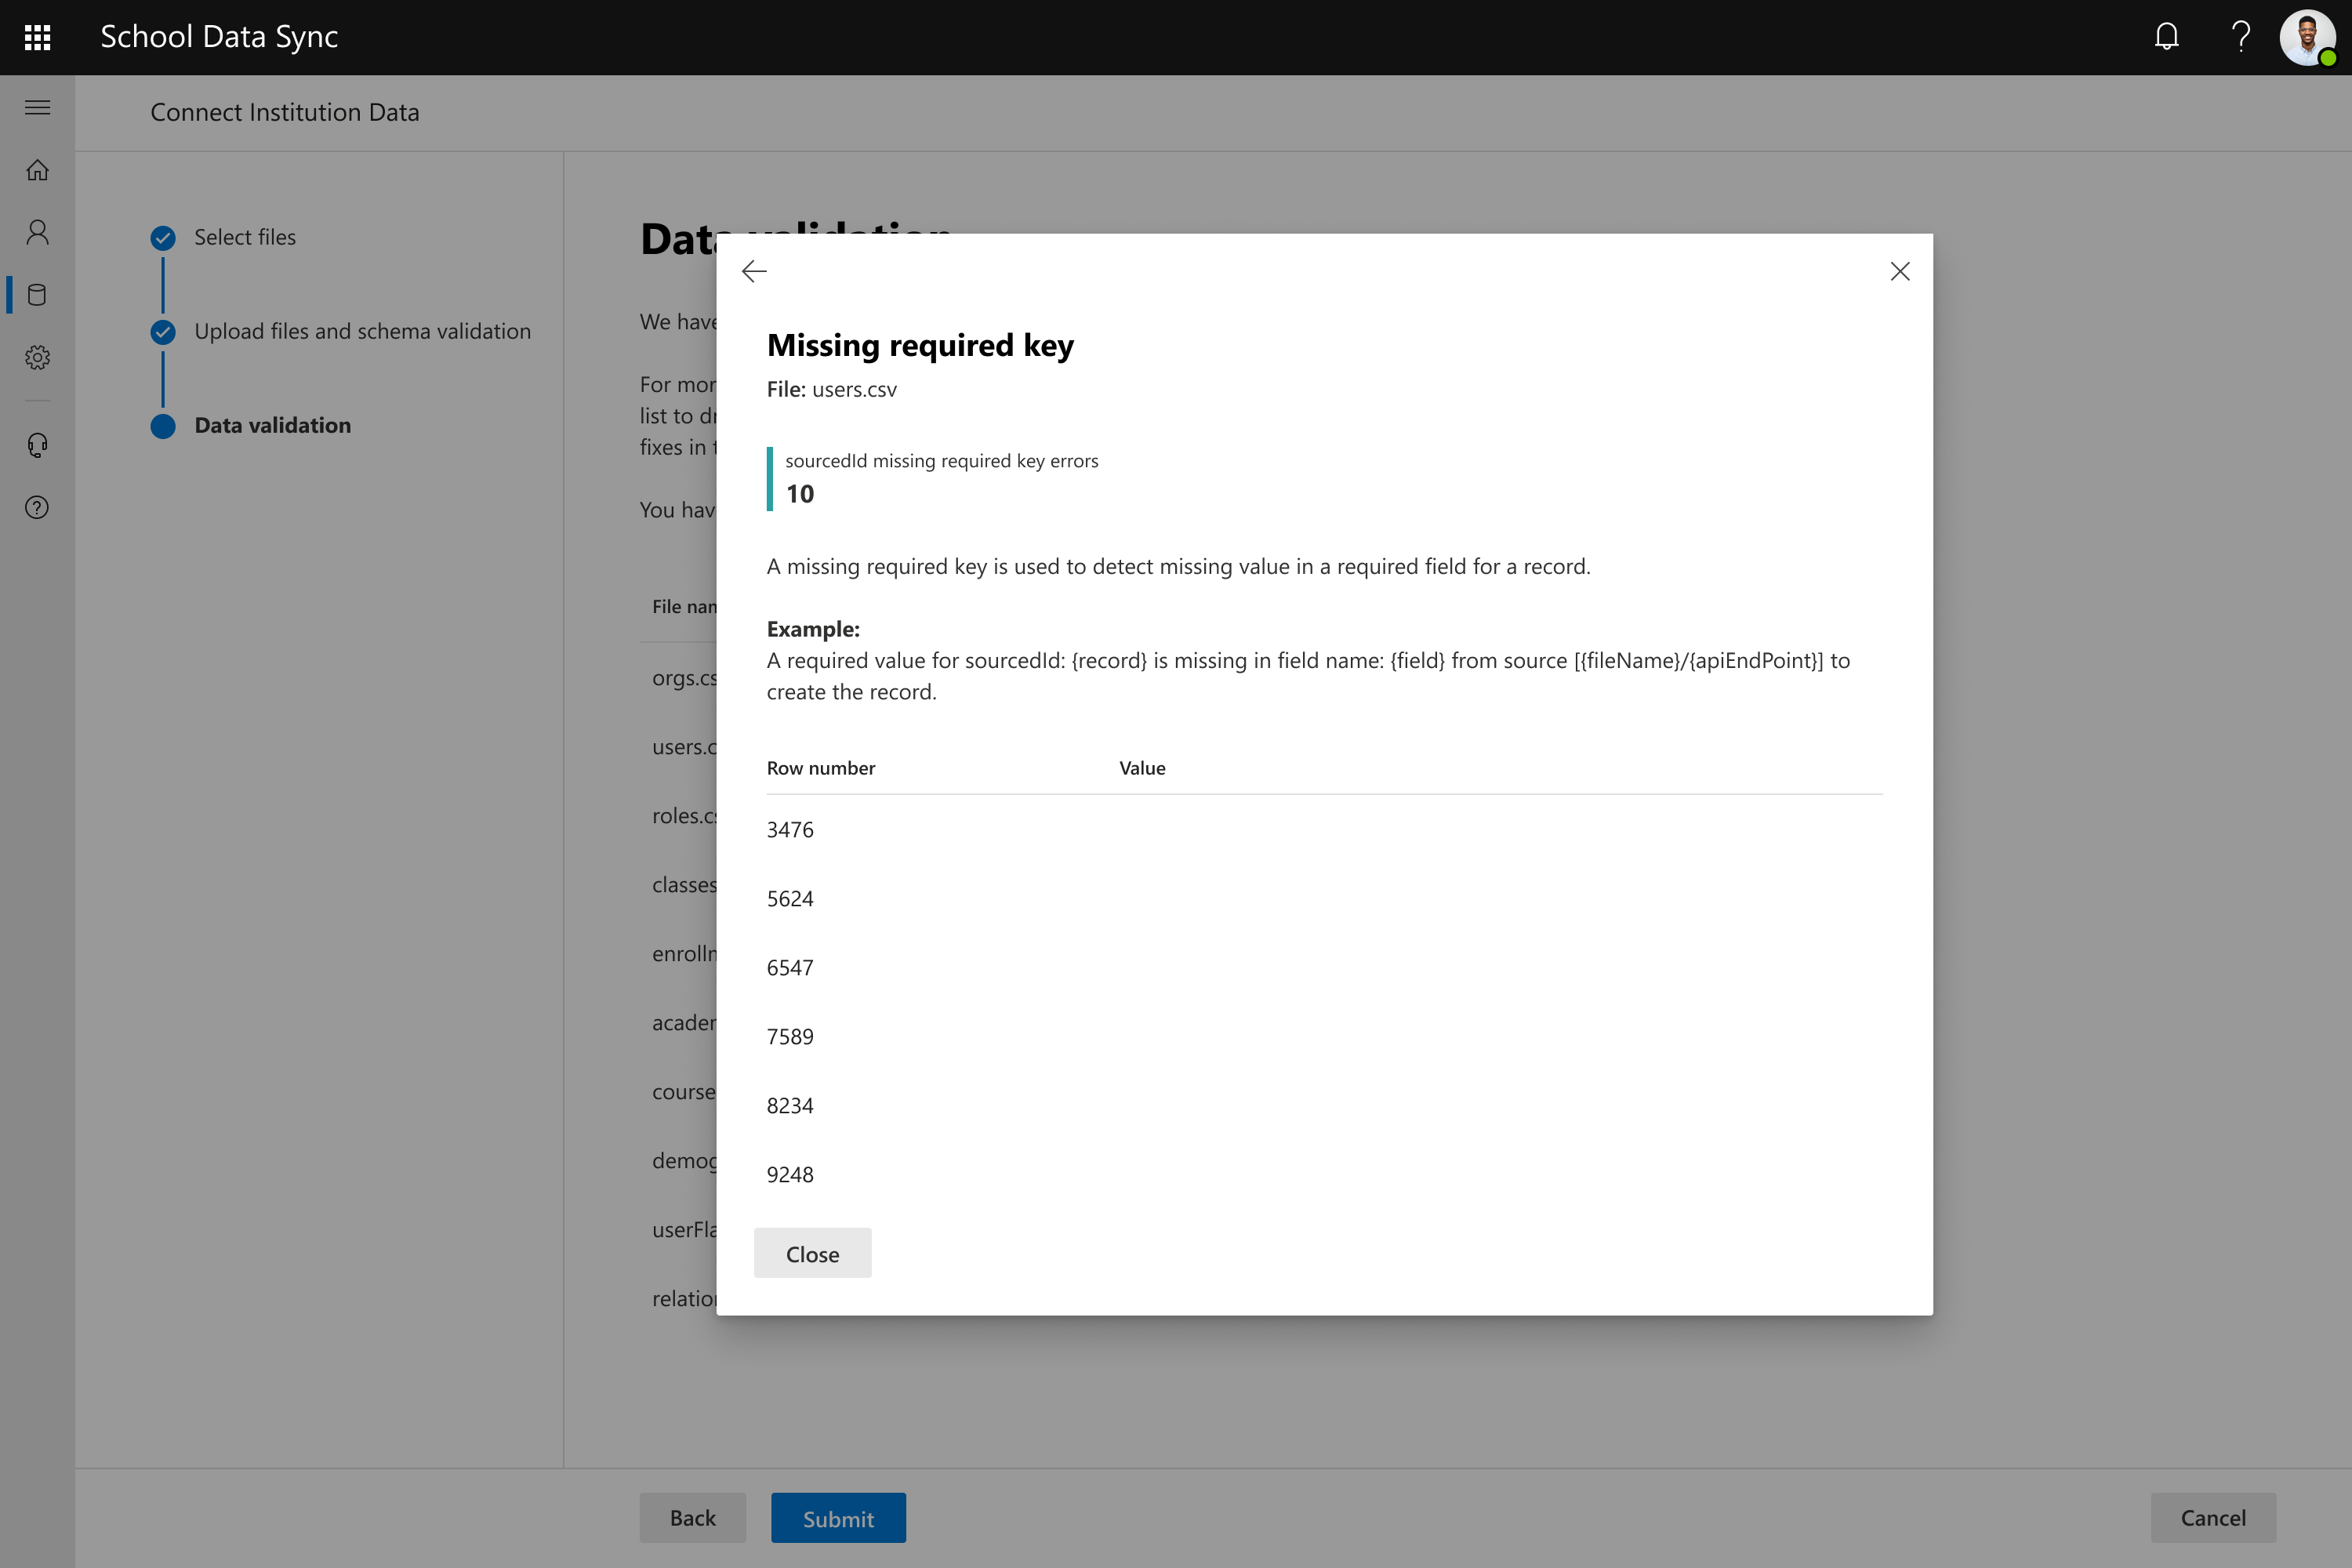
For more information on the data that was flagged for investigation, select view details for the file name from the list to drill into specific items.
You're able to download a report by file to get a head start on the investigation and fixes in the source system.
Flagged file columns are displayed with ability to expand and investigate what rule or rules flagged them.
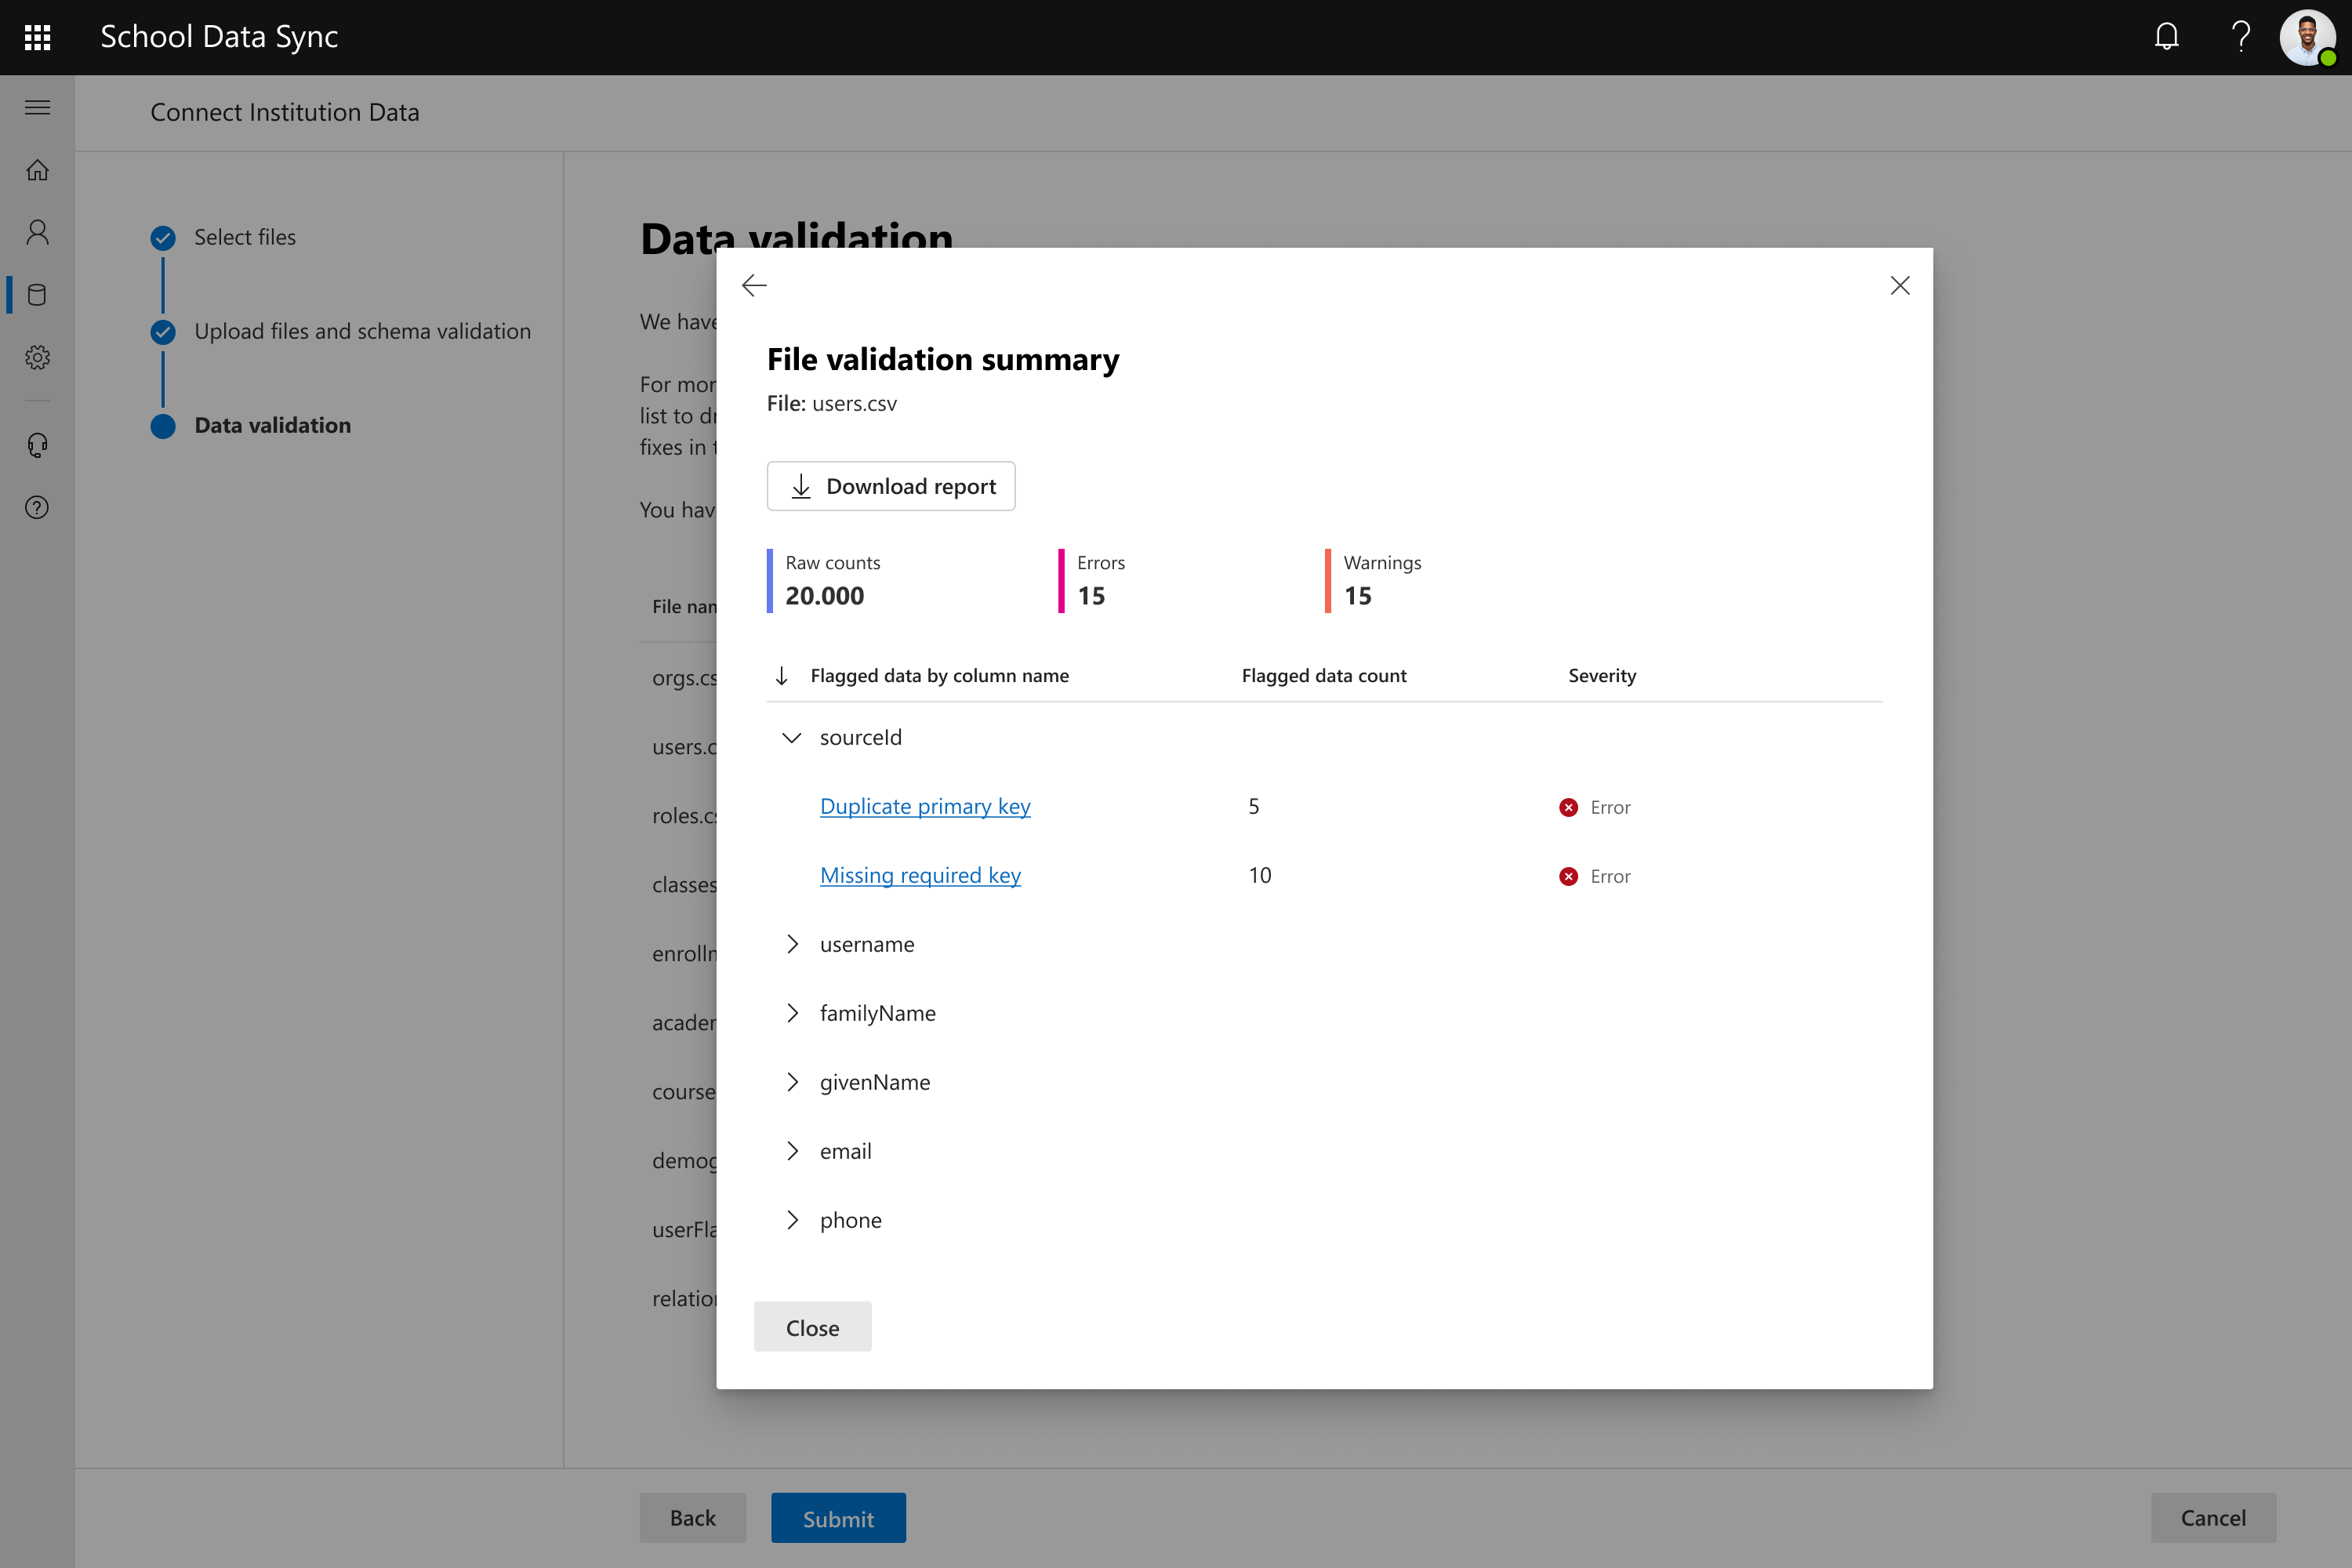
By clicking on the rule, you're able to see another summary of the top 10 records, for example purposes.
When your investigation is complete, close the dialogs then select Submit.
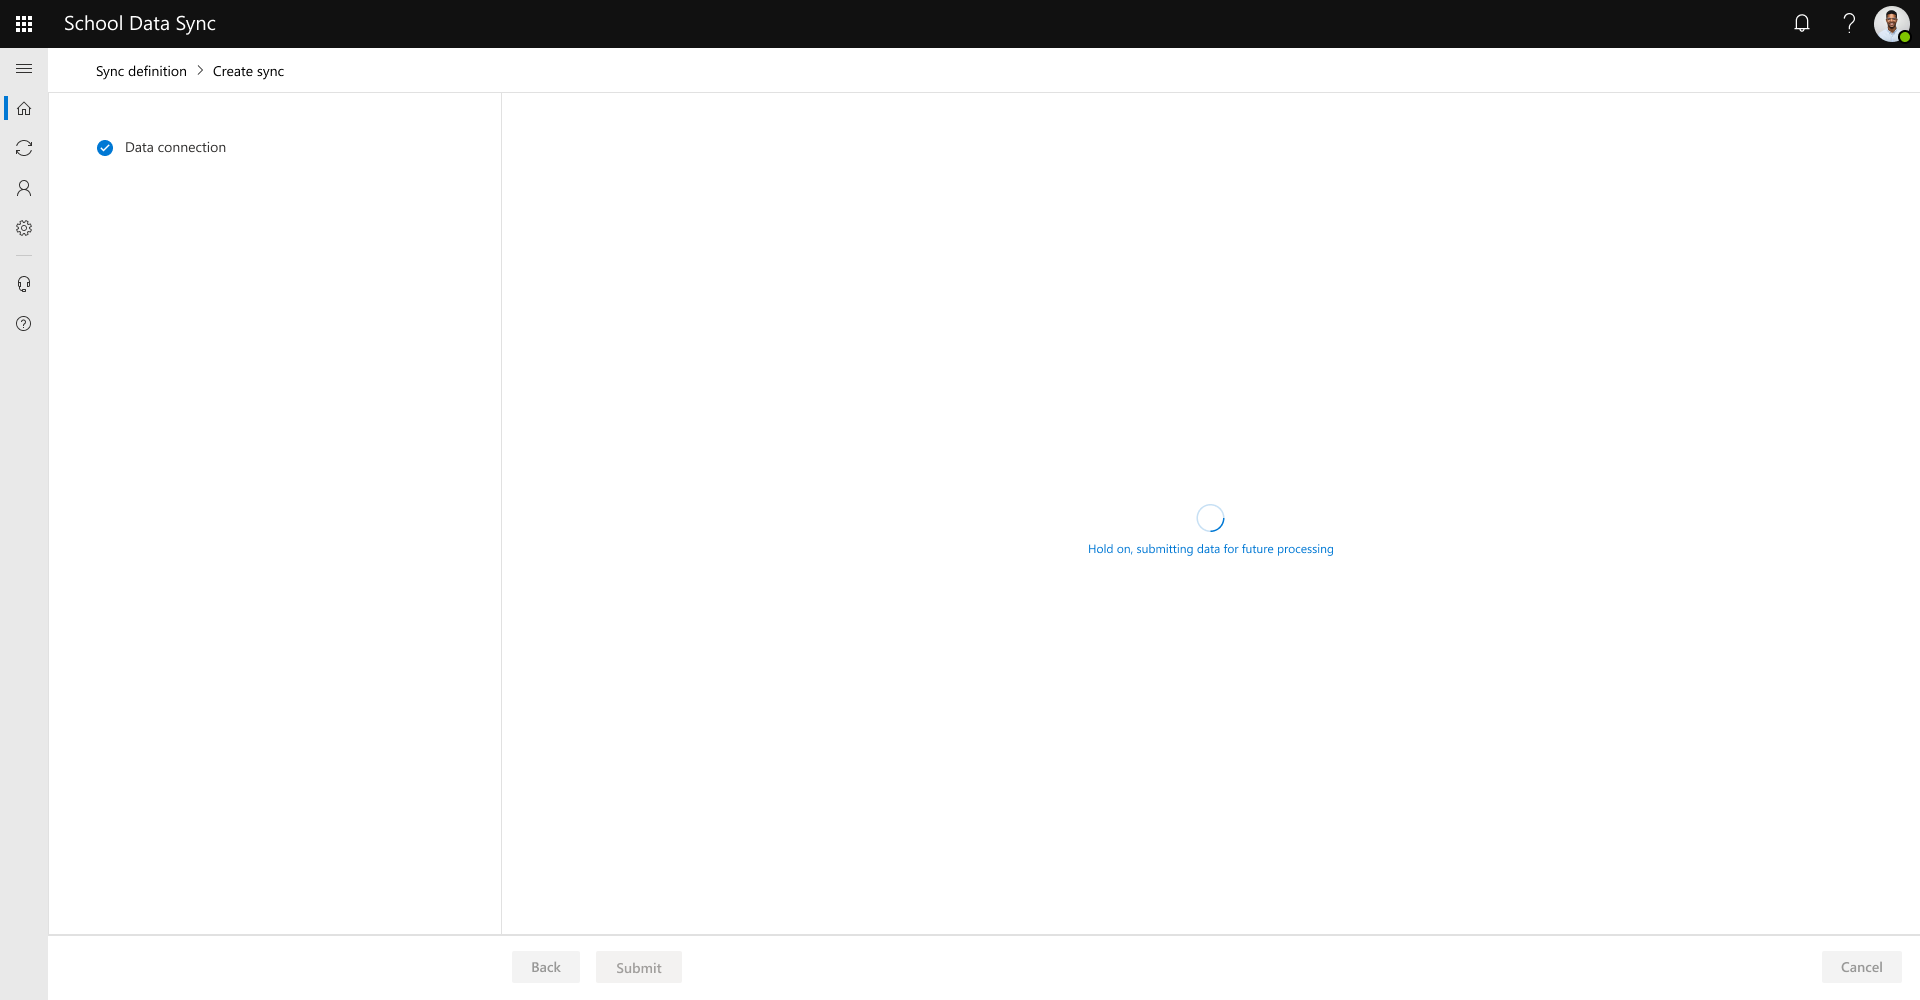
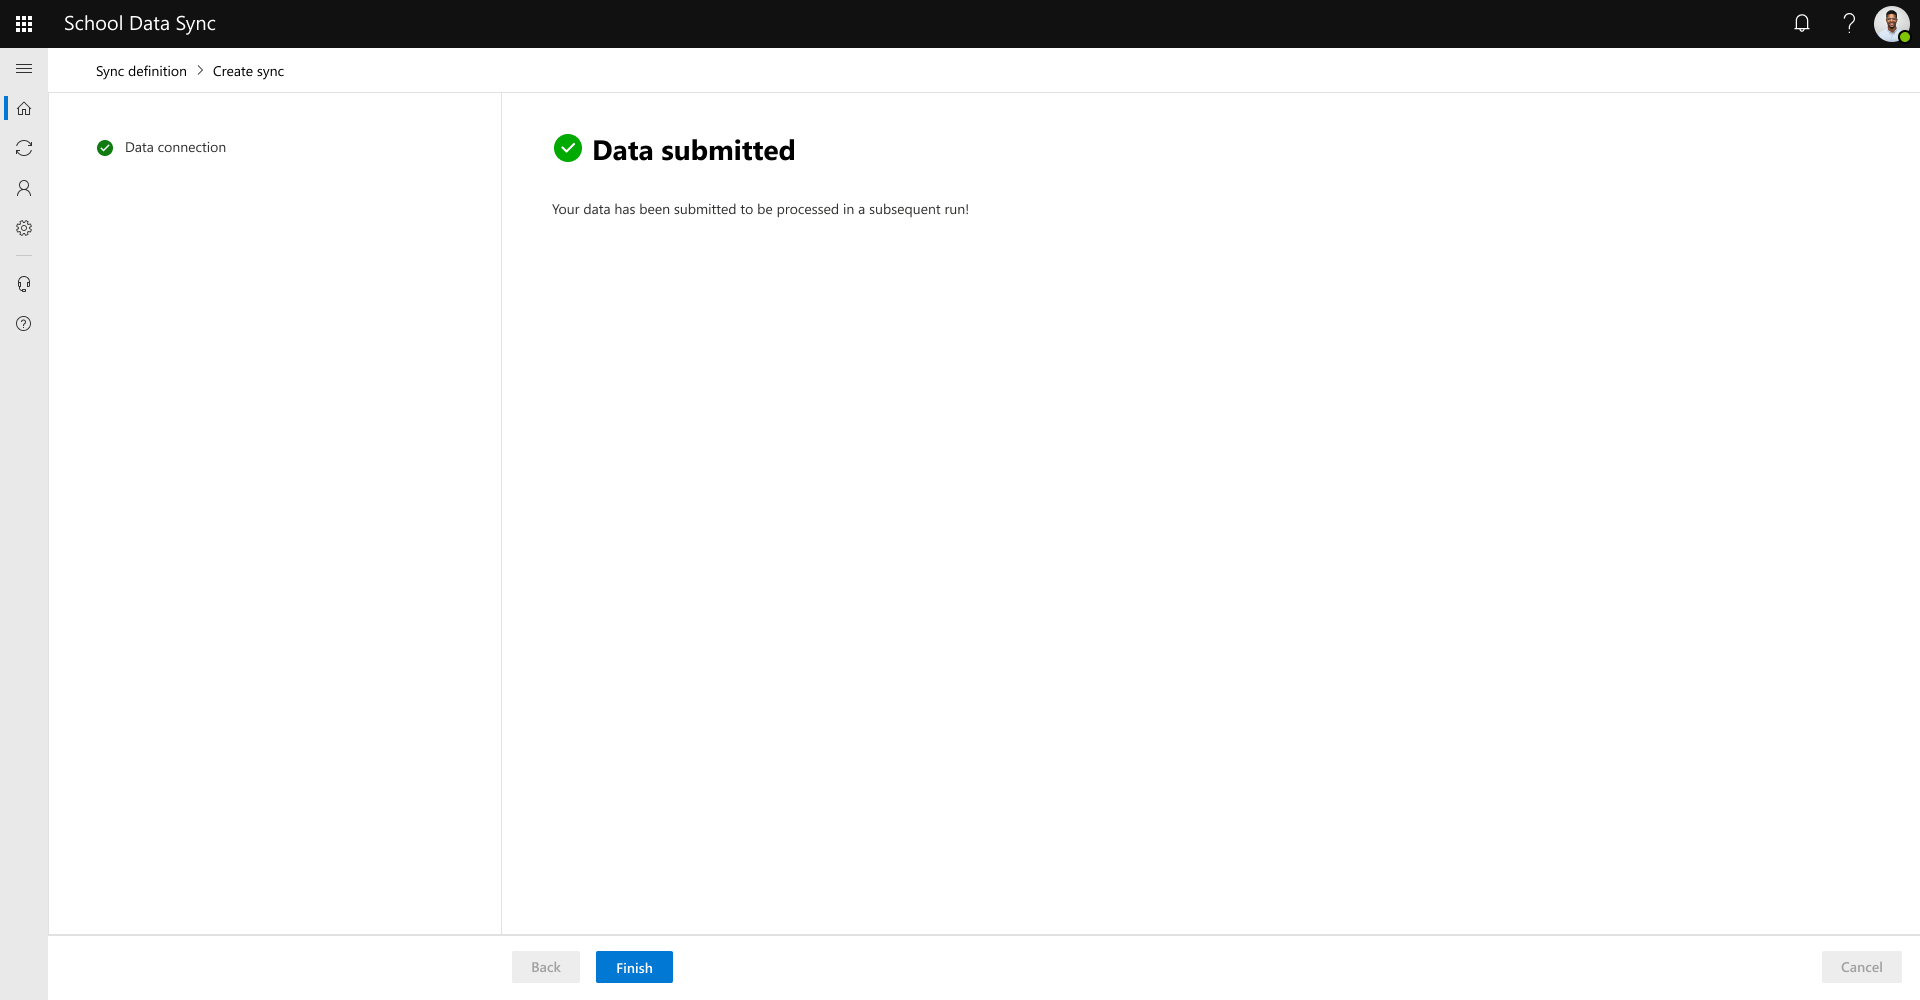
Your source files are updated and are waiting to be processed in the next sync run. Check back to see the status of your sync run.
After allowing time for the next sync to complete, navigate back to the home dashboard page.
If there are no issues with your data, the home dashboard will state, "No Data Errors or Warnings Found" and "We did not encounter any data errors or warnings during your last run. Keep up the great work!"
If there are issues found with your data, the home dashboard will state, ‘We found some issues with your data’ and encourage you to Investigate Sync health. For more information on the results of the sync run, select Investigate sync health.


