Note
Access to this page requires authorization. You can try signing in or changing directories.
Access to this page requires authorization. You can try changing directories.
This article shows you how to add Microsoft Perception MCP tools in Microsoft Visual Studio Code, authenticate, and verify the connection in chat.
Prerequisites
Meet the Perception MCP prerequisites, including organization onboarding and permissions.
Add Microsoft Perception tools
To add Microsoft Perception tools in Visual Studio Code, follow these steps:
Add an MCP server:
Press Ctrl + Shift + P, then type or choose MCP: Add Server.

Choose HTTP (HTTP or Server-Sent Events).

Enter the Perception MCP server URL,
https://perception.microsoft.com/mcp, and then press Enter.Assign a friendly server ID (for example, Microsoft Perception MCP server).
Choose whether to make the server available in all Visual Studio Code workspaces or just the current one.
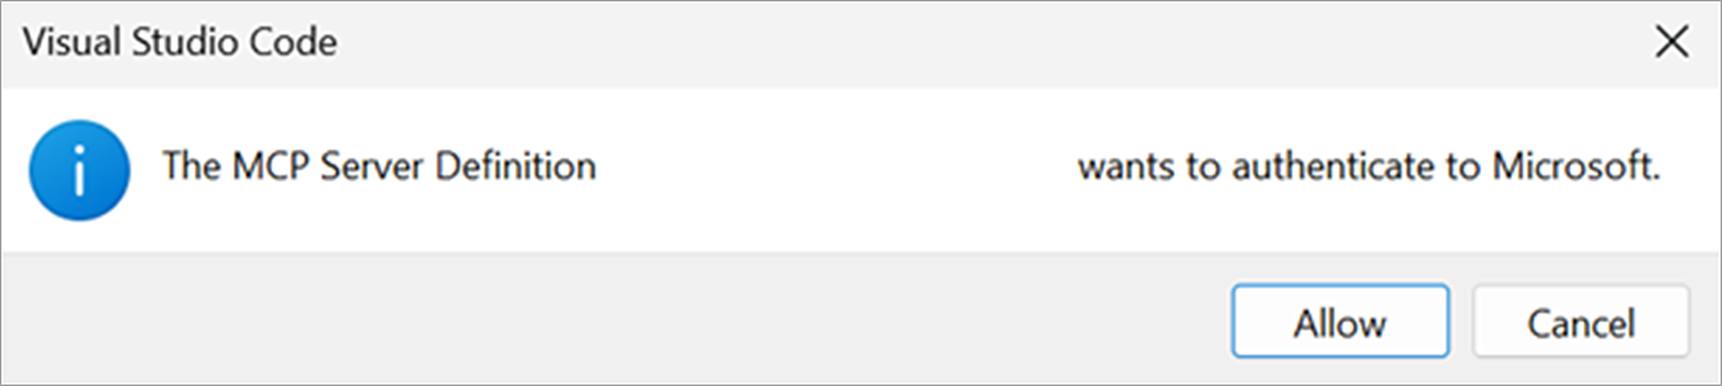
Allow authentication. When prompted, select Allow to authenticate using an account with required permissions.
Open Visual Studio Code’s chat. Select View > Chat, select the Toggle Chat icon
 beside the search bar, or press Ctrl + Alt + I.
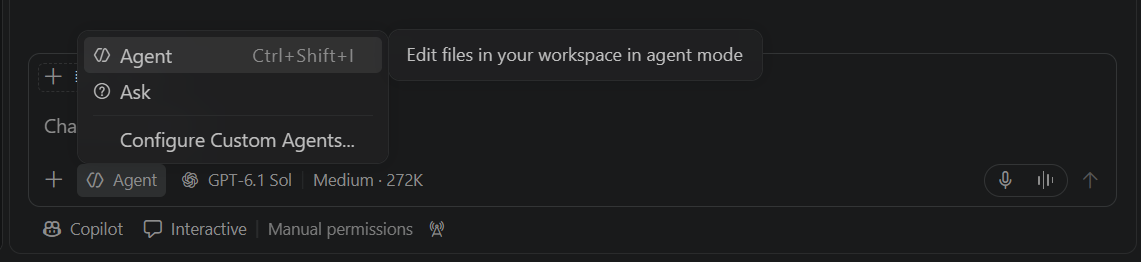
Verify connection. Set the chat to Agent mode then confirm by selecting the Configure Tools icon
 that you see under the MCP server you added.