Note
Access to this page requires authorization. You can try signing in or changing directories.
Access to this page requires authorization. You can try changing directories.
This article is for customers who has already setup their data collection machine to use Windows Server 2012 R2.
Requirements:
- Data Collection Machine running Windows Server 2012 R2 (not required on machines running Windows 10 or Windows Server 2016)
- Data collection machine requires internet access
Login into Data Collection machine running Windows Server 2012 R2.
PowerShell 5.0 for Data Collection machines
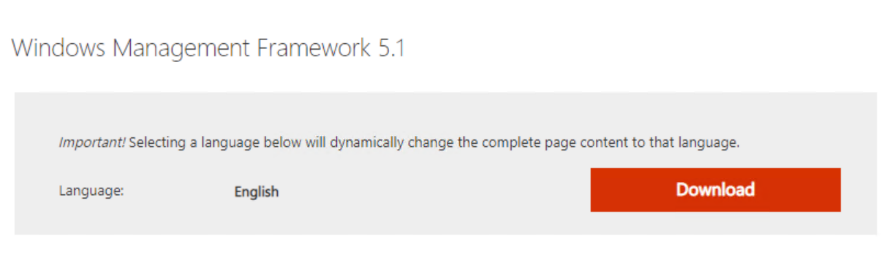
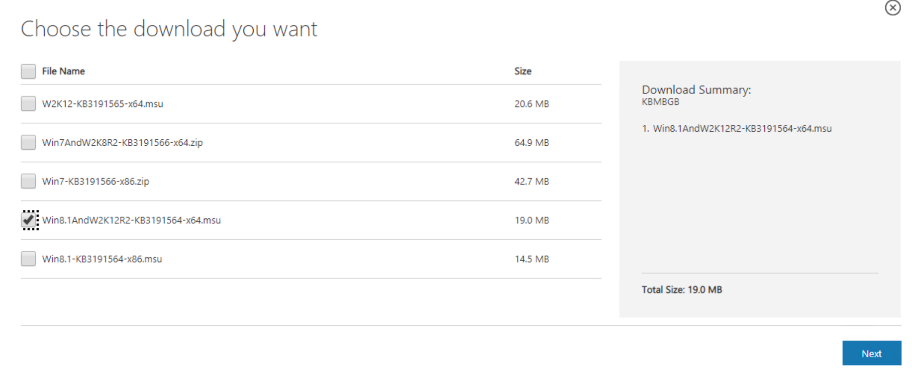
Download file and run the file. Agree to install Windows Update Standalone Installer.
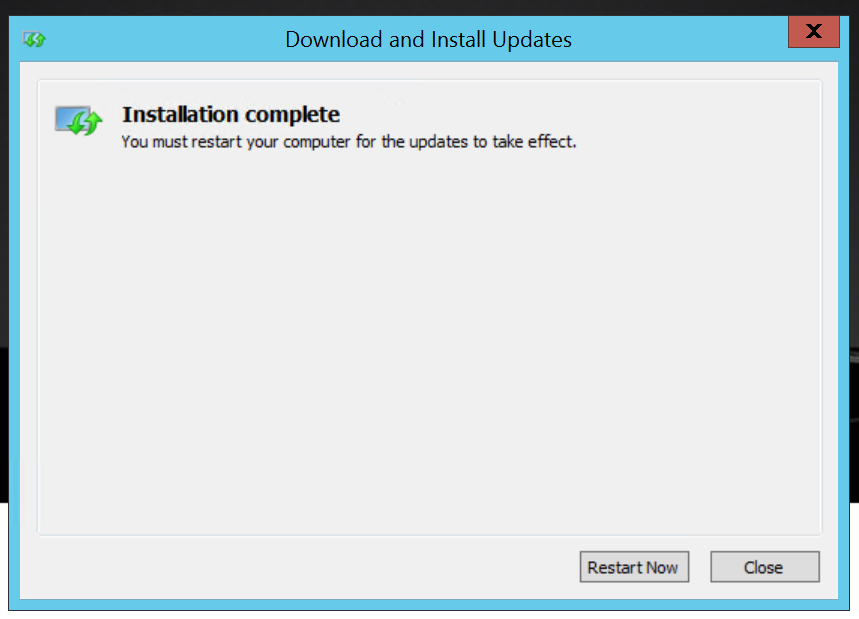

Restart once installation is complete.
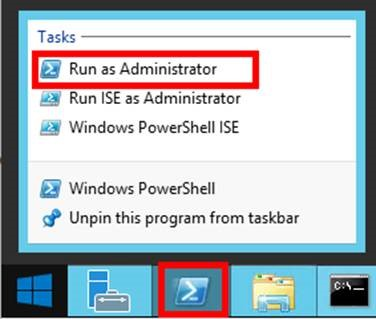
Once your machine has restarted, sign in and Open PowerShell as Administrator.
Run the command
$host.With PowerShell 5.0+ installed, you can now download the prerequisites from PowerShell. In the same session, run the following commands, and ensure to select "Y" to agree to install:
Install-Module AzureADPreview -Force -AllowClobber -Verbose
Install-Module MSOnline -Force -Verbose
Install-Module SharePointPnPPowerShellOnline -Verbose -AllowClobber -Force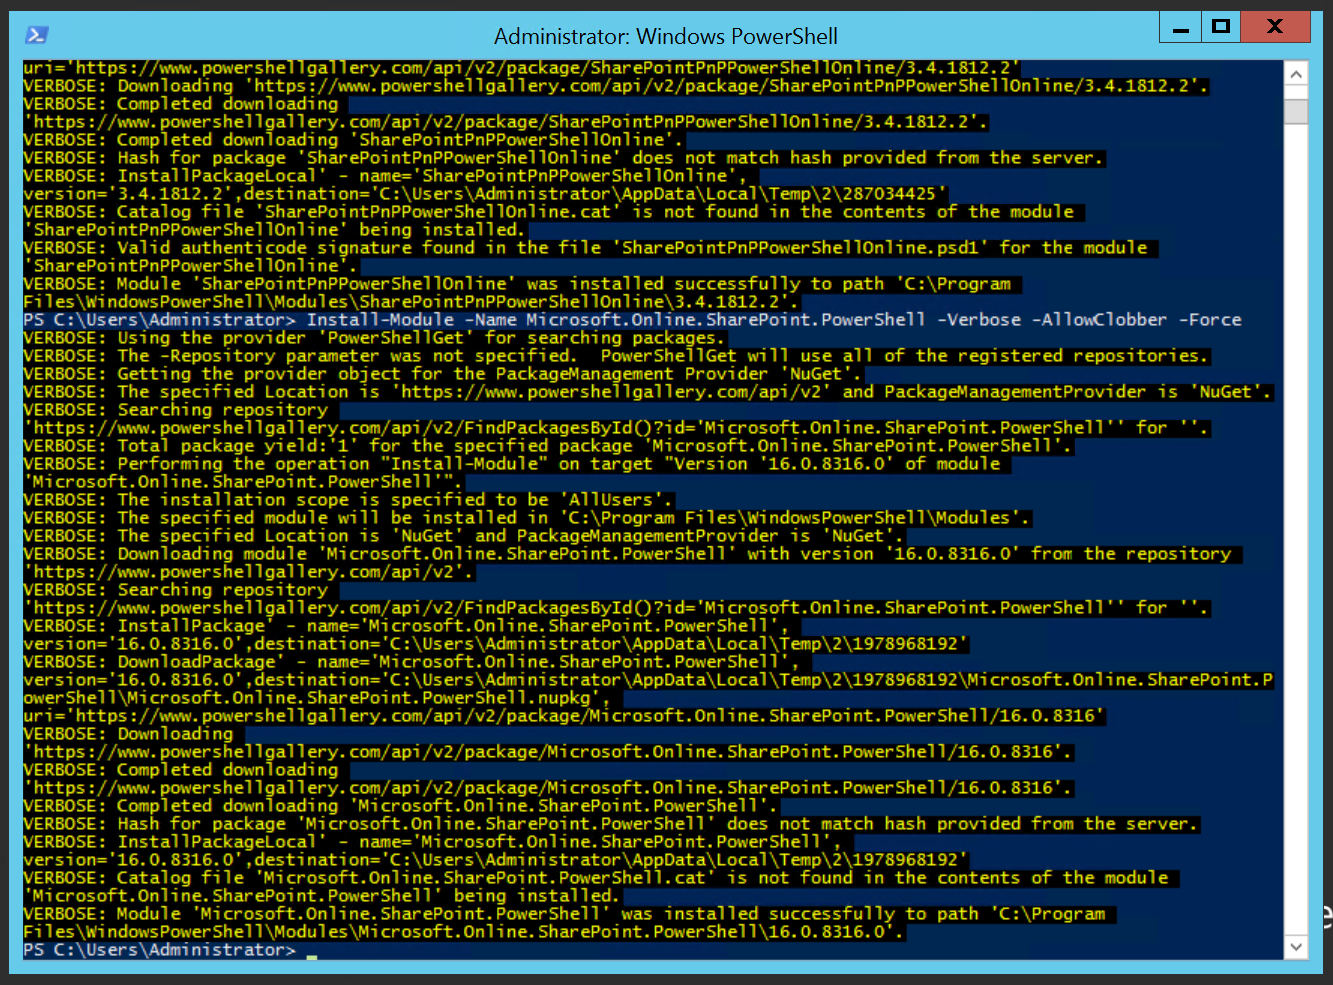
Close and reopen PowerShell.


The Data Collection Prerequisites are fulfilled, and you can now set up the SharePoint Online Assessment.
Set up the SharePoint Online Assessment
On your designated data collection machine, complete the following steps:
Open the Windows PowerShell command prompt as an Administrator.
Define the Credentials for the assessment to use:
- Example:
$AADTenantCred = Get-Credential - Example:
$Office365SPOCCred = Get-Credential
- Example:
Run the following command:
Add-SharePointOnlineAssessmentTask -AzureEnvironment AzureCloud –WorkingDirectory <Directory> -Office 365SharePointUsername $Office365SPOCred.username -Office 365SharePointPassword $Office365SPOCred.password -AADUsername $Office365SPOCred.username -AADPassword $Office365SPOCred.passwordWhere
<Directory>is the path to an existing directory used to store the files created while collecting and analyzing the data from the environment.Example:
$AADTenantCred = Get-Credential
$Office365SPOCred = Get-Credential
Add-SharePointOnlineAssessmentTask –AzureEnvironment
AzureCloud -WorkingDirectory "D:\OMS"
-Office 365SharePointUsername $Office365SPOCred.username
-Office 365SharePointPassword $Office365SPOCred.password
-AADUsername $AADTenantCred.username
-AADPassword $AADTenantCred.password
You'll be promoted to enter an account that will be able to run a scheduled task on the Tools machine. Provide the required user account credentials to run the Scheduled Task. These credentials are used to run the SharePoint Online Assessment.
The script will continue with the necessary configuration. It will create a scheduled task that will trigger the data collection.
Data collection is triggered by the scheduled task named SharePointOnlineAssessment within an hour of running the previous script and then every 7 days. The task can be modified to run on a different date/time or even forced to run immediately.

During collection and analysis, data is temporarily stored under the WorkingDirectory folder that was configured during setup. Here is an example image of the folder structure:

After data collection and analysis is completed on the tools machine, it will be submitted to your Azure Log Analytics workspace.
Data Collection takes approximately 30 minute to 60 minutes.
Your assessment results will be available to view on your OMS Dashboard. Select the SharePoint Online Assessment tile to review:
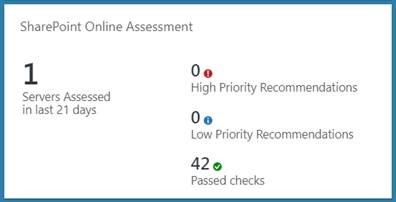
You will then be presented with findings grouped by the focus area.


New Release - Update Assessment to use Microsoft Graph API
Important
This step needs to be run on a Windows 10 or Windows Server 2016 Server.
Before you start to set up the application, check your tools machine to see if the ability to import the config is available.
You can check this by navigating to: C:\Program Files\Microsoft Monitoring Agent\Agent\PowerShell. If in this location you find the folder Microsoft.Assessments.AADApplicationManager, it means that the cmdlets to allow import of the registry and certificates are available on your tools machine.
On your Windows Server 2016 or Windows 10 machine. you need to install the Microsoft Monitoring Agent and connect it to a workspace. Please refer to the following video on how to Install the Microsoft Monitoring Agent.
Once the assessment is set up, you can check to see if the necessary files exist. To check this, go to C:\Program Files\Microsoft Monitoring Agent\Agent\PowerShell. If in this location you find the folder Microsoft.Assessments.AADApplicationManager, it means that the cmdlets to allow create the Azure AAD Application for Microsoft Assessments is available.
Open PowerShell as a Administrator and then run the following on the Windows 2016/Windows 10 machine.
New-MicrosoftAssessmentsApplicationThis script runs and then prompts you for Global Administrator Credentials:
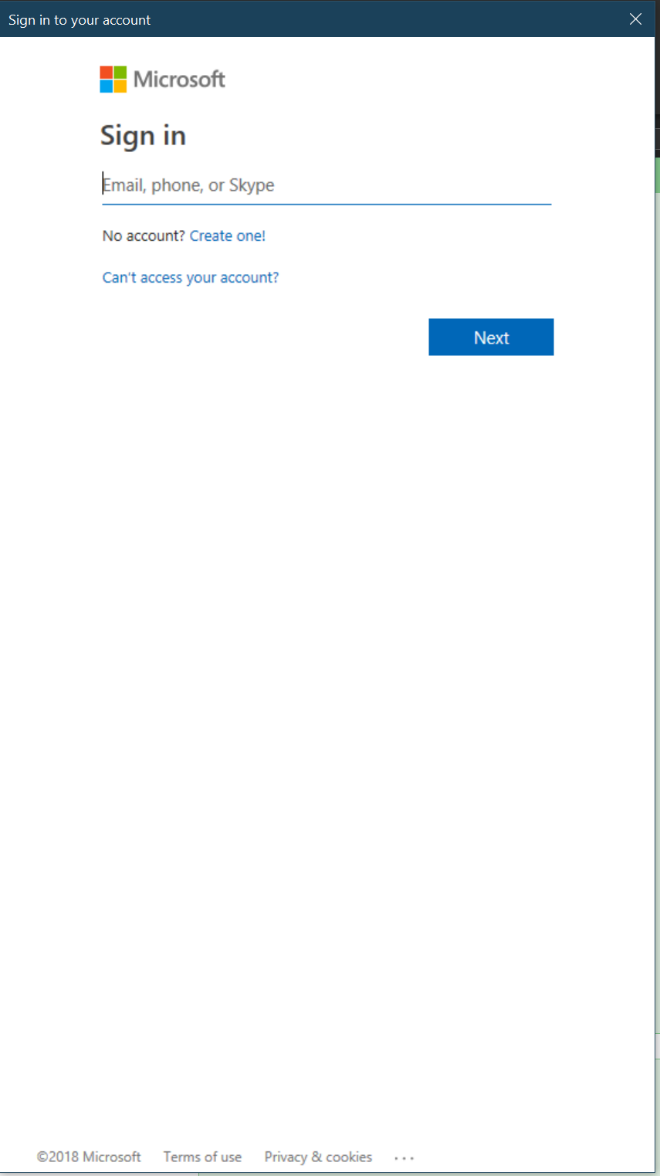
Once credentials are set up, a browser opens and asks you for consent.

Once the application is set up, you need to export the registry and license keys so you can import to your Windows 2012 R2 server.
From PowerShell as an Administrator, run:
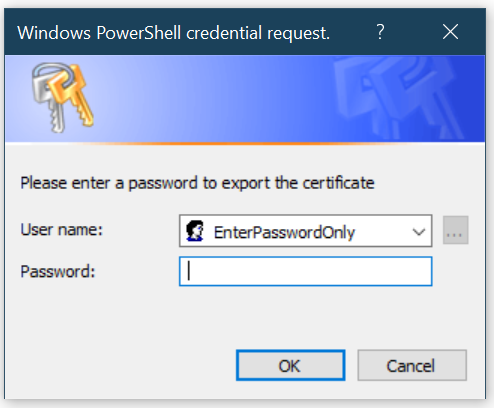
Export-MicrosoftAssessmentsApplicationSettings
You're promted to provide your password to export the certificate (make sure you remember this password for later, because you'll use it to import).
This generates a
AADApplicationData.txtfile, which needs to be copied to your Windows Server 2012 R2 tools machine. This file is created in the location where you ran the command. In our example screenshots, the file was created inC:\Windows\System32.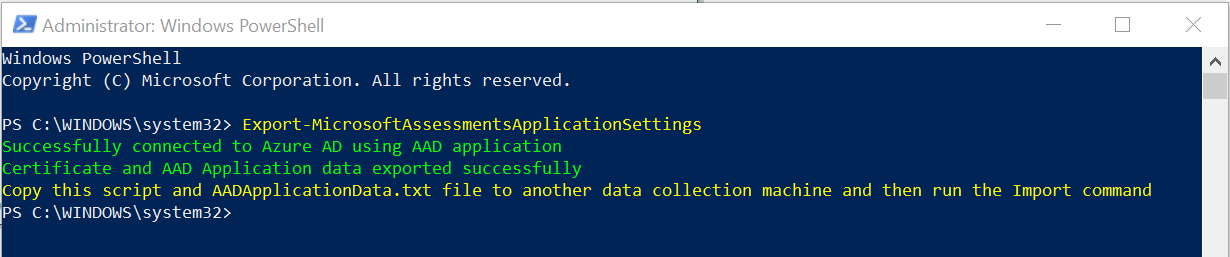
Once the file is copied, you can import the settings.
In PowerShell, go to the directory where the file was copied and run:
Import-MicrosoftAssessmentsApplicationSettings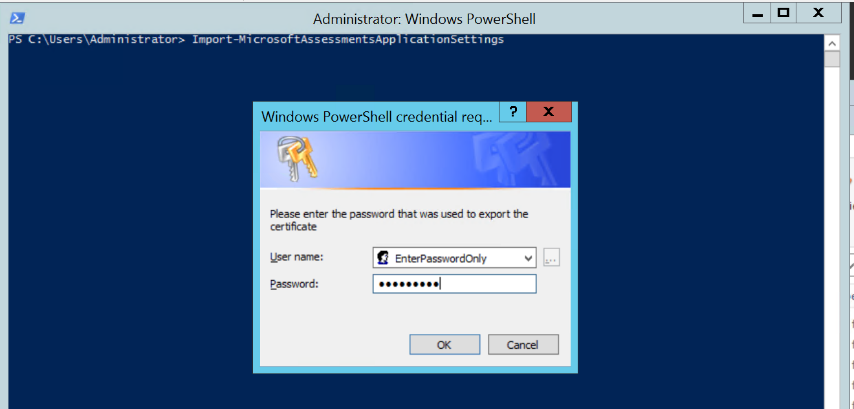
Enter the password you used in step two.

Test the settings by running:
Test-MicrosoftAssessmentsGraphAPI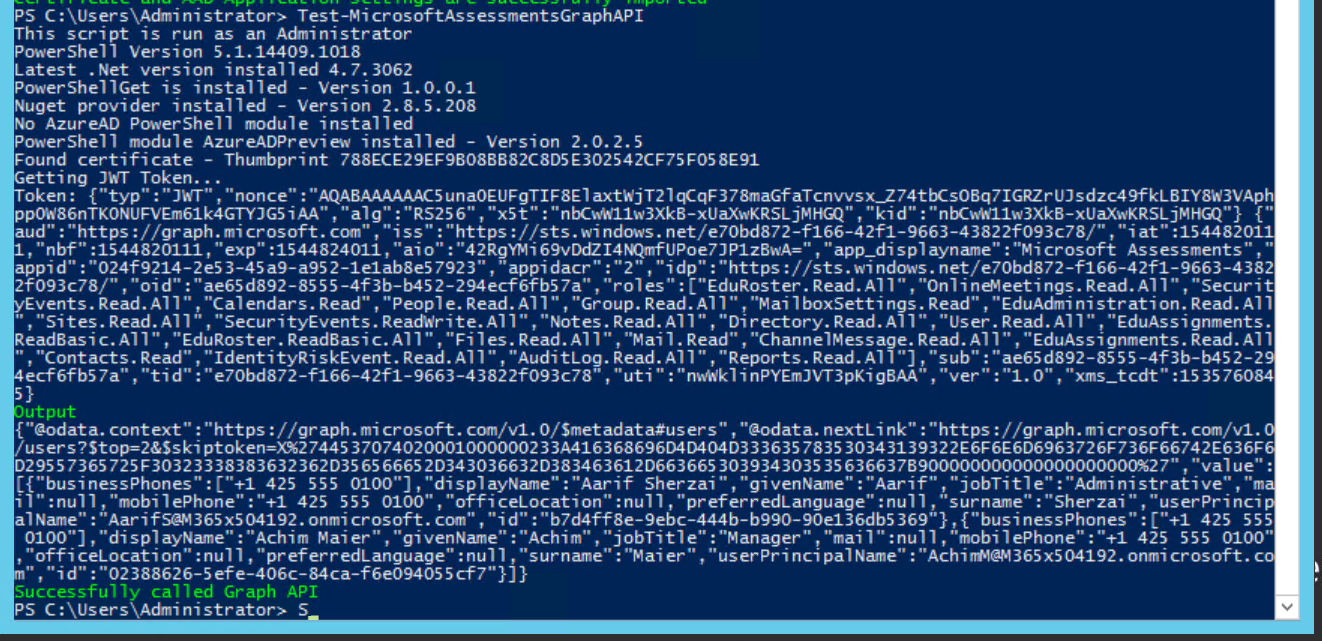


If the SharePoint Online Assessment was already set up, the next collection should work and will automatically use the GraphAPI to collect data.
If the assessment did not get set up, you can follow the instructions to set up the SharePoint Online Assessment.