Note
Access to this page requires authorization. You can try signing in or changing directories.
Access to this page requires authorization. You can try changing directories.
Privacy restrictions require consent to show details of support cases created in Microsoft 365 or Azure cloud portals in Services Hub.
Services Hub Case Visibility dashboard allows you to provide consent for your cloud assets. When turned on, users with the proper permissions will be able to see their cloud cases and their details within their respective workspaces.
You must provide consent individually for each Microsoft 365 Tenant & Azure subscription.
Note
CSAMs and Incident Managers have full visibility to all support cases for agreements they manage.
Prerequisites
Permissions
| Services Hub Global Administrator | Services Admin | CSAM | |
|---|---|---|---|
| Full access | ✔️ | ✔️ | |
| Read-only access | ✔️ |
If you want access to the Cloud Support Request Visibility dashboard and are not a Services Hub Global Administrator, reach out to a current Services Admin, Services Hub Global Administrator or your CSAM for assistance.
For each Azure subscription you want to turn consent on, you need:
- subscription name
- subscription ID
For each Microsoft 365 tenant you want to turn consent on, you need:
- tenant name
- tenant ID
Go to your Cloud Support Request Visibility dashboard
In the upper right corner of your Services Hub dashboard, select your user profile to access its drop-down menu.
Select "Workspaces".
Select your company name.
Select "Cloud Support Request Visibility" to access your Cloud Support Request Visibility dashboard.


Change visibility
In your Cloud Support Request Visibility dashboard, select "Visible" in the column labeled "Visibility" to switch case visibility on and off for individual cloud assets.

Add subscriptions
There are many ways for you to get a list of your subscriptions, and each organization is different. Follow your organization's process for gathering information about the subscriptions you plan to add.
Note
When you upload a subscription, it automatically turns on consent for the subscription. Uploading a duplicate subscription will turn on consent and update any changes to the name and asset type.
Add individual subscriptions
In your Cloud Support Request Visibility dashboard, select "+ Add subscriptions".

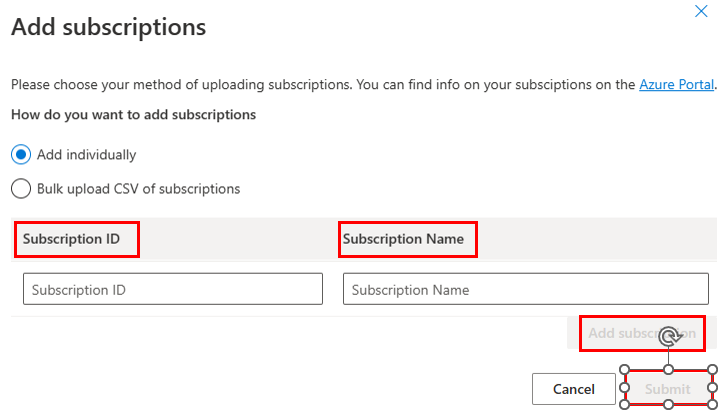
Make sure the "Add individually" command is selected.
Add the subscription ID and name for the subscription you want to add.
Select "Add subscription".
Repeat steps two and three for any other subscriptions you want to add.
When you're ready to save your changes, select "Submit".
View the results in your dashboard.


Add in bulk subscriptions
To add in bulk subscriptions, you need a CSV file listing all the subscriptions you plan to add. The CSV file must have two headings: SubscriptionID and Name. Each row in your list of subscriptions must include a single Subscription ID and subscription name, as shown in the following example images from Microsoft Excel and Notepad.


You can use our PowerShell script to get subscription IDs and names into a CSV file. The script creates a file of all the Azure subscriptions for each tenant associated with the account that ran the script.
In your Cloud Support Request Visibility dashboard, select "+ Add subscriptions".
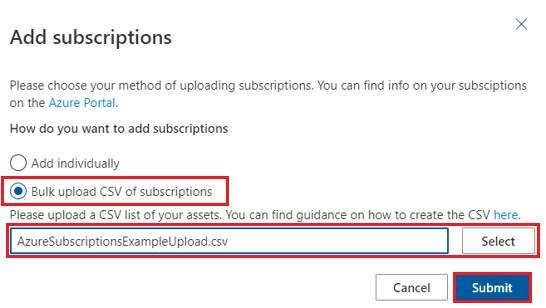
Select "Bulk upload CSV of subscriptions".
Use "Select" to select the CSV file that contains the subscriptions you want added.
Select "Submit".

After the CSV file's contents are uploaded and processed, the page will display a banner stating that the upload was successful. Select the link where it says "Select here to refresh."
Add tenants
There are many ways for you to get a list of your tenants, and each organization is different. Follow your organization's process for gathering information about the tenants you plan to add.
Note
When you upload a tenant, it automatically turns on consent for the tenant. Uploading a duplicate tenant will turn on consent and update any changes to the name and asset type.
You can also follow this guide to find the tenant ID associated with your Azure AD Account.
Add individual tenants
In your Cloud Support Request Visibility dashboard, "+ Add tenants".

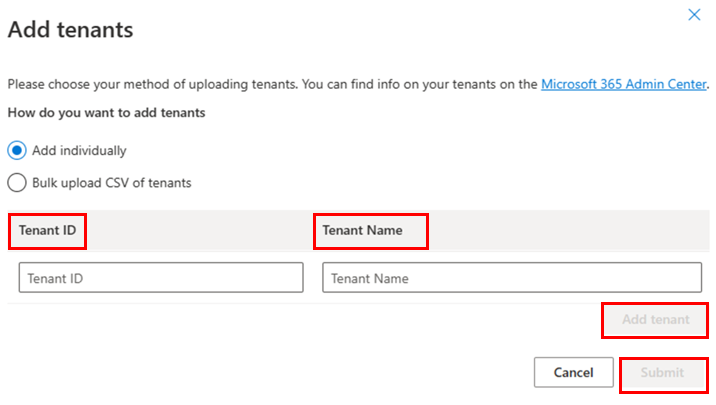
Make sure the "Add individually" command is selected.
Add the tenant ID and name for the tenant you want to add.
Select "Add tenant".
Repeat steps two and three for any other tenants you want to add.
When you're ready to save your changes, select "Submit".
View the results in your dashboard.


Add in bulk tenants
To add in bulk tenants, you need a CSV file listing all the tenants you plan to add. The CSV file must have two headings: TenantId and Name. Each row in your list of tenants must include a single Tenant ID and tenant name, as shown in the following example images from Microsoft Excel and Notepad.


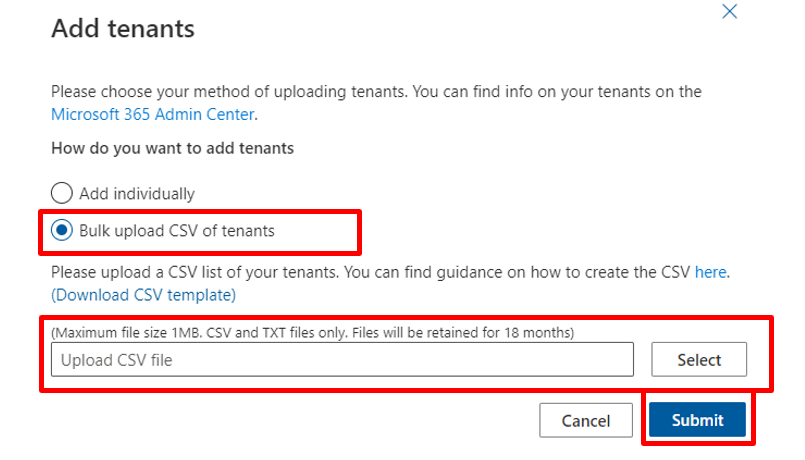
In your Cloud Support Request Visibility dashboard, "+ Add tenants".
Select "Bulk upload CSV of tenants".
Use "Select" to select the CSV file that contains the tenants you want added.
Select "Submit".

After the CSV file's contents are uploaded and processed, the page will display a banner stating that the upload was successful. Select the link where it says "Click here to refresh."
Customize your view
Filter
Use the filters on the Cloud Support Request Visibility dashboard to refine your list and search results.
Select the funnel icon to open and close the filtering commands.

Filter by asset type and by visibility status.

View audit history
Each cloud asset's audit history lists which actions were taken by which users and the time they occurred, providing you with a full history of your cloud asset’s visibility status To view your cloud asset's audit history, select the > switch graphic next to the asset in your Cloud Support Request Visibility dashboard.

Remove subscriptions and tenants
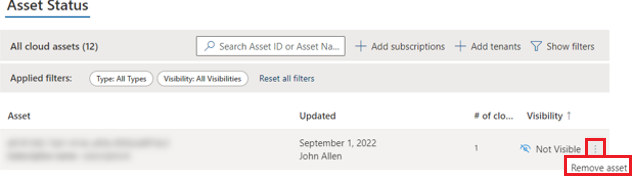
In your Cloud Support Request Visibility dashboard, find the column labeled "Visibility".
Hover over the item you want to remove.
Select the three vertical dots next to the item's "Visible" or "Not visible" status.
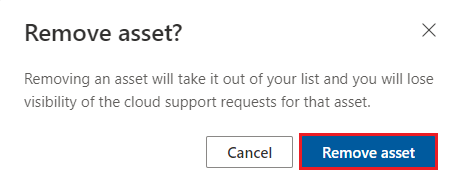
Select "Remove asset".
When the dialog with a warning appears, select "Remove asset".